How to make Super Mario Rubik’s Cube from Paper | Easy-to-make Paper Puzzle | Creative Paper Crafts
Hi everyone! 🙂 If you’re a fan of Super Mario and Rubik’s Cube, this article is especially for you! Why not combine these two passions into one exciting paper craft project? In this step-by-step tutorial, we are delighted to share with you how to make a Super Mario-themed Rubik’s Cube from paper, bringing your favorite video game characters to life in this classic DIY puzzle form.
This DIY craft project is perfect for gamers, puzzle enthusiasts, and anyone looking for a creative and entertaining activity. Let’s dive in and create your very own Super Mario Rubik’s Cube from paper! 🙂
Please scroll down for a step-by-step tutorial of how to make Super Mario Rubik’s Cube from Paper:

HERE IS THE TUTORIAL:
Supplies You’ll Need:
- 5 sheets of A4 white paper
- scissors
- glue
- a ruler
- a pencil
- thick thread
- thin thread
- alcohol markers for decoration
STEP 1 of how to make a Super Mario Rubik’s Cube from paper
Take an A4 white paper sheet.

Cut the paper into 12 equal squares using scissors.
The required dimensions of the squares are 7 by 7 cm.


Take three more sheets of white A4 paper and cut each of them into 12 equal squares measuring 7 by 7 cm.
Make it in the same way as shown earlier.
As a result, you should have 48 equal pieces of paper measuring 7 by 7 cm.

Take one of the cut-out squares.

Draw two diagonal lines criss-cross on a piece of paper using a ruler and pencil.


This is how it should look.

Fold the paper and meet the bottom edge with the middle of the sheet.


This is how it should look.

Rotate the paper sheet by 180 degrees and do the same action with another edge.
Fold it in the same way.


This is how it should look.

You may also like other PARER CRAFTS from our collection 🙂
STEP 2 of how to make a Super Mario Rubik’s Cube from paper
Unfold one of the just-folded edges of the paper piece and mark the middle of the sheet using a pencil.

Fold back the edge to its previous position and make the same mark on it.

This is how it should look.

Fold the paper along the dashed line and meet the bottom edge with the just-made mark.


This is how it should look.

Rotate the paper piece by 180 degrees and make the same action with the opposite edge.
Fold the edge in the same way and meet it with the just-made mark.
This is shown in the picture below.

This is how it should look.


Make five more of these same paper forms, repeating the previously shown steps.

STEP 3 of how to make a Super Mario Rubik’s Cube from paper
Now you need to connect the previously prepared six pieces of paper to each other.
Connect them in such a way as to form a cube.
This is shown in the pictures below.


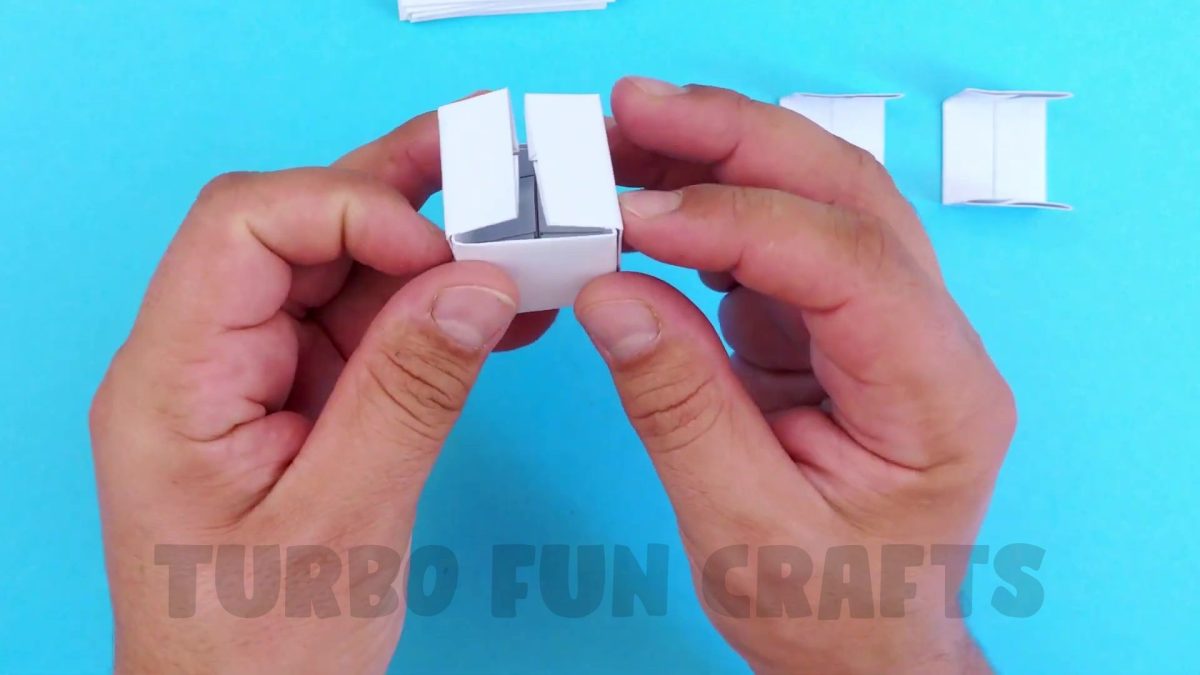
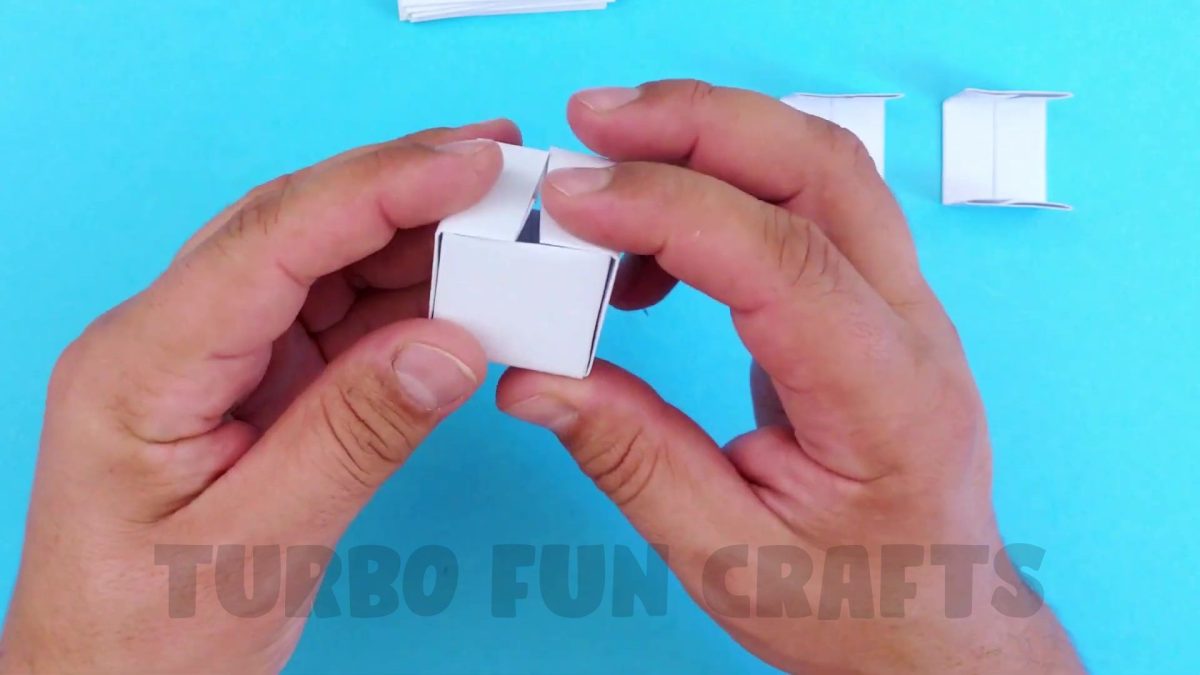
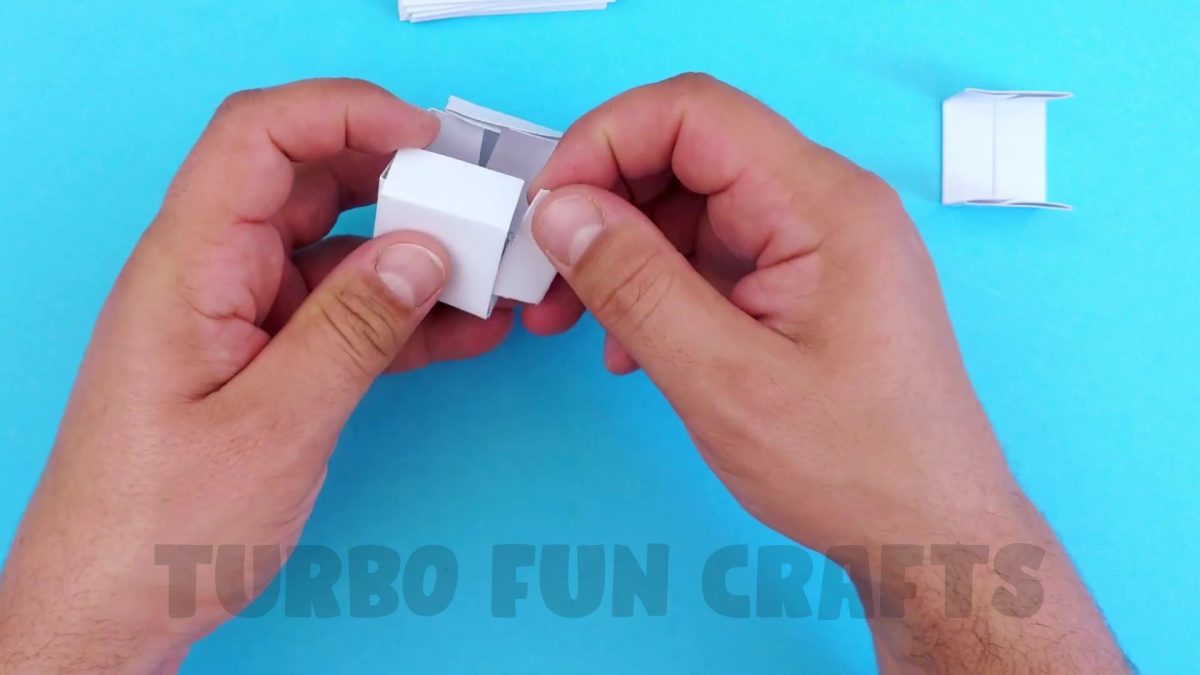
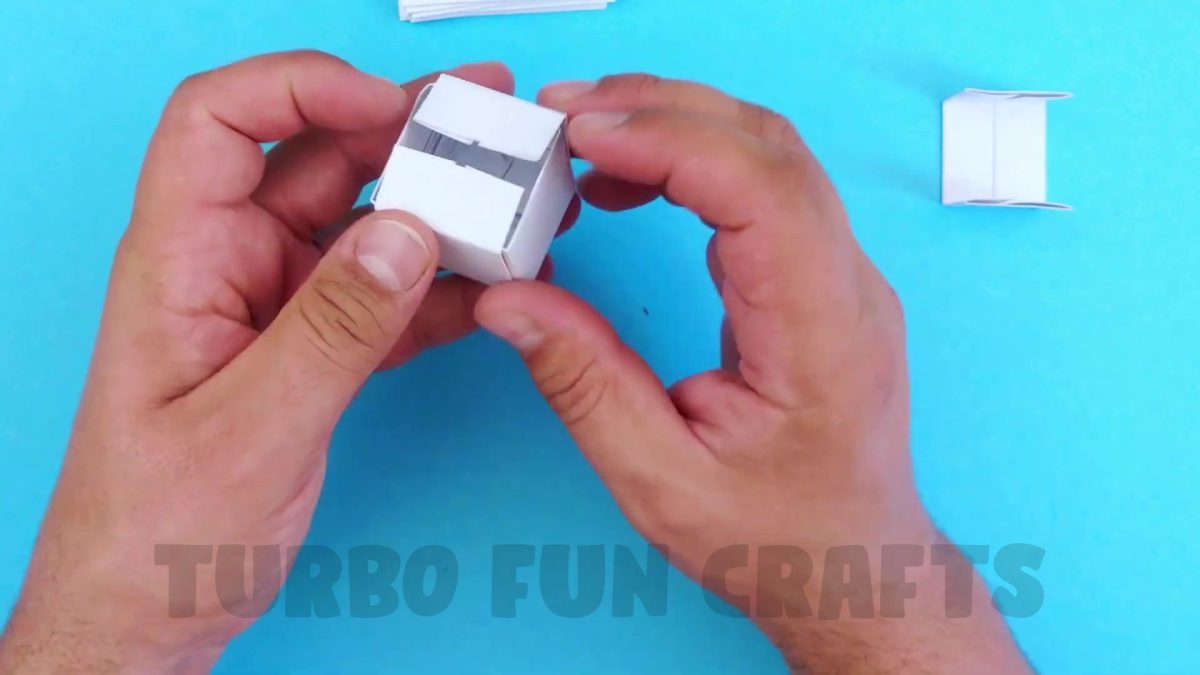
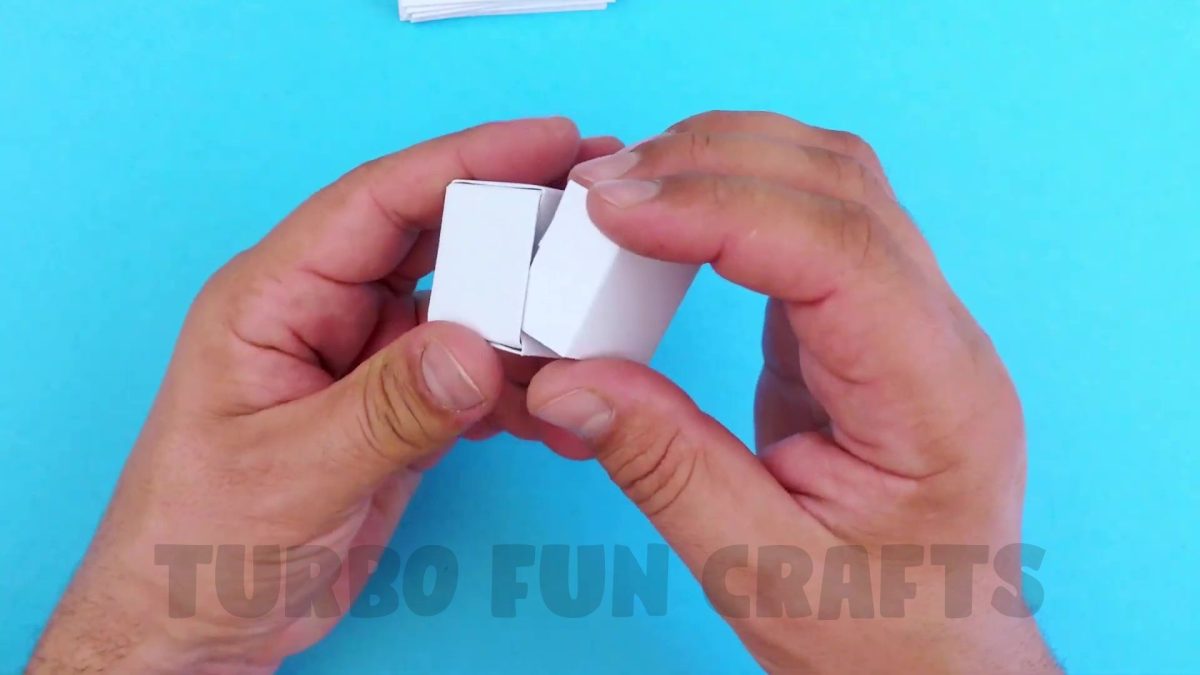
This is how it should look like.
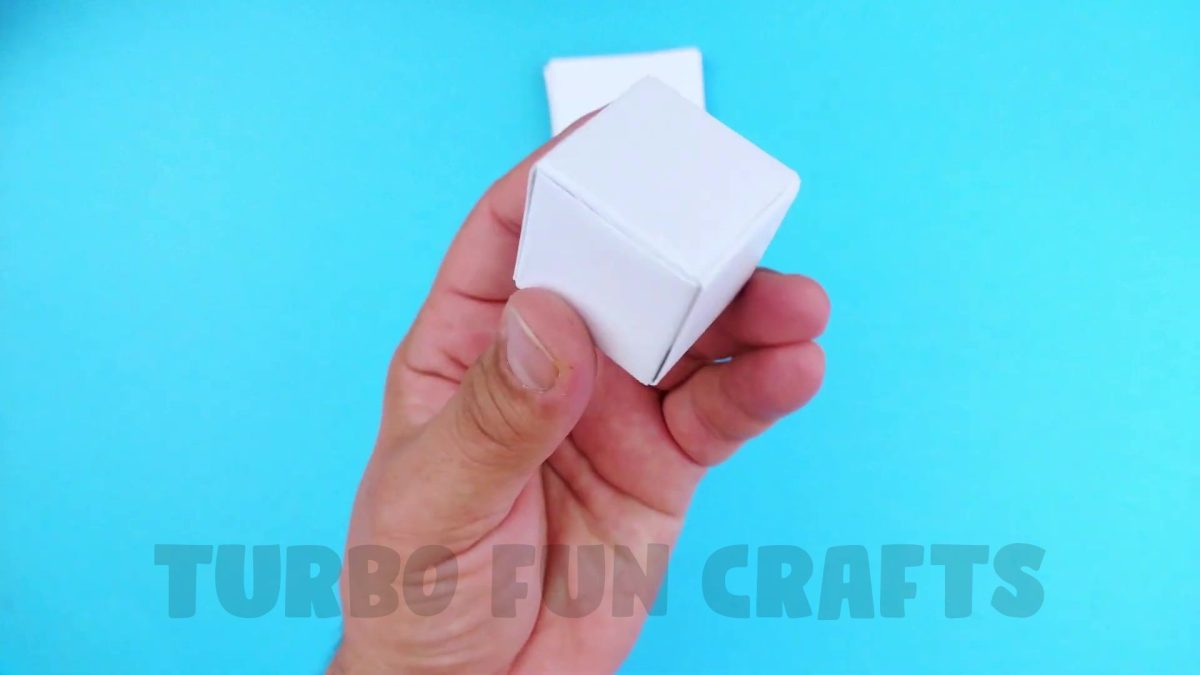
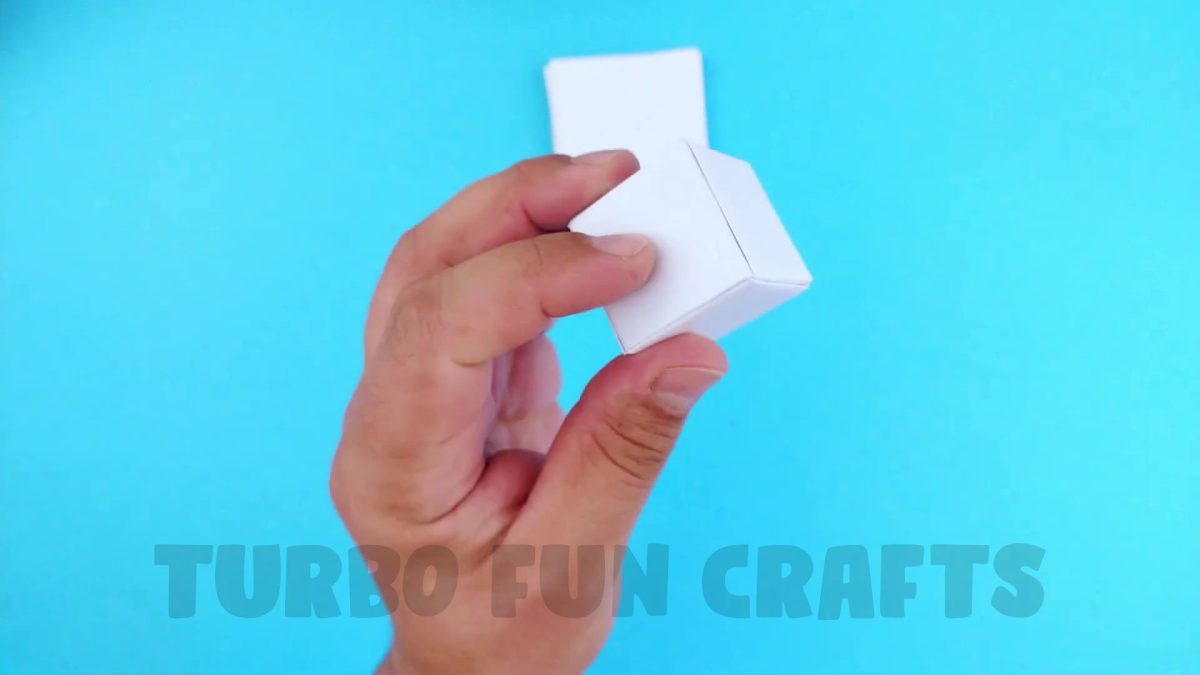
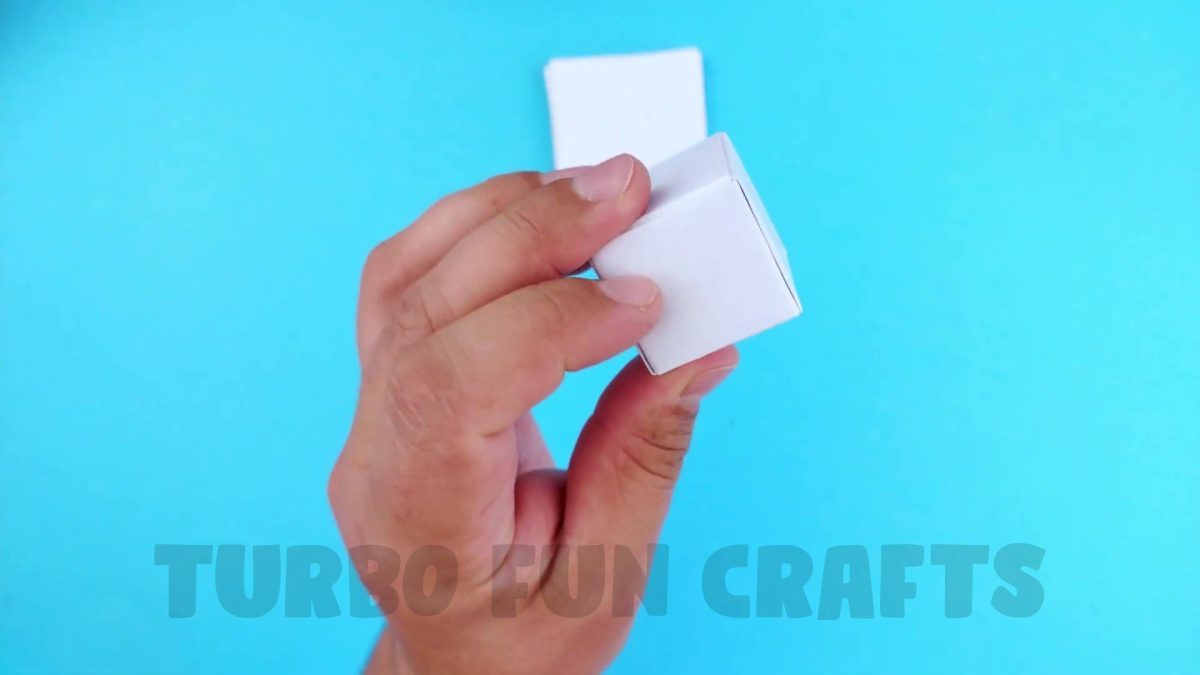
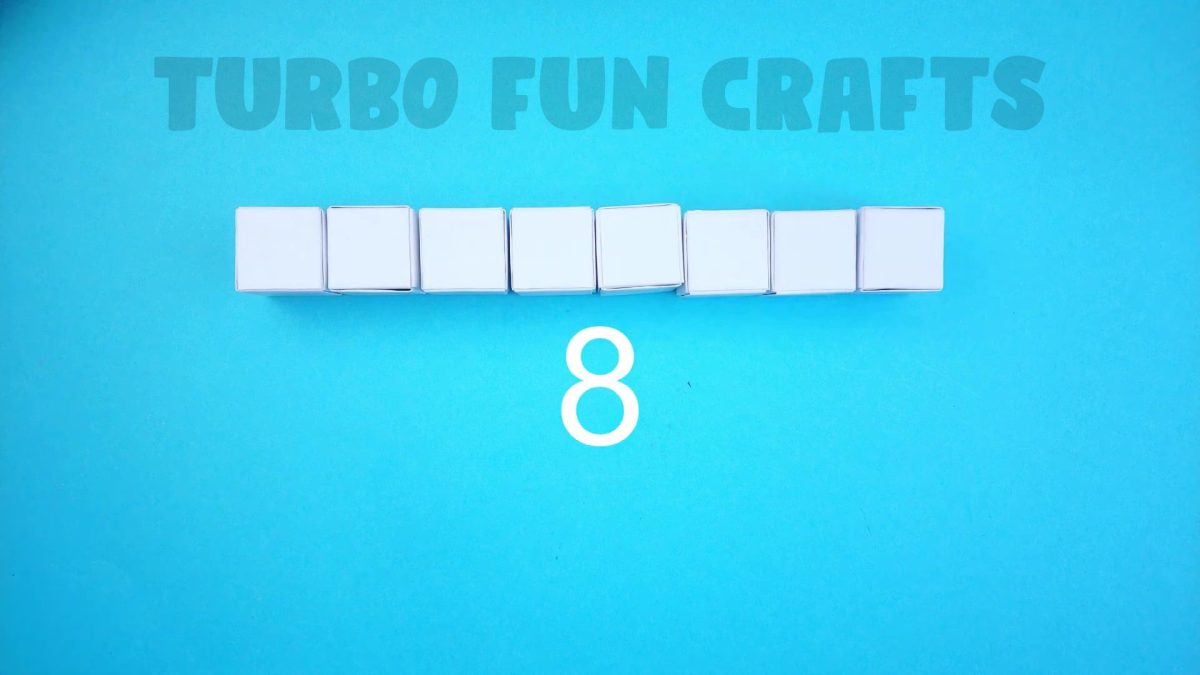
Make seven more of these same paper cubes, repeating the previously shown steps, so that you have a total of 8 pieces.
You may also like: How to make Cardboard Game Super Mario | No electronic components required | Anyone can make
STEP 4 of how to make a Super Mario Rubik’s Cube from paper
Take four of these cubes and place them as shown in the picture below.
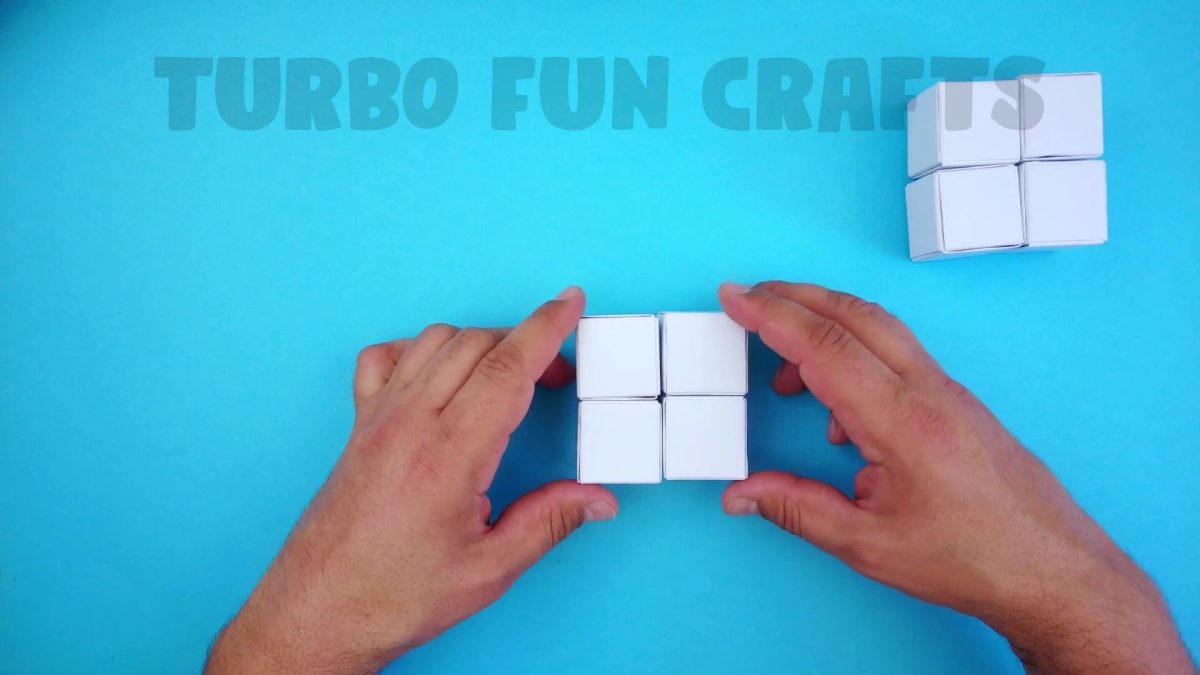
Now, you will need a thread.
In our tutorial, we used thick thread.
This is shown in the picture below.
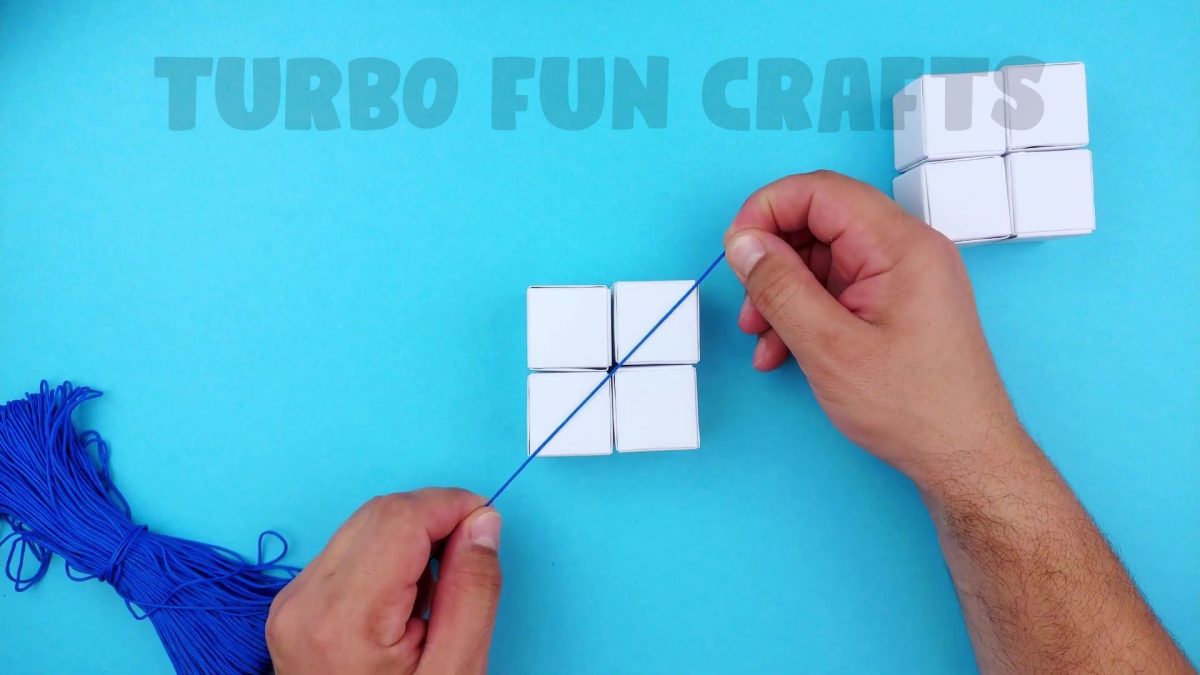
Apply glue across the diagonal to one of the cubes.
This is shown in the picture below.
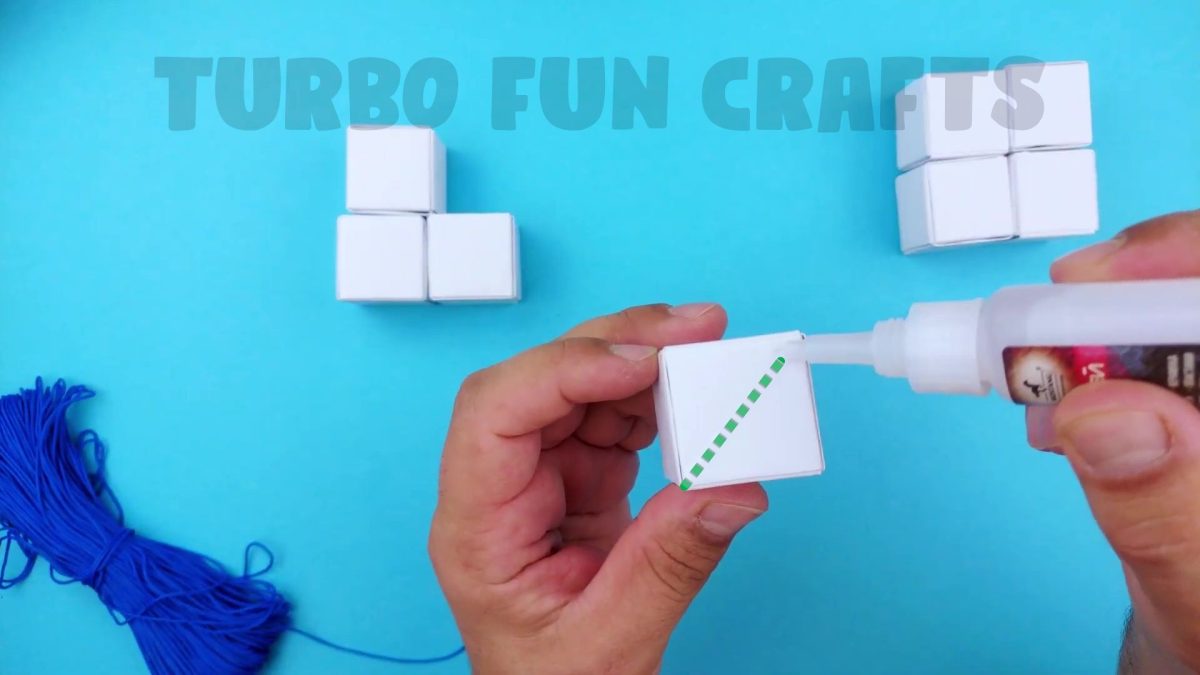
Glue the thread to the cube as shown in the image below.
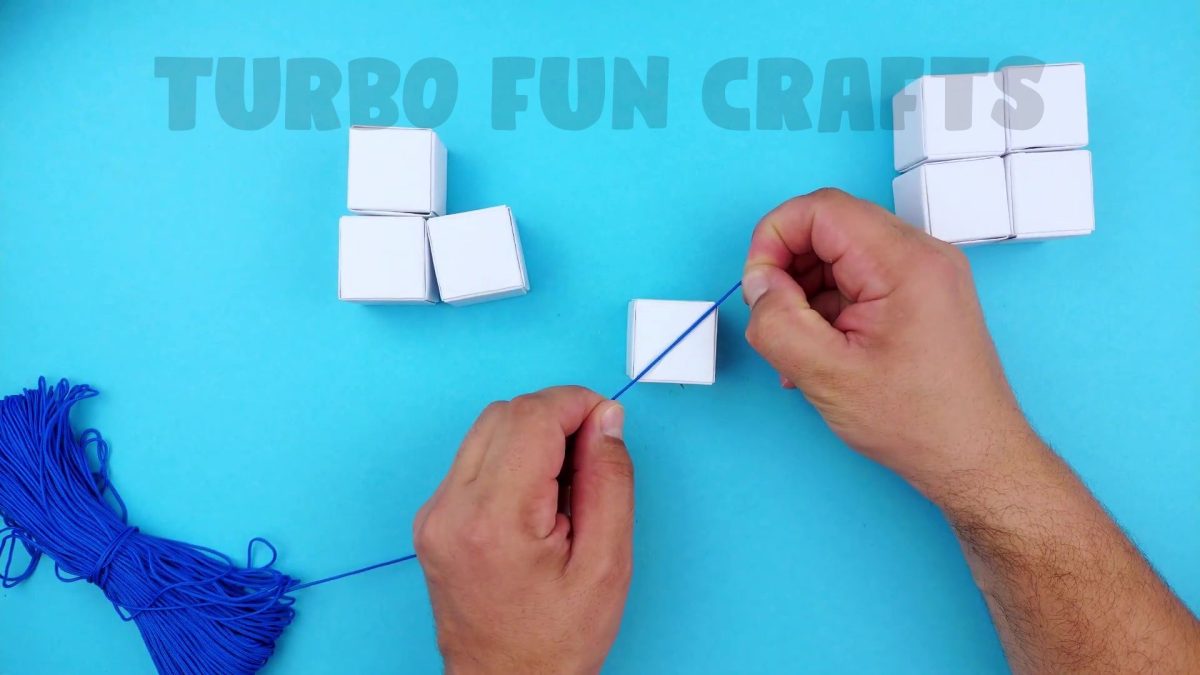
Apply glue to another cube in the same way.
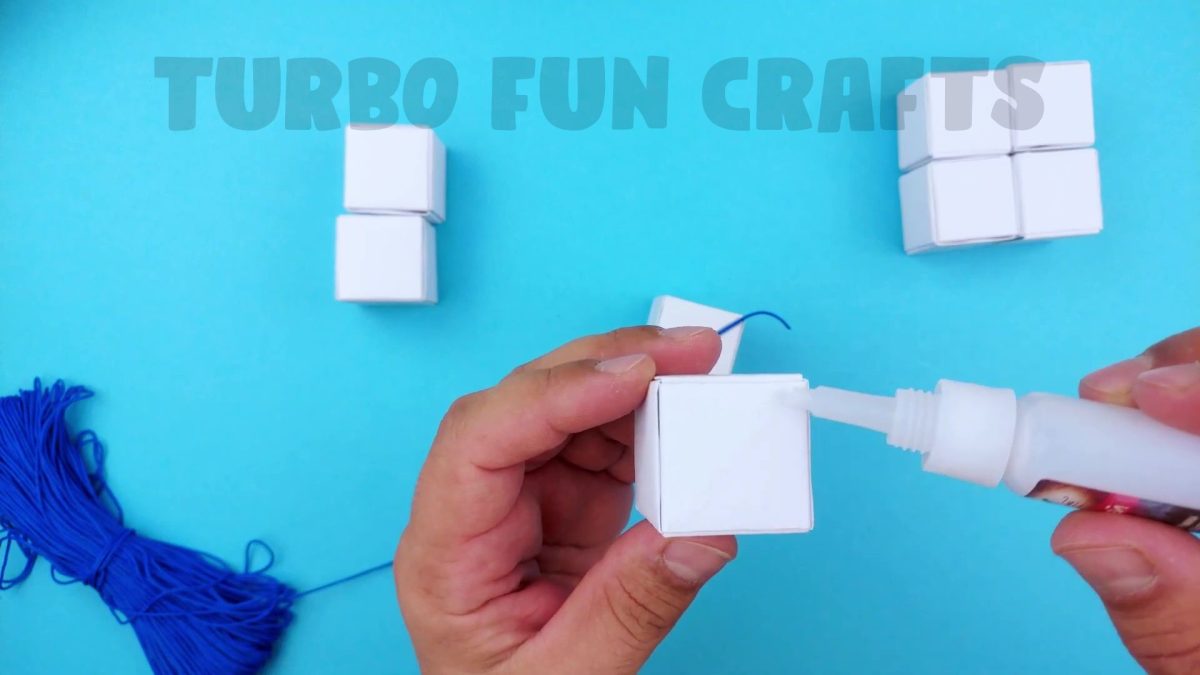
Glue the thread to the cube as shown in the image below.
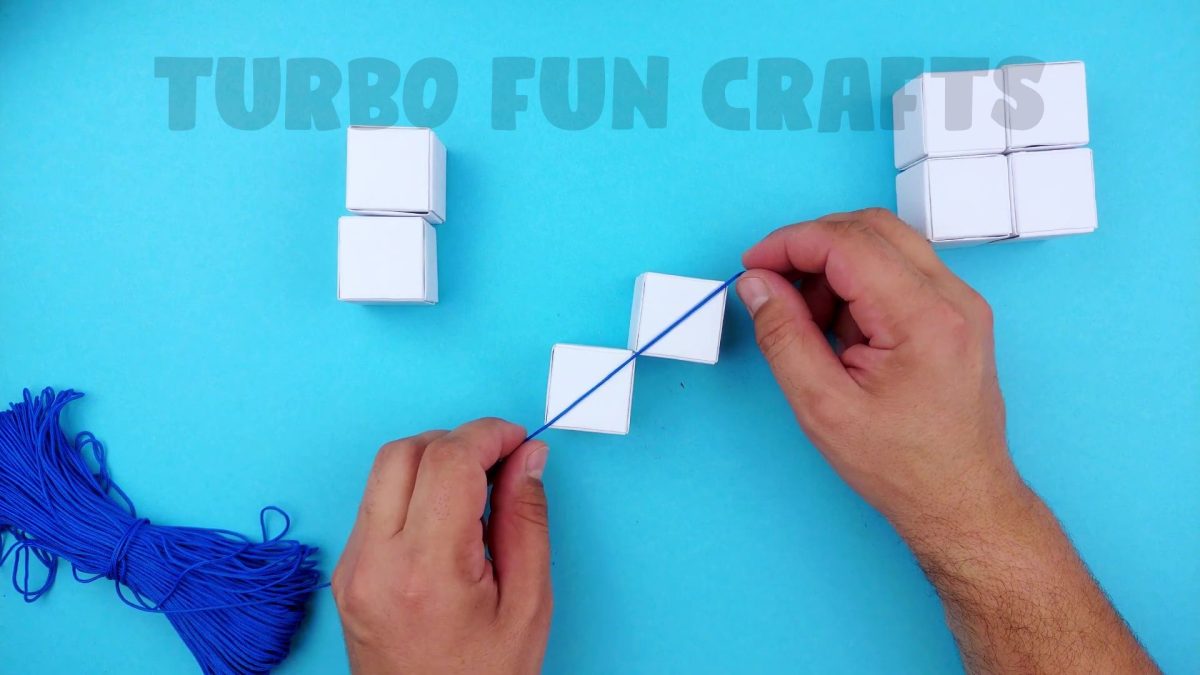
Cut the ends of the thread with scissors.
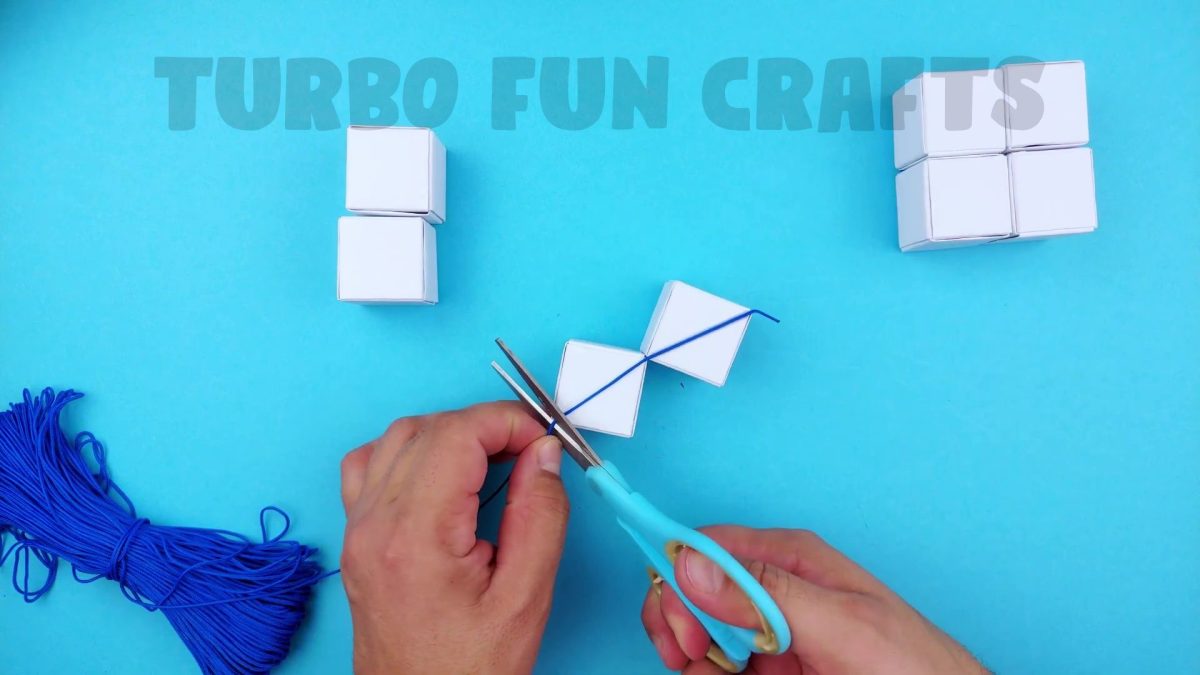
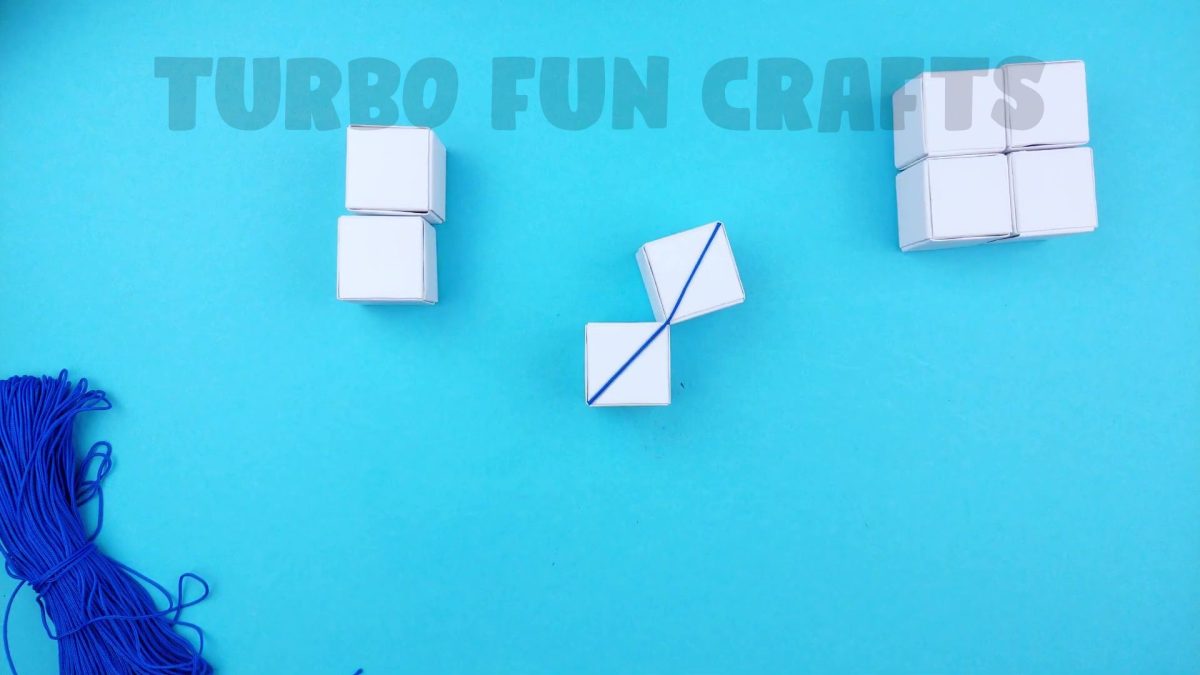
Take another two cubes and glue the thread to them in the same way.
This is shown in the pictures below.
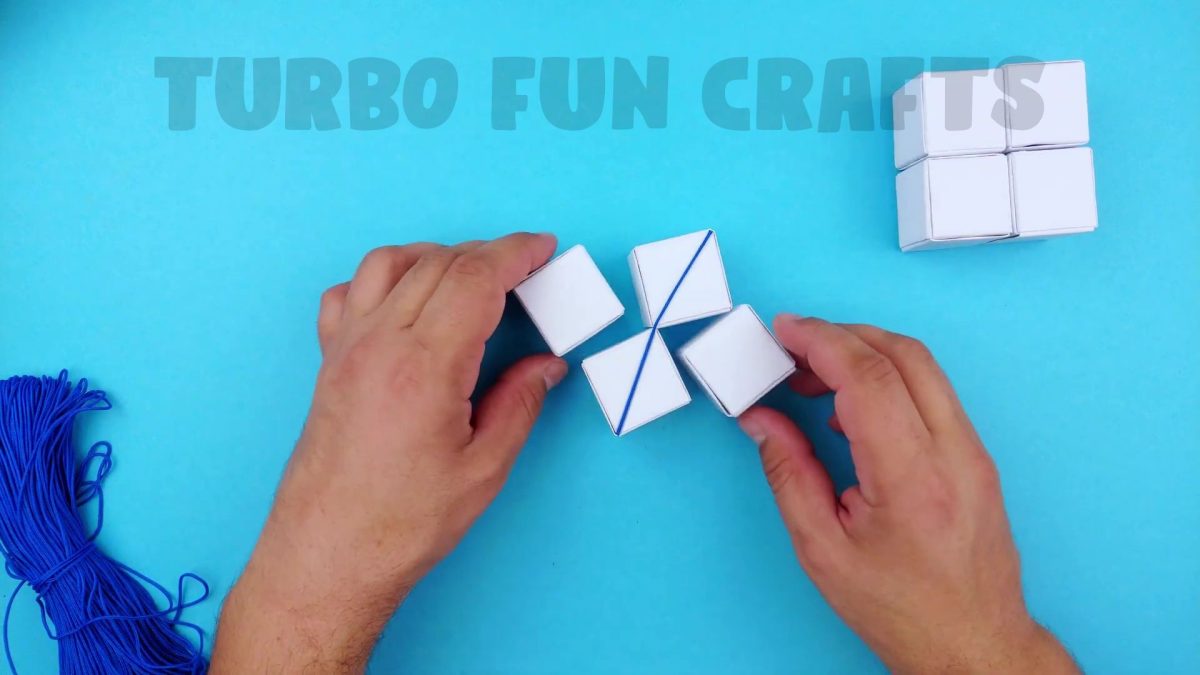
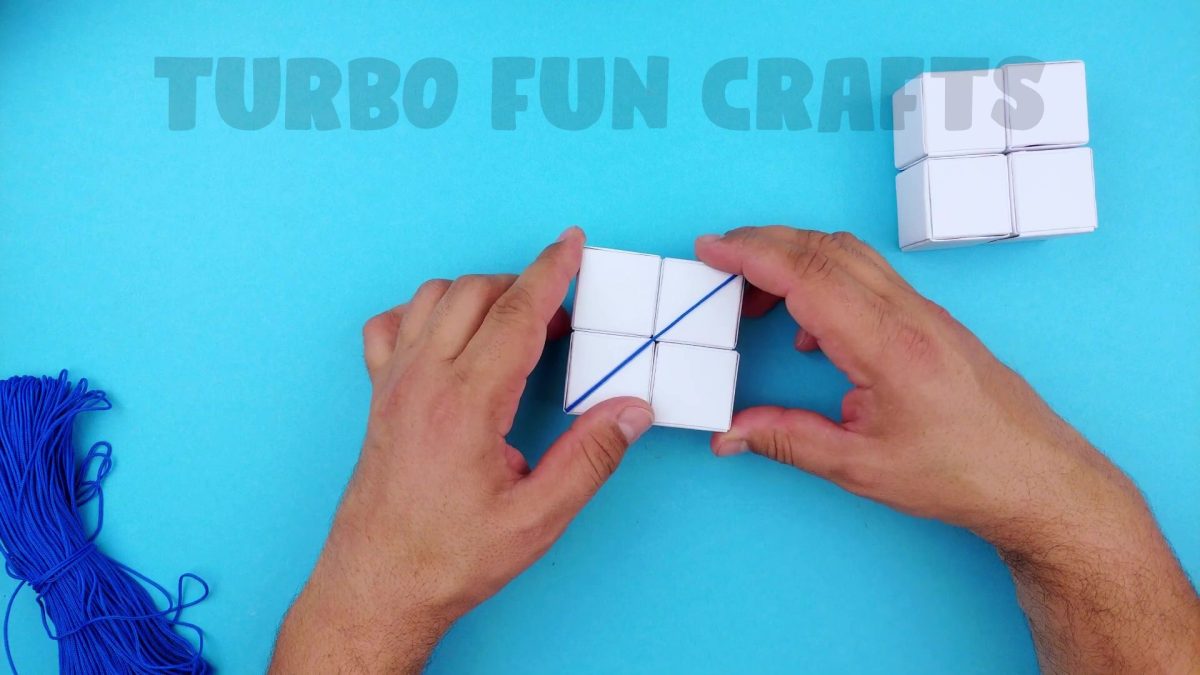
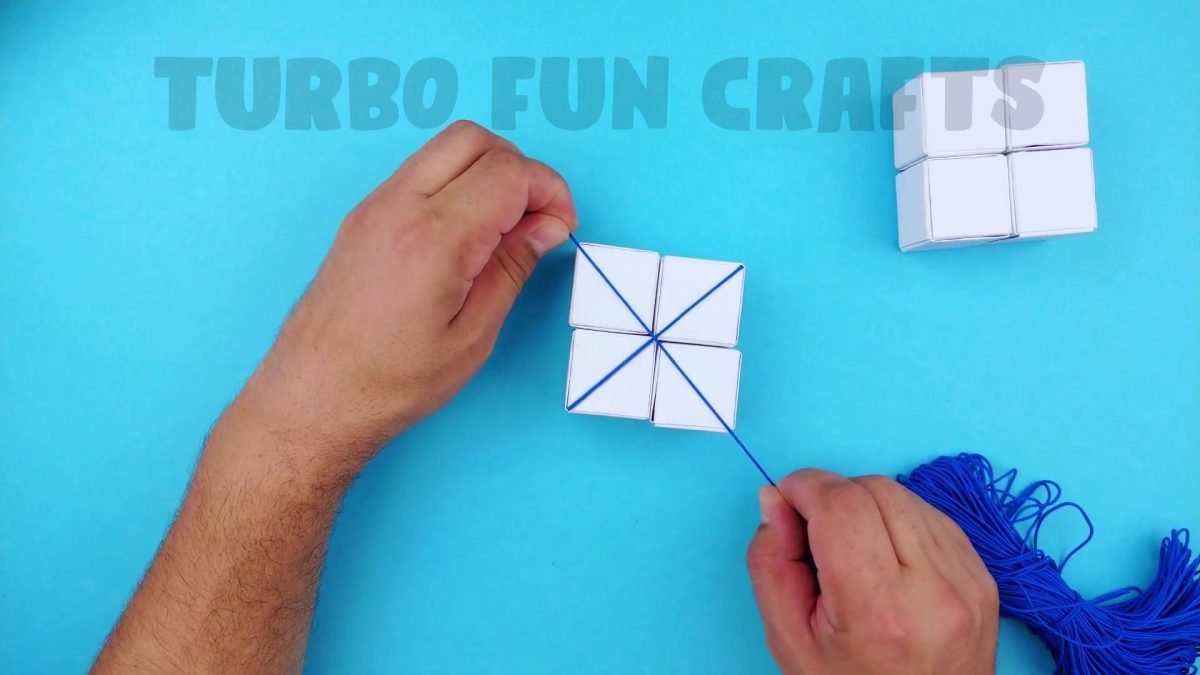
Cut the ends of the thread with scissors.

This is how it should look.

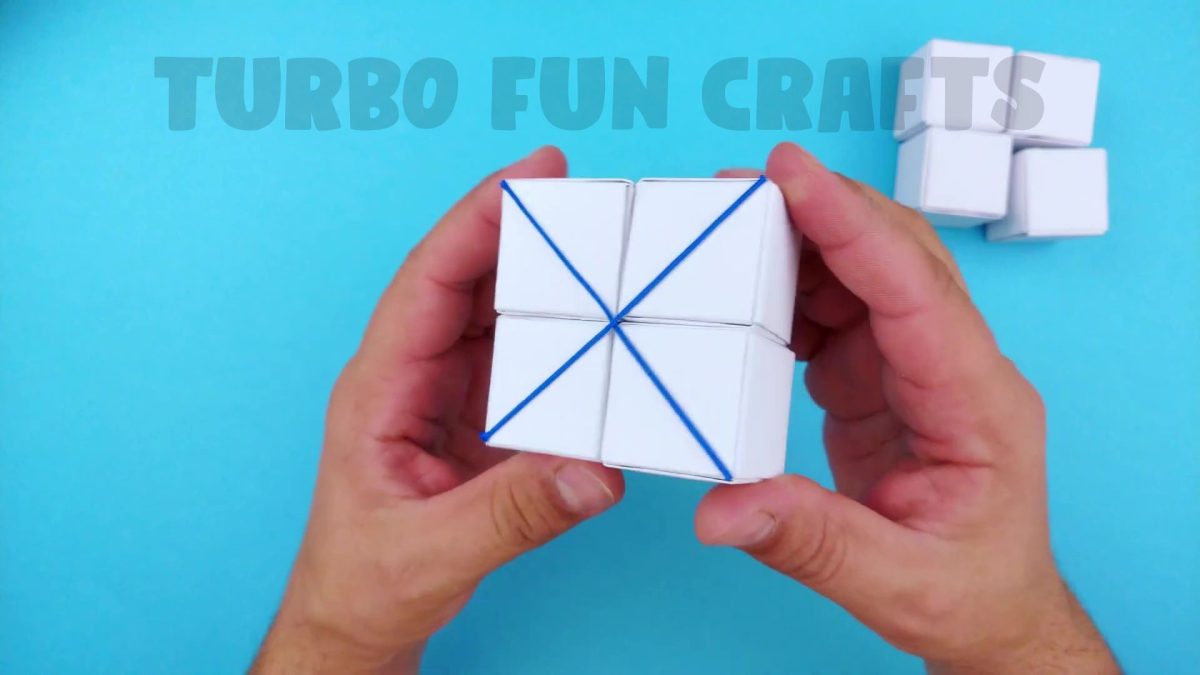
Make the same actions with the remaining four cubes.
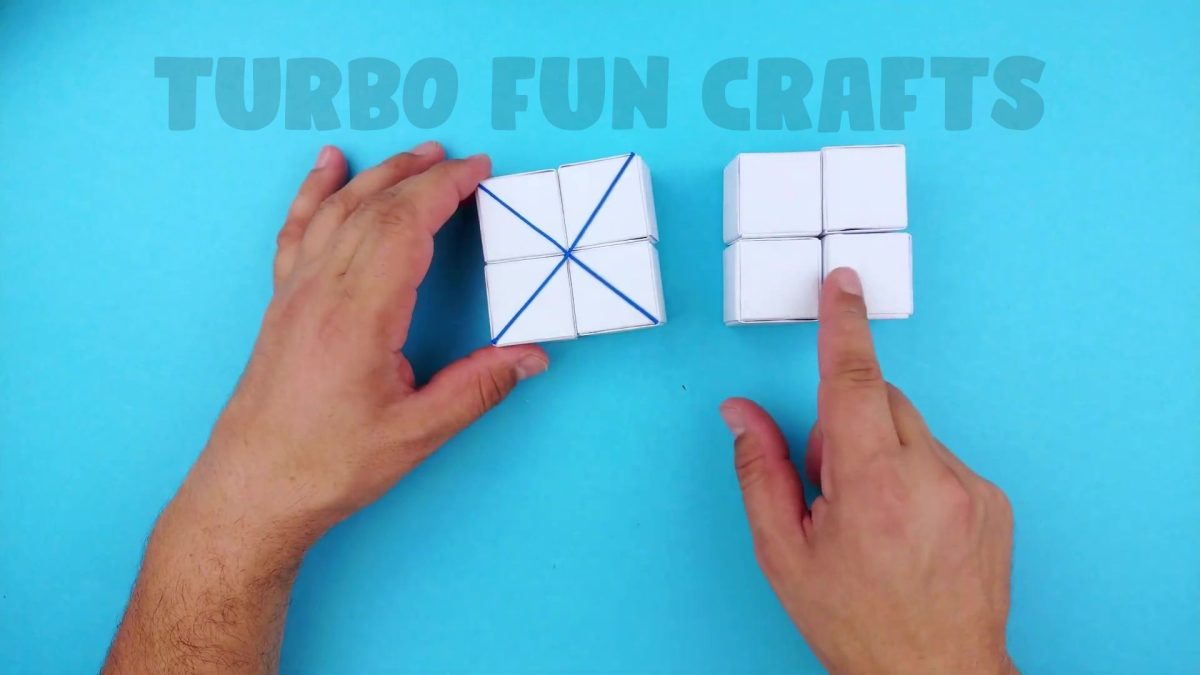
This is how it should look.
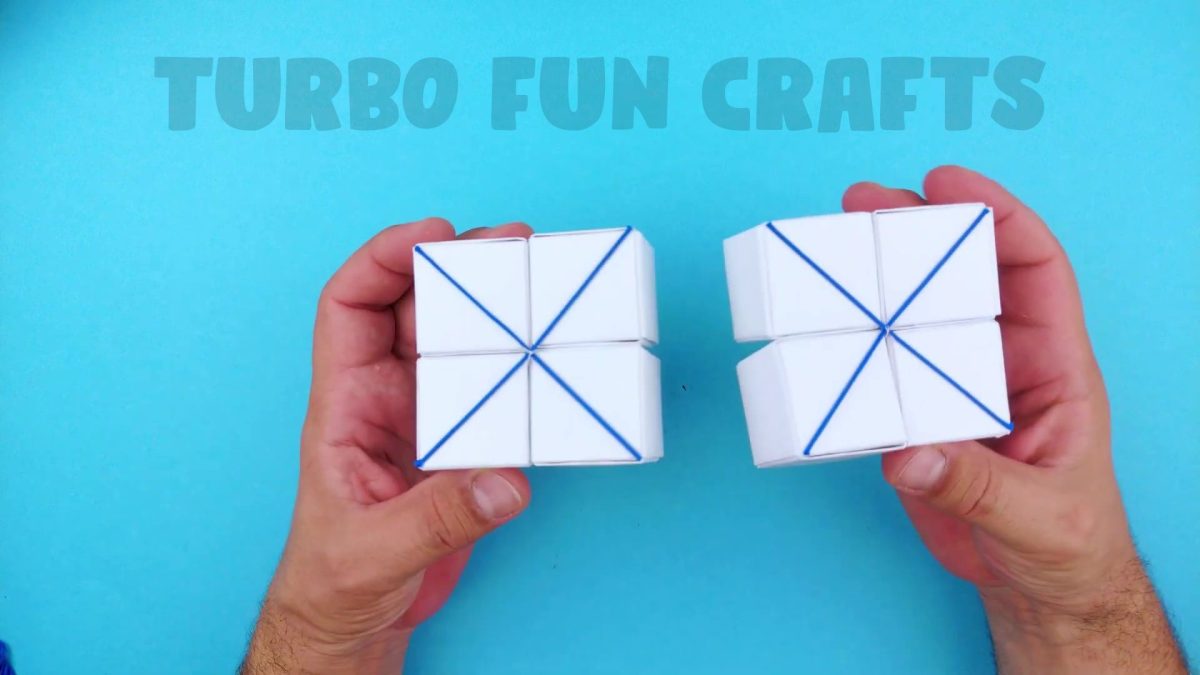
You may also like: How to make Paper Mini Basketball | Easy Paper Crafts | Moving Paper Toys in 3 Minutes | Antistress Origami Toys
STEP 5 of how to make a Super Mario Rubik’s Cube from paper
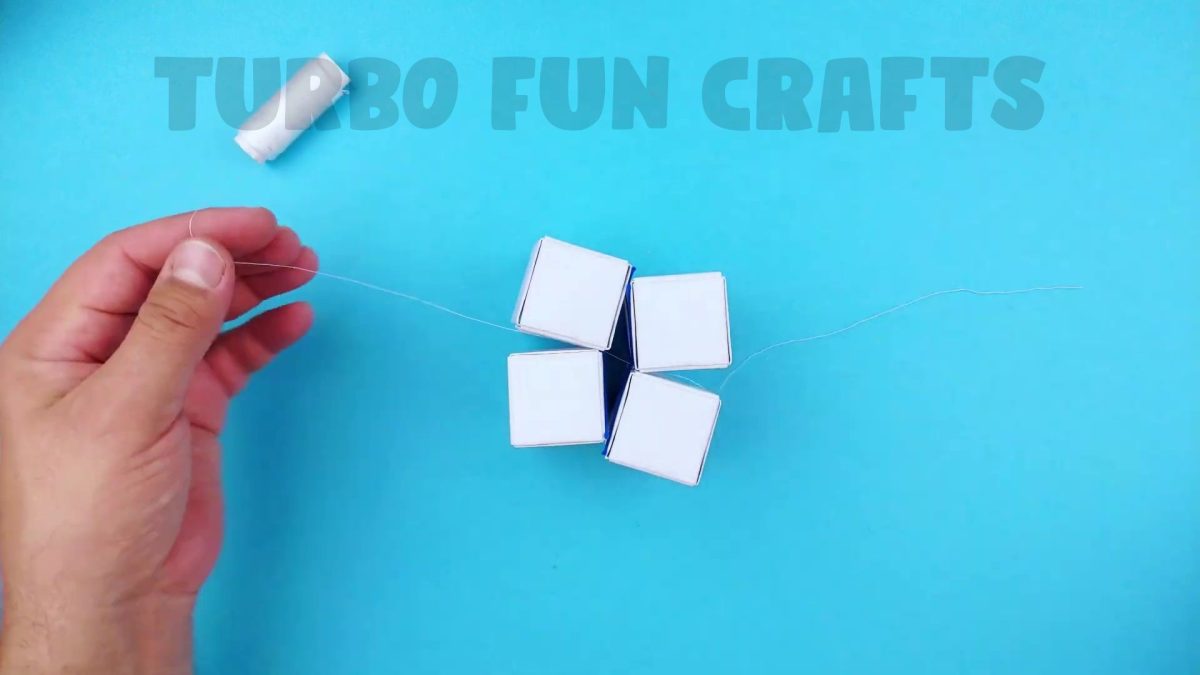
In this step, you will need a thin thread.
You have to insert the thread between the cubes and tie it in a knot.
To do this, place the thread on the surface under the cubes and insert it into the indicated places.
This is shown in the picture below.
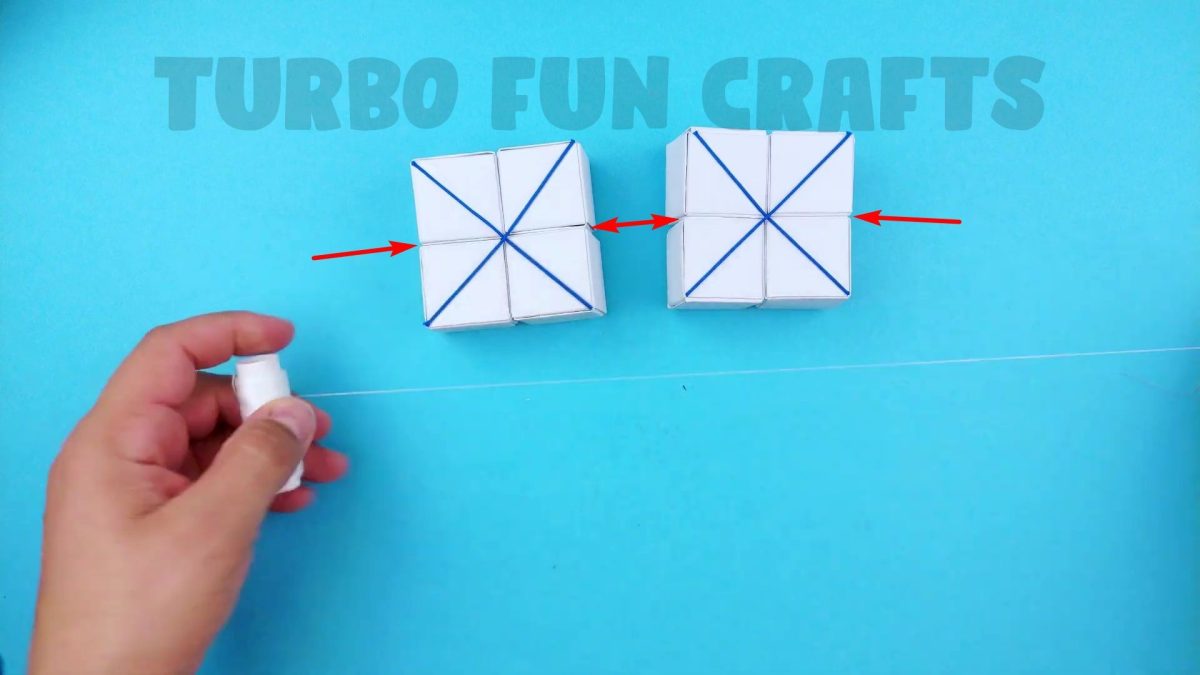
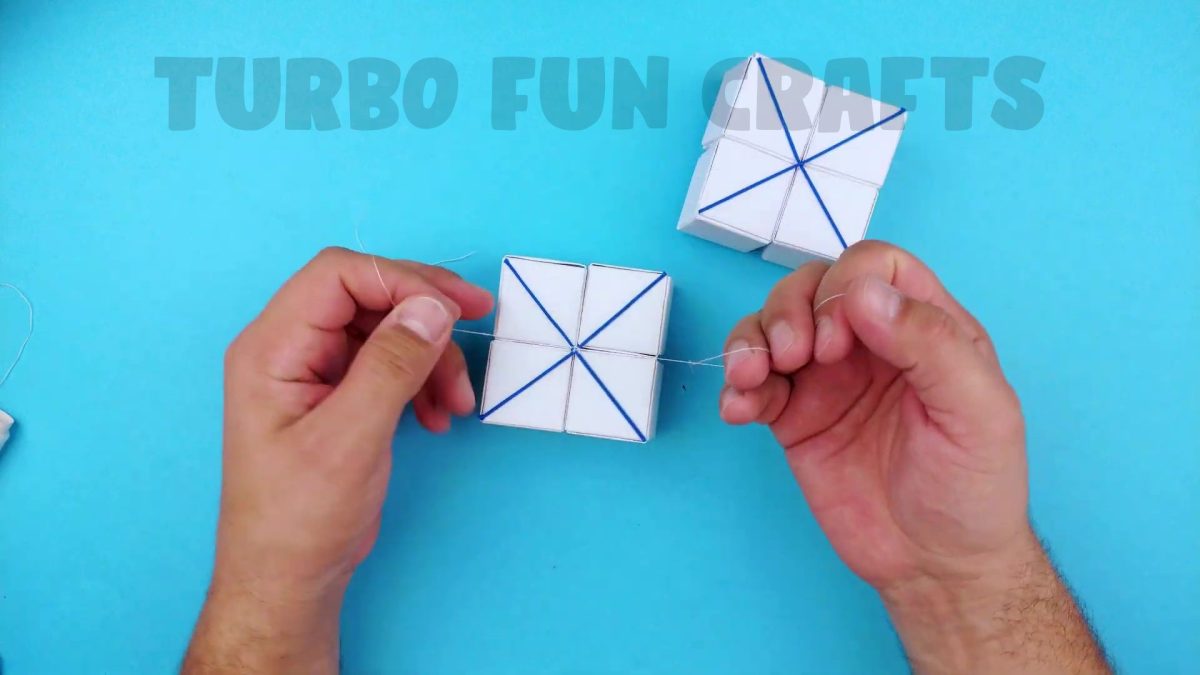
This is how it should look.
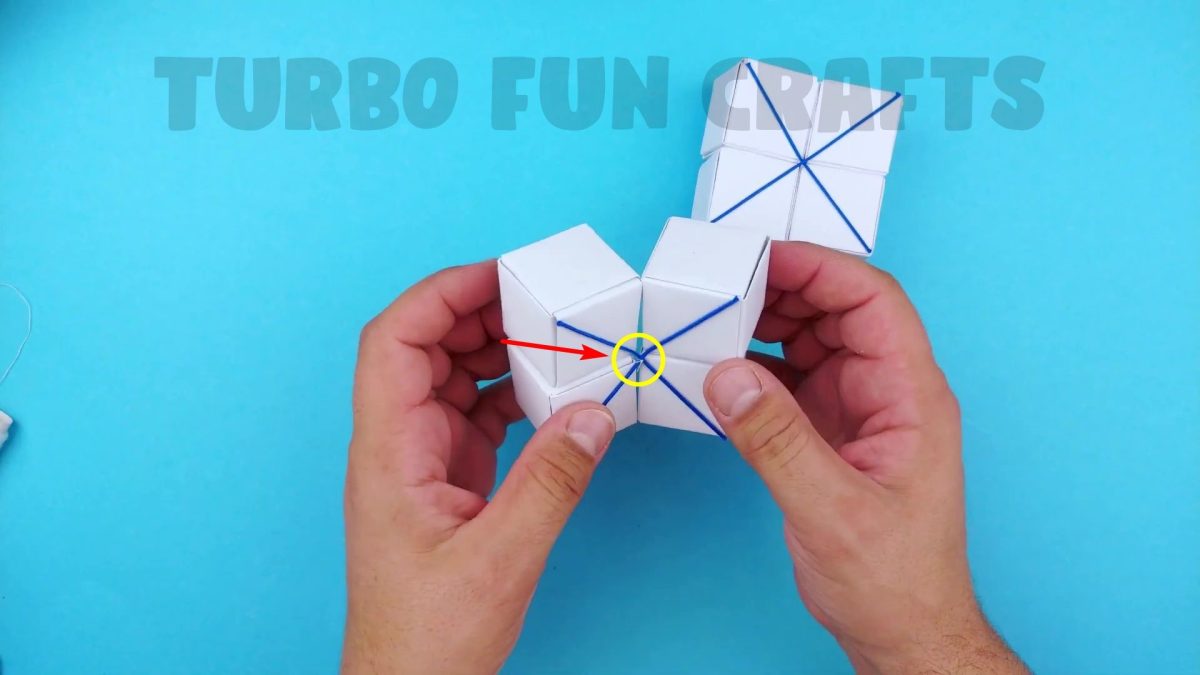
Make the same action with the remaining cubes.
This is how it should look.
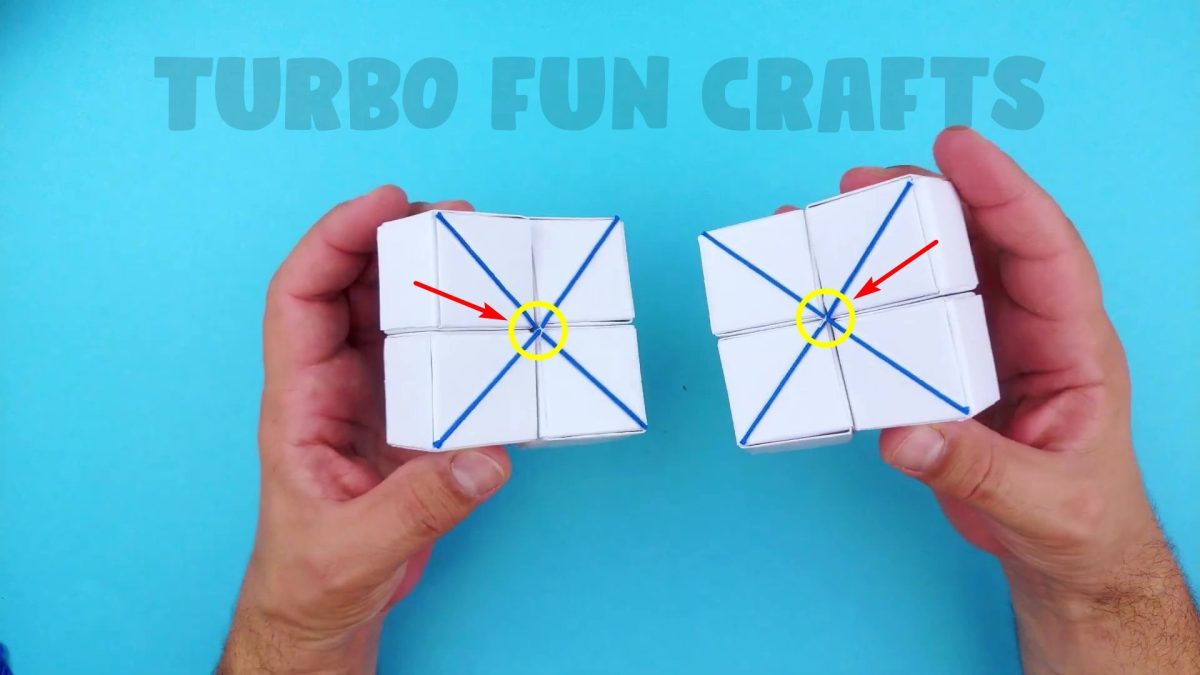
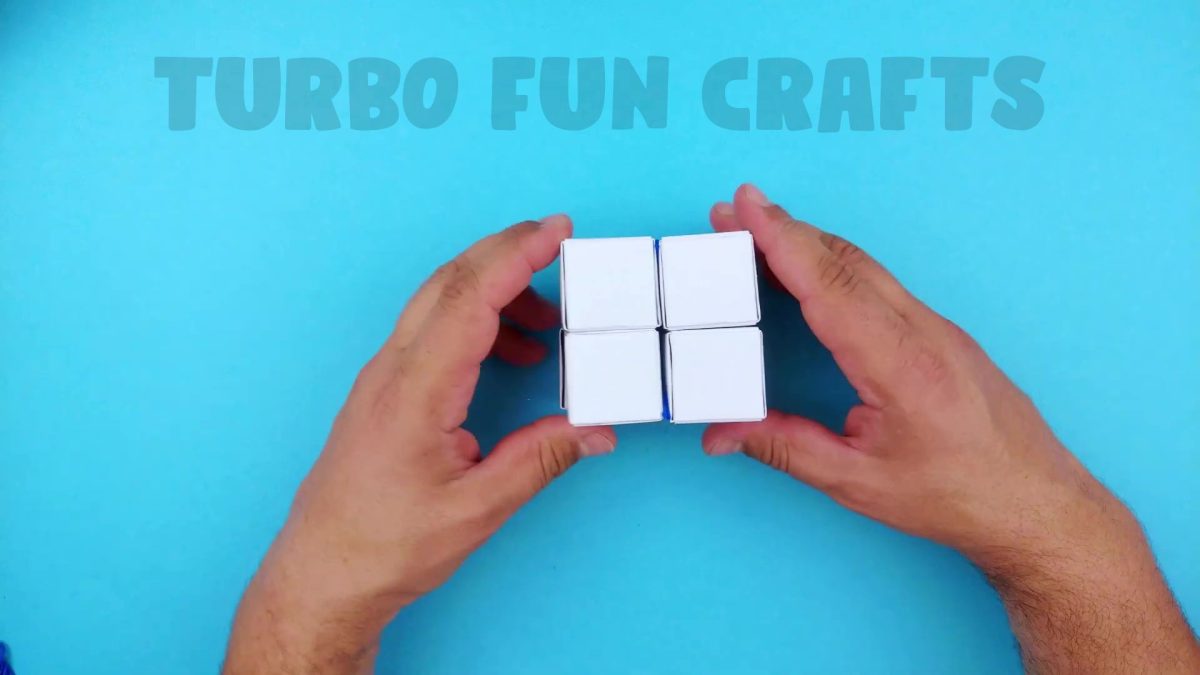
Now you have to connect the two paper parts of the Rubik’s Cube with each other.
To do this, place the two paper parts on the surface as shown in the picture below.
Note that you have to join them together with the sides that have the glued threads.

This is how it should look.
Place the thread on the surface under the cube, insert it into the indicated places, and tie it in a knot.
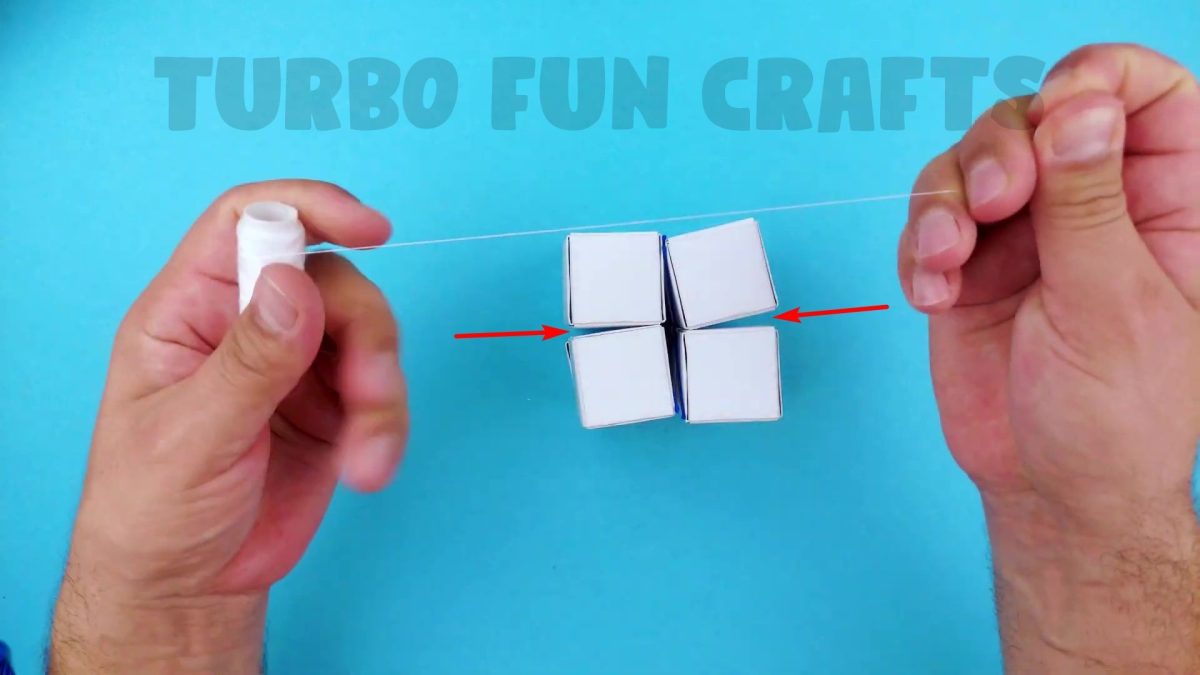
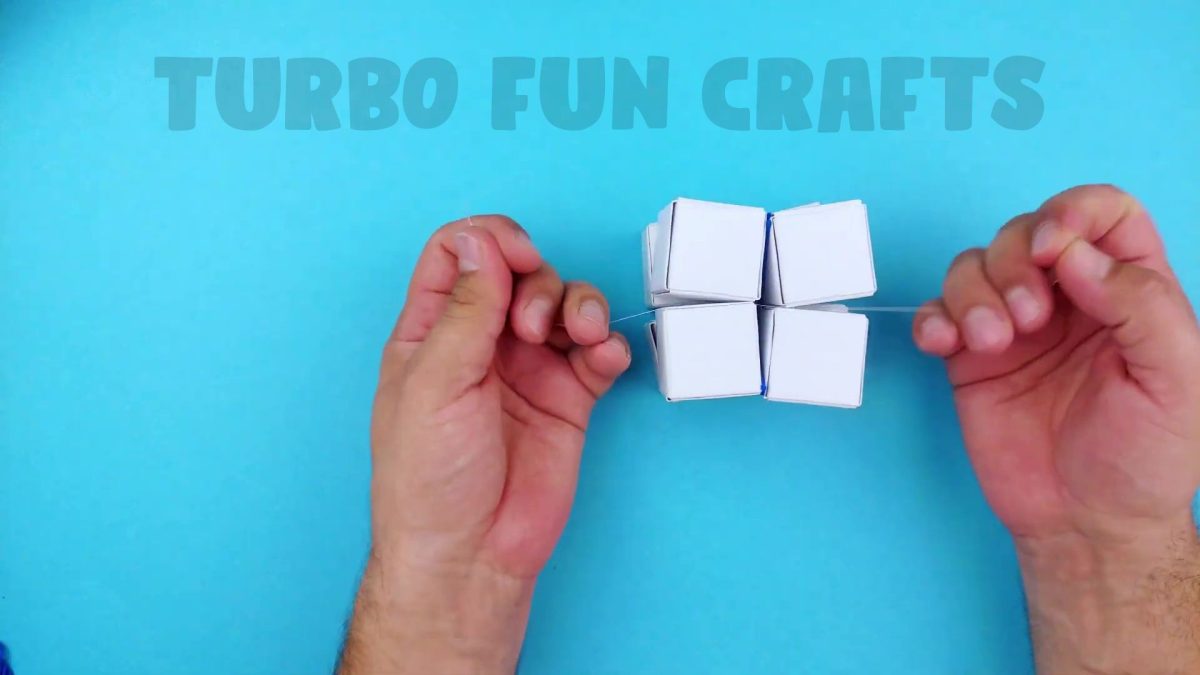
Cut the ends of the thread with scissors.
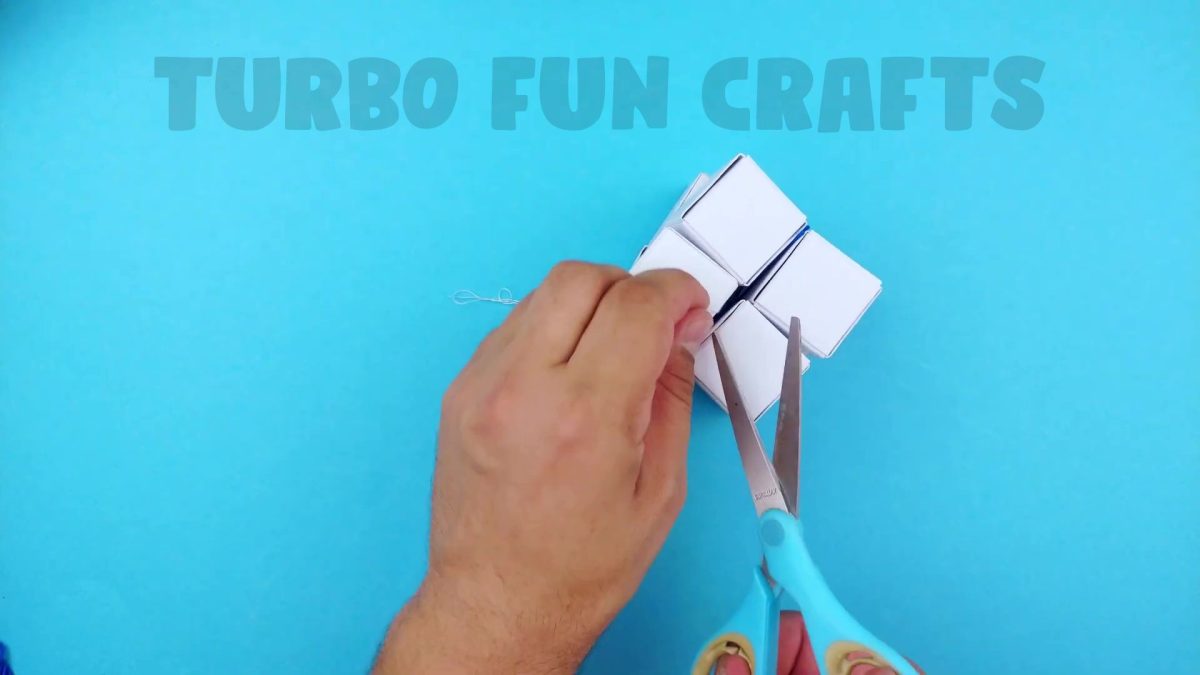
This is how it should look.
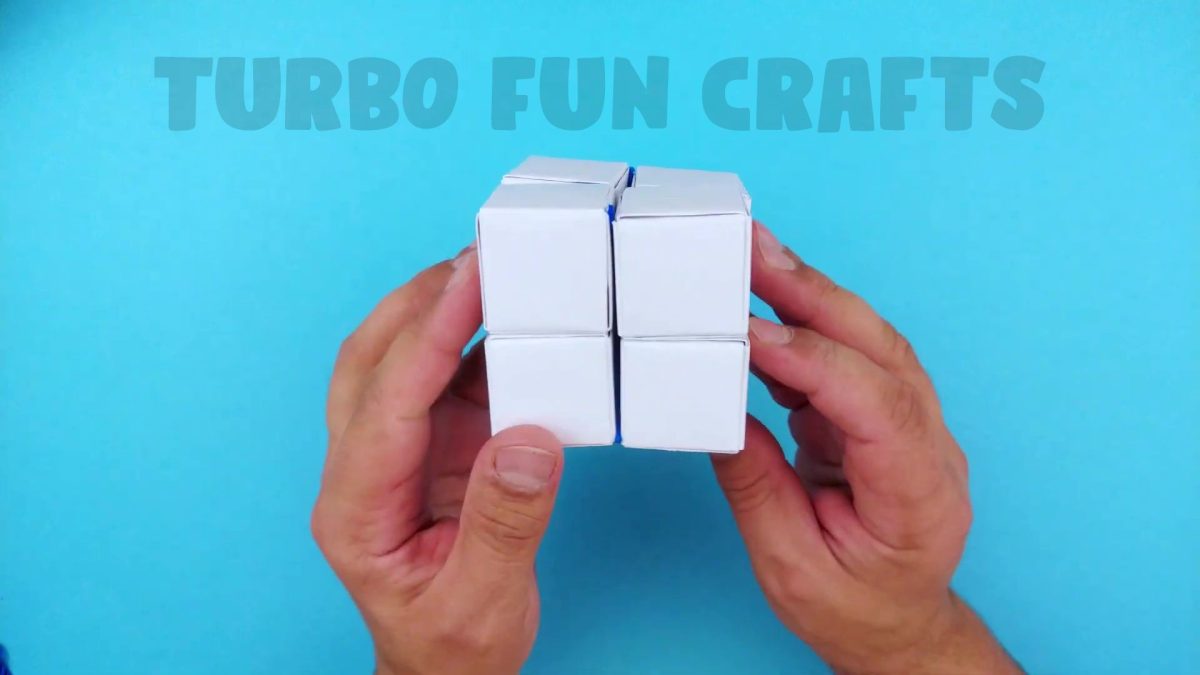
You may also like: How to make Paper Rubik’s Cube | Easy-to-Follow Tutorial | Origami Paper Crafts
STEP 6 of how to make a Super Mario Rubik’s Cube from paper
Now, it’s time to add the finishing touches to the Rubik’s Cube!
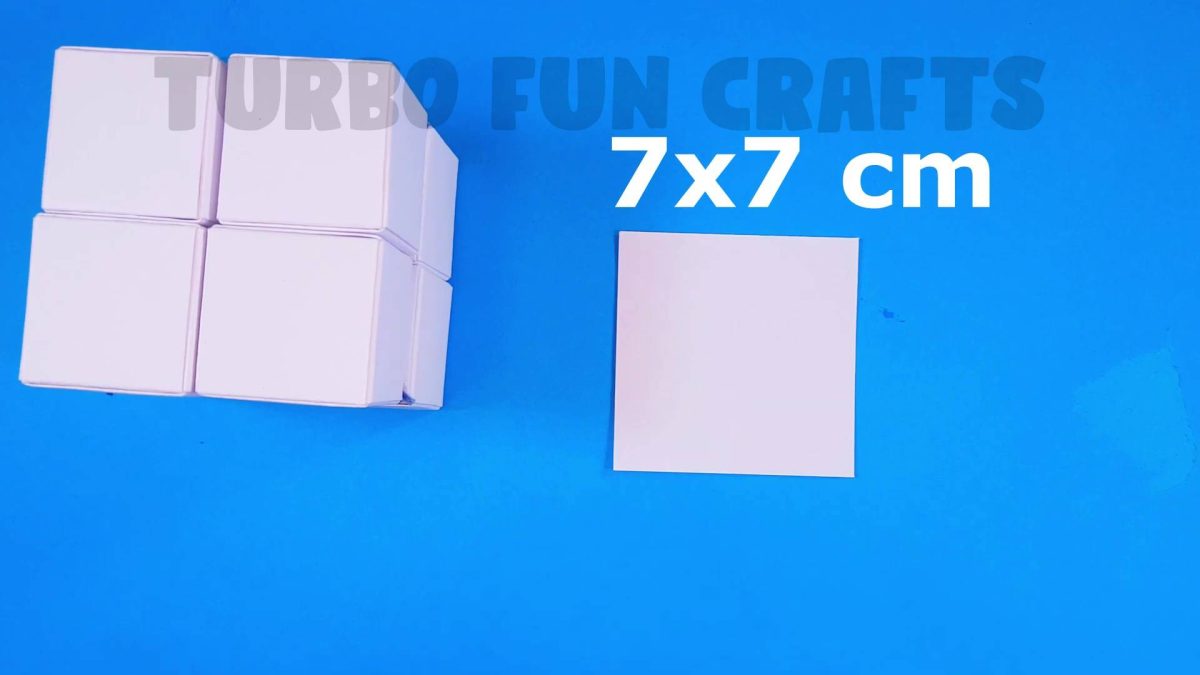
Cut out 6 paper squares measuring 7 by 7 cm.
This is shown in the picture below.
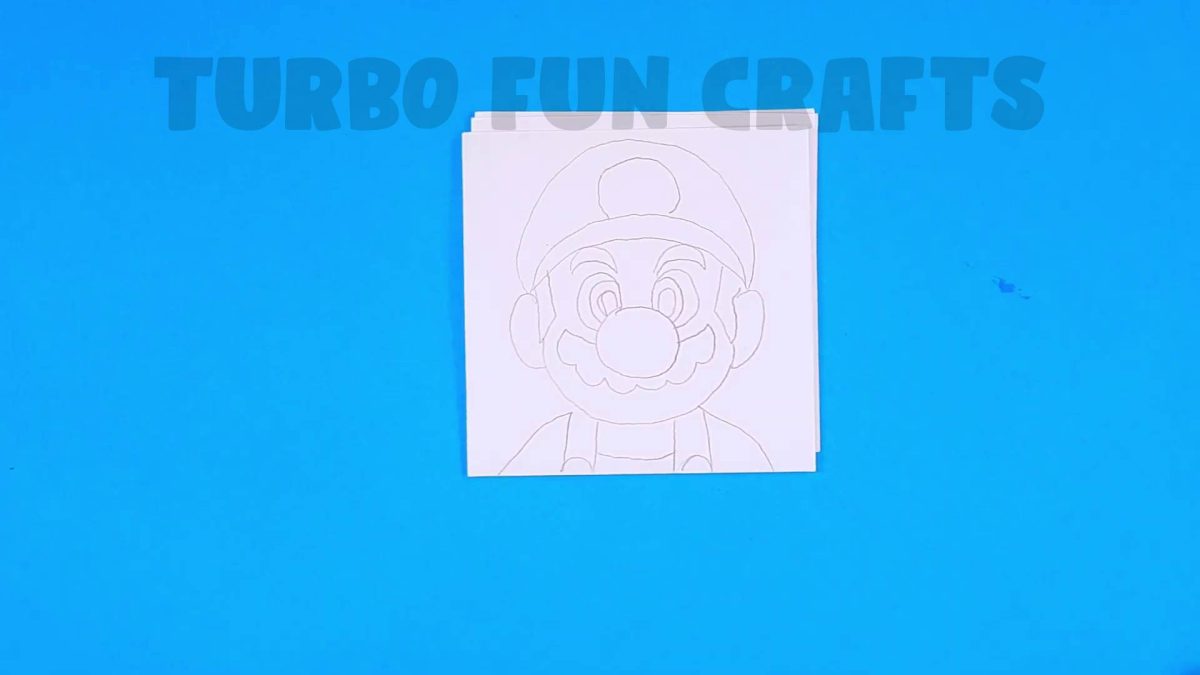
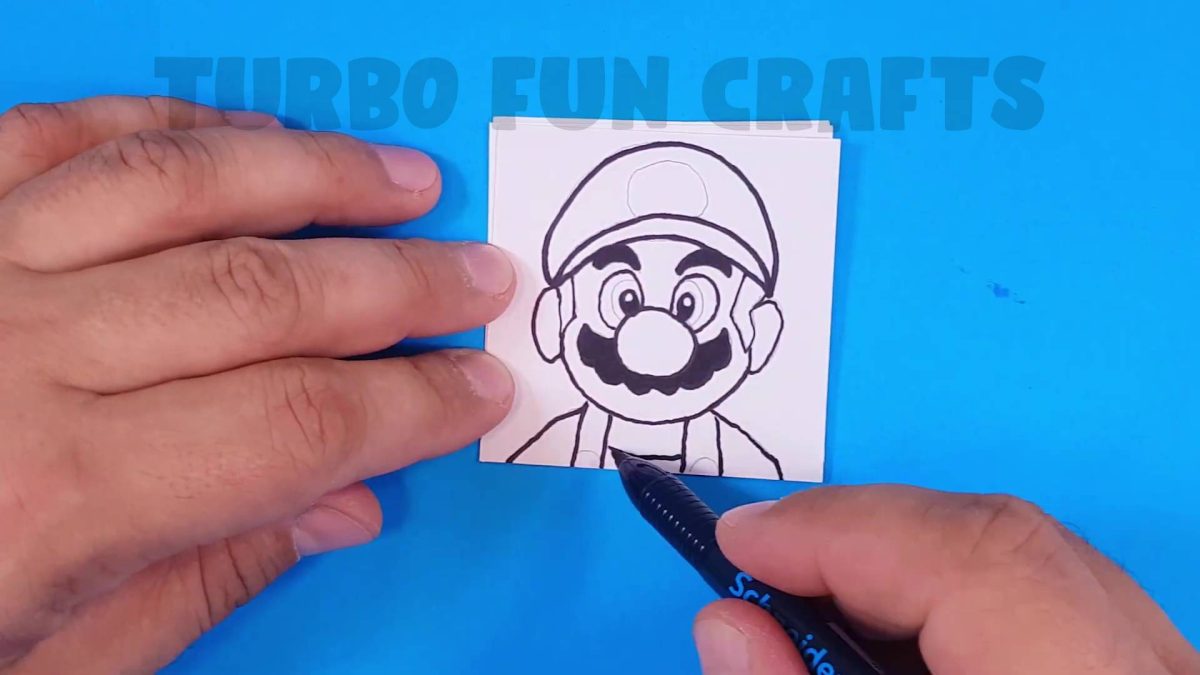
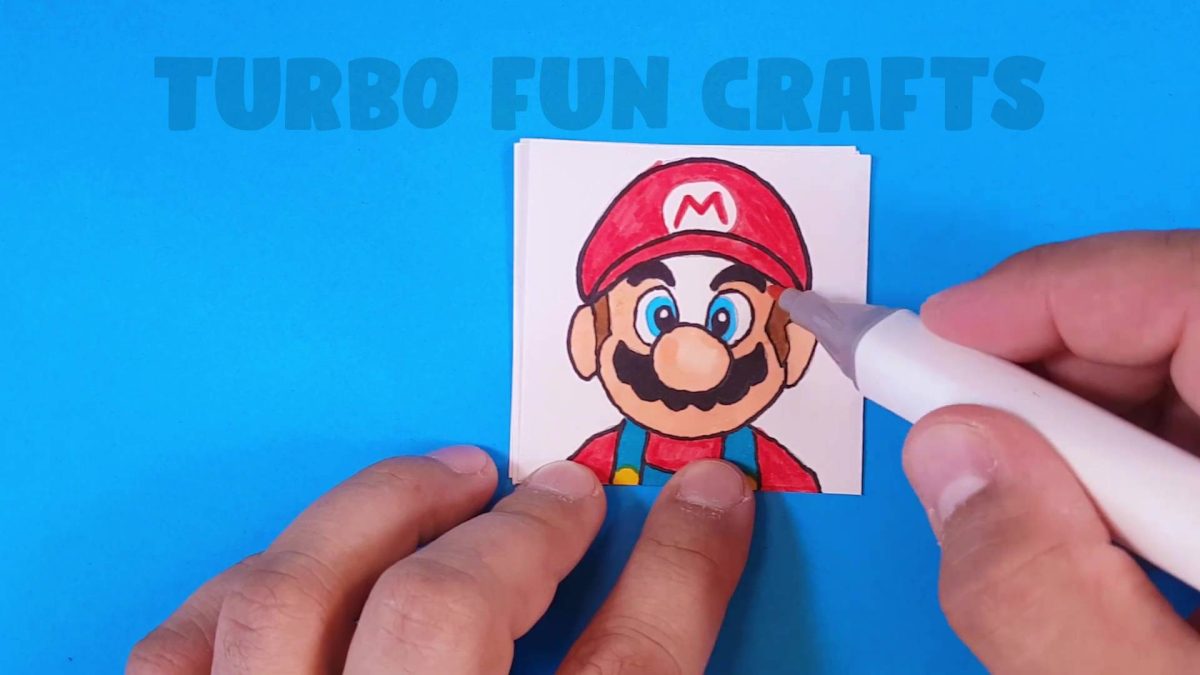
Draw your favorite Super Mario characters on the just-cut pieces of paper.
You may do it as you wish or use our decoration option!
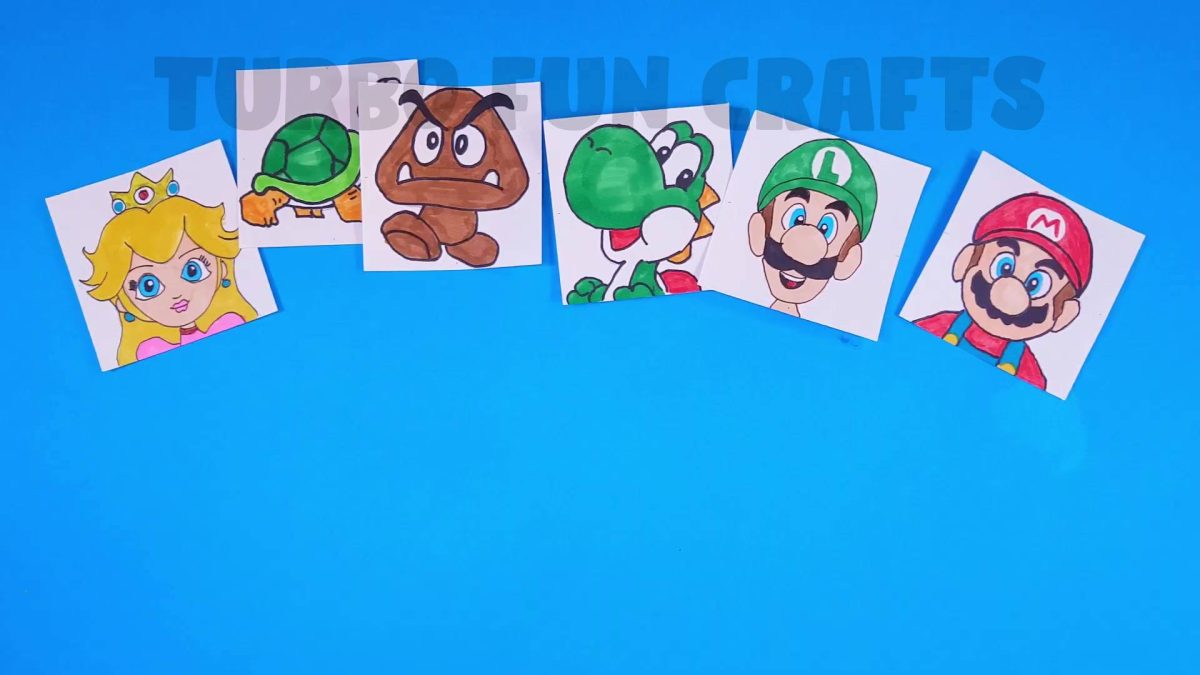
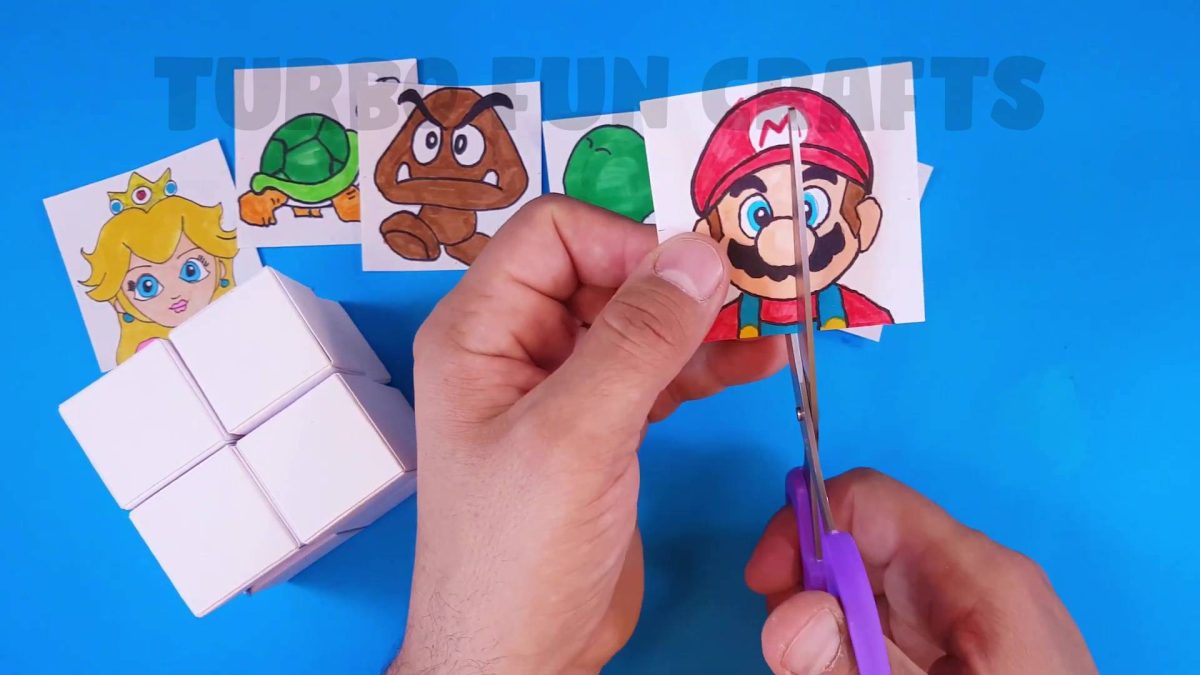
Cut the previously prepared paper pieces into four equal squares.
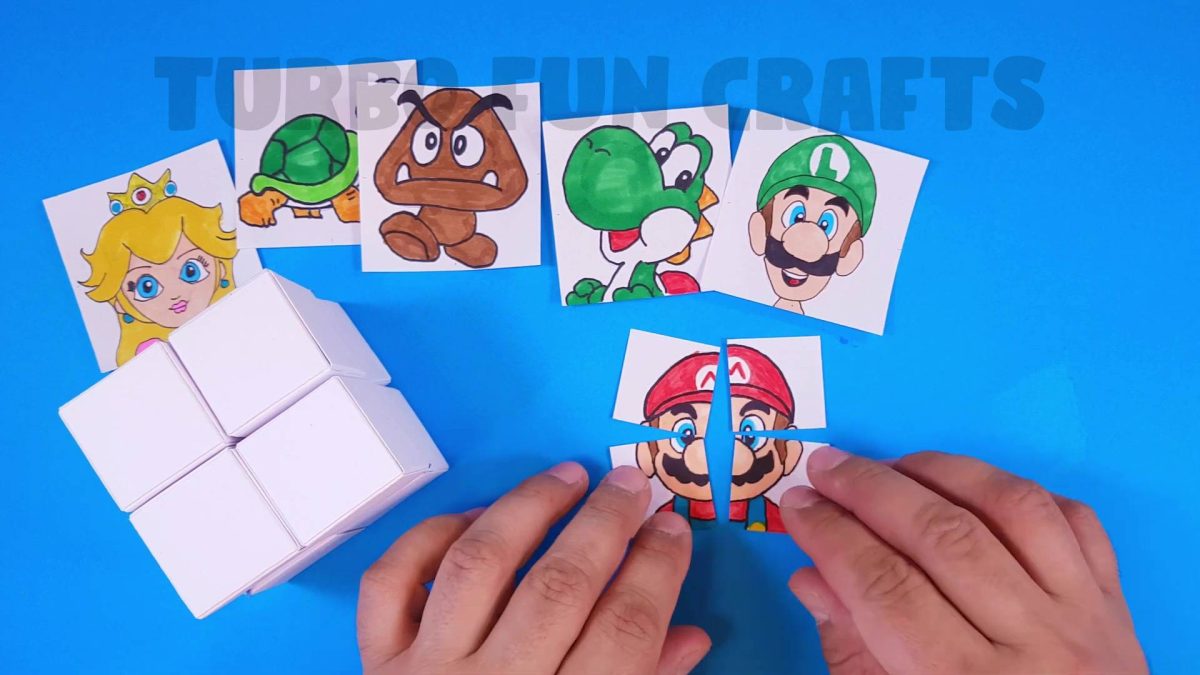
This is shown in the images below.

This is how it should look.
Glue the just-cut paper pieces onto the faces of the Rubik’s Cube.
This is shown in the images below.
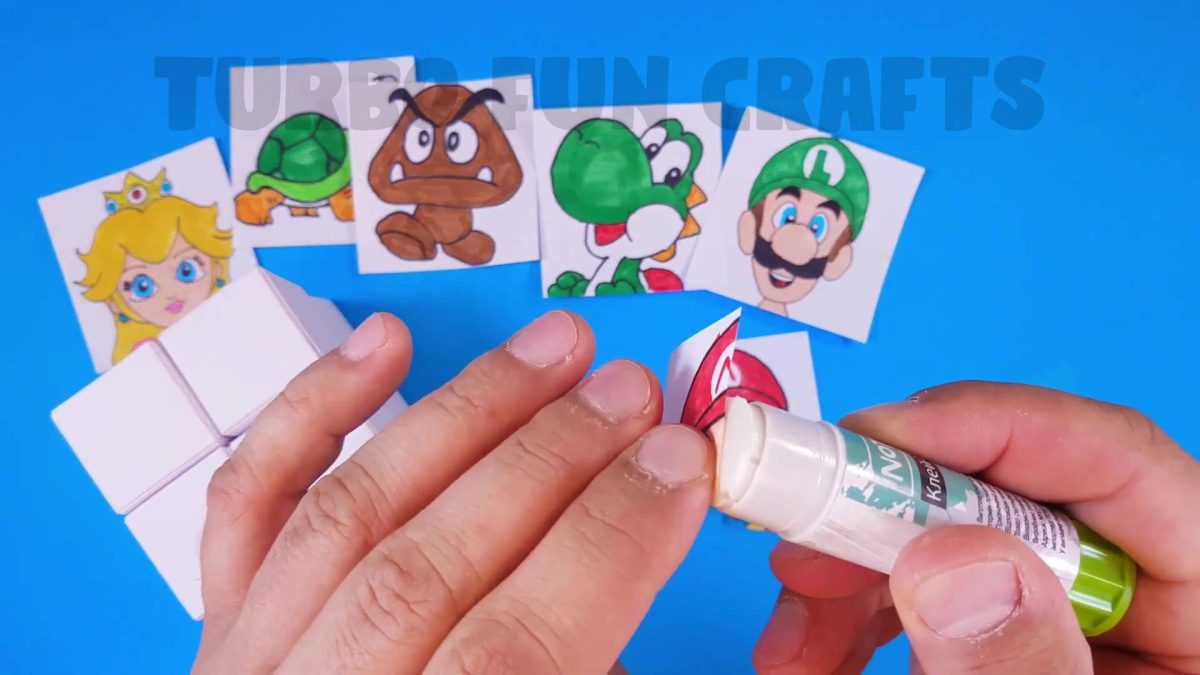
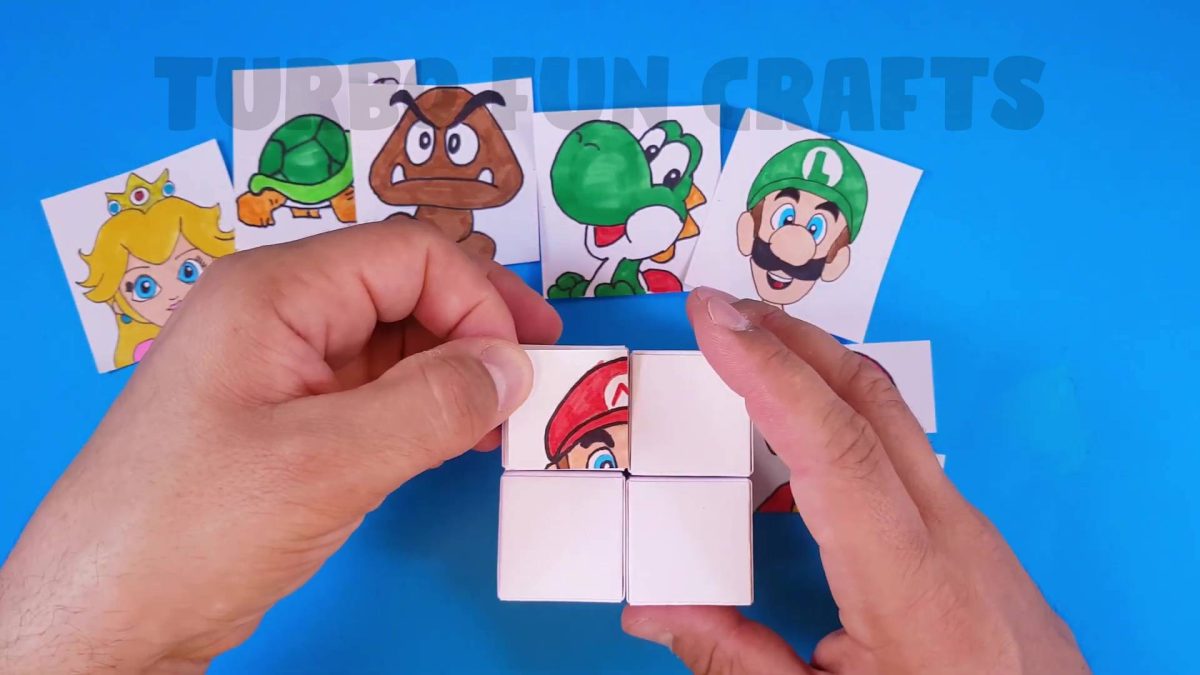
This is how it should look.

Do the same actions with the other paper pieces.
Cut and glue them to the faces of the cube.
This is how it should look.
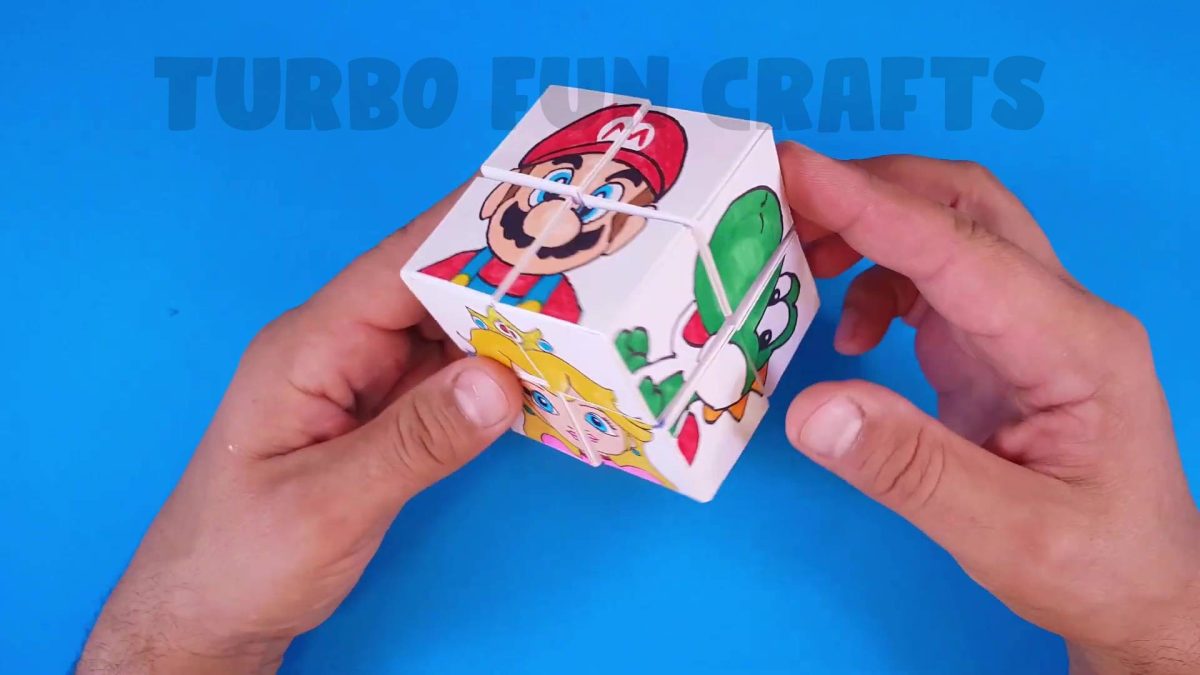
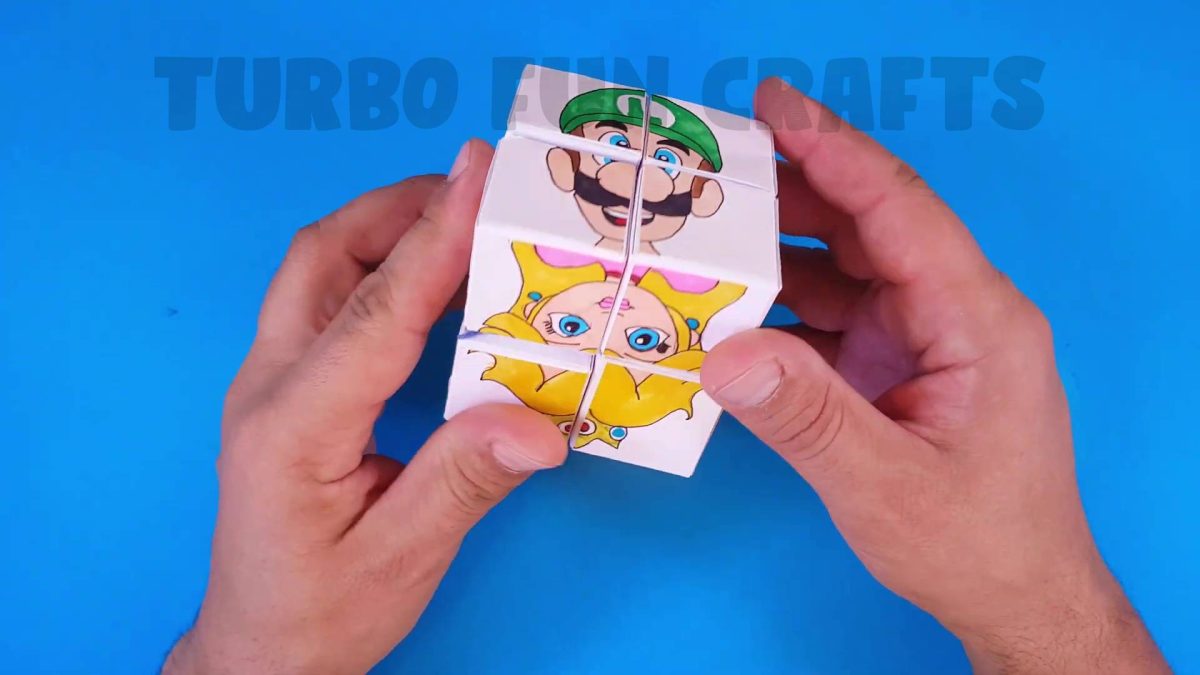
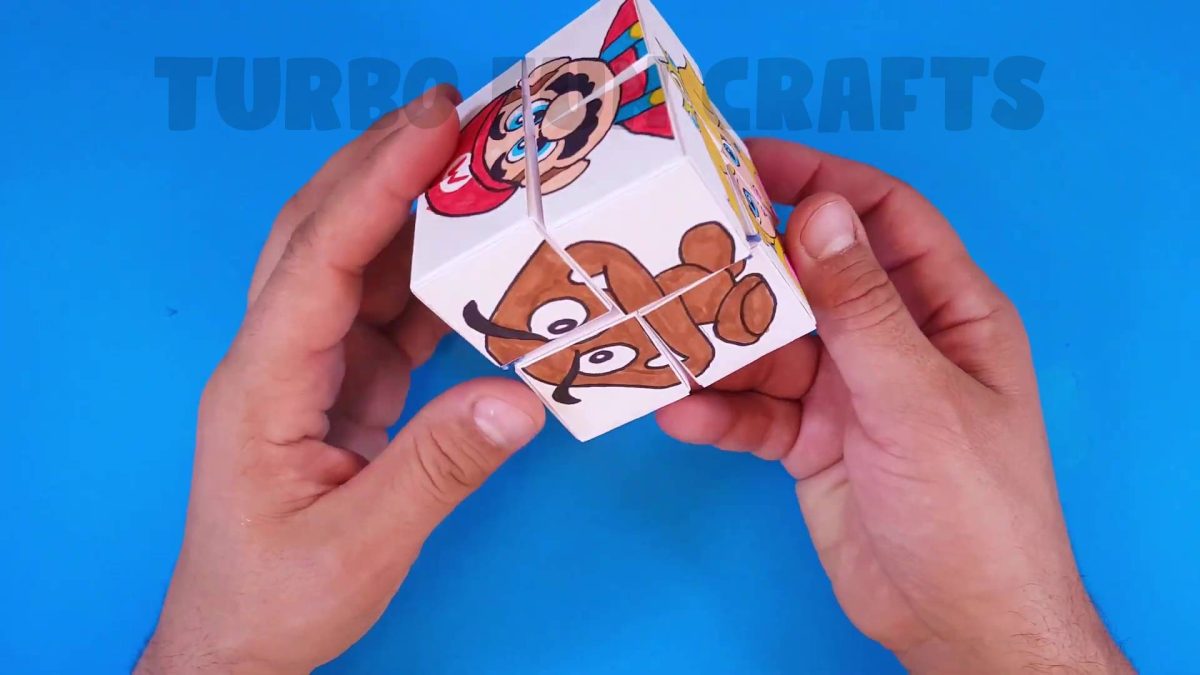
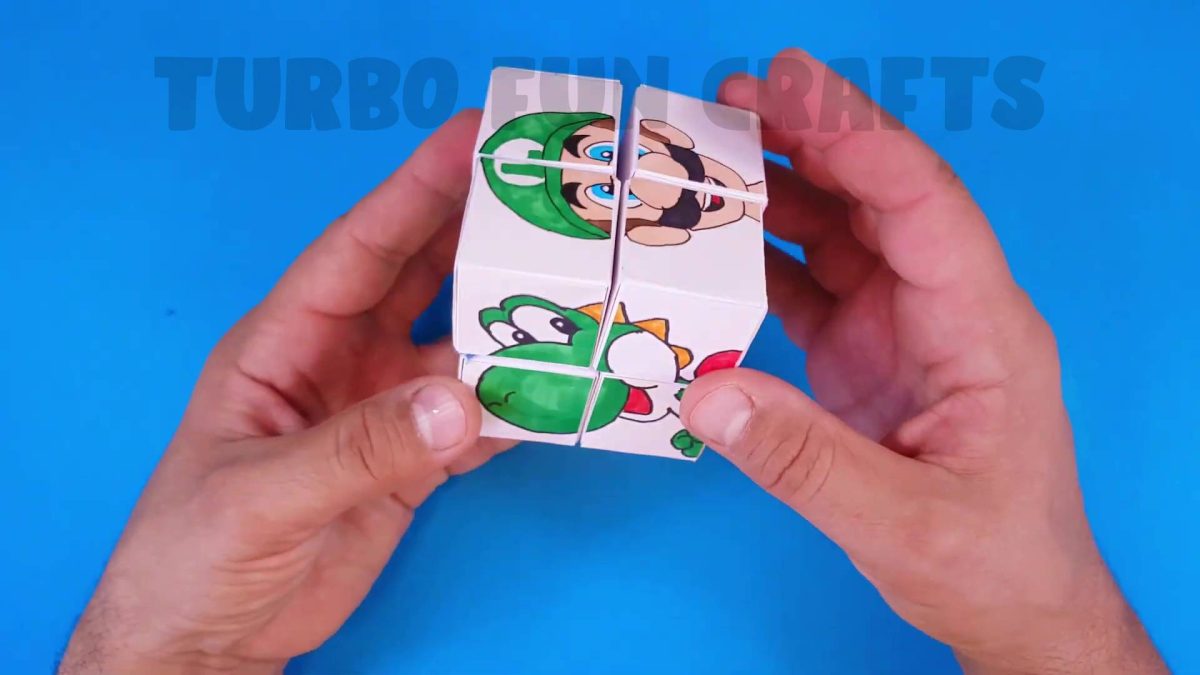
Congratulations! 🙂
You have successfully created your own Super Mario Rubik’s Cube! 🙂
Mix up the images on the cube’s faces and start solving the puzzle!
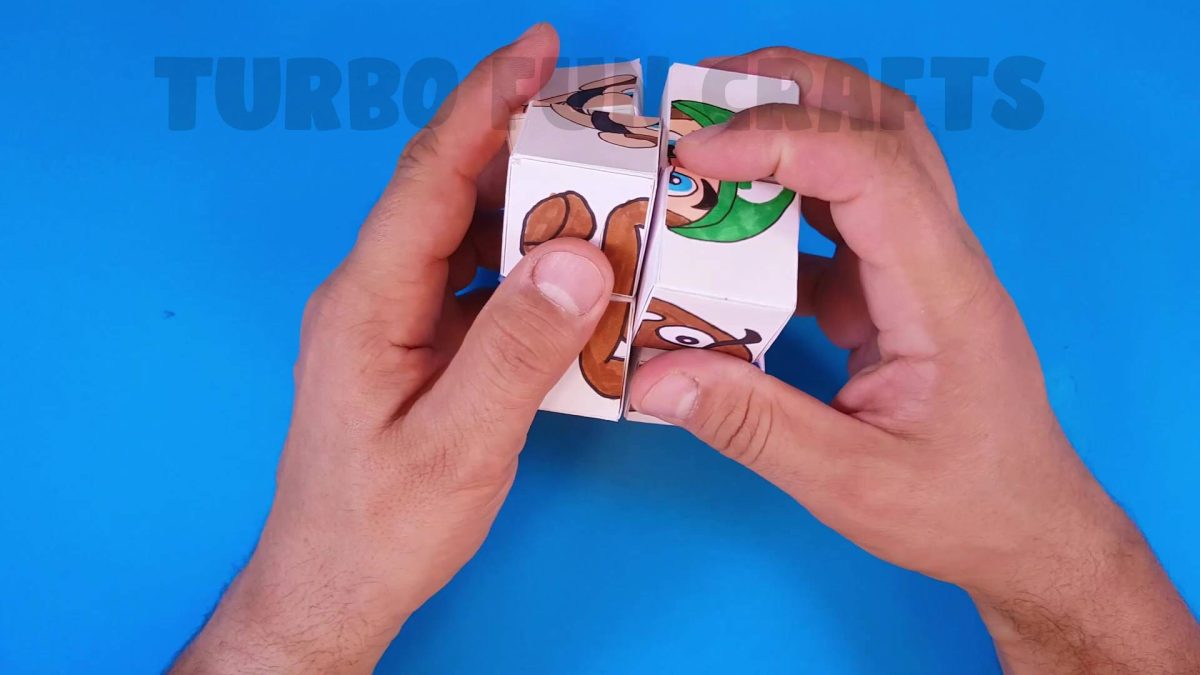
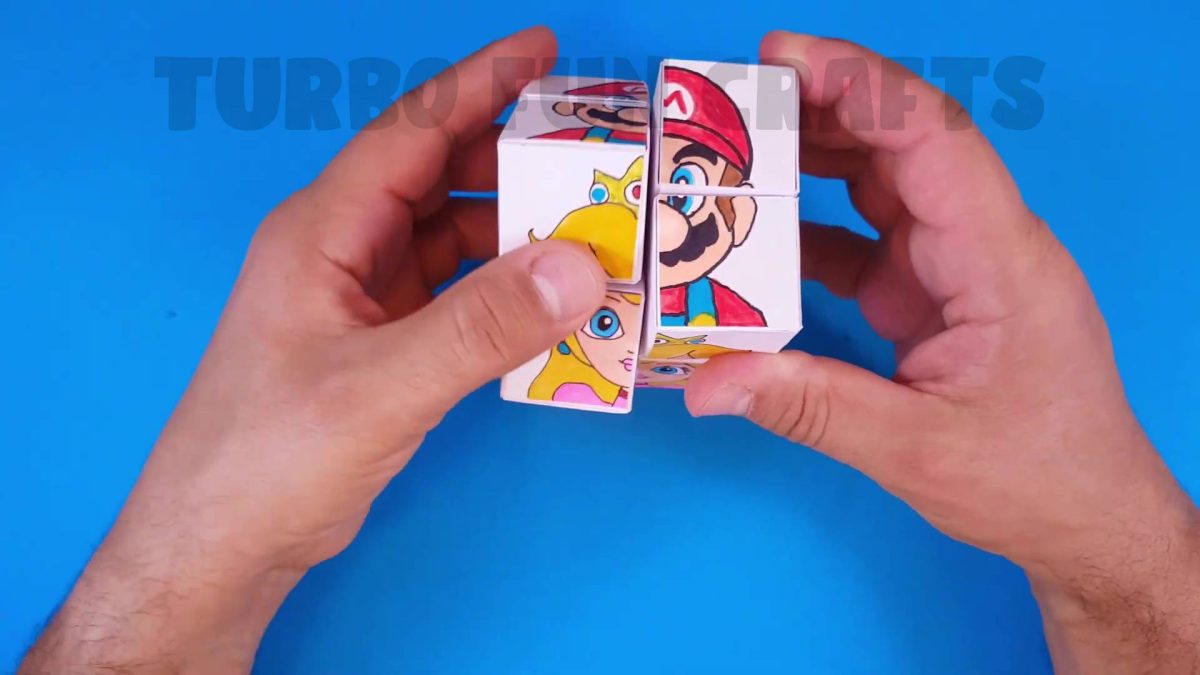
WELL DONE! 🙂
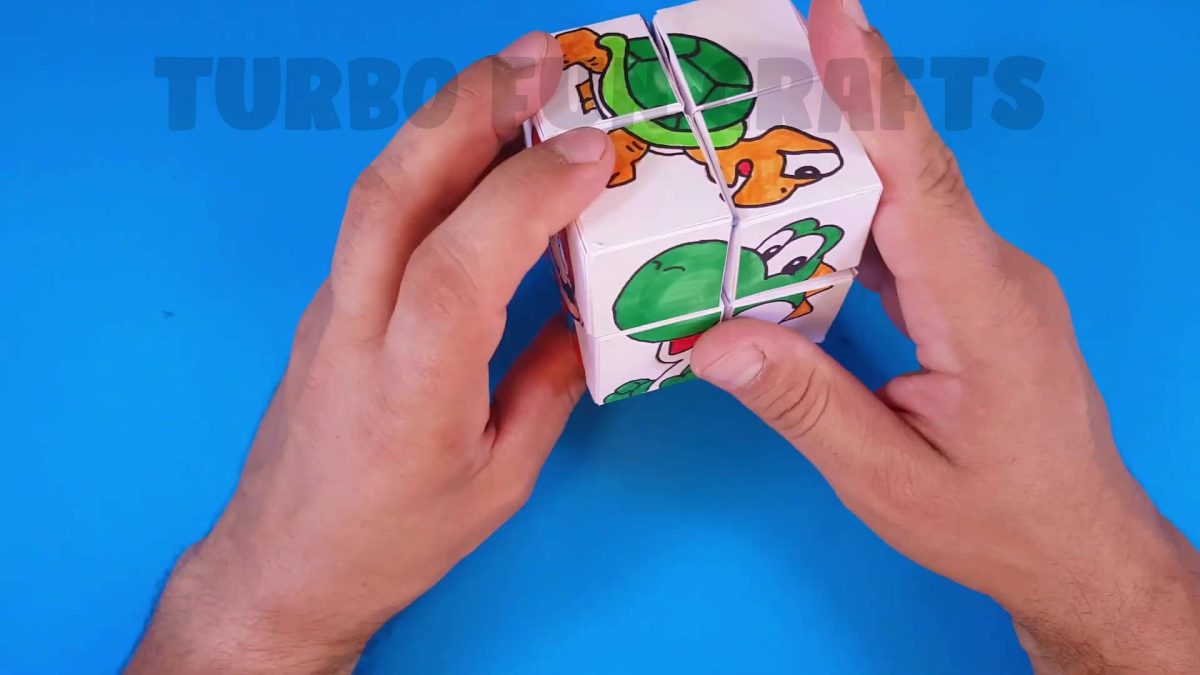
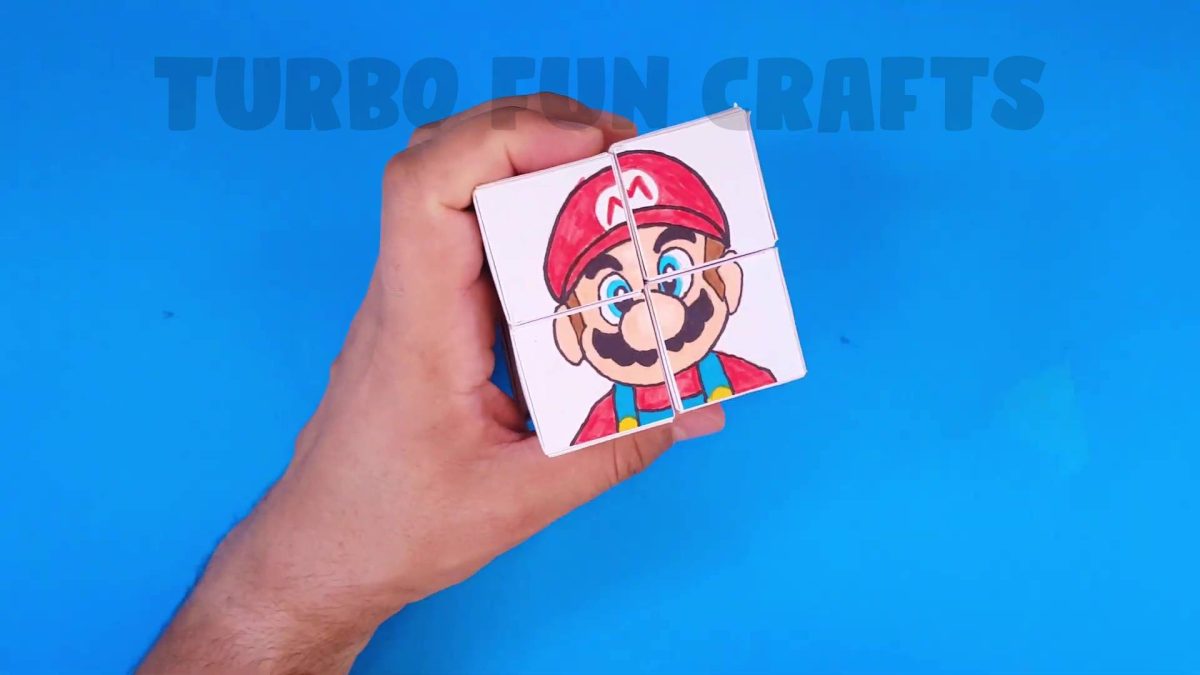
The Super Mario Rubik’s Cube encapsulates the nostalgia of two iconic symbols of our childhoods. Super Mario, the timeless video game character, brings back cherished memories of thrilling adventures, while the Rubik’s Cube rekindles the challenge and satisfaction of solving a colorful puzzle. Merging these two elements into a single craft delivers a wave of nostalgic delight that makes the creation and ownership of the Super Mario Rubik’s Cube truly special.
If you experienced difficulties with some steps, you can watch the video instruction of how to make Super Mario Rubik’s Cube from Paper
Please scroll down for the video tutorial 🙂
Moreover, crafting a Super Mario Rubik’s Cube from paper provides a canvas for artistic expression. From adding intricate details to choosing vibrant colors, the Super Mario Rubik’s Cube encourages individuals to explore their artistic flair and customize their unique rendition of this iconic puzzle.
The Super Mario Rubik’s Cube serves as an engaging group activity for friends, family, and colleagues. Solving the puzzle collaboratively fosters teamwork and camaraderie, providing an opportunity for social interaction and bonding over shared interests in Super Mario and Rubik’s Cube challenges. This paper craft endeavor brings people together, fostering a sense of community through the joy of creativity and play.
One of the notable advantages of a paper-based craft is its portability. Unlike traditional Rubik’s Cubes made of plastic, the Super Mario Rubik’s Cube crafted from paper is lightweight and easy to carry around. This makes it a convenient companion for long journeys, trips, or leisure time at home. Additionally, its eco-friendly nature appeals to environmentally conscious individuals, as paper is biodegradable and can be recycled.
In conclusion, this DIY craft project combines the excitement of Super Mario with the challenge of a Rubik’s Cube, making it an excellent addition to your gaming collection or a fantastic gift for fellow Mario fans. As you solve the cube and admire your artistic creation, you’ll appreciate the time and effort invested in this enjoyable and rewarding activity. So, gather your materials, unleash your creativity, and embark on this fun-filled journey of crafting a Super Mario Rubik’s Cube from paper!

