How to make Paper Rubik’s Cube | Easy-to-Follow Tutorial | Origami Paper Crafts
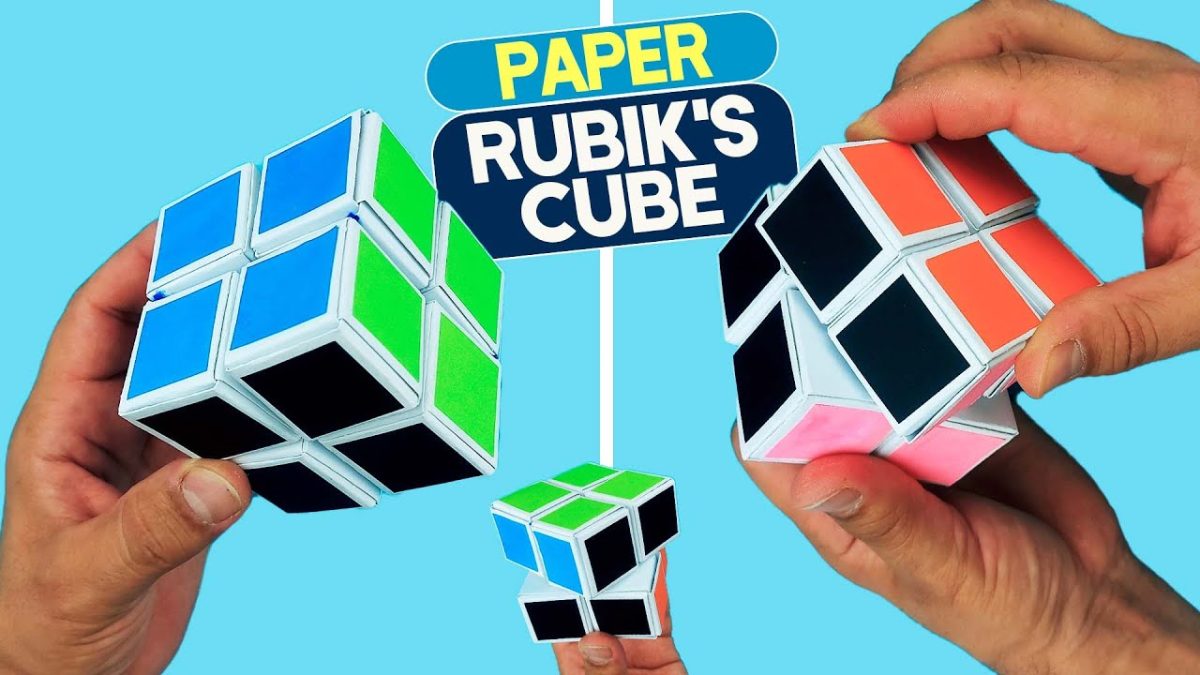
Greetings, all! 🙂 Get ready to unleash your creativity and immerse yourself in the world of paper puzzle artistry, where the Rubik’s Cube stands as an iconic masterpiece. In this detailed step-by-step tutorial, we will guide you through the entire process of how to make a Paper Rubik’s Cube, starting from cutting and assembling the paper pieces to adding the finishing touches and decorating this paper craft.
This paper puzzle looks just like a real Rubik’s Cube and is also incredibly easy to make using a few readily available materials that can be found in every household. You’ll be amazed at how a few folds and clever techniques can bring this iconic puzzle to life using paper. 🙂
Now, let’s begin! 🙂
Please scroll down for a step-by-step tutorial of how to make a Paper Rubik’s Cube:
HERE IS THE TUTORIAL:
Supplies you’ll need:
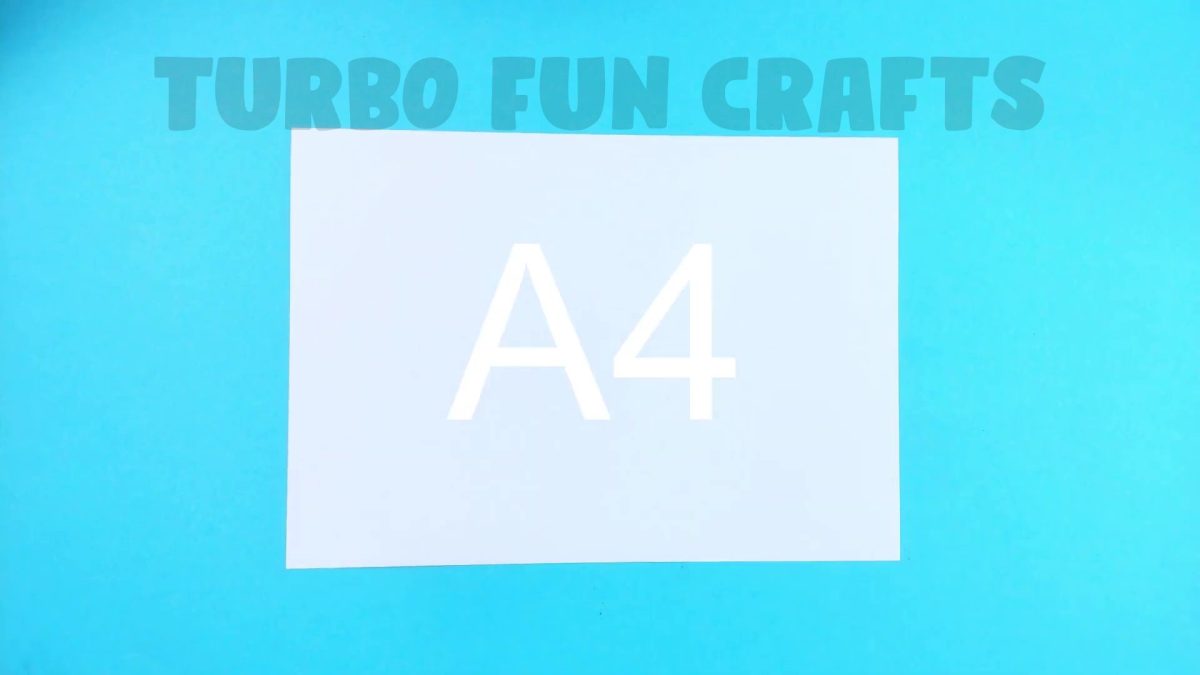
- 4 sheets of A4 white paper
- 6 sheets of colored paper in different colors (choose the colors you like the most)
- scissors
- glue
- a ruler
- a pencil
- thick thread
- thin thread
STEP 1 of how to make Paper Rubik’s Cube
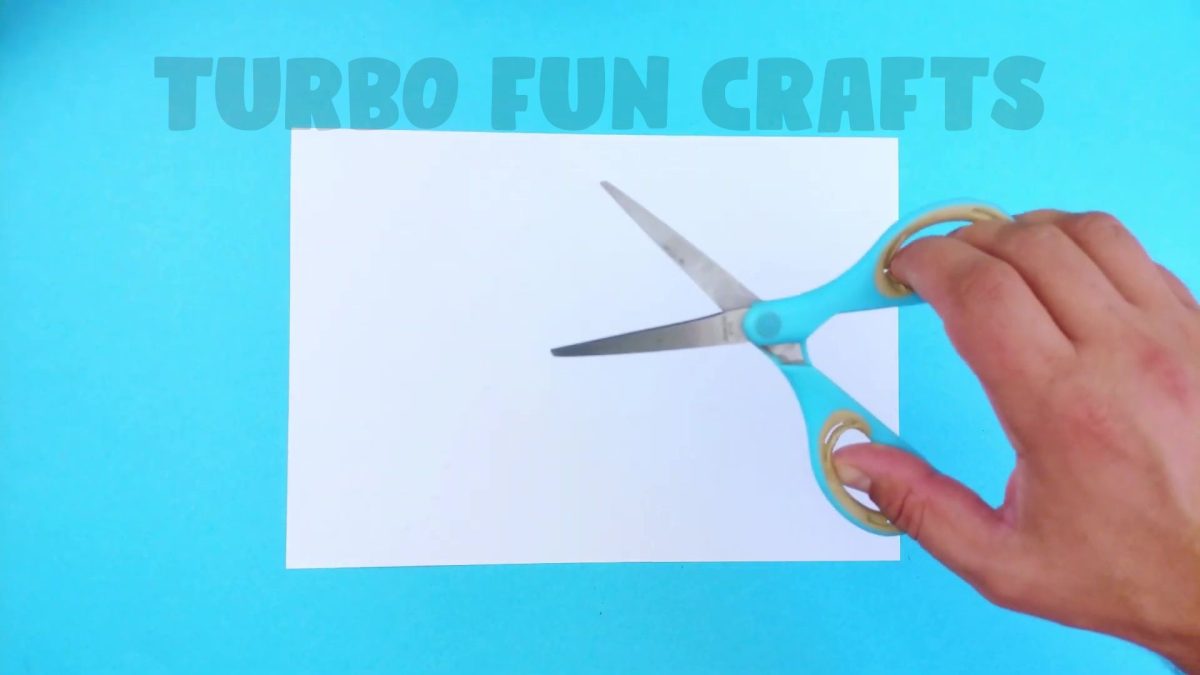
Take an A4 white paper sheet.
Cut the paper into 12 equal squares using scissors.
The required dimensions of the squares are 7 by 7 cm.

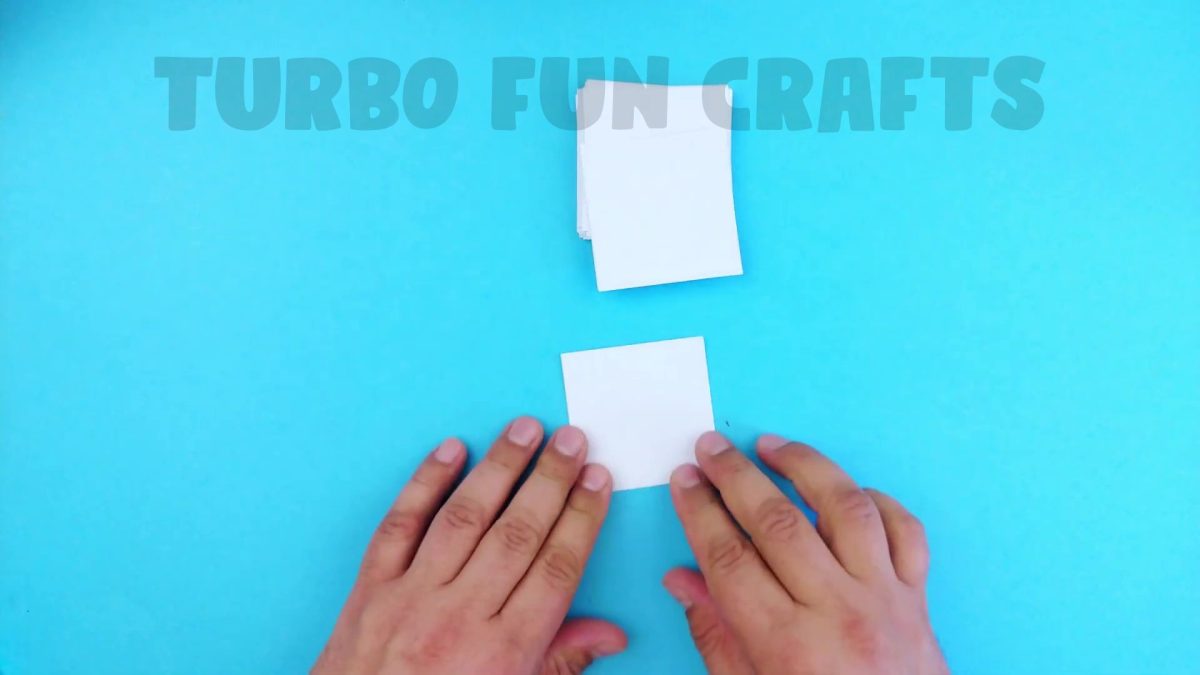
Take three more sheets of white A4 paper and cut each of them into 12 equal squares measuring 7 by 7 cm.
Make it in the same way as shown earlier.
As a result, you should have 48 equal pieces of paper measuring 7 by 7 cm.

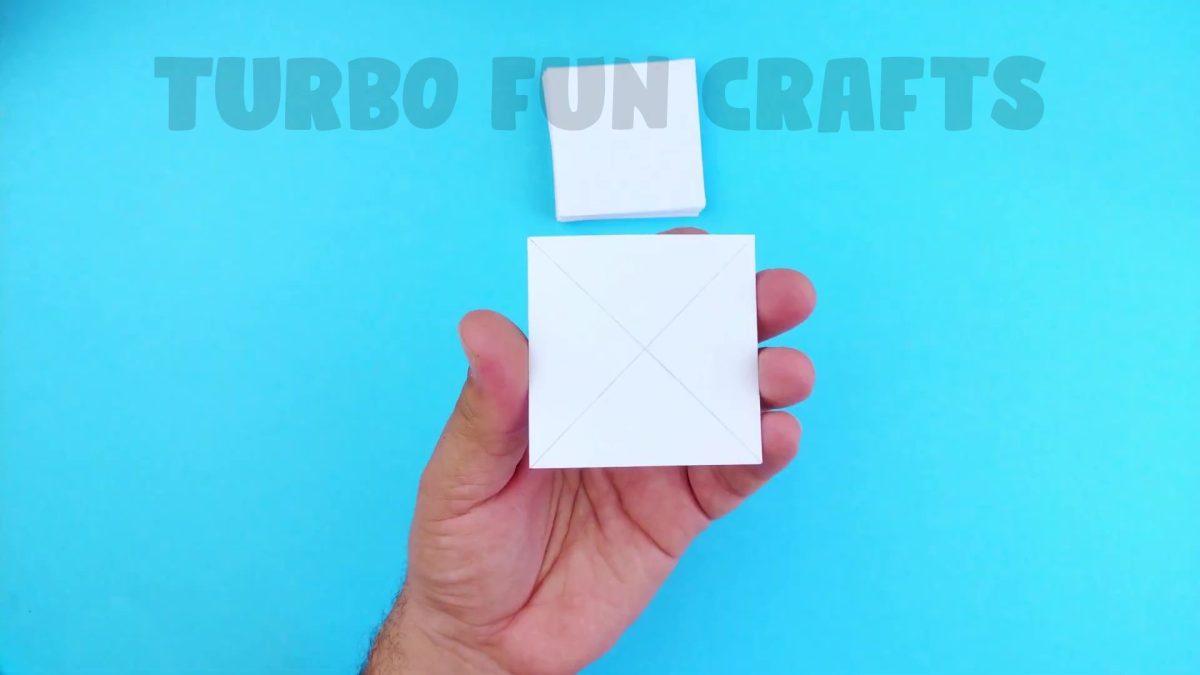
Take one of the cut-out squares.
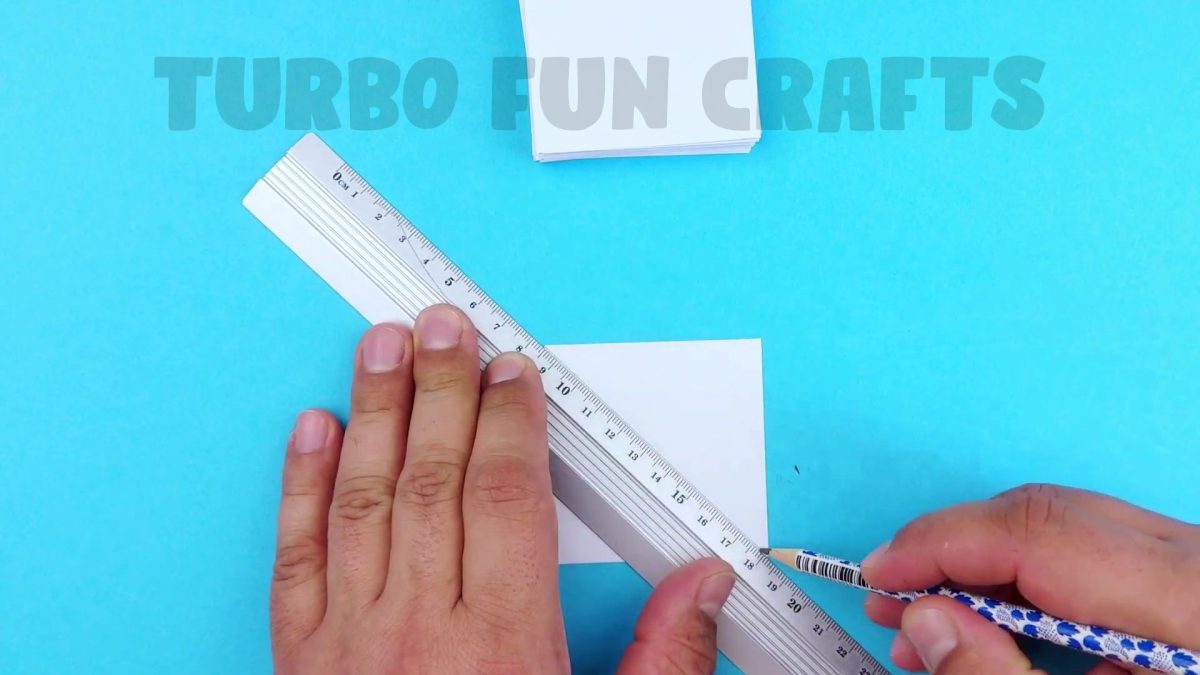
Draw two diagonal lines criss-cross on a piece of paper using a ruler and pencil.
This is shown in the pictures below.
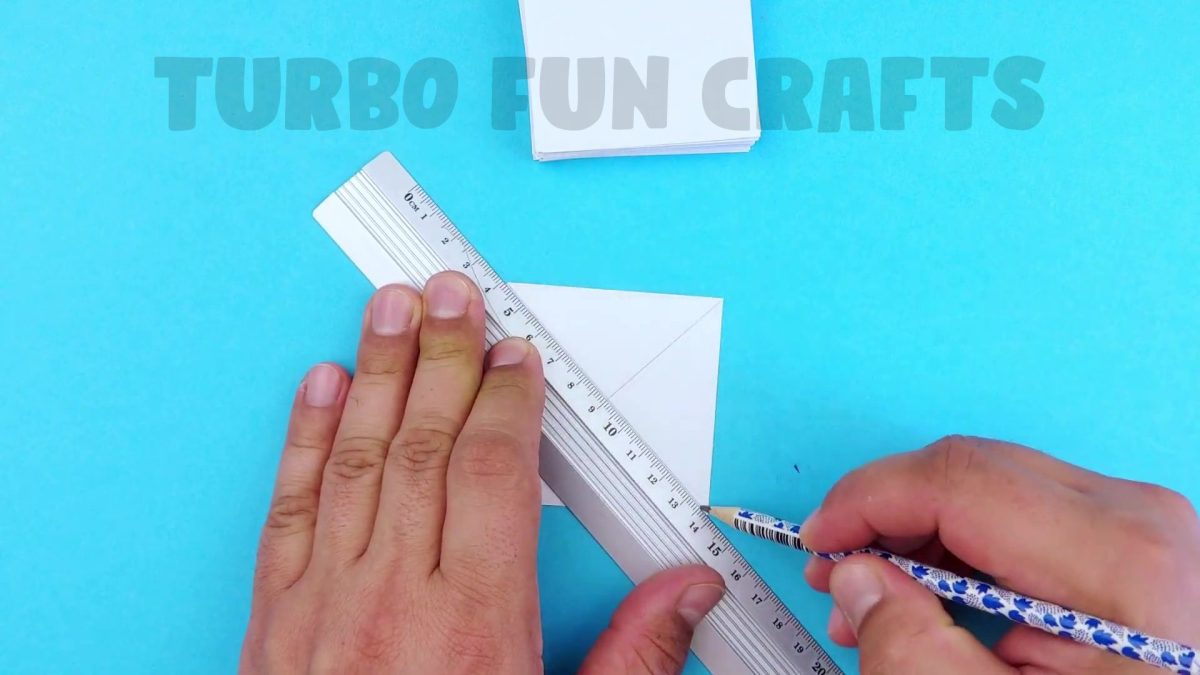
This is how it should look like.
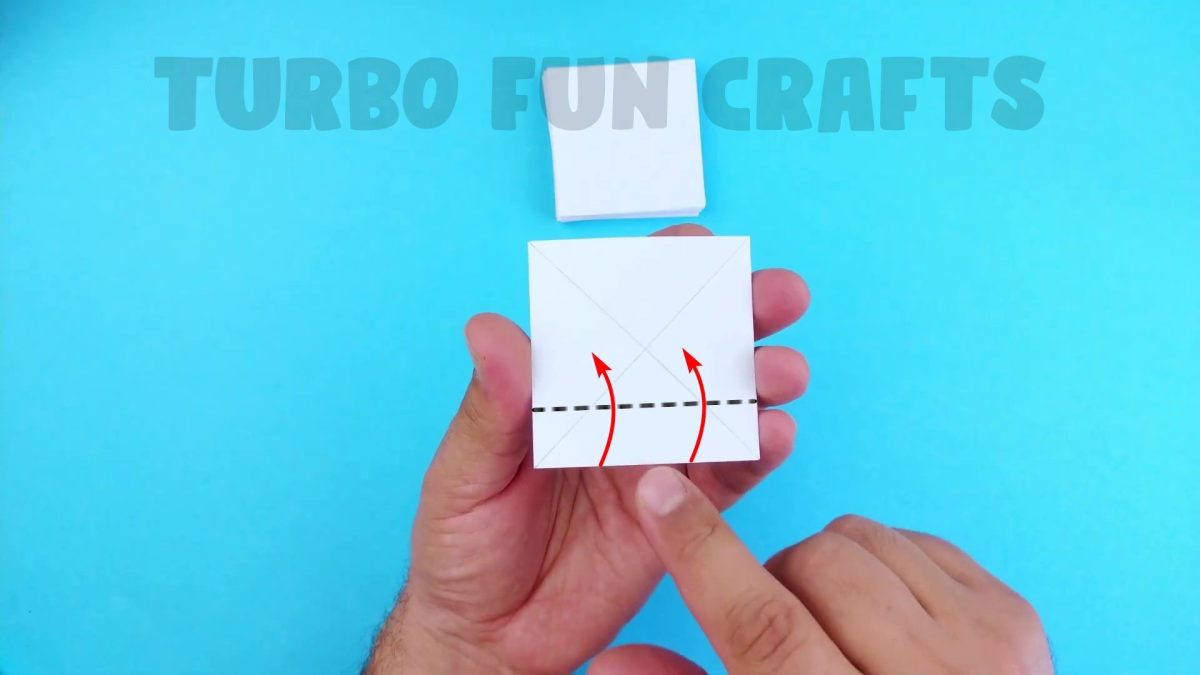
Fold the paper and meet the bottom edge with the middle of the sheet.
This is shown in the pictures below.
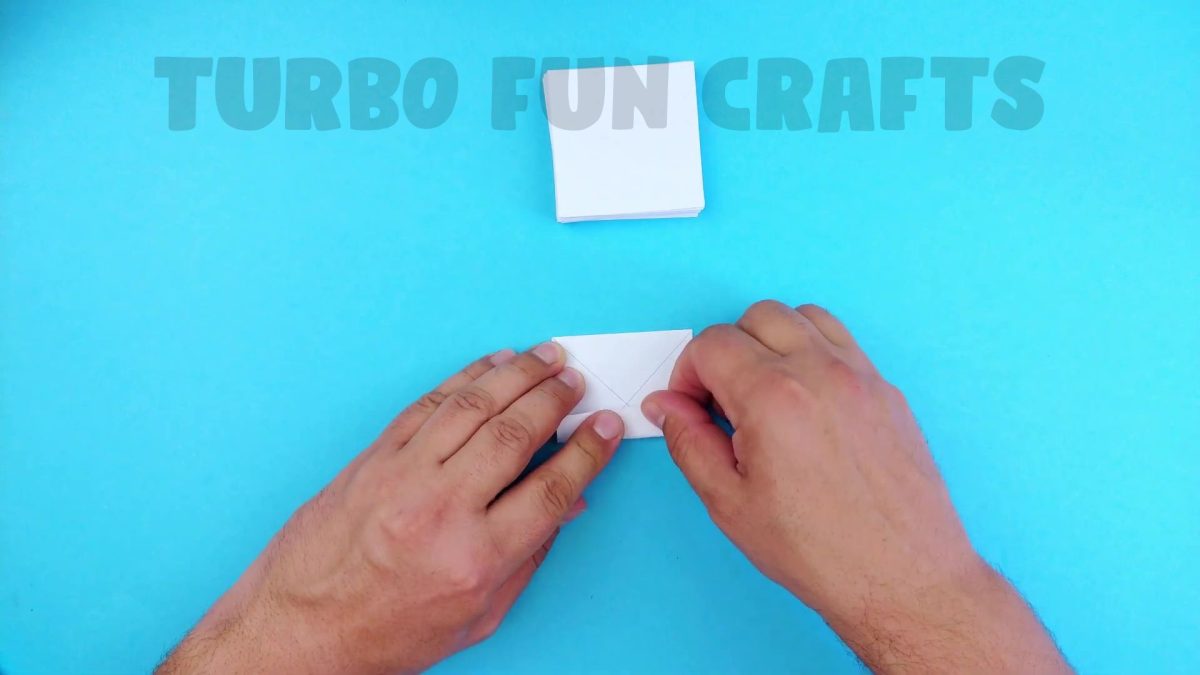
This is how it should look like.
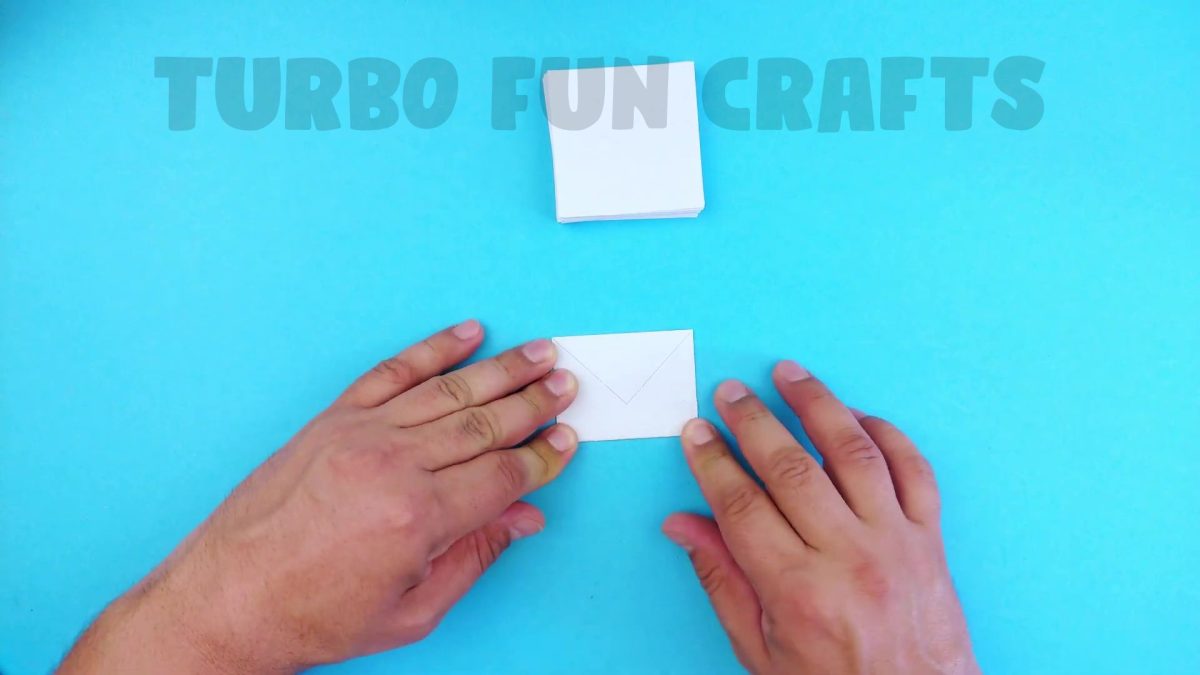
Rotate the paper sheet by 180 degrees and do the same action with another edge.
Fold it in the same way.
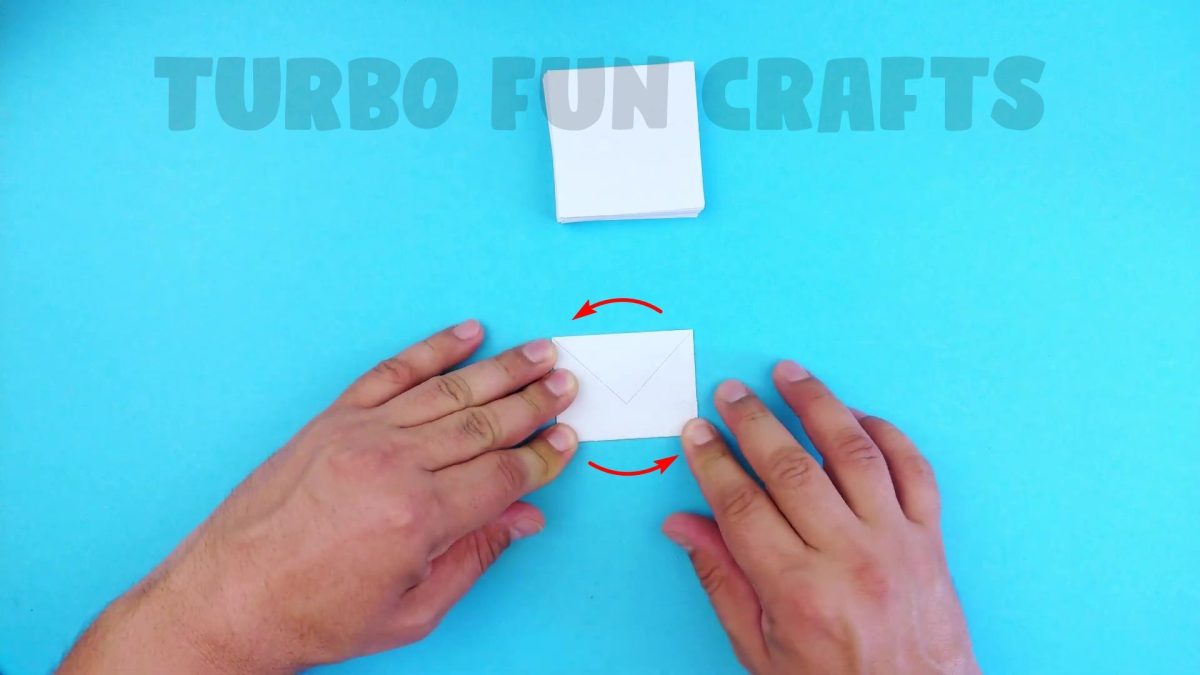
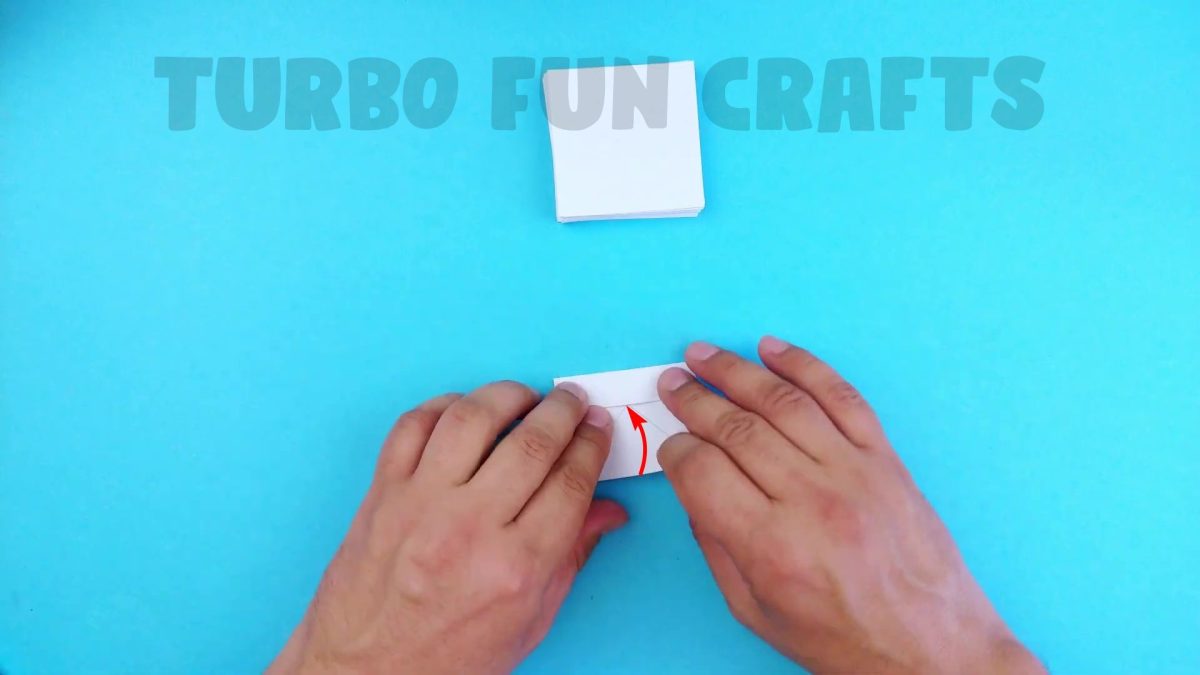
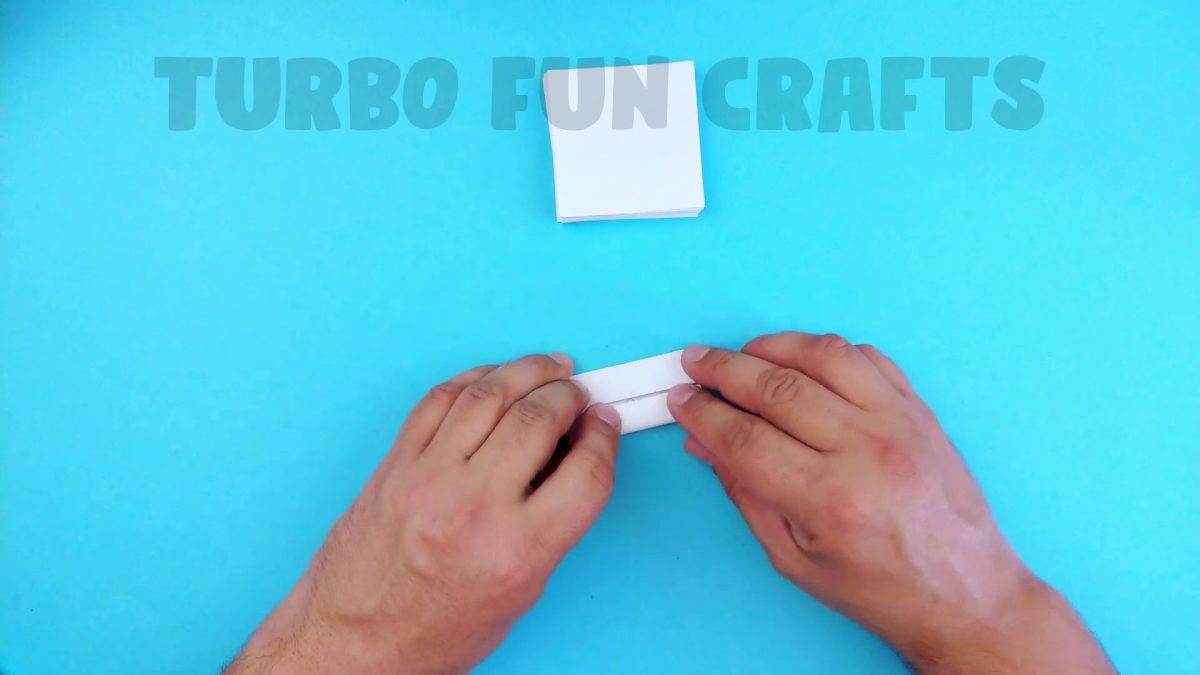
This is how it should look like.

STEP 2 of how to make Paper Rubik’s Cube
Unfold one of the just-folded edges of the paper piece and mark the middle of the sheet using a pencil.
This is shown in the picture below.

Fold back the edge to its previous position and make the same mark on it.
This is shown in the image below.

This is how it should look like.

Fold the paper along the dashed line and meet the bottom edge with the just-made mark.


This is how it should look like.

Rotate the paper piece by 180 degrees and make the same action with the opposite edge.
Fold the edge in the same way and meet it with the just-made mark.

This is how it should look like.


Make five more of these same paper forms, repeating the previously shown steps.

STEP 3 of how to make Paper Rubik’s Cube
Now you need to connect the previously prepared six pieces of paper to each other.
Connect them to each other in such a way as to form a cube.
This is shown in the pictures below.


This is how it should look like.


Make seven more of these same paper cubes, repeating the previously shown steps, so that you have a total of 8 pieces.

You may also like: How to make Origami BOOMERANG Paper Plane | A paper plane that always comes back to you!
STEP 4 of how to make Paper Rubik’s Cube
Take four of these cubes and place them as shown in the picture below.

Now, you will need a thread.
In our tutorial, we used thick thread.

Apply glue across the diagonal to one of the cubes.

Glue the thread to the cube as shown in the image below.

Apply glue to another cube in the same way.

Glue the thread to the cube as shown in the image below.

Cut the ends of the thread with scissors.


Take another two cubes and glue the thread to them in the same way.


Cut the ends of the thread with scissors.

This is how it should look like.
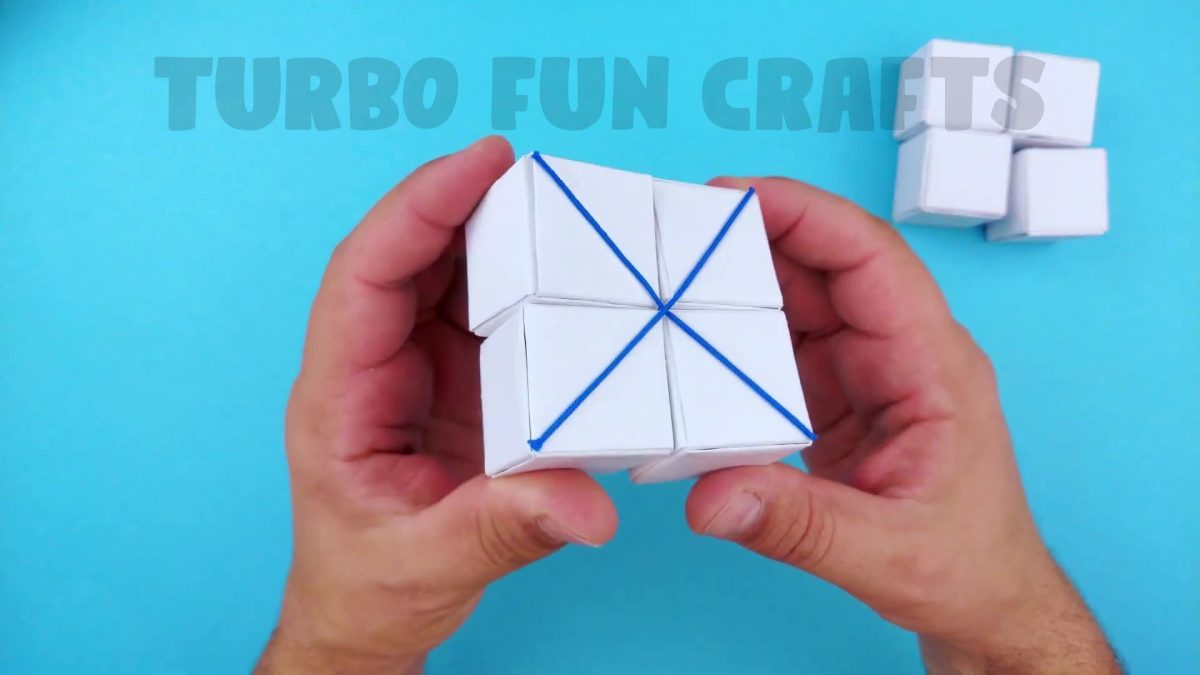
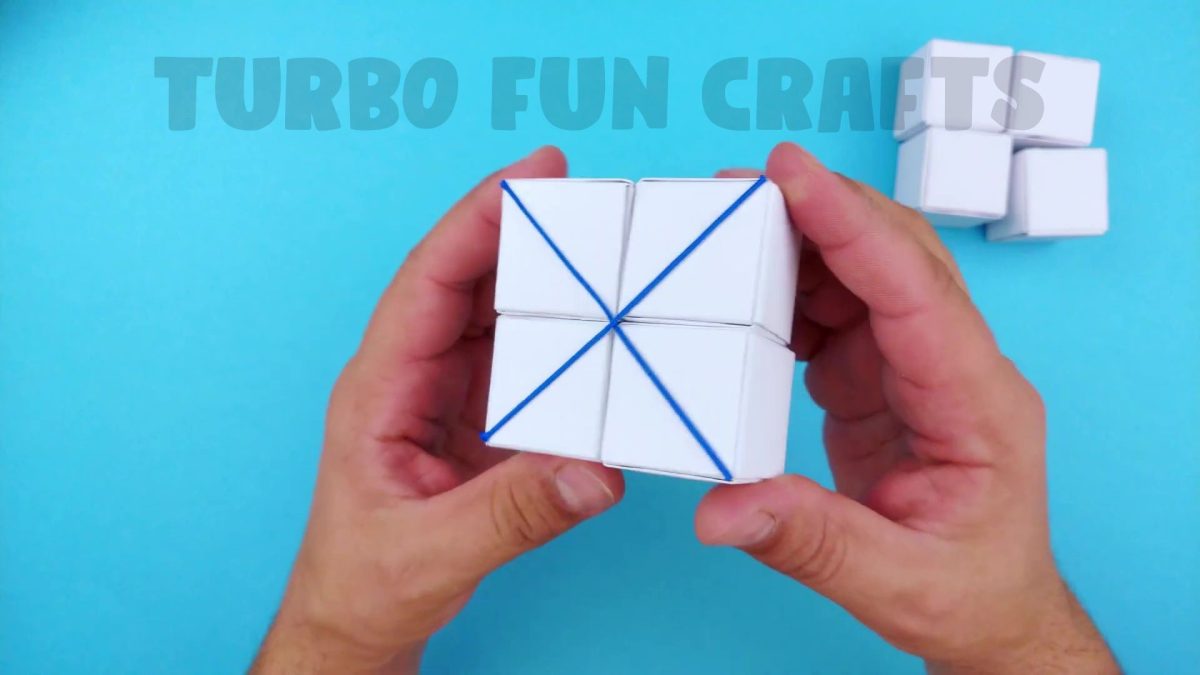
Make the same actions with the remaining four cubes.
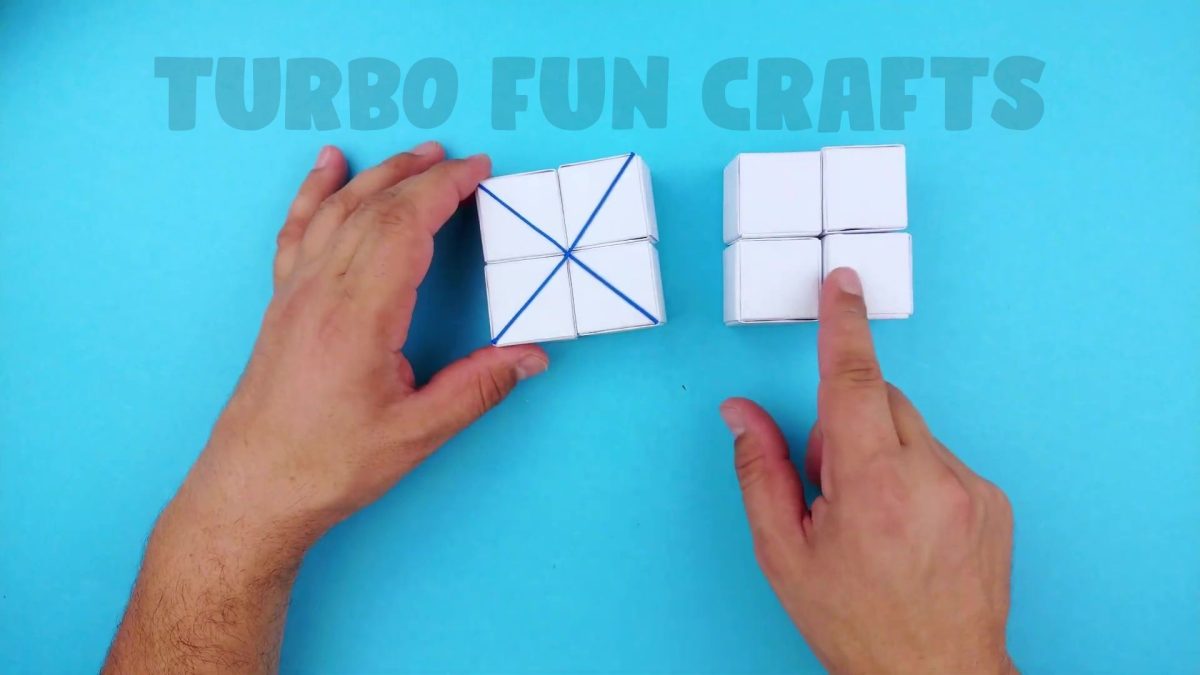
This is how it should look like.
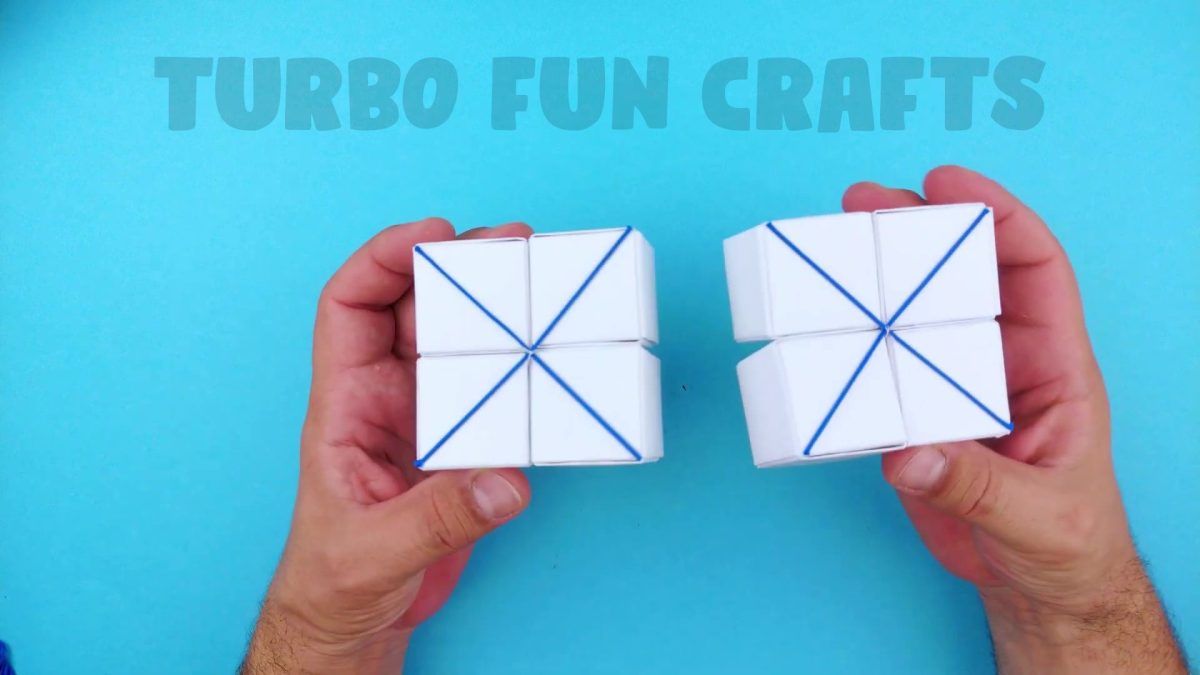
STEP 5 of how to make Paper Rubik’s Cube
In this step, you will need a thin thread.
You have to insert the thread between the cubes and tie it in a knot.
To do this, place the thread on the surface under the cubes and insert it into the indicated places.
This is shown in the picture below.
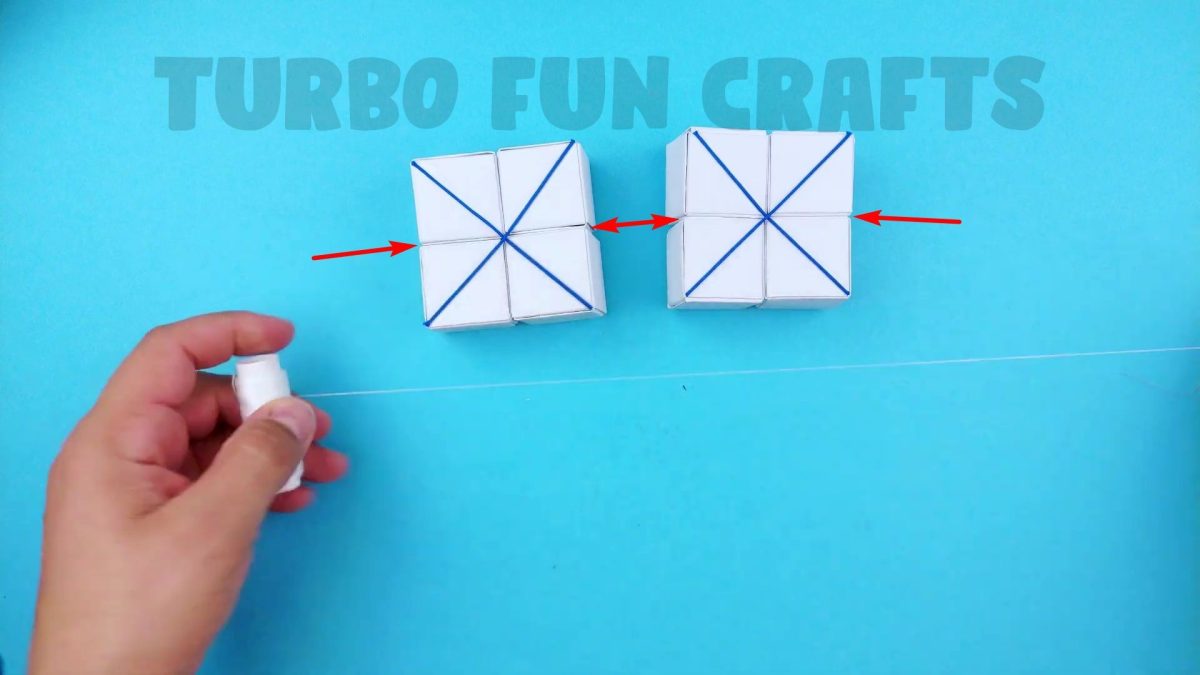
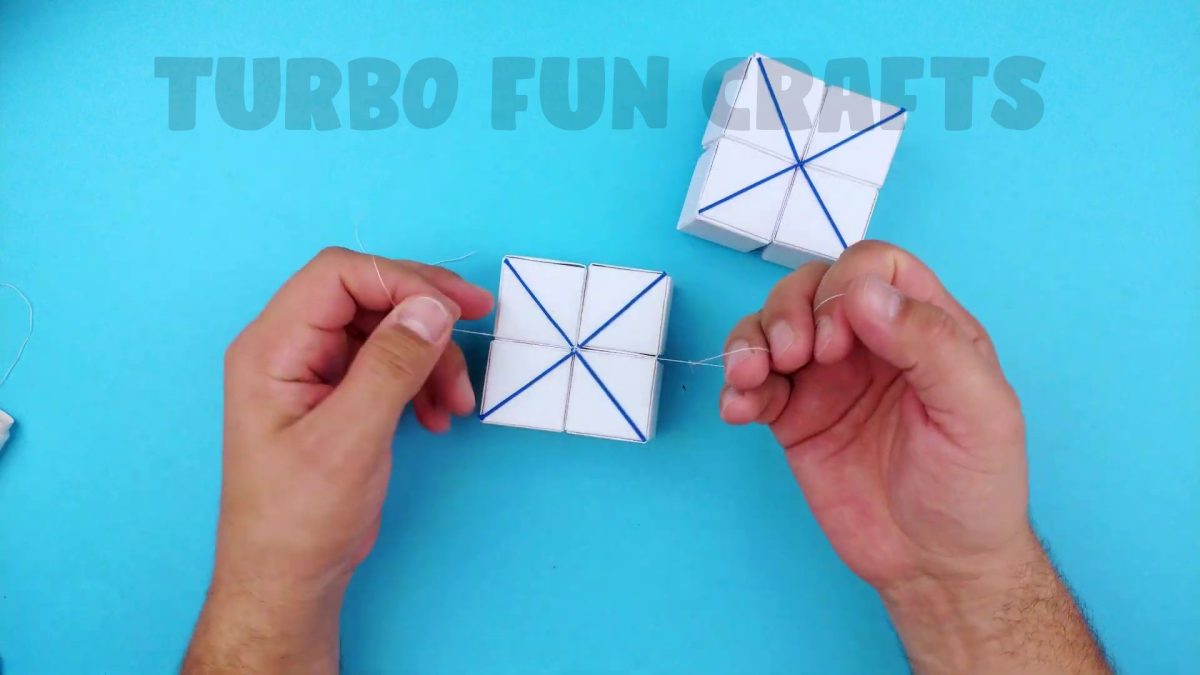
This is how it should look like.
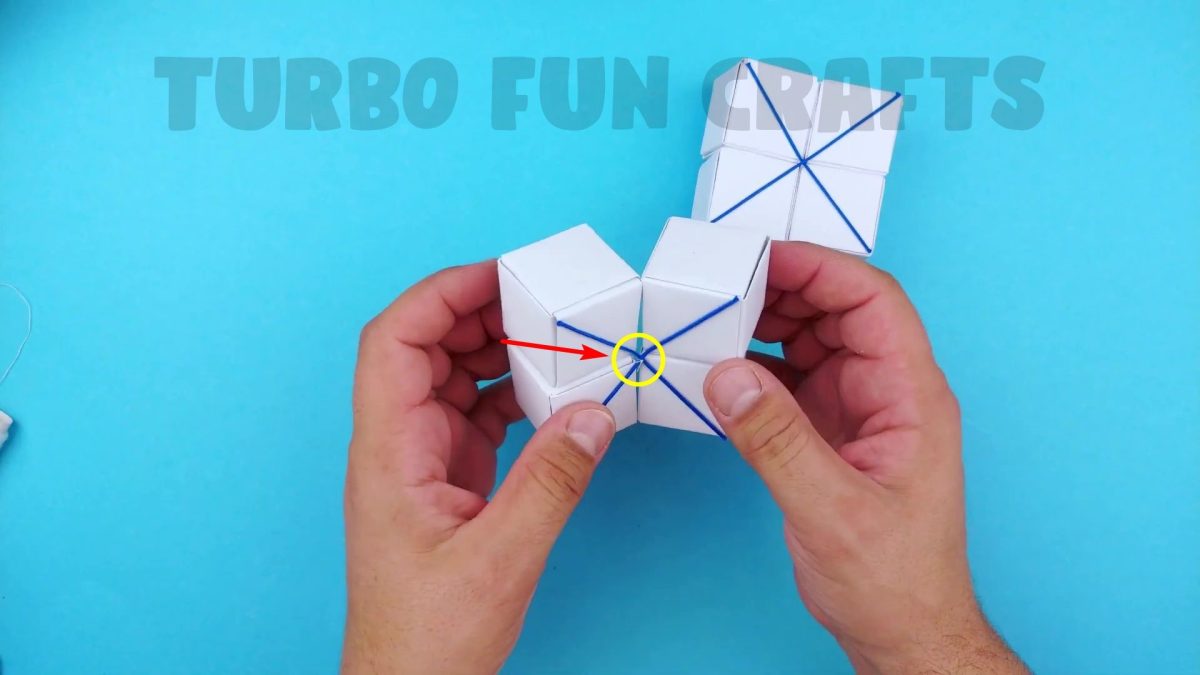
Make the same action with the remaining cubes.
This is how it should look like.

Now you have to connect the two paper parts of the Rubik’s Cube with each other.
To do this, place the two paper parts on the surface as shown in the picture below.
Note that you have to join them together with the sides that have the glued threads.
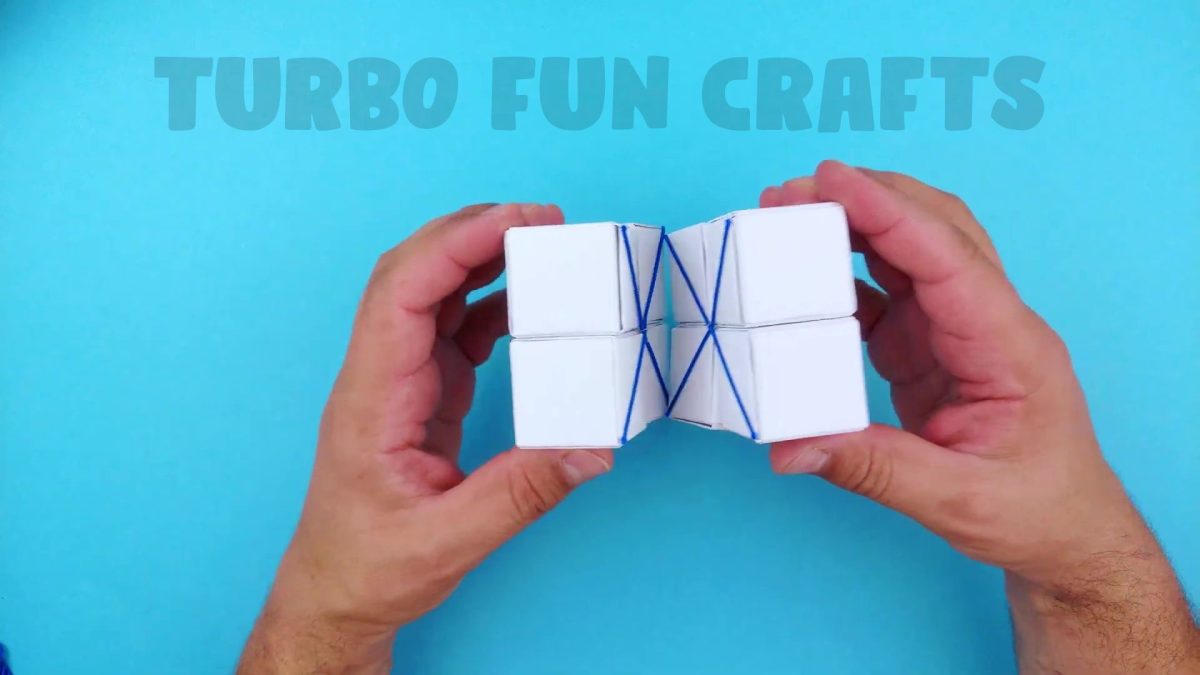
This is how it should look like.
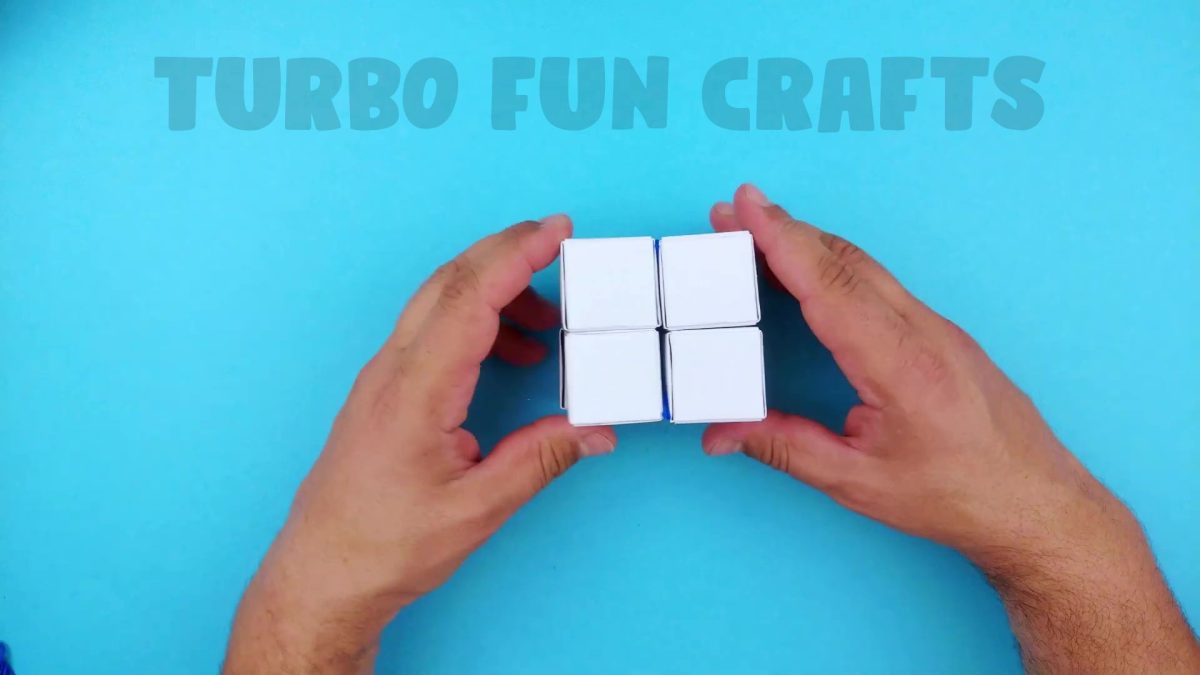
Place the thread on the surface under the cube, insert it into the indicated places, and tie it in a knot.
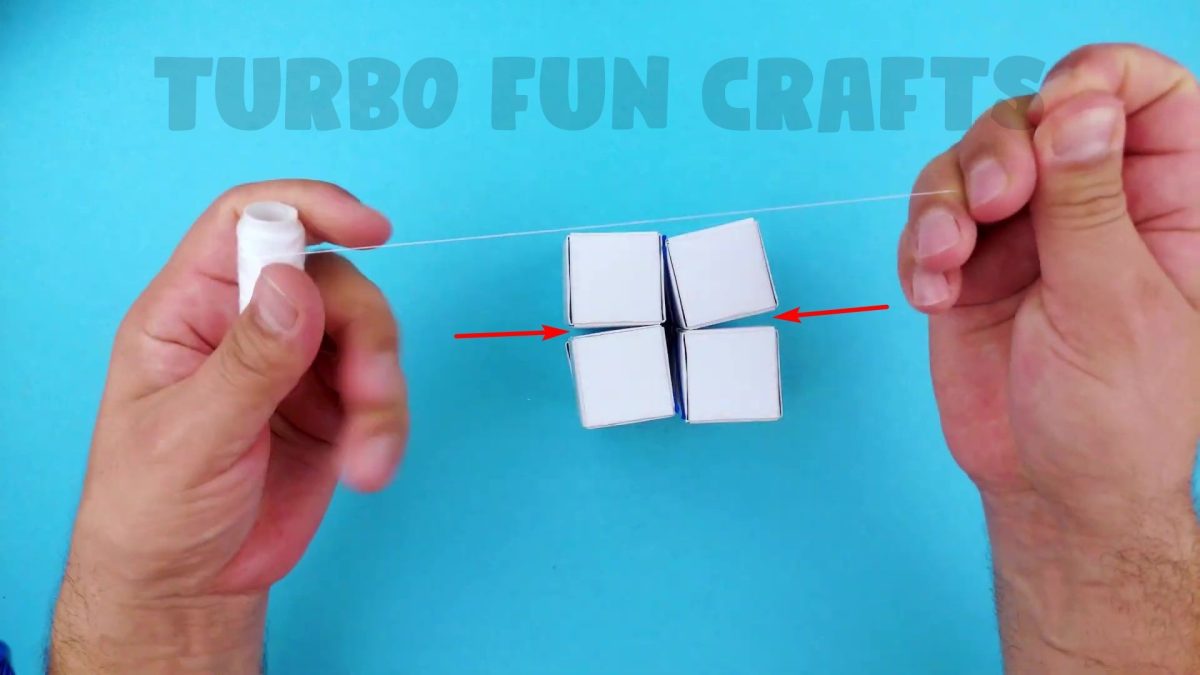
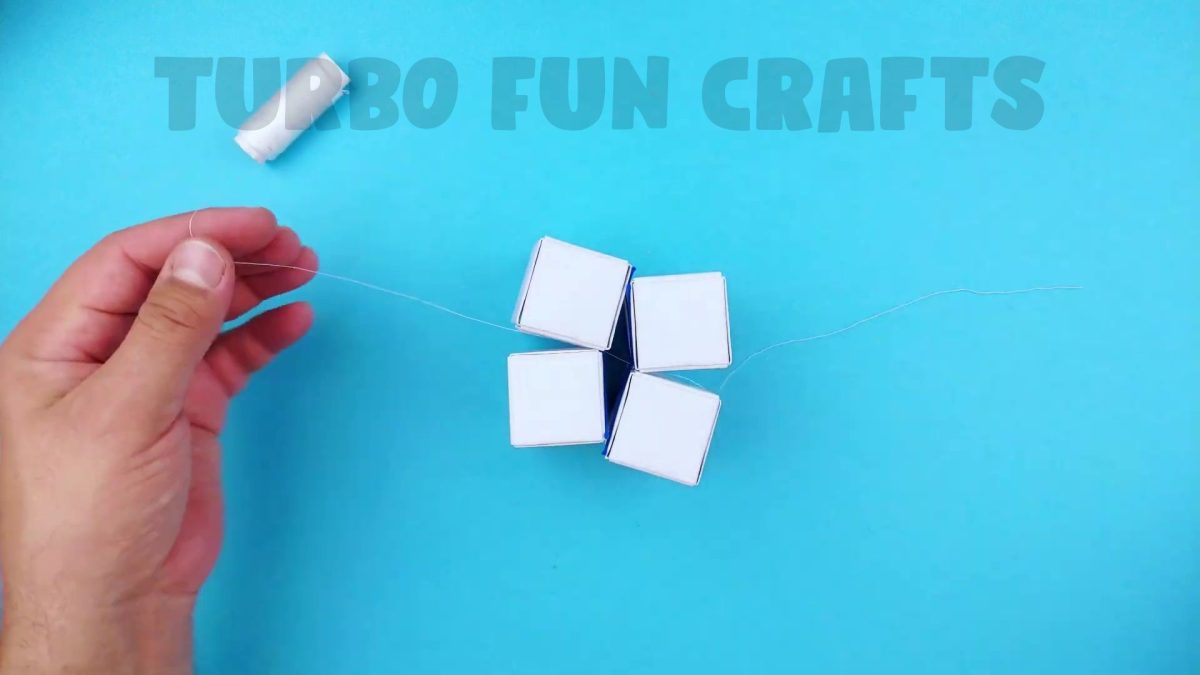
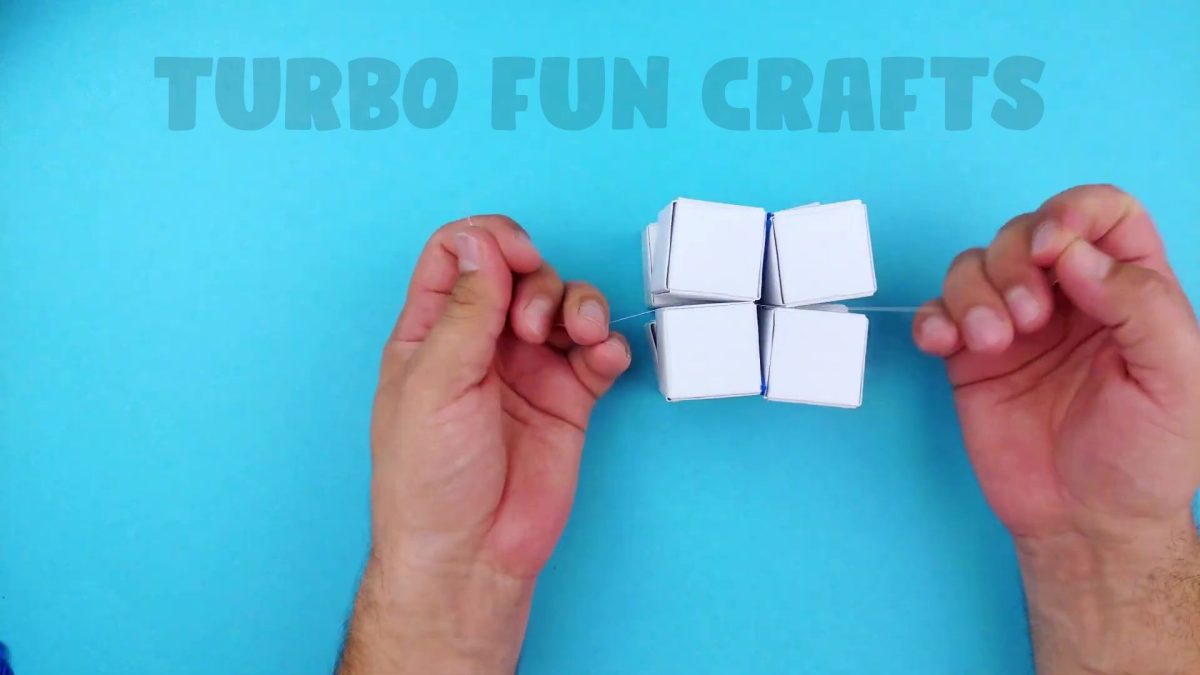
Cut the ends of the thread with the scissors.
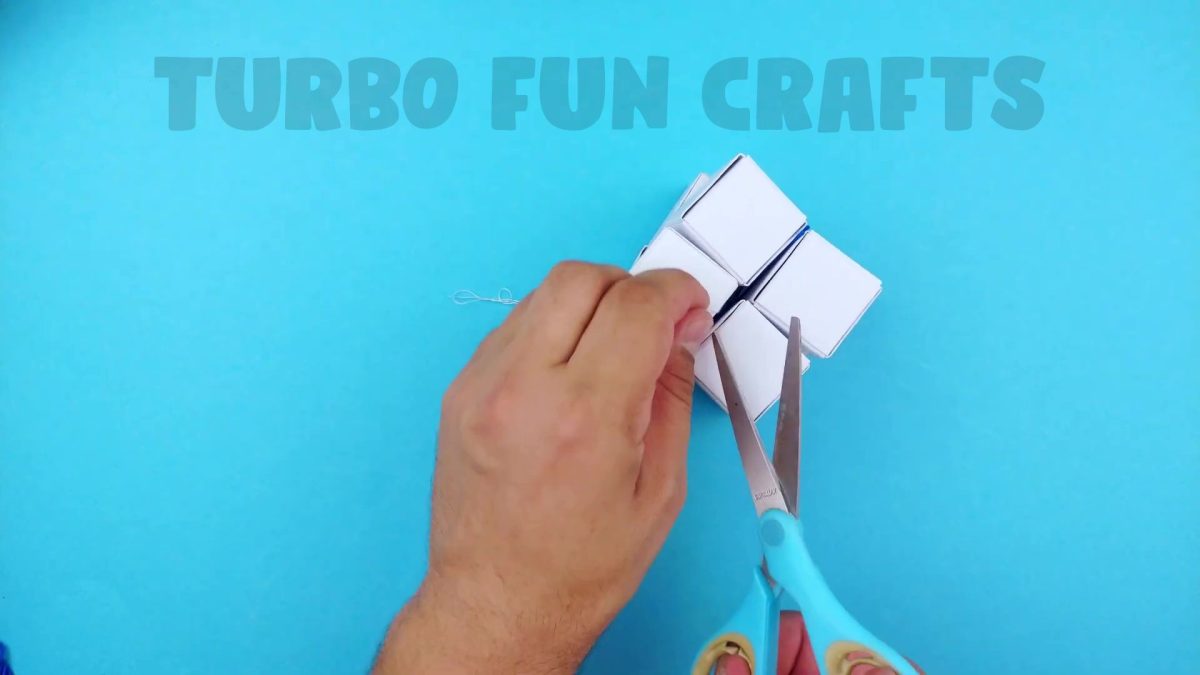
This is how it should look like.
STEP 6 of how to make Paper Rubik’s Cube
In this step, you will need colored paper in six different colors.
Choose the colors you like the most or use our color combination.
Cut out four squares in each color, measuring 3 by 3 cm.
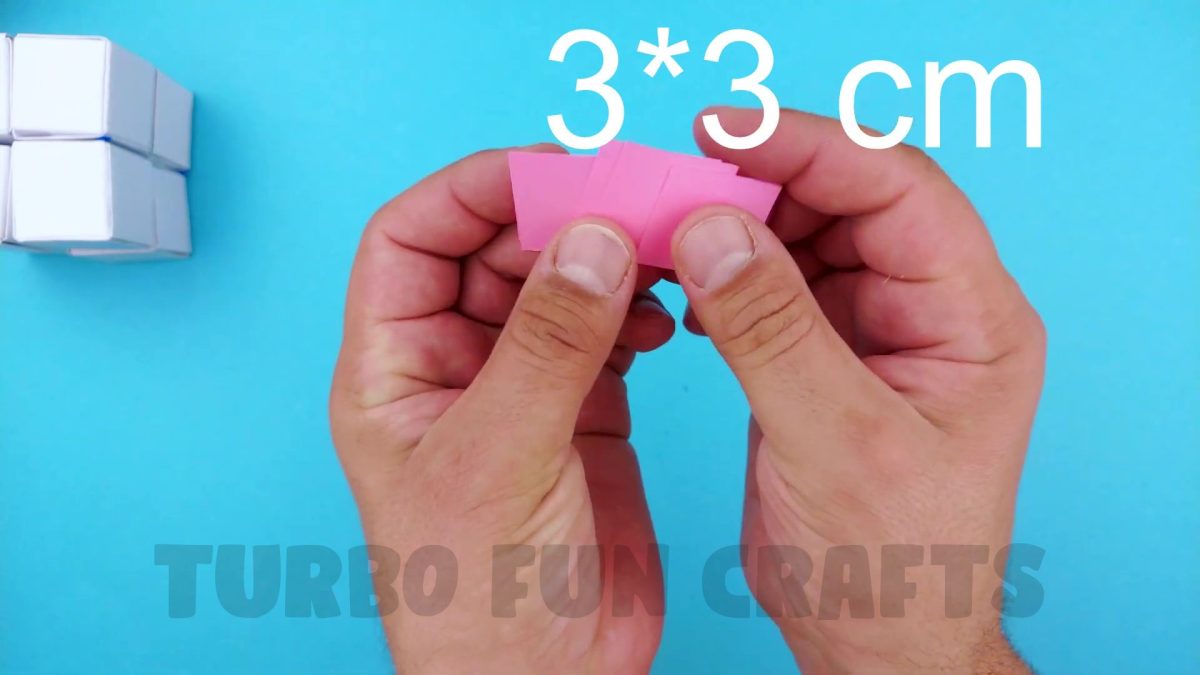
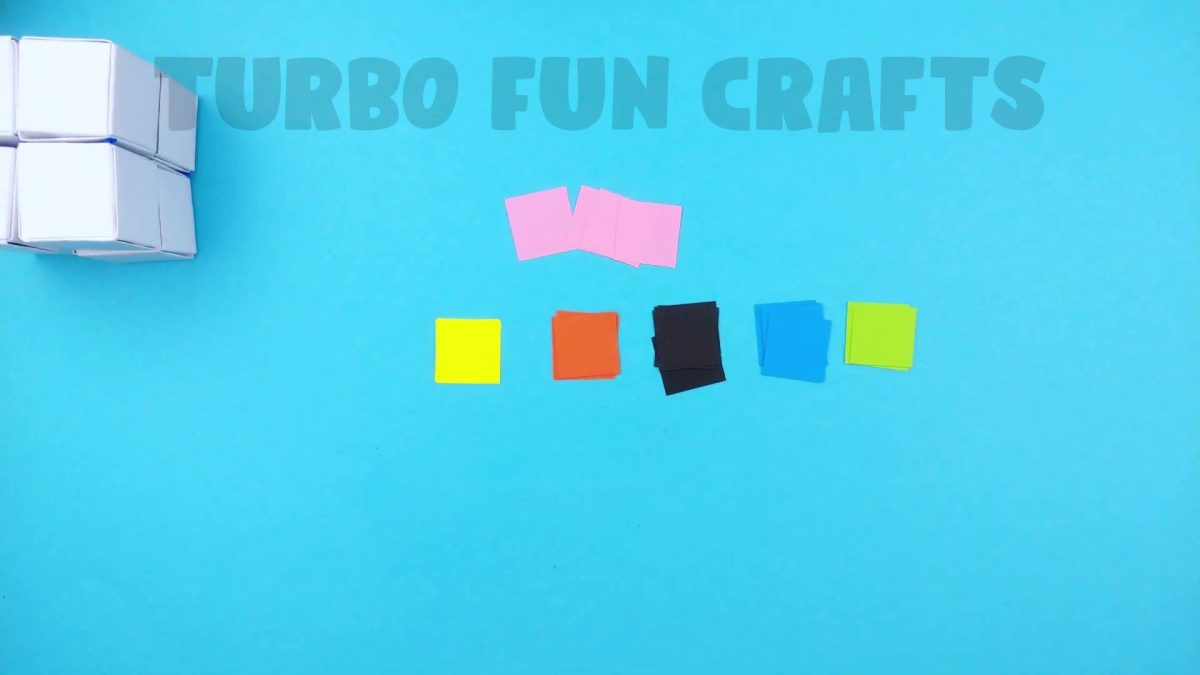
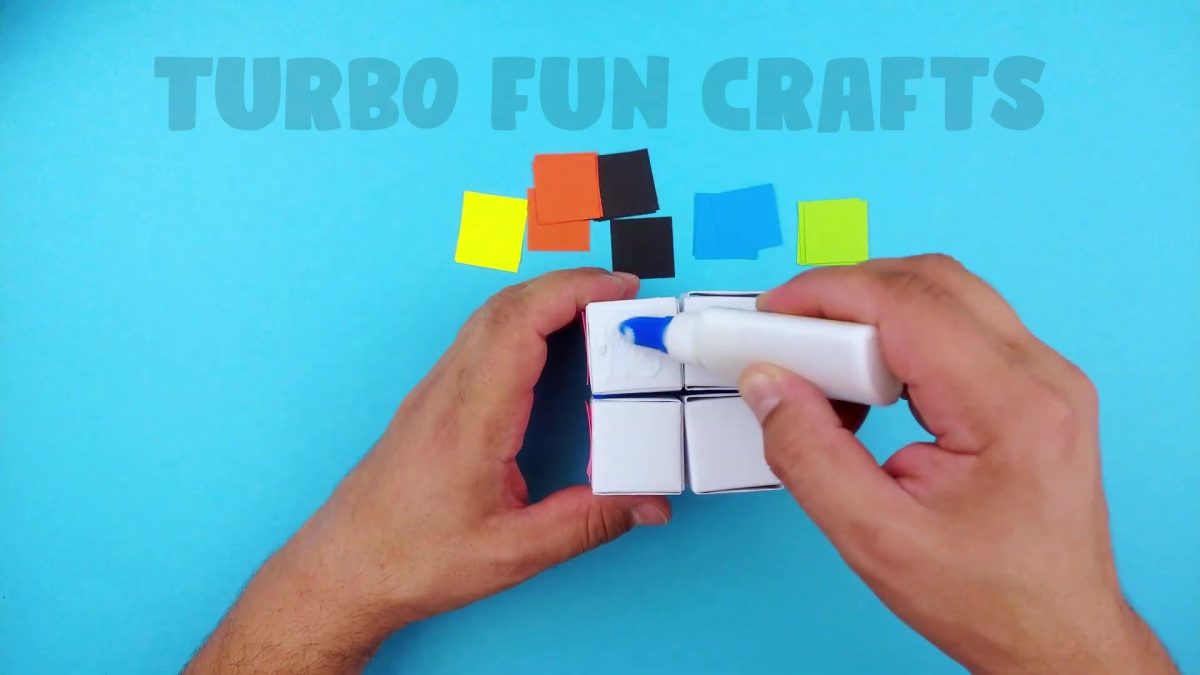
Apply glue to the faces of the cube and glue the just-cut squares of colored paper onto them.
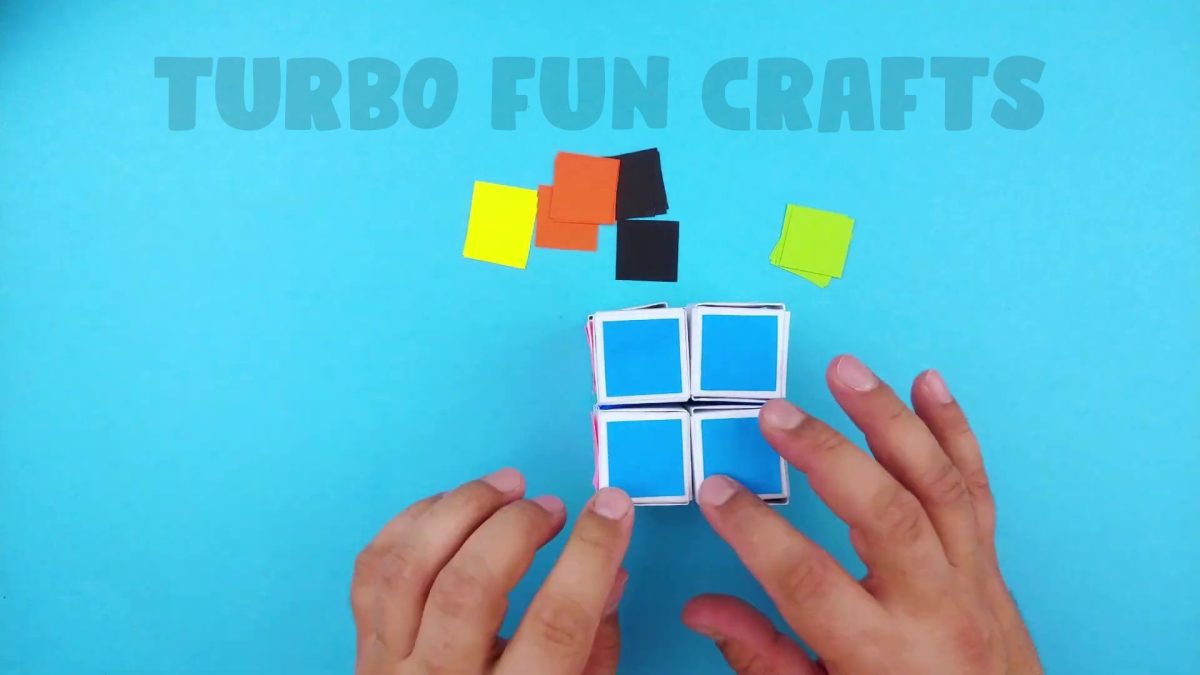
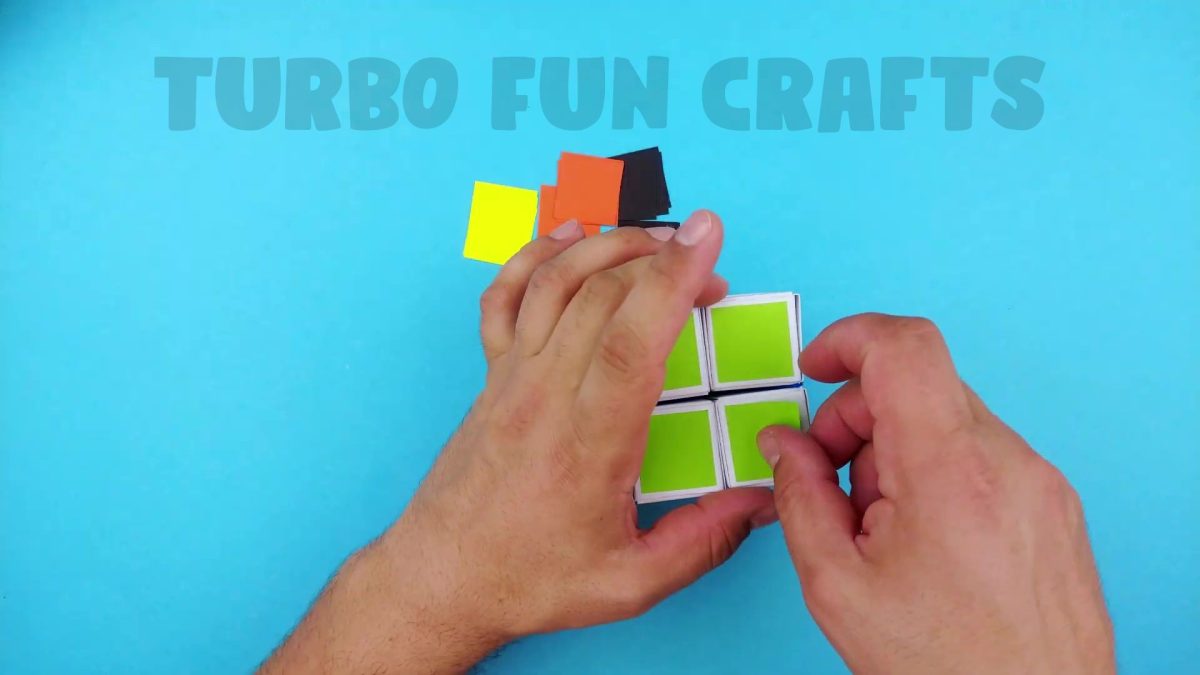
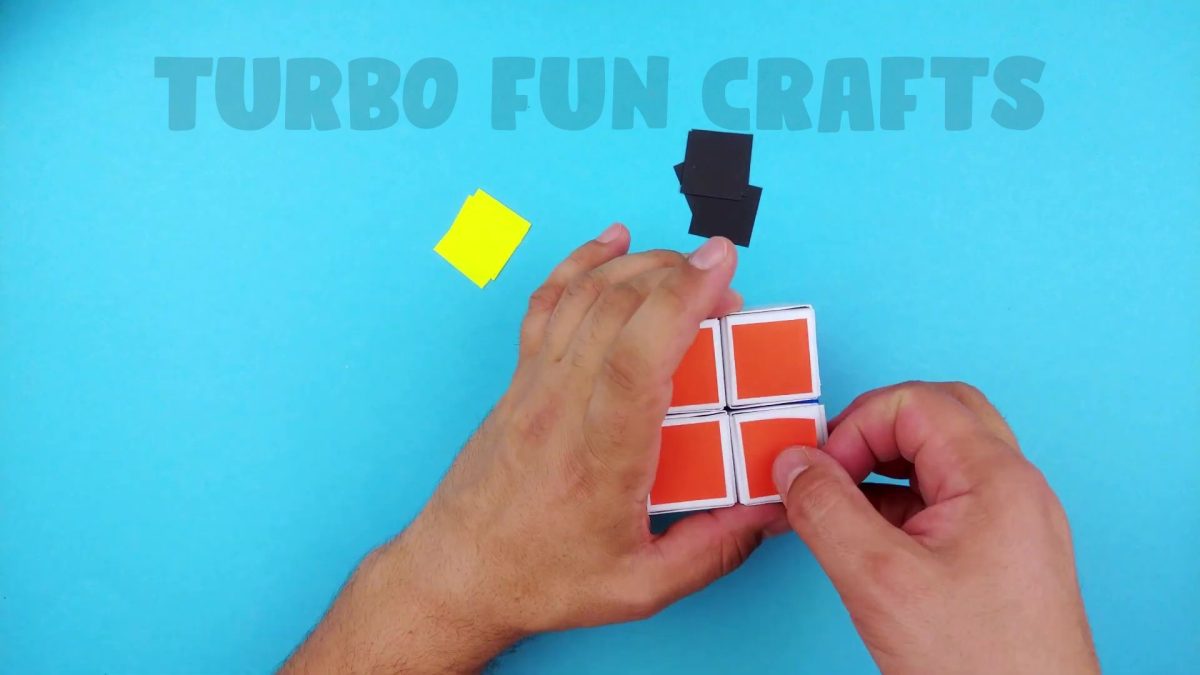
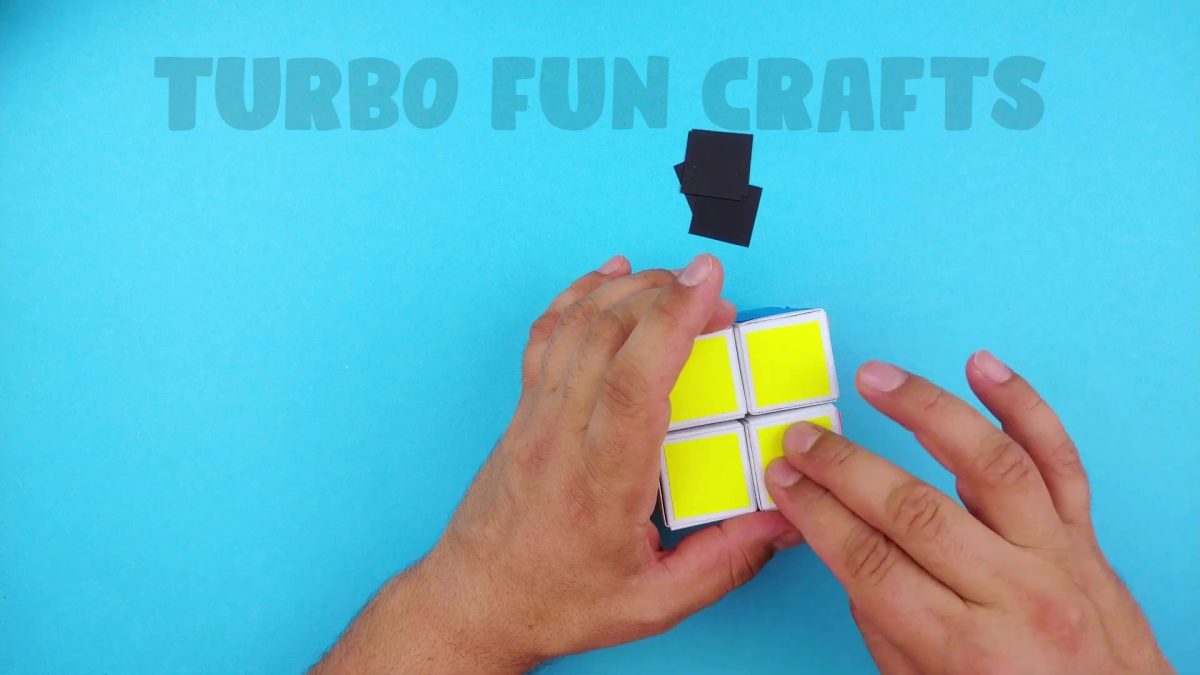
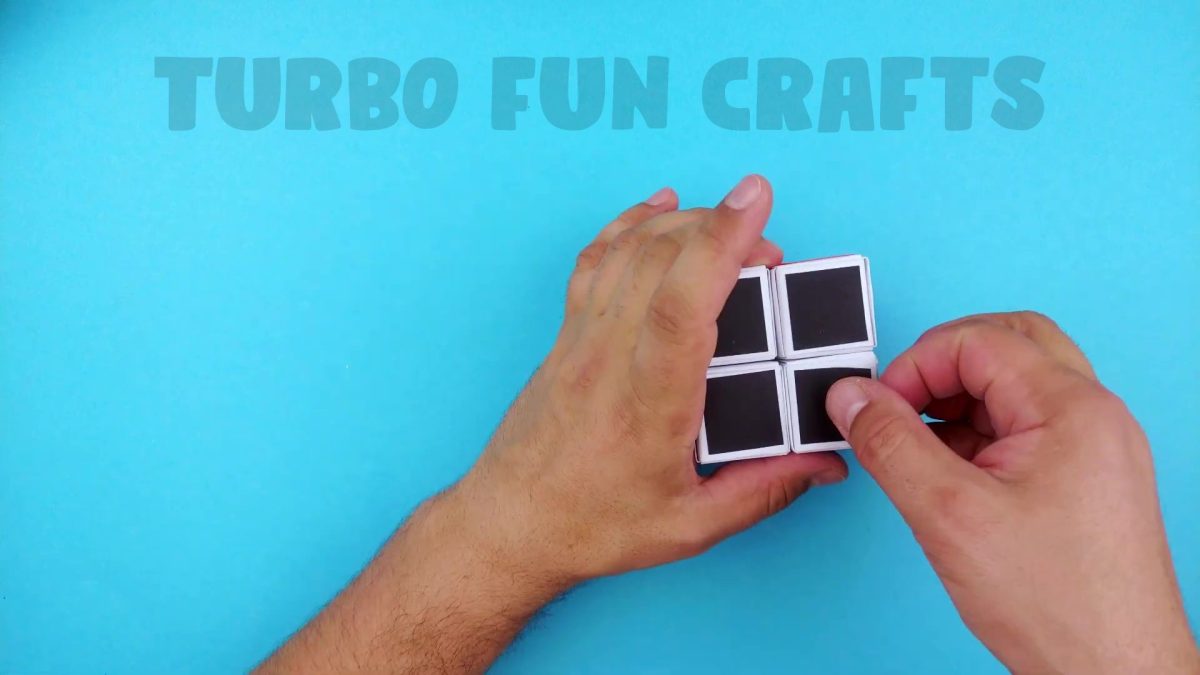
GREAT JOB! 🙂
A Paper Rubik’s Cube is now ready!
You may also like other PARER CRAFTS from our collection 🙂
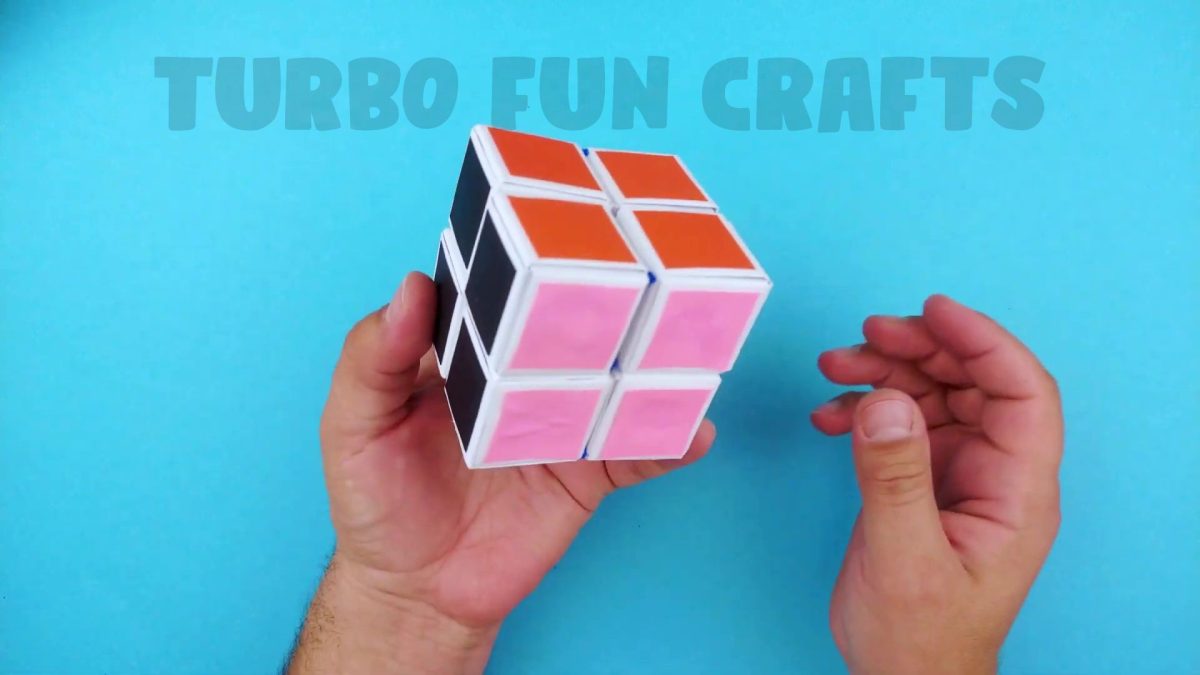
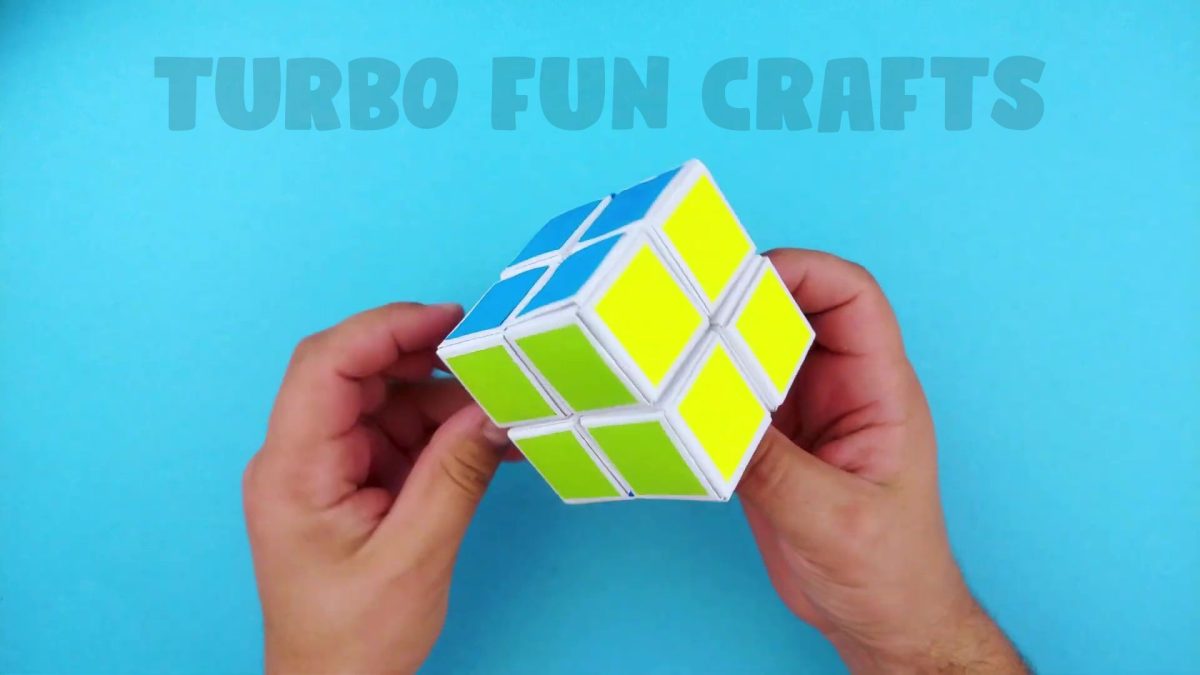
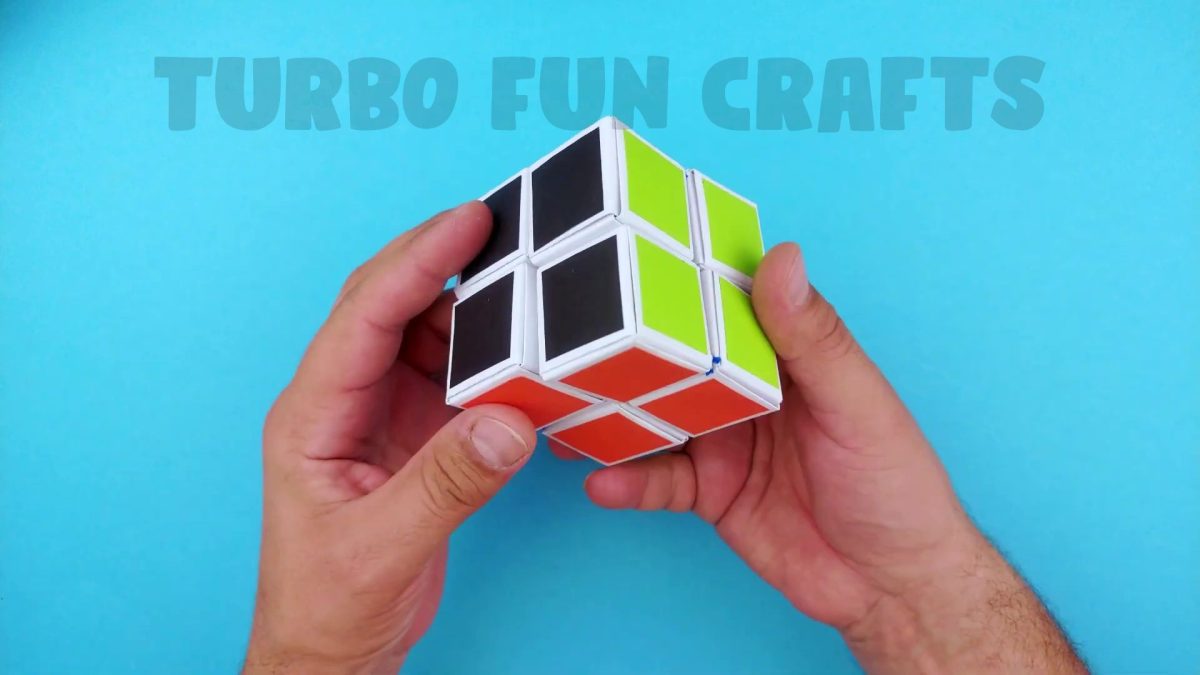
Once you mix up the colors, you can begin solving the puzzle! 🙂
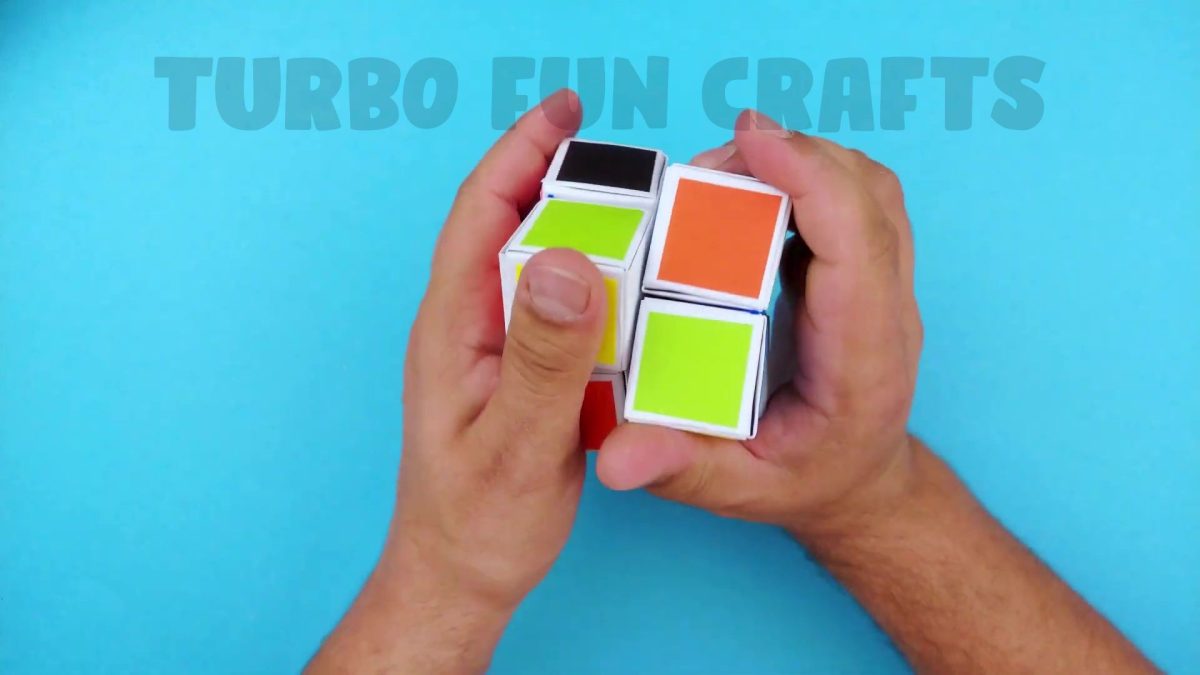

WELL DONE! 🙂
In conclusion, the Rubik’s Cube is a classic puzzle loved by many, and now you can recreate it in paper form. By following our step-by-step instructions and utilizing just a few simple materials, you’ll be able to create your own colorful and functional Paper Rubik’s Cube.
If you experienced difficulties with some steps, you can watch the video instruction of how to make a Paper Rubik’s Cube.
Please scroll down for the video tutorial 🙂
Moreover, making a Paper Rubik’s Cube offers a unique chance to explore the principles of geometry and spatial relationships. By understanding how the pieces fit together and how to manipulate them, you’ll develop a deeper appreciation for the intricacies of this beloved puzzle.
Whether you choose to make the Paper Rubik’s Cube for personal enjoyment or as a gift for a friend, we’re confident that this tutorial will provide you with the knowledge and inspiration you need.
Remember, the joy of crafting lies not only in the final result but also in the process itself. Furthermore, enjoy every fold, every twist, and every moment of bringing the Paper Rubik’s Cube to life.


