How to make Origami FINGER TRAP | Paper antistress toys | Funny DIY fidget toy
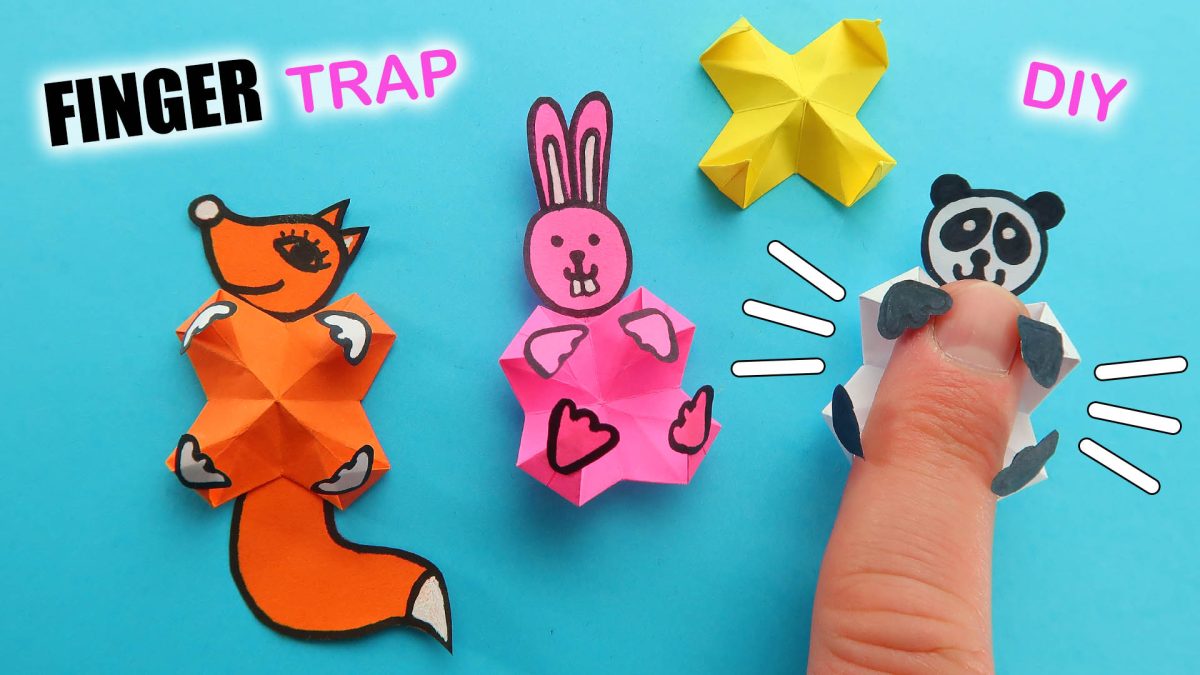
Hello everyone! 🙂 We would like to present a tutorial of how to make a funny origami Finger Trap! This simple paper craft is great for people of all ages, and can be a fun activity to do with kids.
In our step-by-step tutorial, we’ll guide you through the process of creating your very own DIY fidget toy. We’ll break down each fold and provide detailed instructions, so even if you’re new to origami, you’ll be able to create an Origami Finger Trap in no time.
So why not try making one yourself and experience the stress-relieving, creative, and entertaining benefits of this unique paper toy? Let’s get started! 🙂
Please scroll down for step-by-step tutorial of how to make funny Origami Finger Trap
HERE IS THE TUTORIAL:
You will need the following materials:
- a square sheet of colored paper measuring 4.5 by 4.5 cm
- a sheet of colored paper of the same color
- а sheet of white paper
- scissors
- glue
- a marker
- a pen
STEP 1 of how to make Origami FINGER TRAP
Take a square sheet of colored paper measuring 4.5 by 4.5 cm
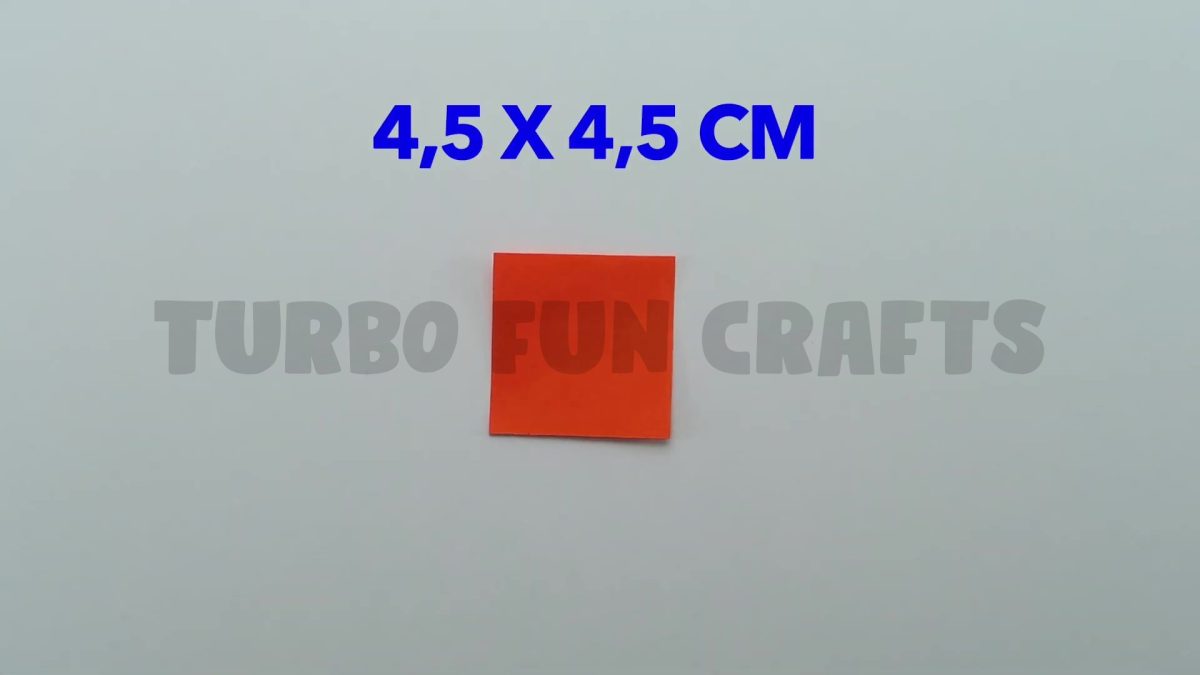
Place the sheet of paper so that one of the corners is at the bottom
Fold the sheet in half and meet the bottom corner with the top corner as shown in the picture below


Unfold the sheet to its original position and rotate it by 90 degrees

Fold the paper sheet in half again


Unfold the sheet to its original position
Flip it over as shown in the picture below


STEP 2 of how to make Origami FINGER TRAP
Fold the sheet in half as shown in the picture below
Let the bottom edge meet the top edge


Unfold the paper sheet to its original position and rotate it by 90 degrees


Fold the sheet in half in the same way, as shown in the picture below


Unfold the sheet to its original position

Place the sheet so that one of the corners is at the bottom

STEP 3 of how to make Origami FINGER TRAP
Make sure that one of the corners is at the bottom
Fold the sheet as shown in the picture below, let the right corner meet the bottom corner

The dotted yellow line indicates the fold line


This is how it should look like

Fold the sheet in the same way on the other side as shown in the picture below


This is how it should look like

You may also like: How to make Cardboard Basketball Game | NBA Basketball Board Game – DIY
STEP 4 of how to make Origami FINGER TRAP
Fold the right corner without changing the position of the sheet


This is how it should look like

Do the same on the other side
Fold the left corner as shown in the picture below


This is how it should look like

Flip the paper sheet over


Fold the left and right corners using the same method as previously explained
The right corner

The left corner

Unfold the paper sheet to its original position
This is how it should look like

STEP 5 of how to make Origami FINGER TRAP
You will need scissors for this step
Cut the sheet along the dotted line using scissors


Make the same cuts on the other three sides
This is how it should look like

Flip the paper sheet over


Fold the just-cut edges of the sheet as shown in the picture below
Fold them in such order:
First, the right and left edges


Then, the top and bottom edges


This is how it should look like

STEP 6 of how to make Origami FINGER TRAP
Flip the paper sheet over
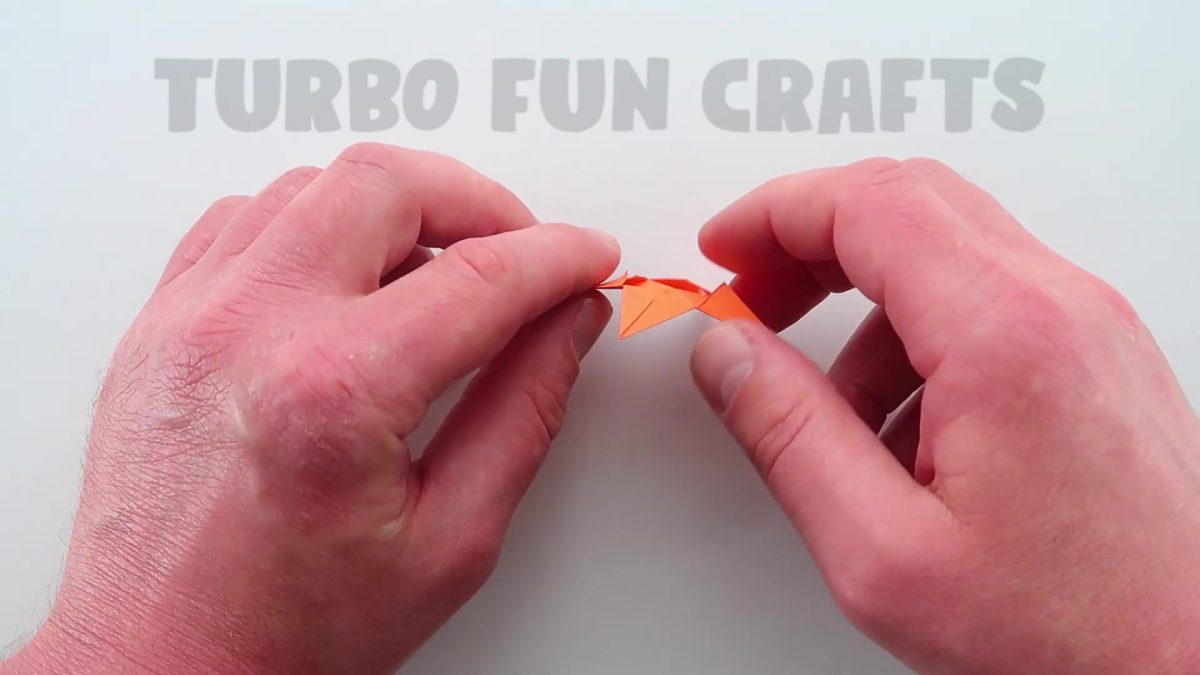
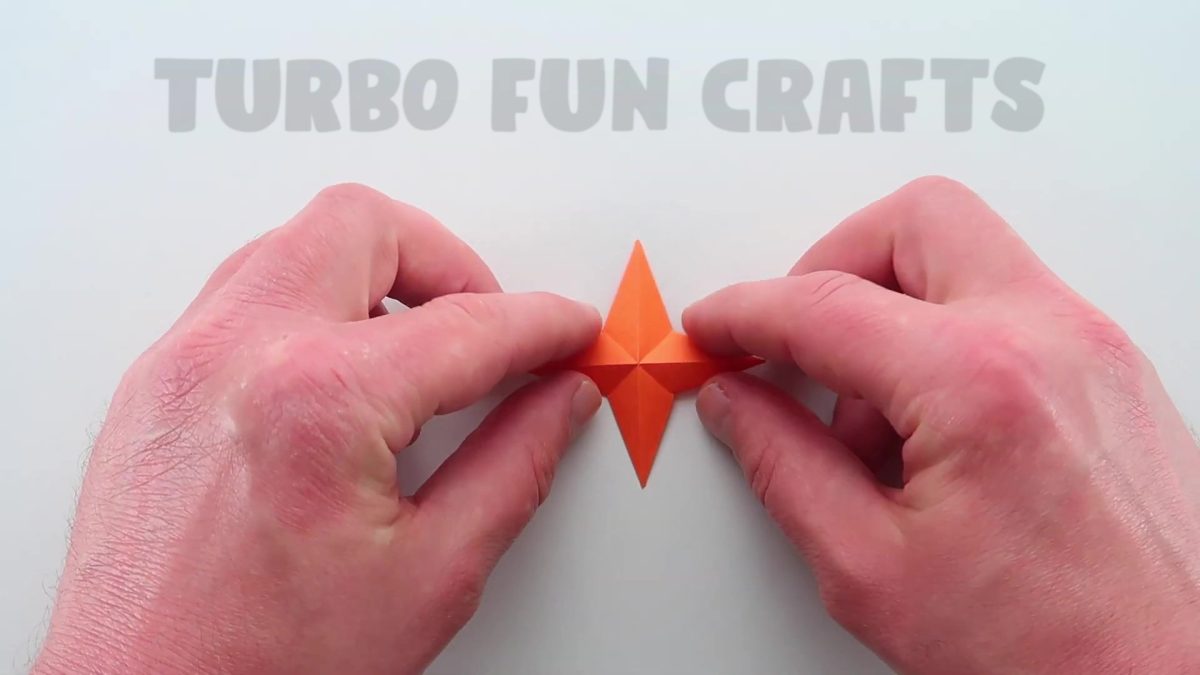
Fold the tapered edges of the sheet as shown in the pictures below
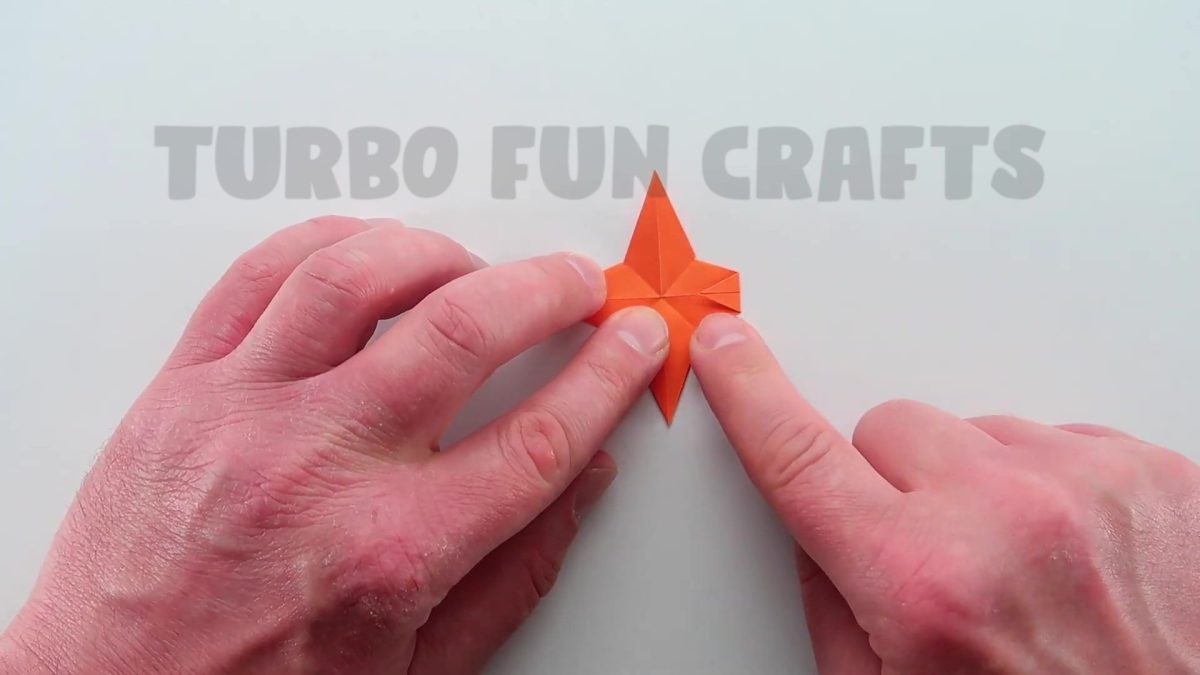
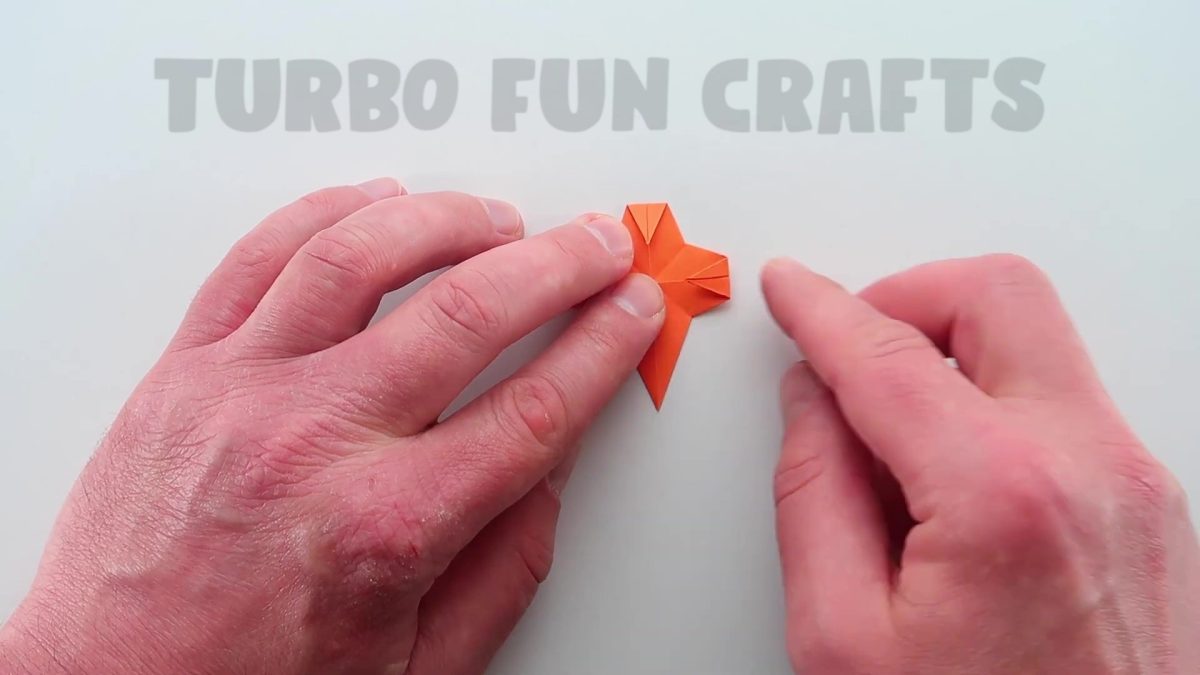

This is how it should look like
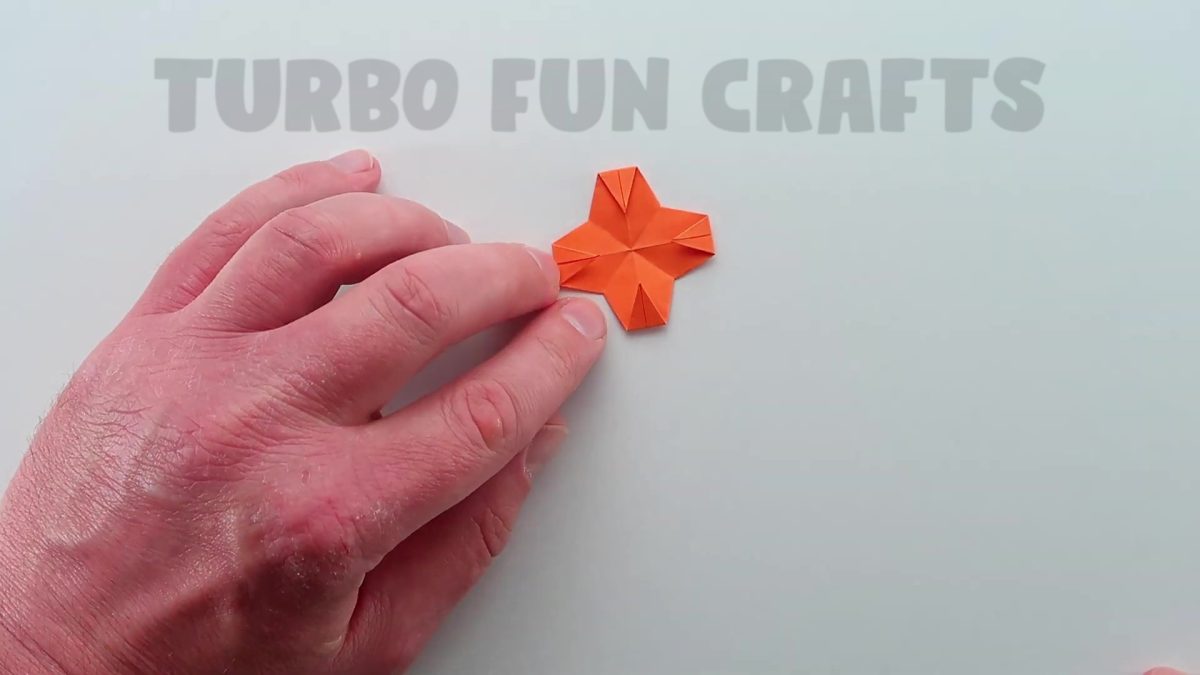
STEP 7 of how to make Origami FINGER TRAP
In this step, you need to give the necessary shape to the edges of the paper sheet that you have just folded
Start folding the paper along the edges of the triangle as shown in the picture below
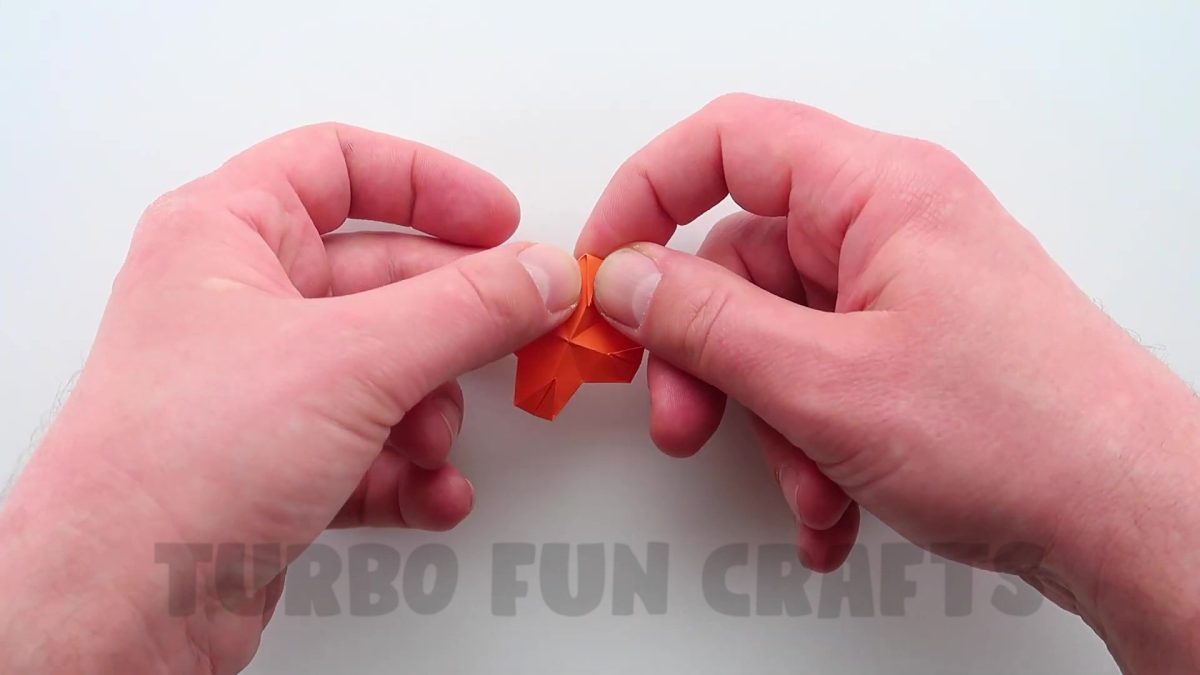

You need to fold each edge on both sides of the triangle, to give it a triangular shape
In the picture below, it is shown how it should look like
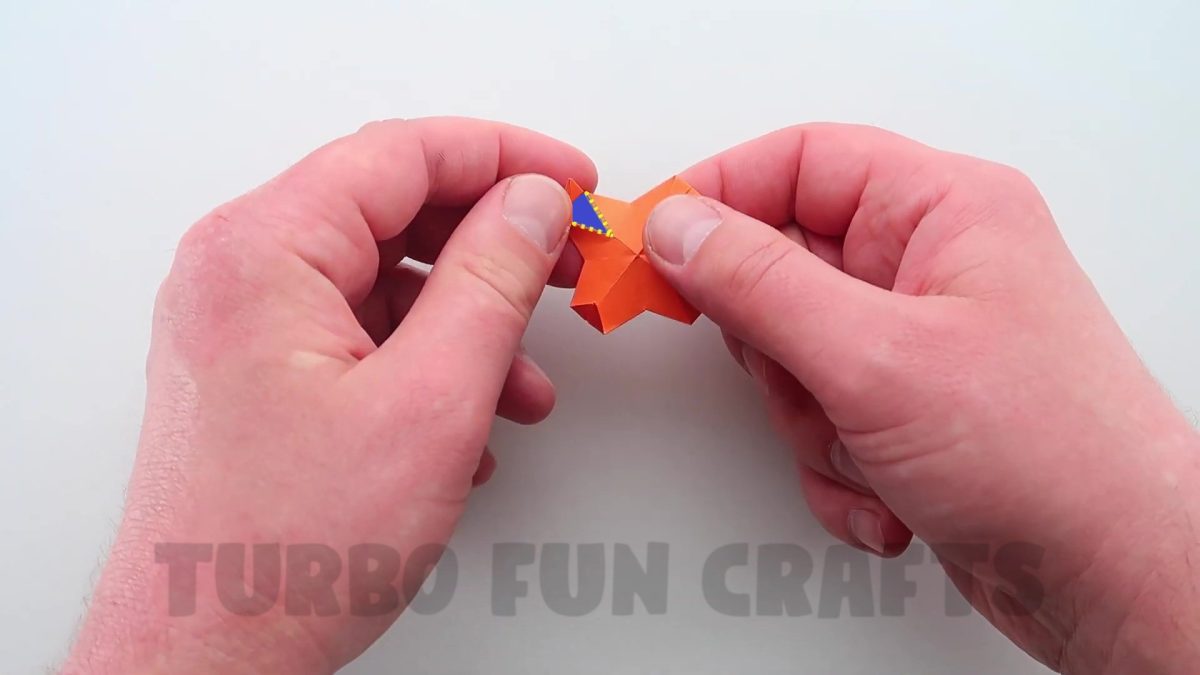

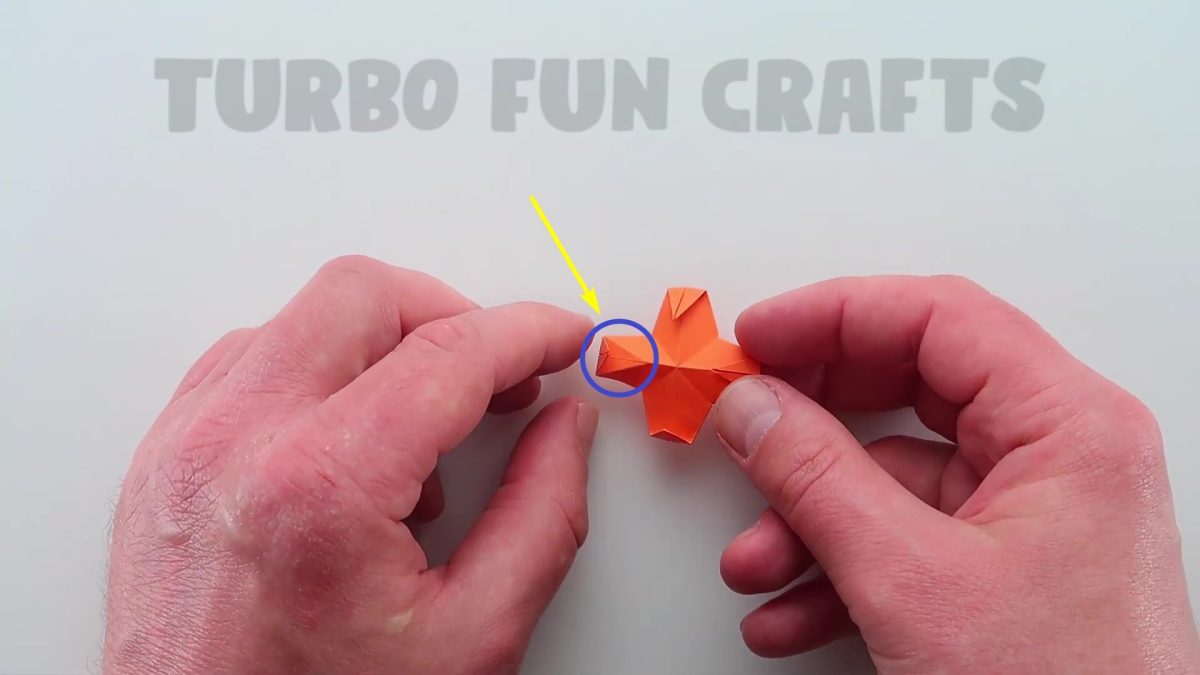
Now, it’s time to give the same shape to the remaining three ends of the paper sheet
Fold them as previously shown
This is how it should look like
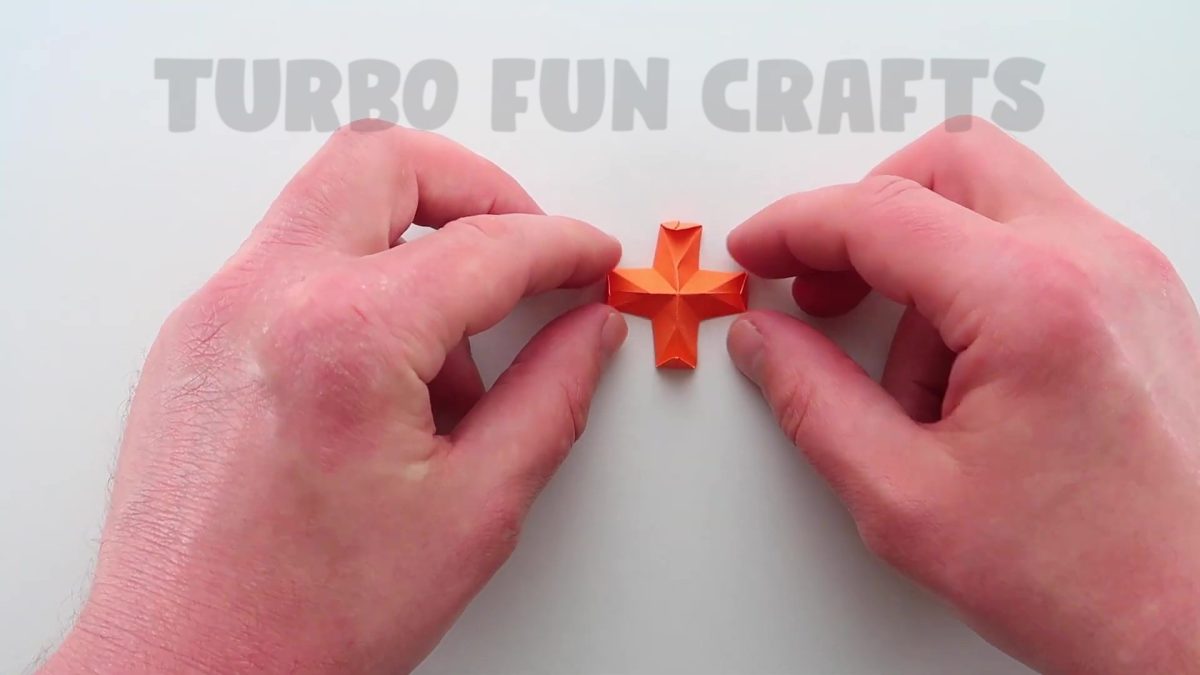
It’s time to check if you have correctly followed the folding instructions
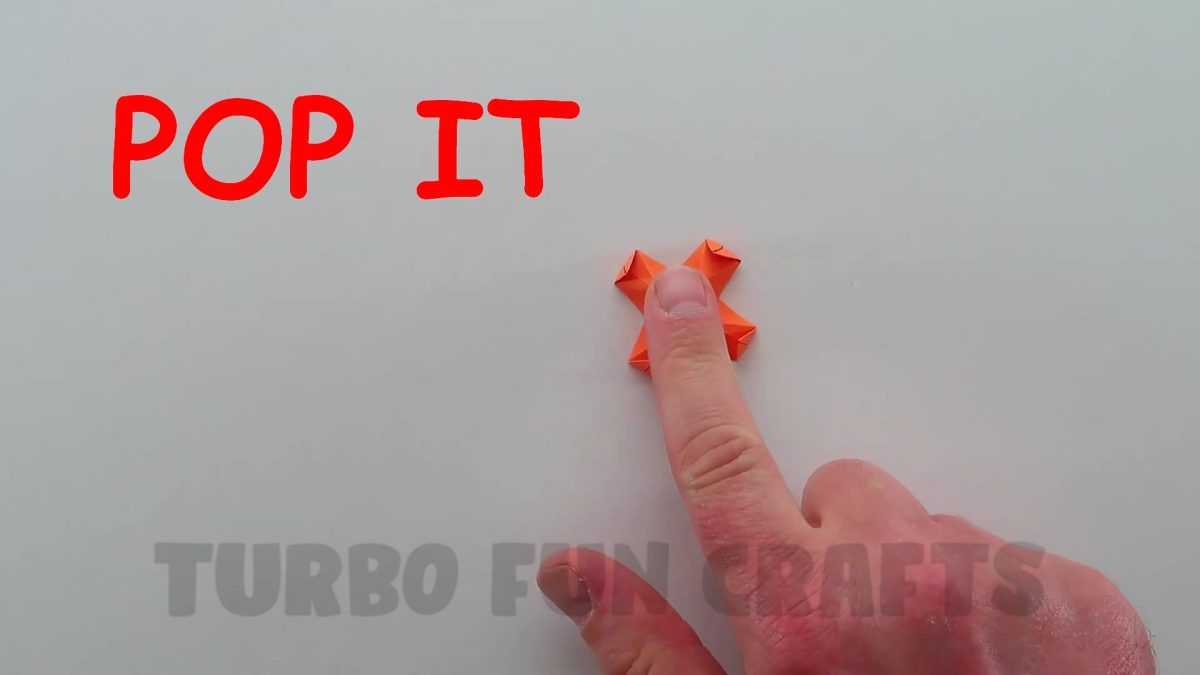
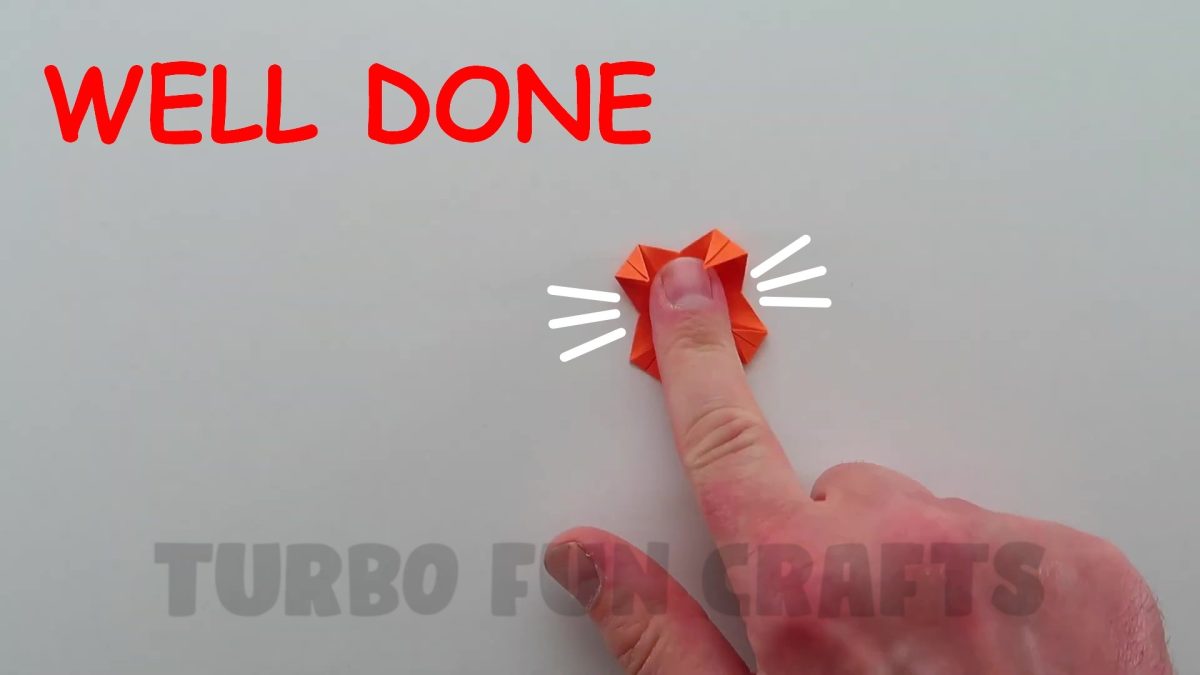
Let’s check how the Finger Trap works
Put the toy on a flat surface and press it with your finger
STEP 8 of how to make Origami FINGER TRAP
Now it’s time for the most important part
Let’s decorate the Funny Origami Finger Trap
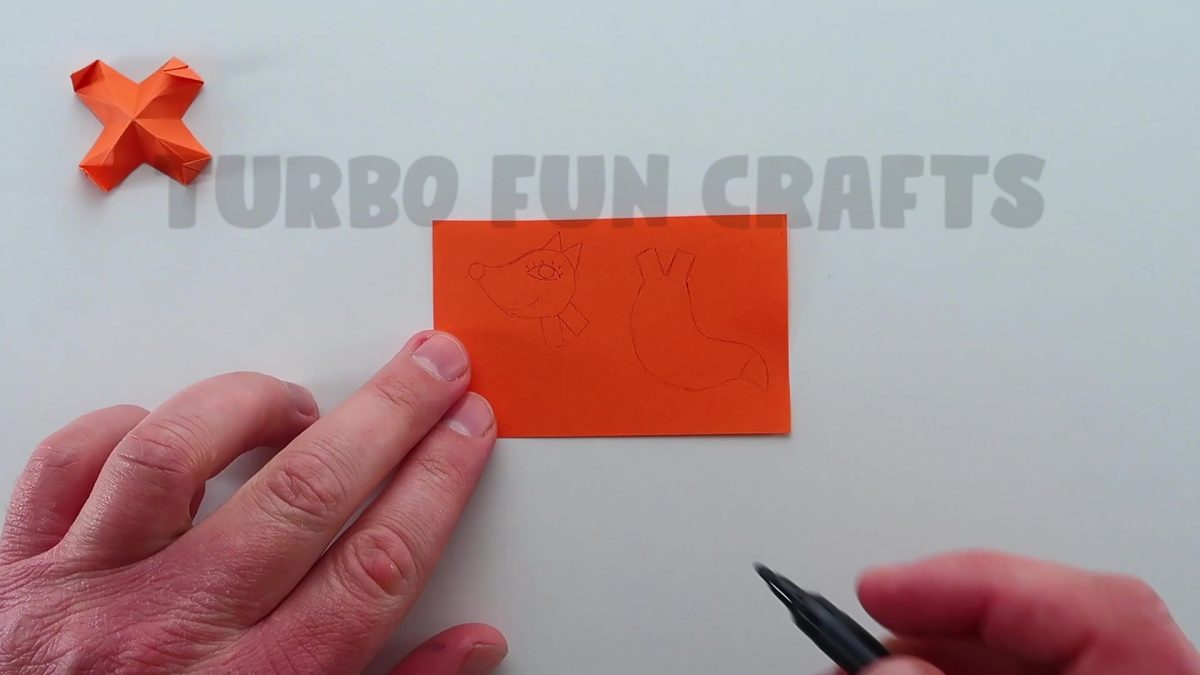
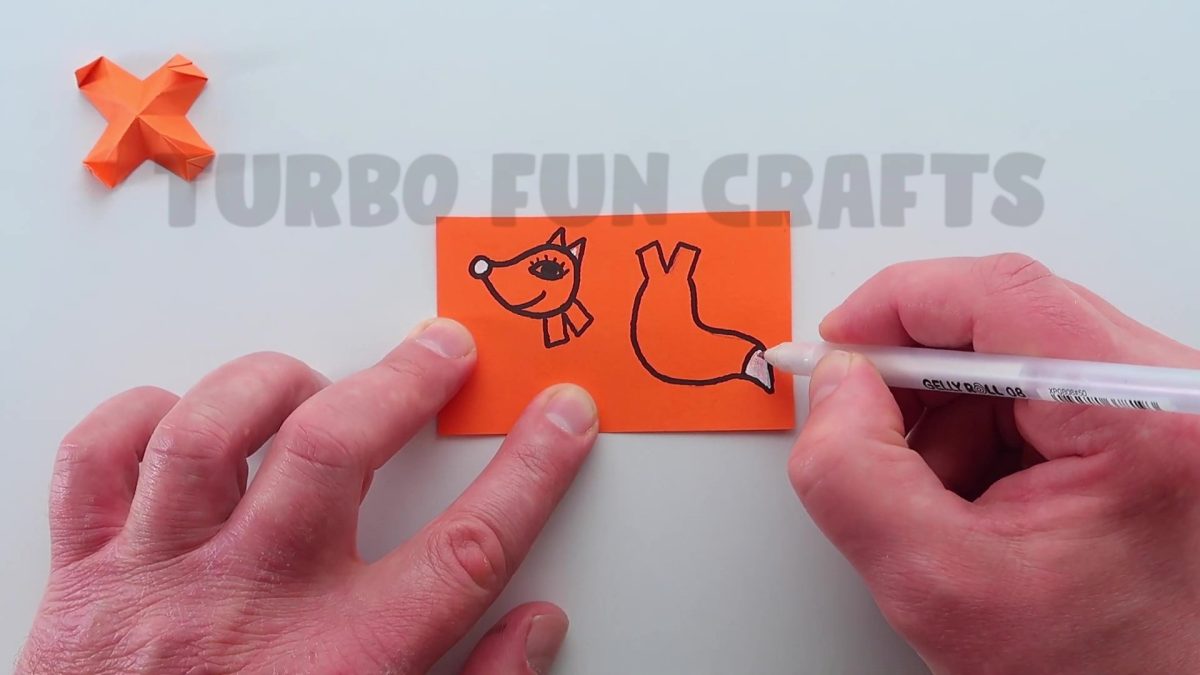
You will need a sheet of colored paper, a marker, a pen, glue, and scissors
In our tutorial, we will make a fox
You can make this toy in the shape of any animal you like

Now you will need scissors
Let’s cut out the fox
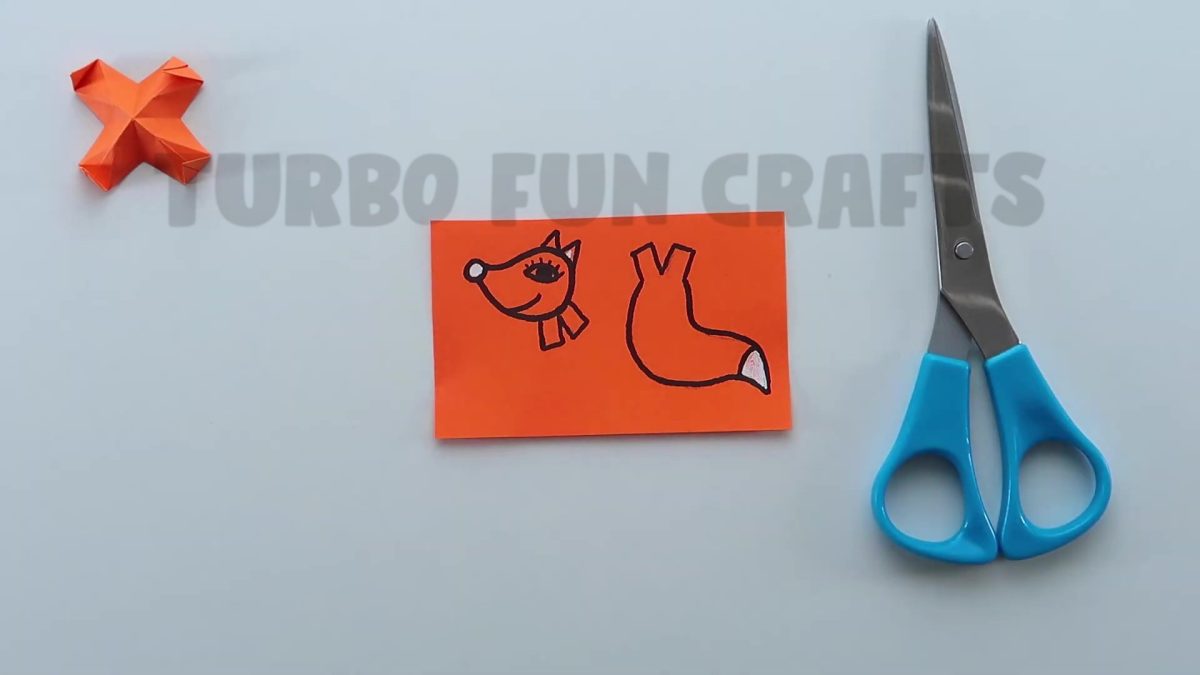
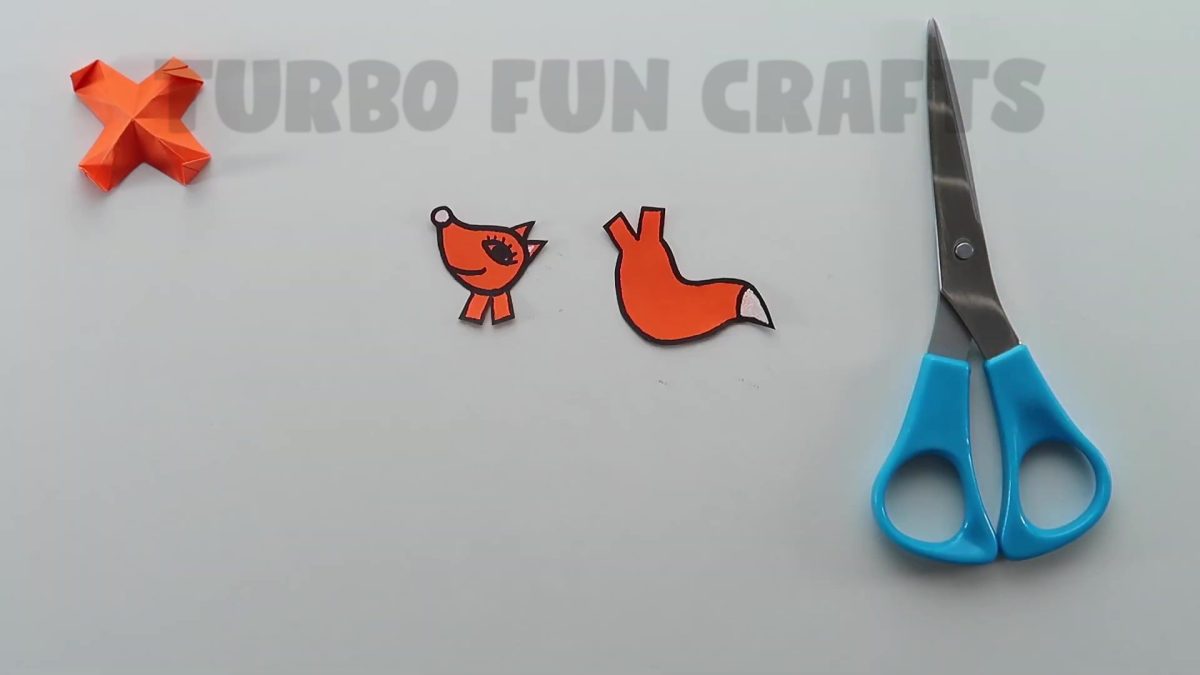
Take a sheet of white paper and draw the paws with a marker
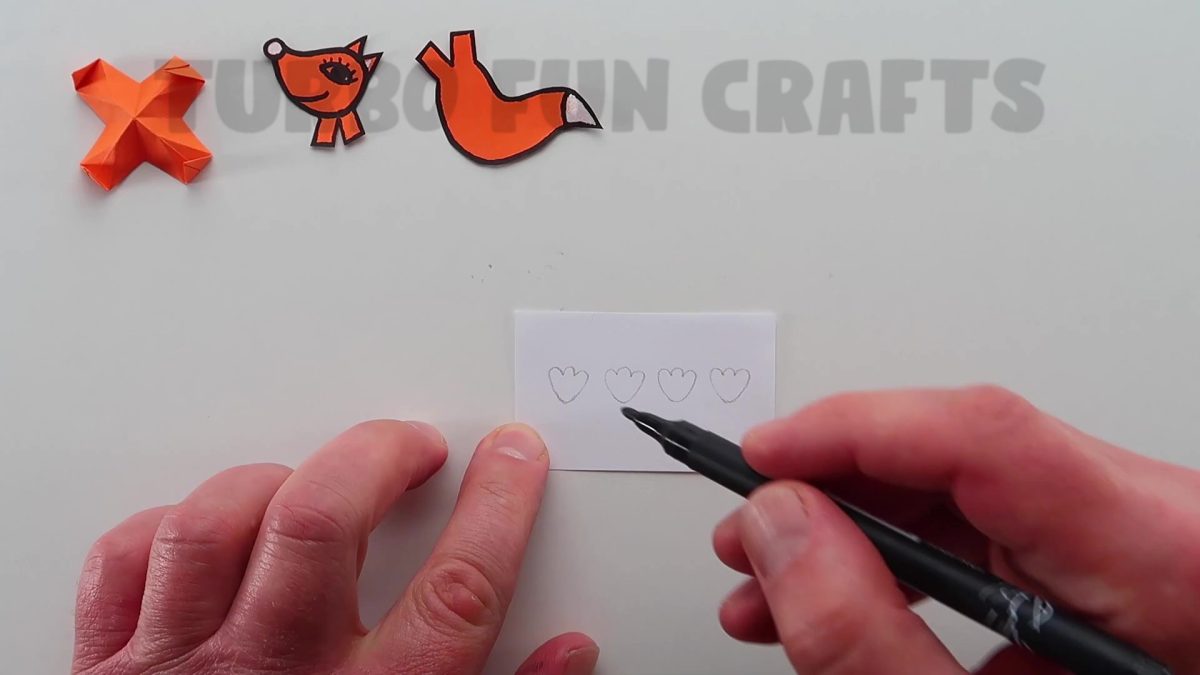

Let’s cut out the paws using scissors
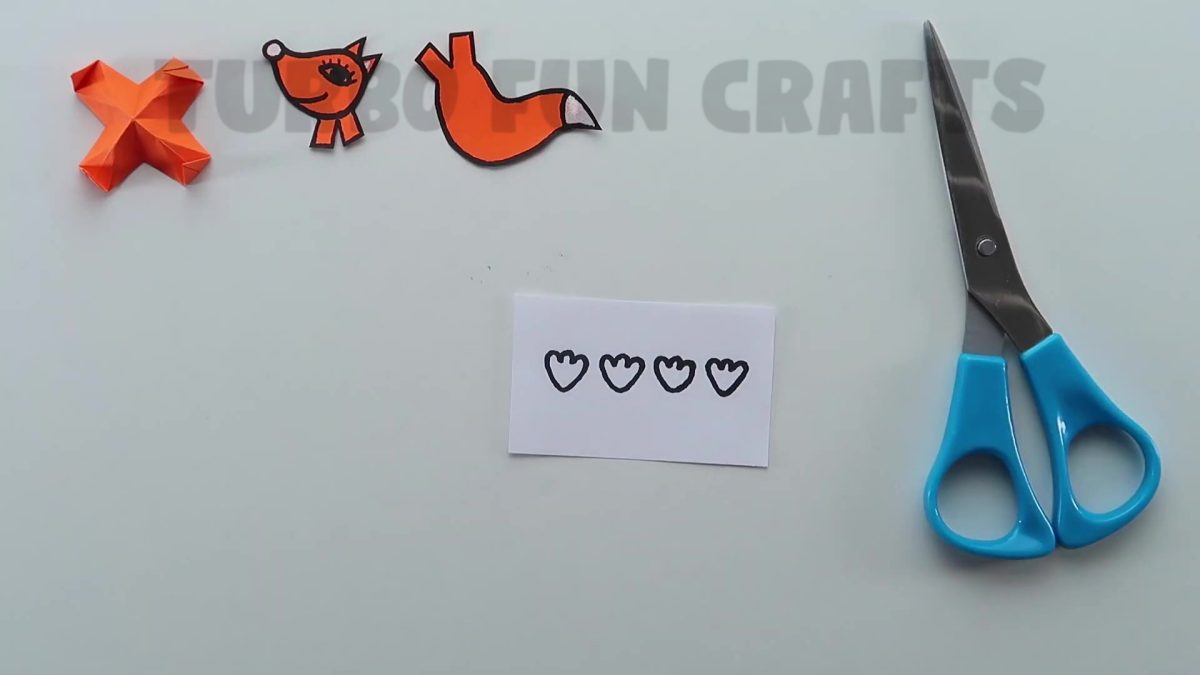
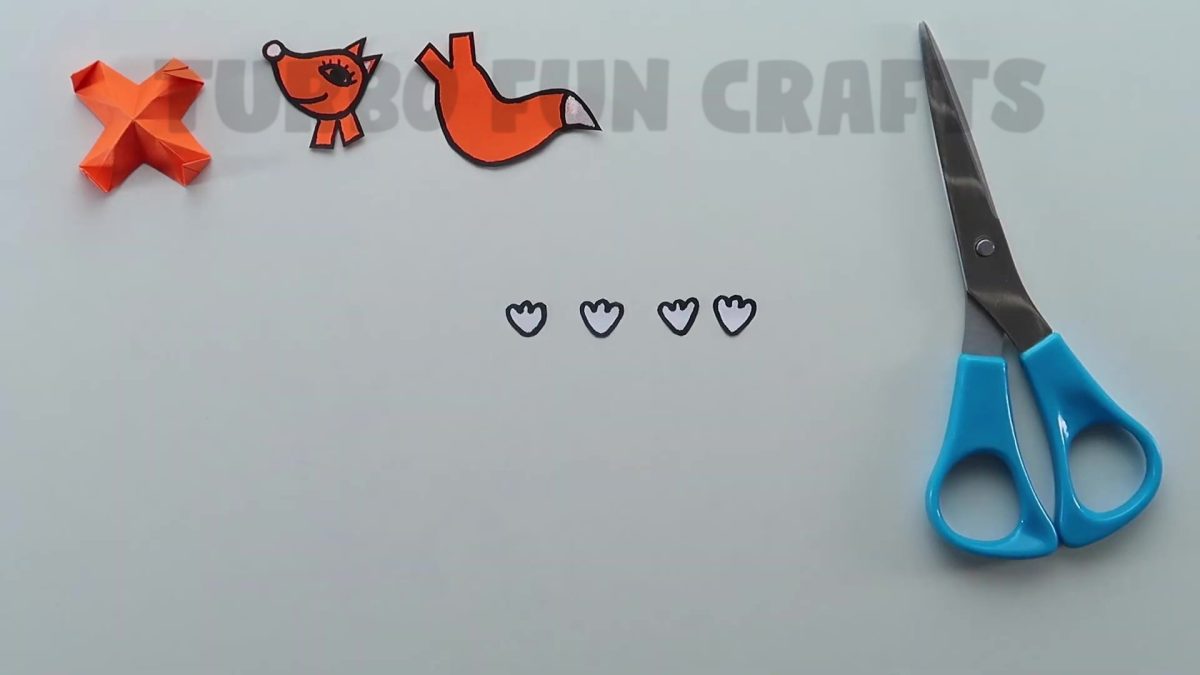
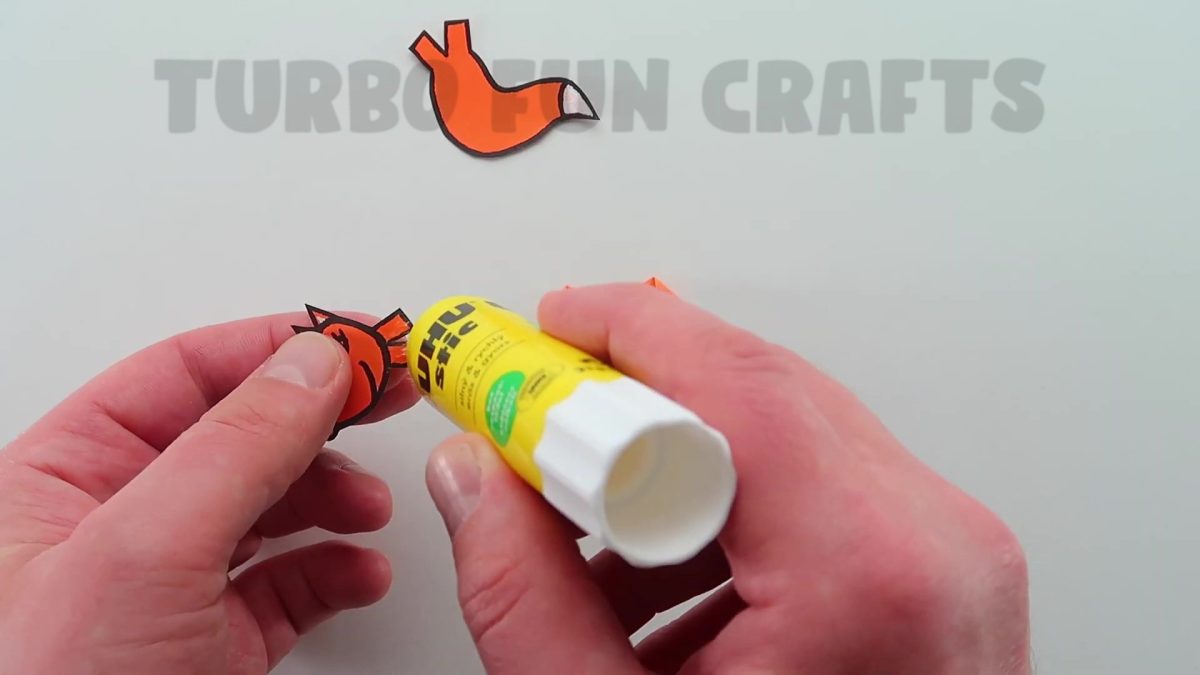
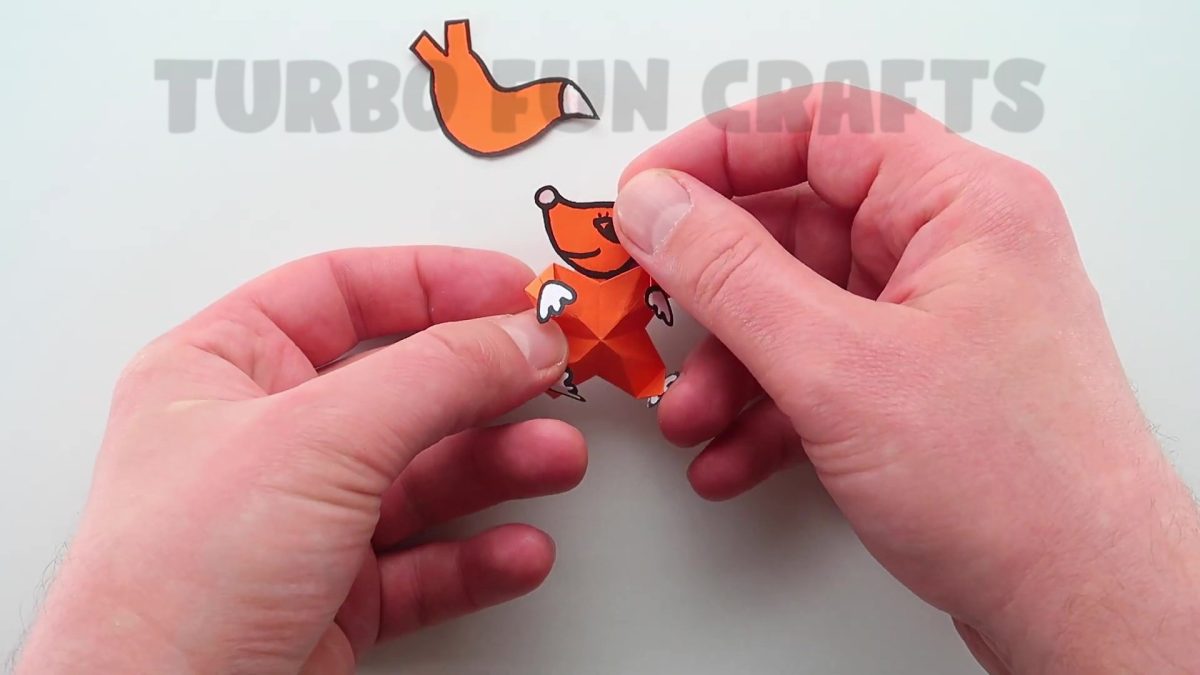
Take the glue and attach the paws to the hands and feet of the toy
The paws should be glued to the folded corners of the toy
This is shown in the picture below
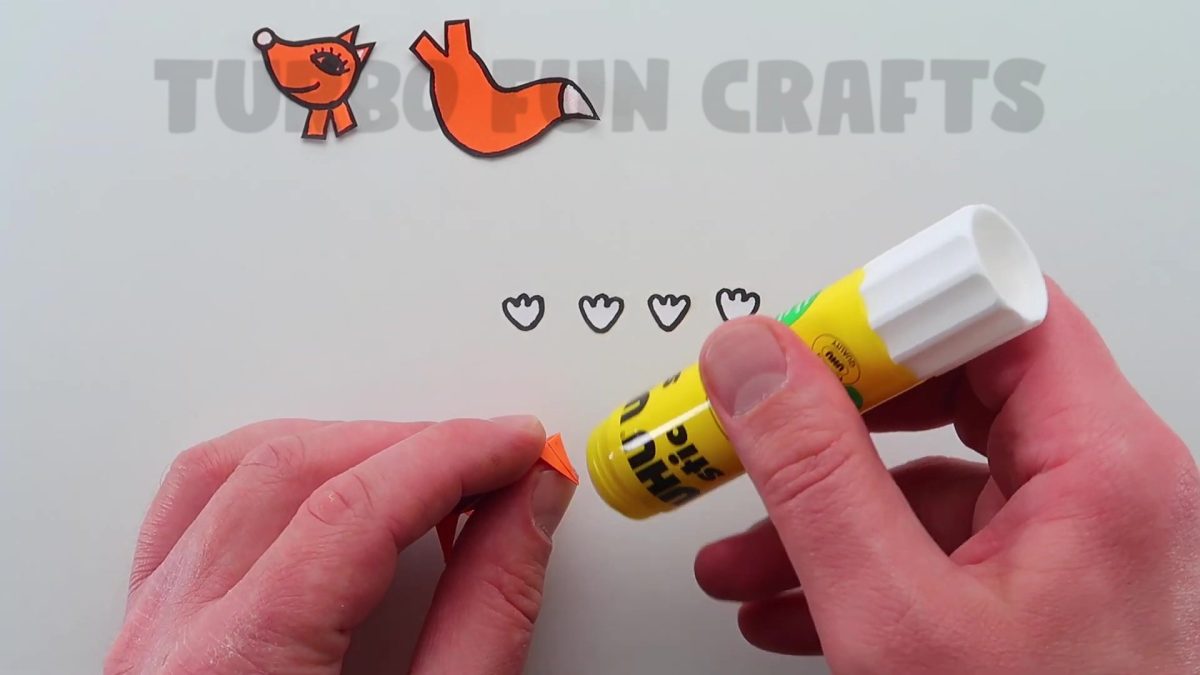
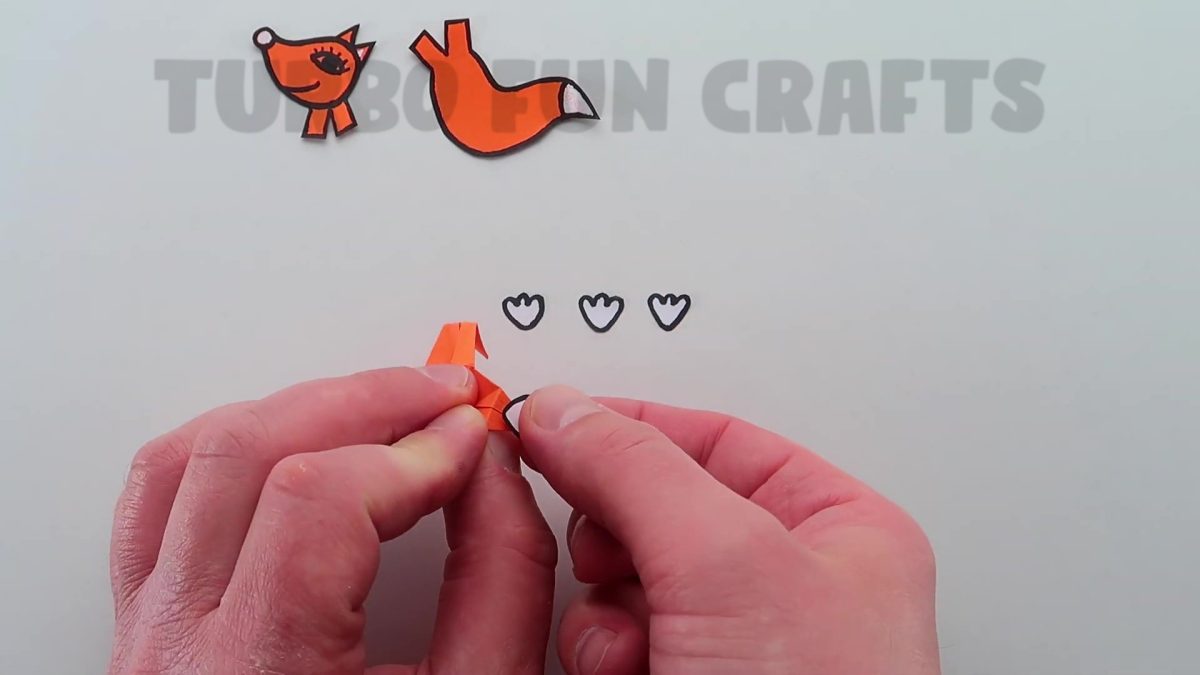
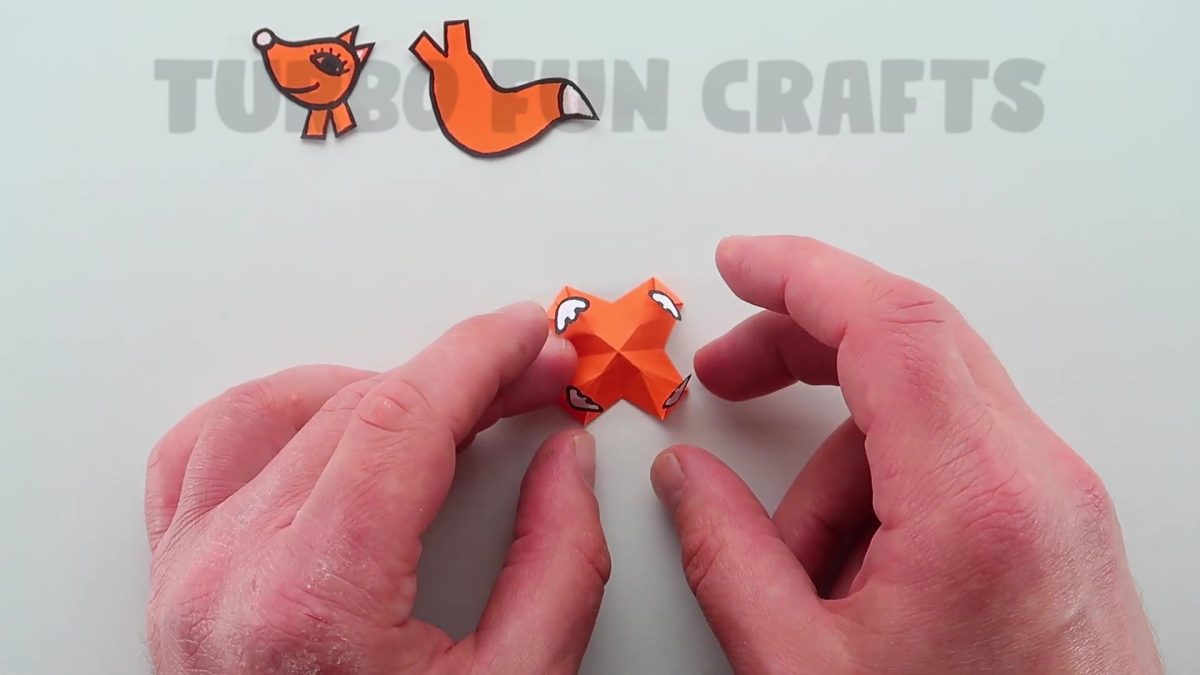
Take some glue and attach the head and tail to the body (glue it to the bottom side)
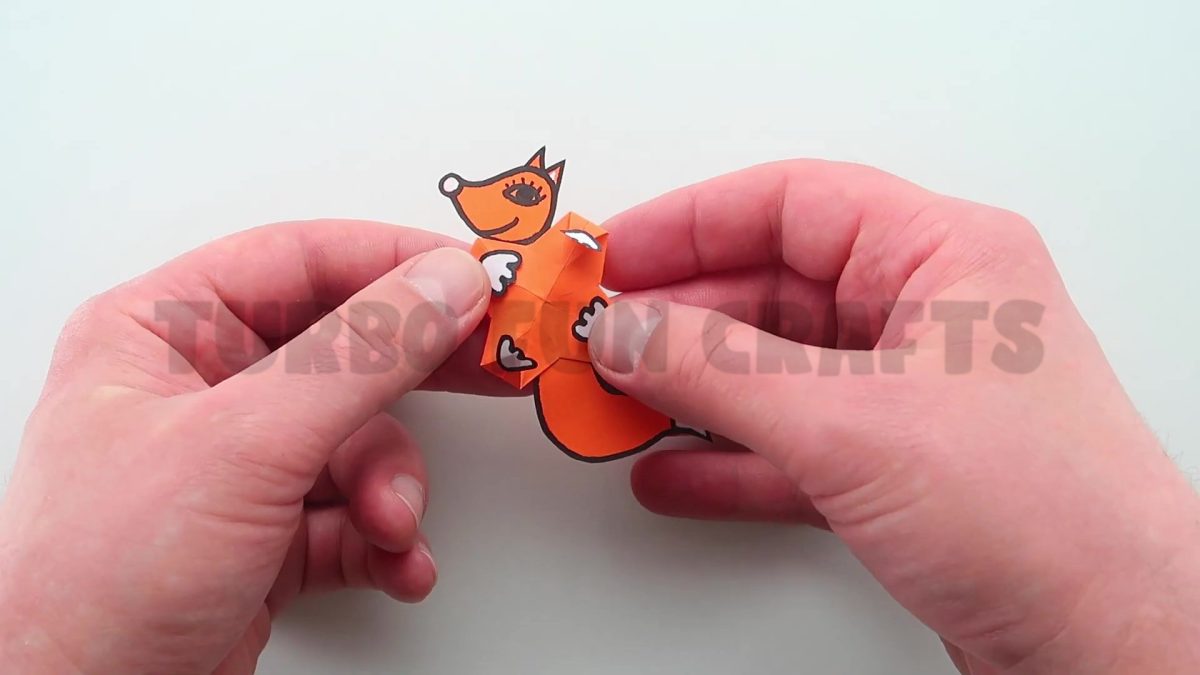
So now, the Funny Origami Finger Trap is ready
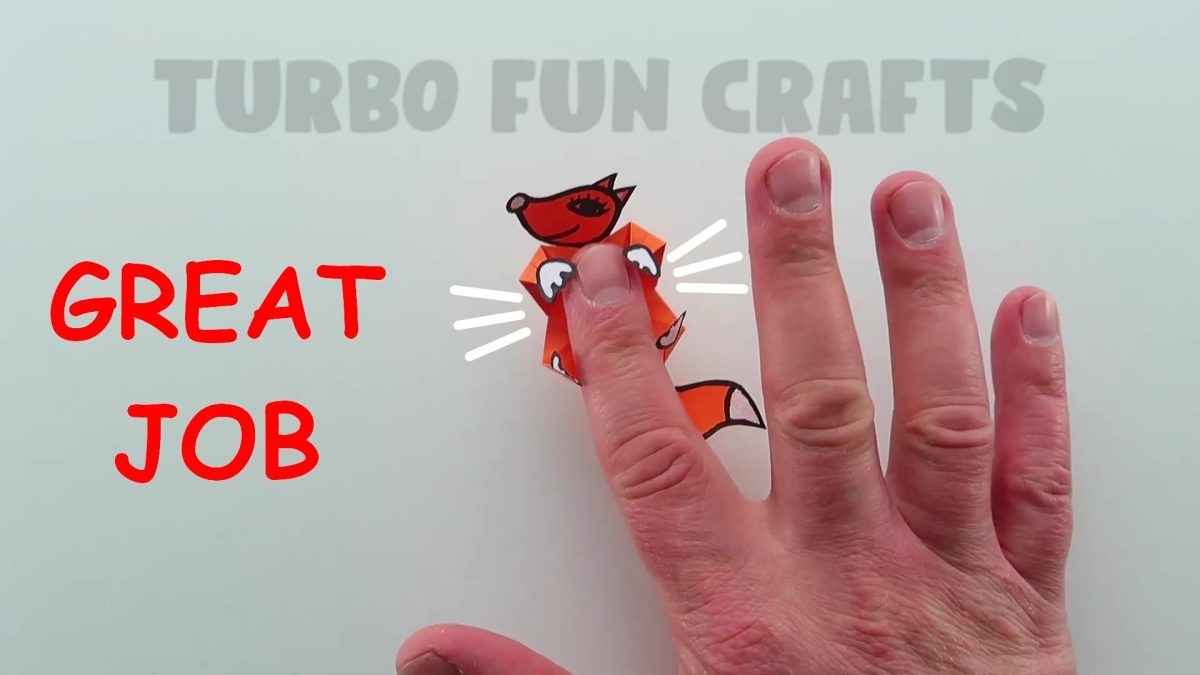
Let’s check if it works
Put the toy on a flat surface and press it with your finger – the Fox will catch your finger 🙂

Allow your imagination to run wild and don’t limit yourself 🙂
Explore various shapes and designs and make as many Funny Origami Finger Traps as you want 🙂
You may also like other ORIGAMI from our collection 🙂
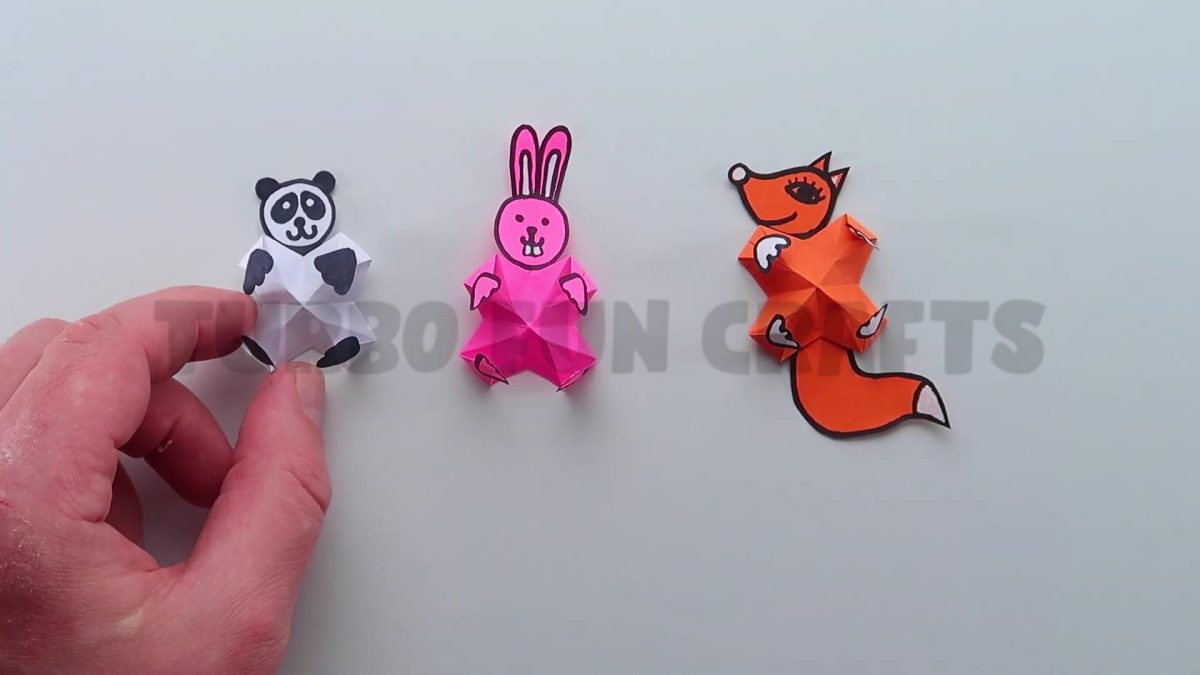
You can either enjoy playing with the stress-relieving toy yourself or give it as a gift to your friends.
This toy will surely make a great impression on everyone who sees it.
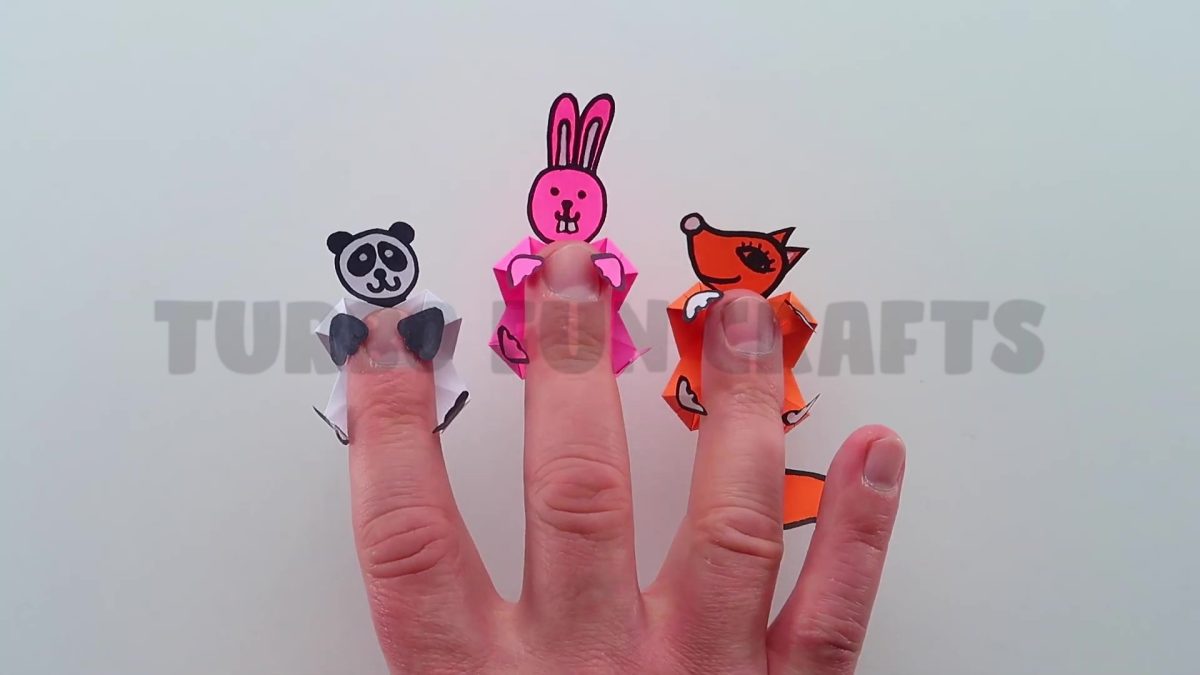
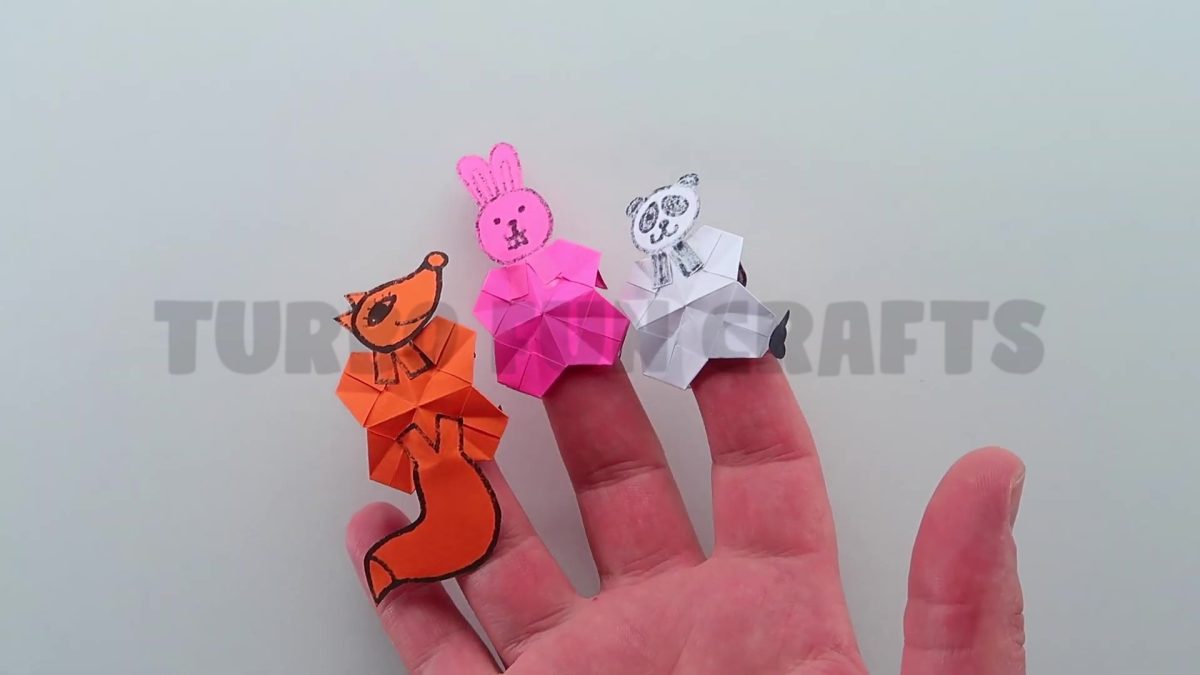
The Funny Origami Finger Trap is a budget-friendly and eco-friendly option for those who enjoy fidget toys. It can be made with any piece of paper, making it a great option for those looking to reduce waste and save money.
So why not give it a try and see how this fun and unique paper craft can help you relieve stress and stay focused?
Have fun 🙂
You can also watch a video tutorial of how to make a Funny Origami Finger Trap:


