How to make Paper Chest of Drawers | Easy Origami Tutorial | Simple DIY Storage Solution | Creative Paper Crafts
Hey there, craft enthusiasts! 🙂 Today, we are excited to share with you an easy Origami Tutorial on how to make a Paper Chest of Drawers that will not only help you organize your small items or office supplies but also add a touch of creativity to your space. Whether you’re a beginner or an experienced crafter, this DIY project will surely spark your imaginative side 🙂
With just a few folds and a touch of inspiration, you’ll have a unique and functional masterpiece in no time! Let’s dive into the world of creative paper crafts and get started on this exciting origami project! 🙂
Please scroll down for a step-by-step tutorial on how to make a Paper Chest of Drawers

HERE IS THE TUTORIAL:
Materials You’ll Need:
- 2 sheets of paper in different colors (measuring 15 by 15 cm)
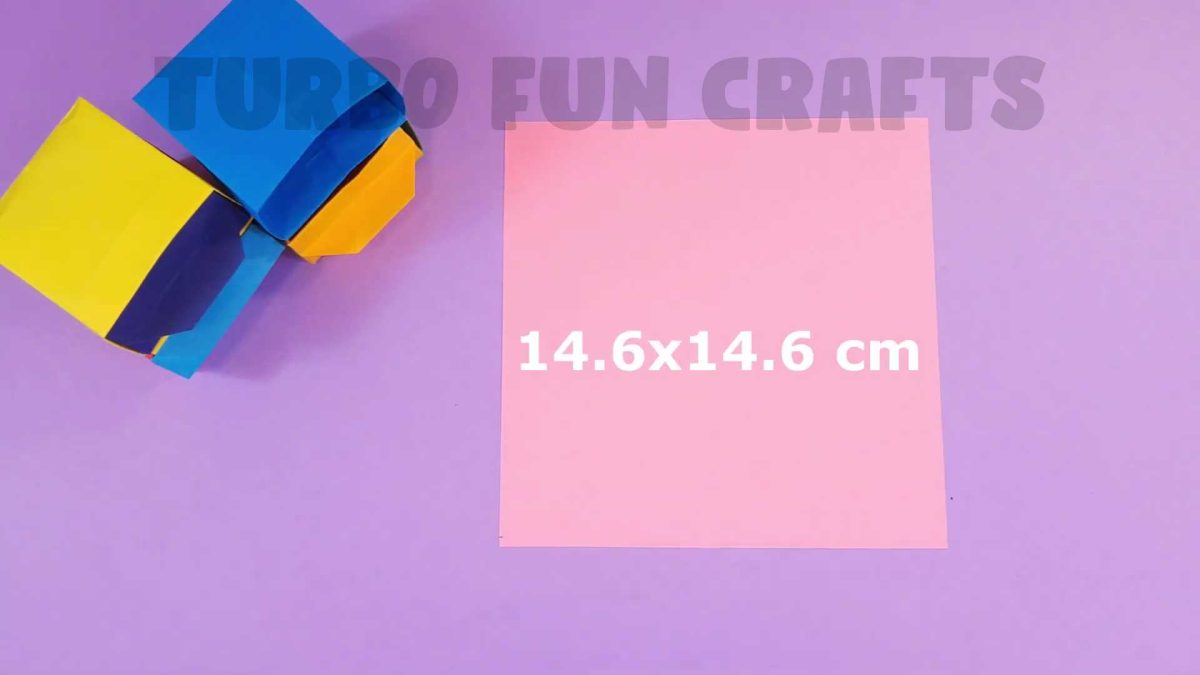
- 2 sheets of paper in different colors (measuring 14.6 by 14.6 cm)
- glue
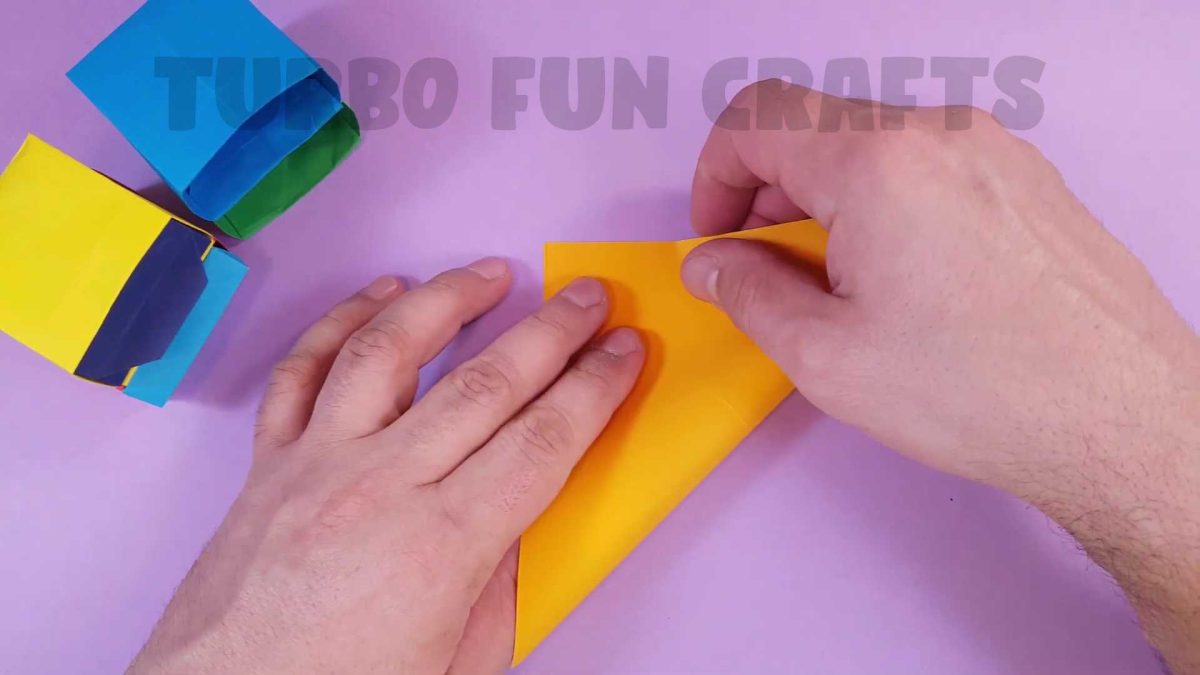
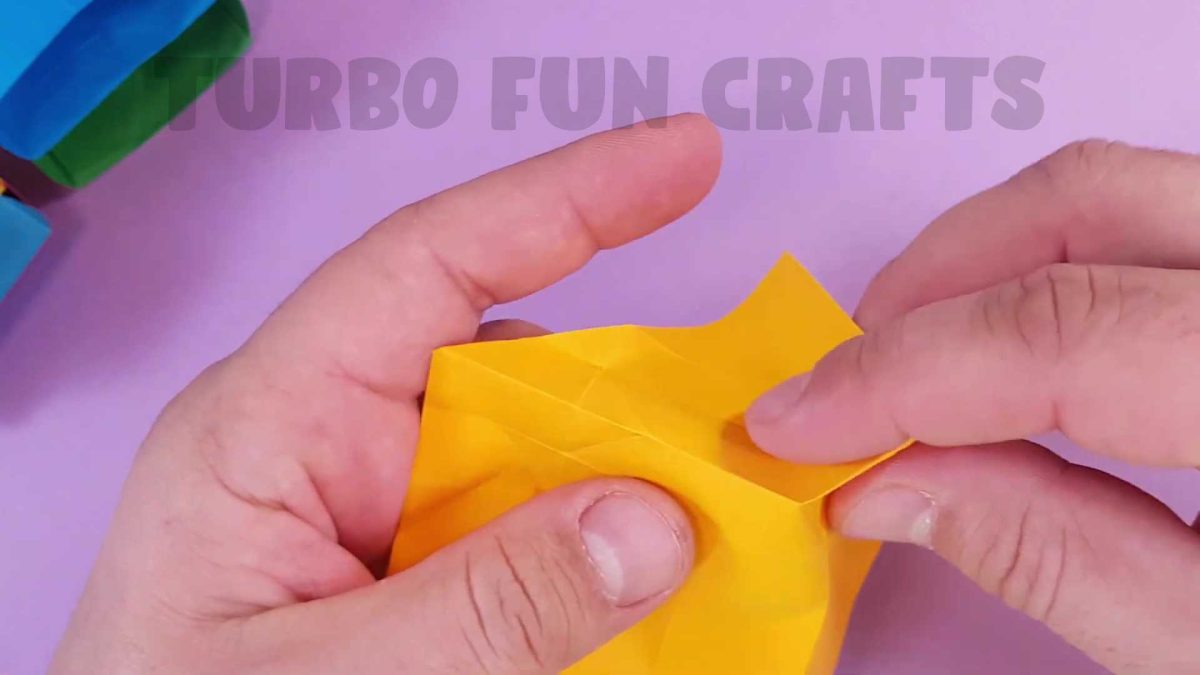
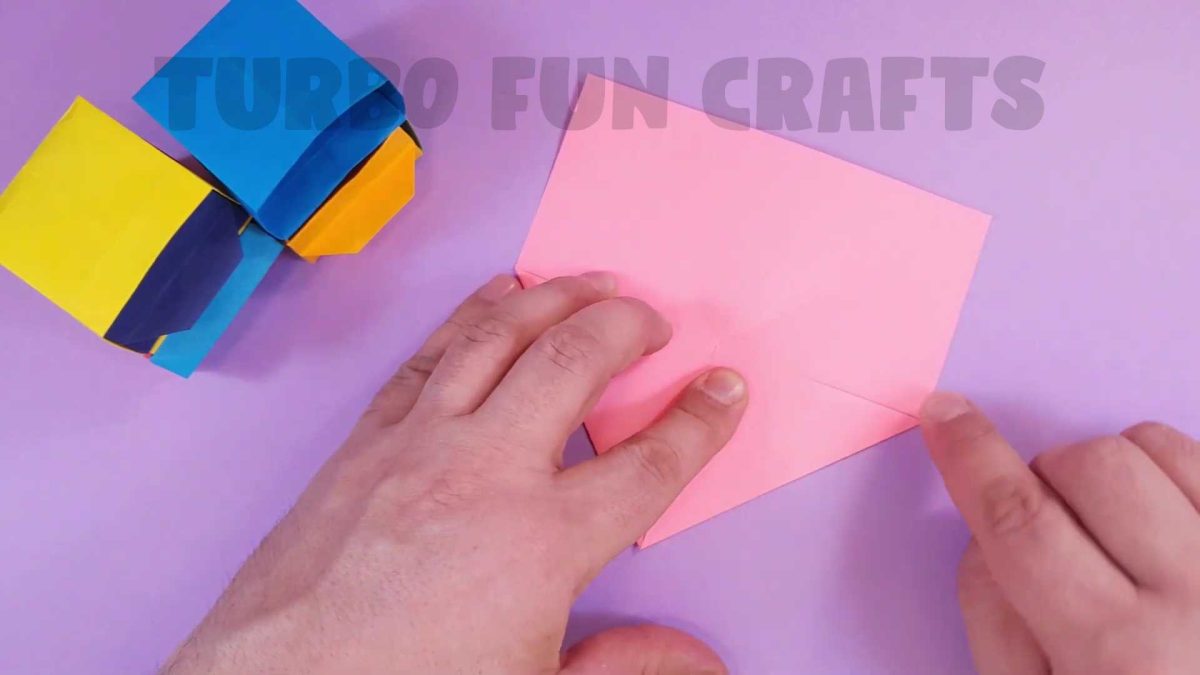
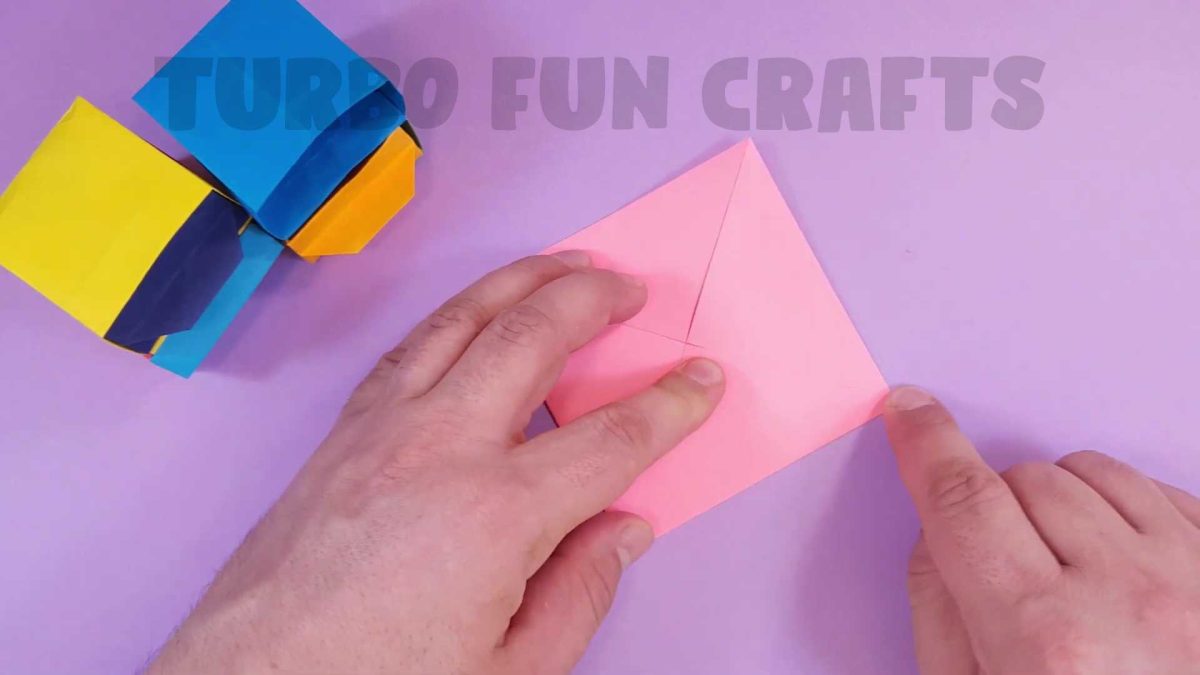
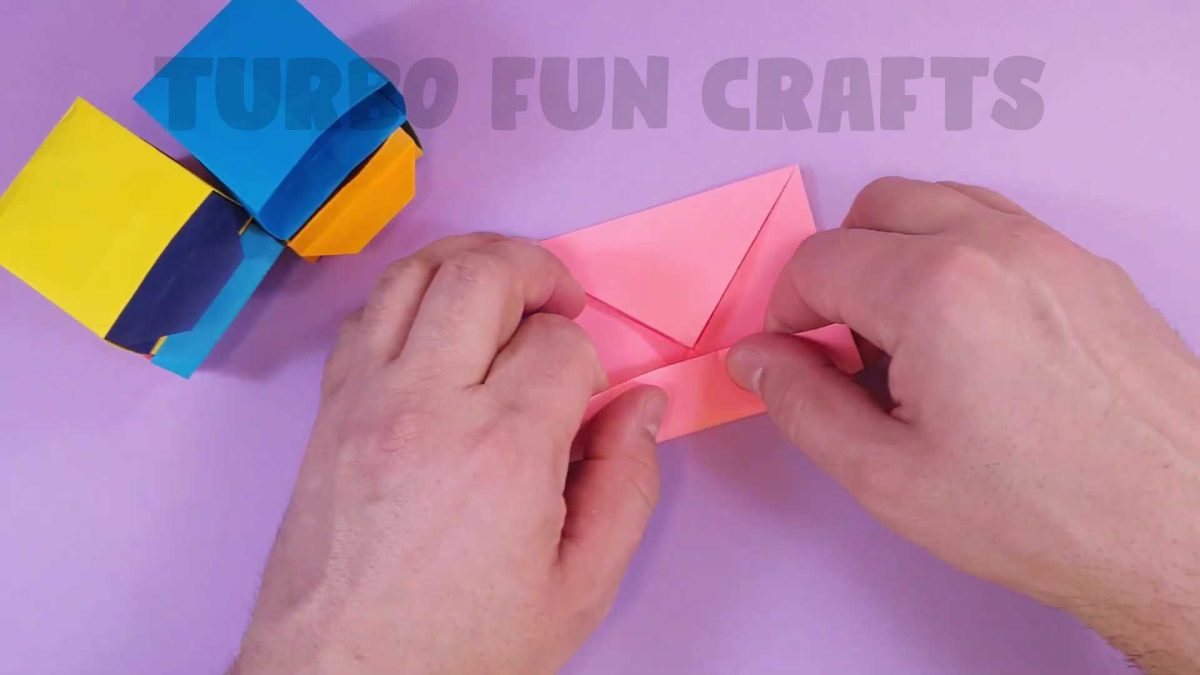
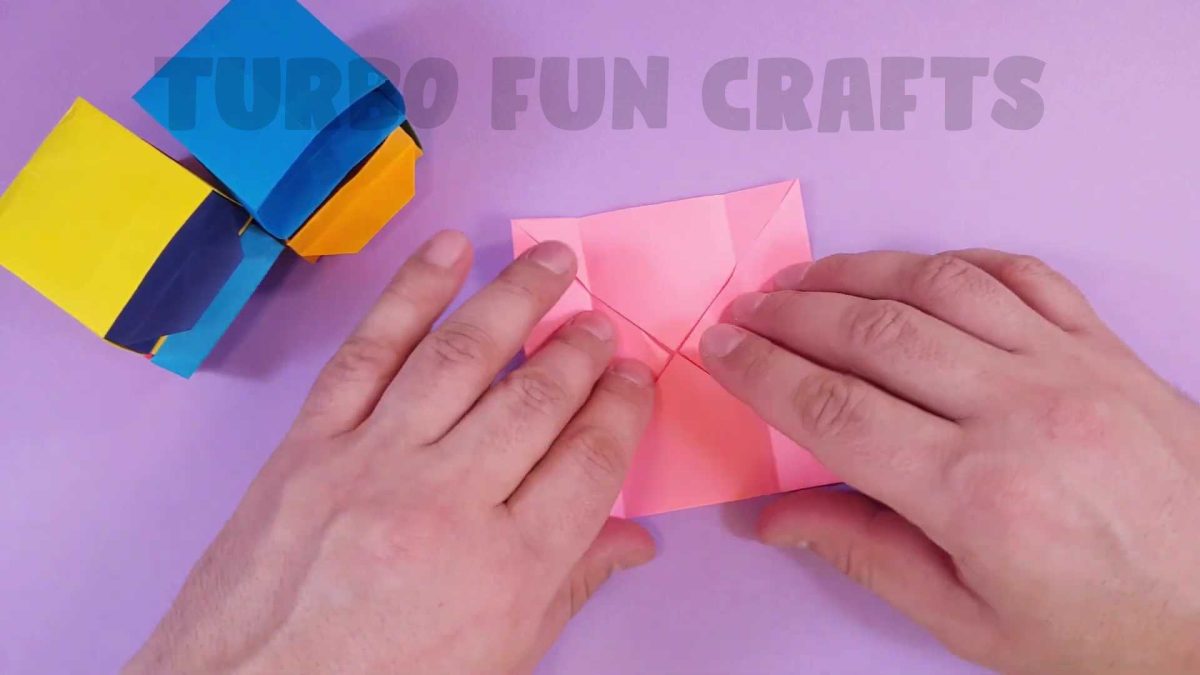
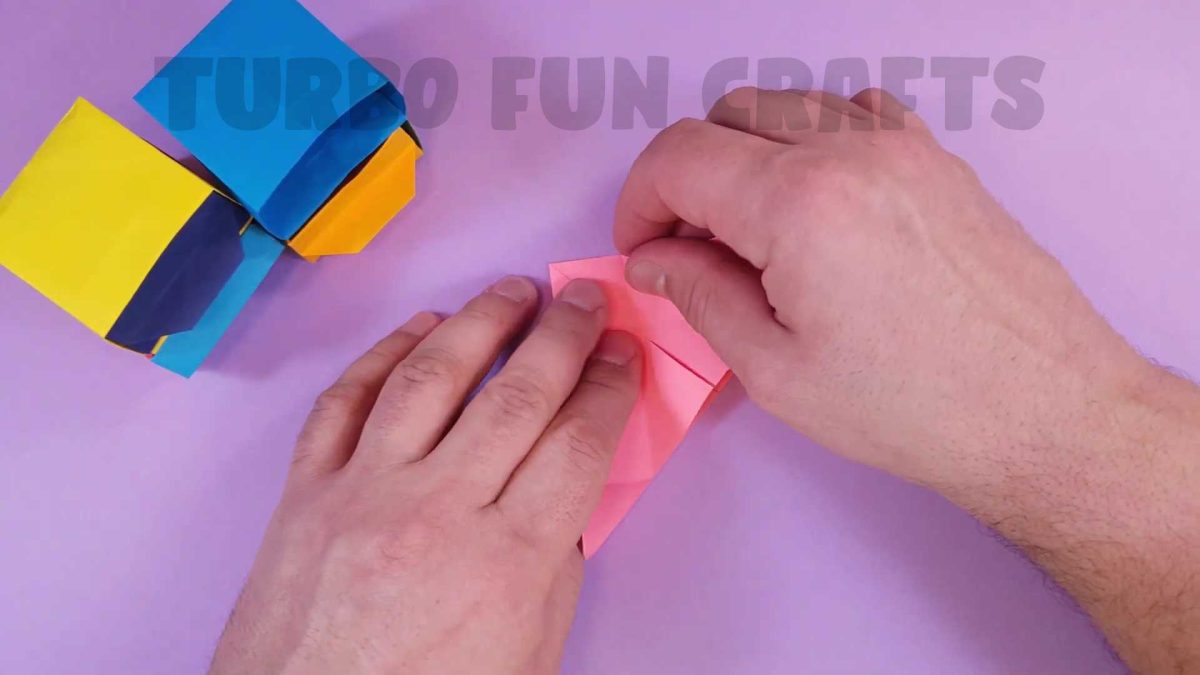
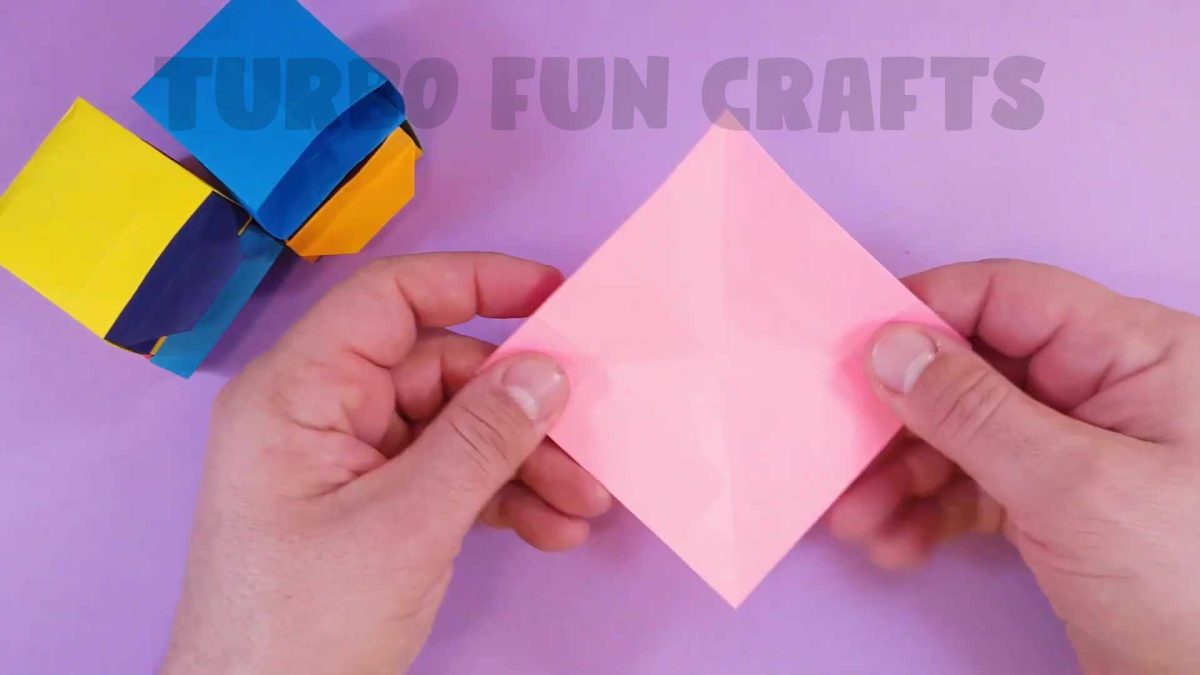
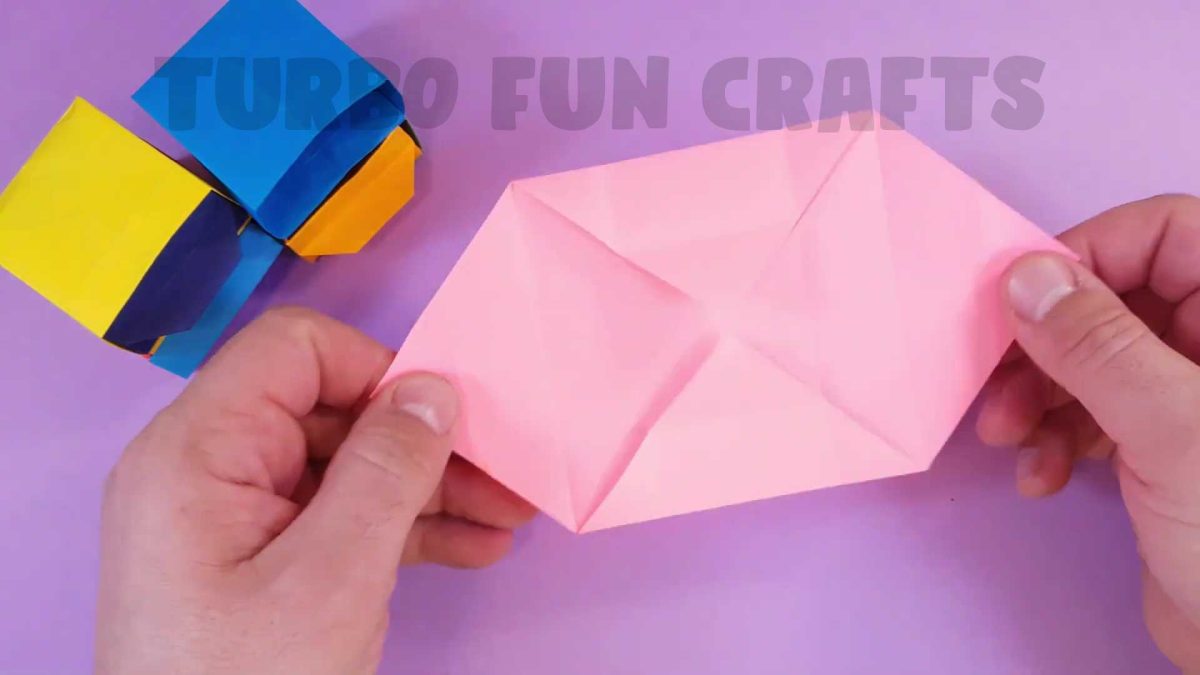
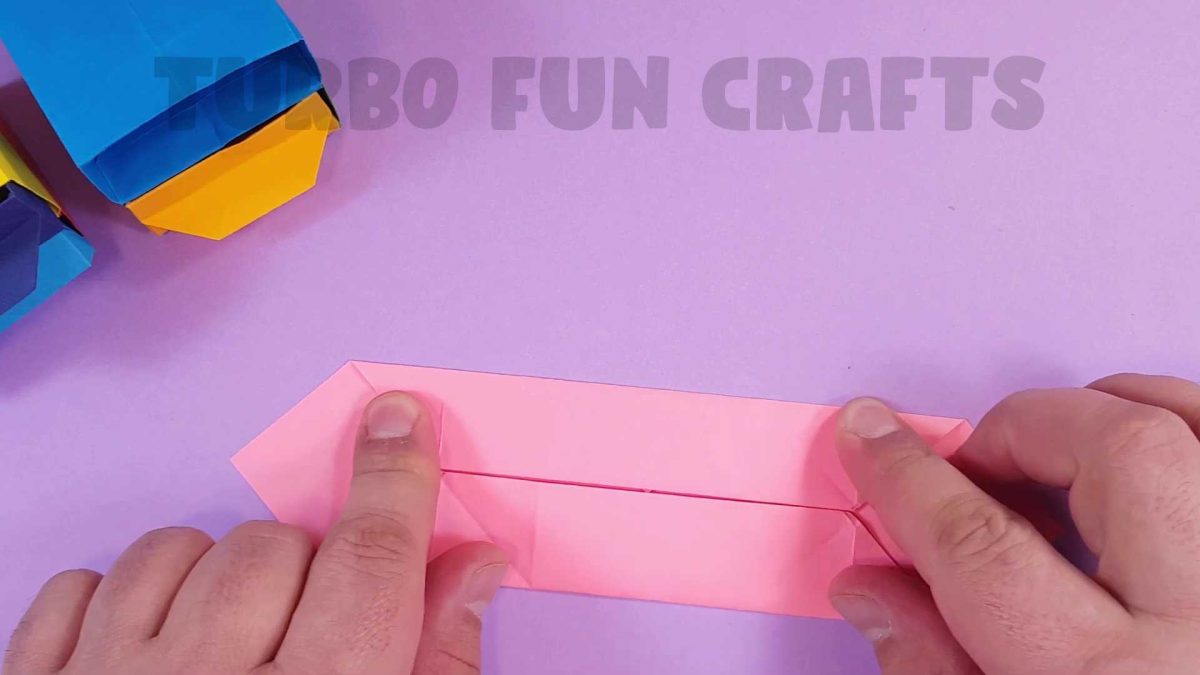
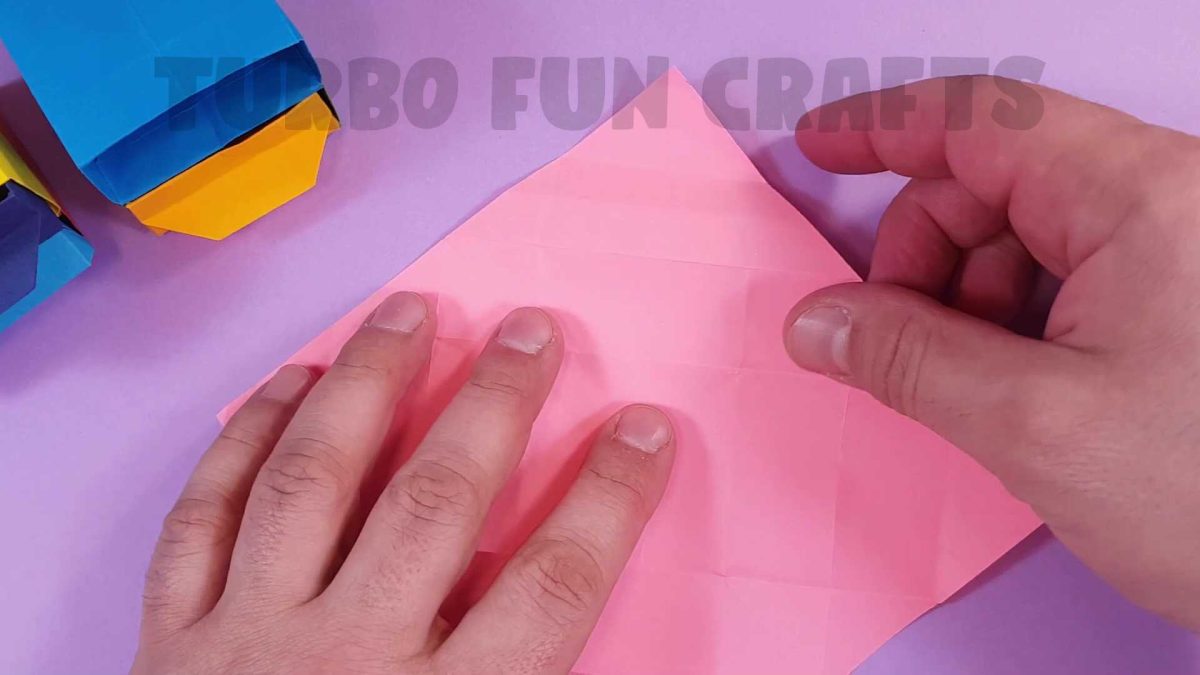
STEP 1 on how to make a Paper Chest of Drawers
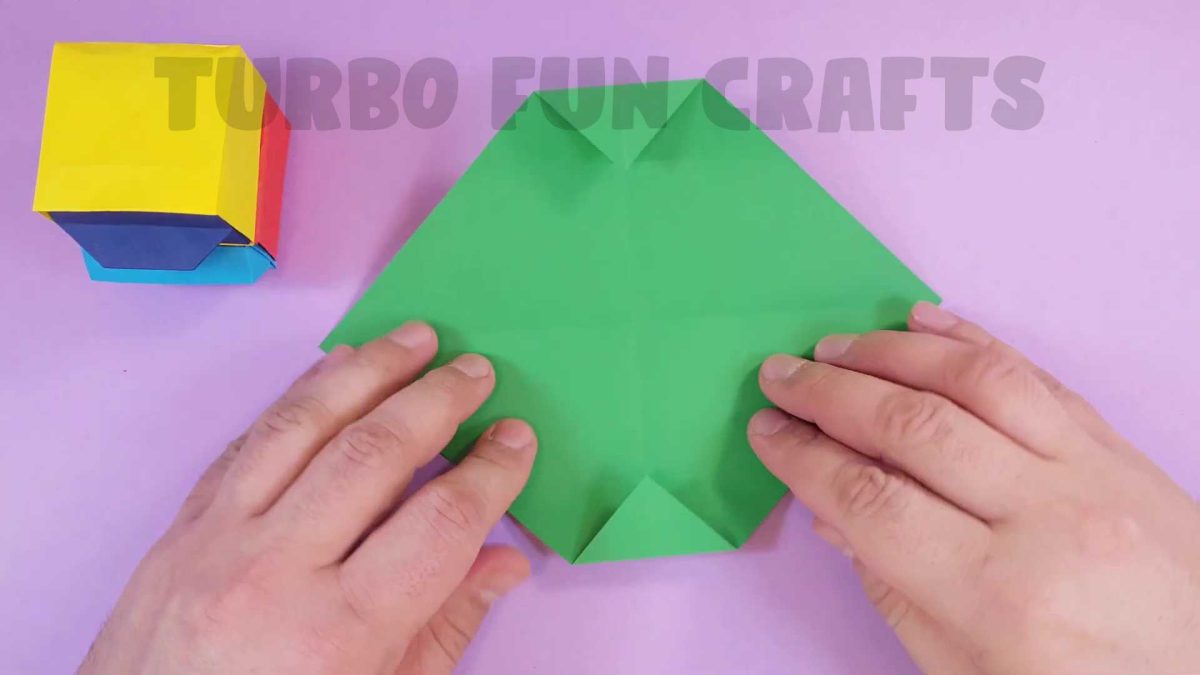
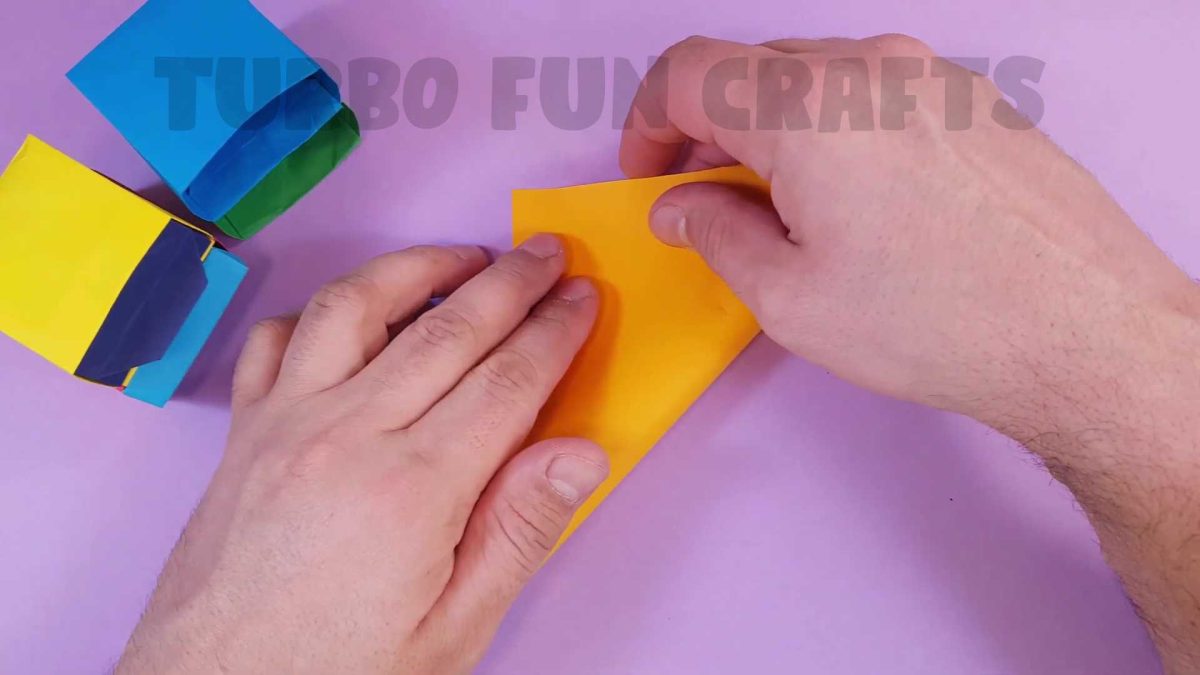
Take a sheet of colored paper measuring 15 by 15 cm.
Choose the color you like the most

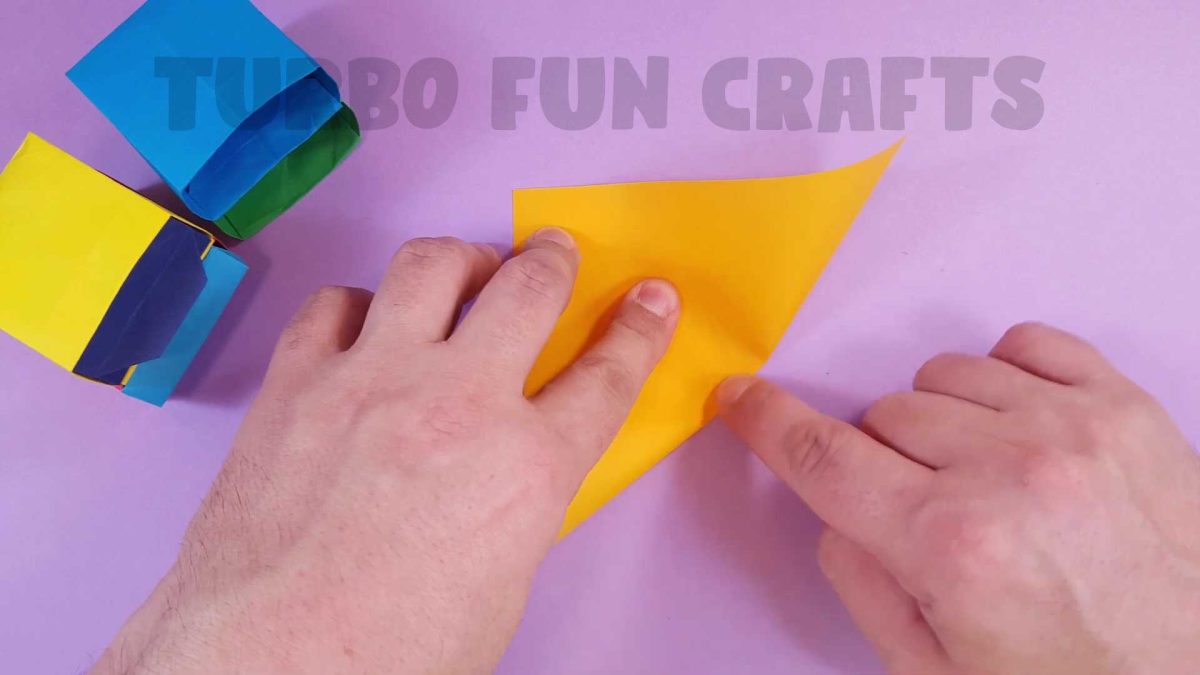
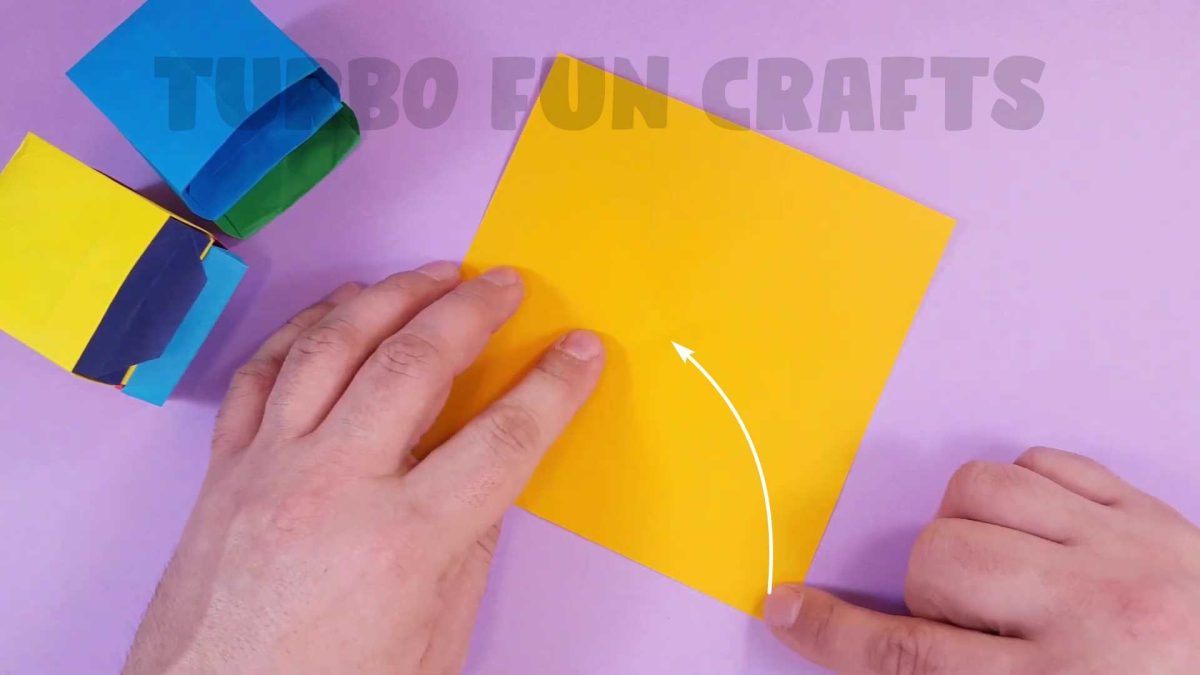
Fold the sheet in half across diagonally


Unfold the sheet to its original position

Fold the sheet in half across diagonally one more time
Please note that you should leave the edges of the sheet uncreased

Unfold the sheet to its original position

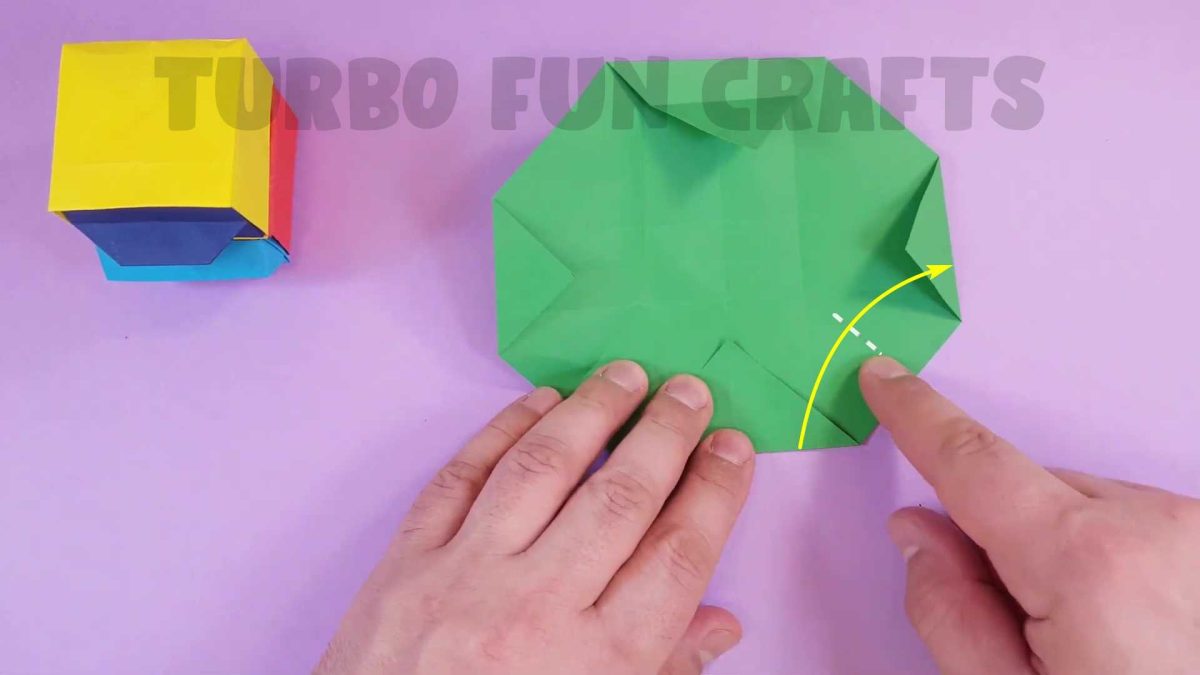
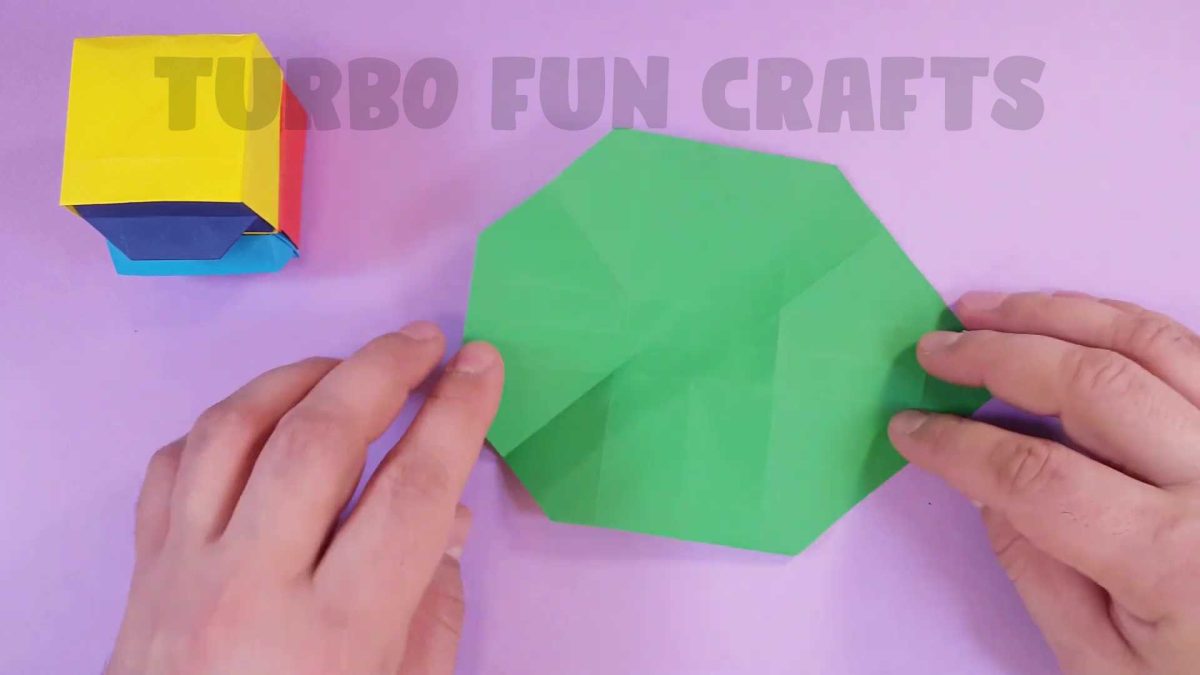
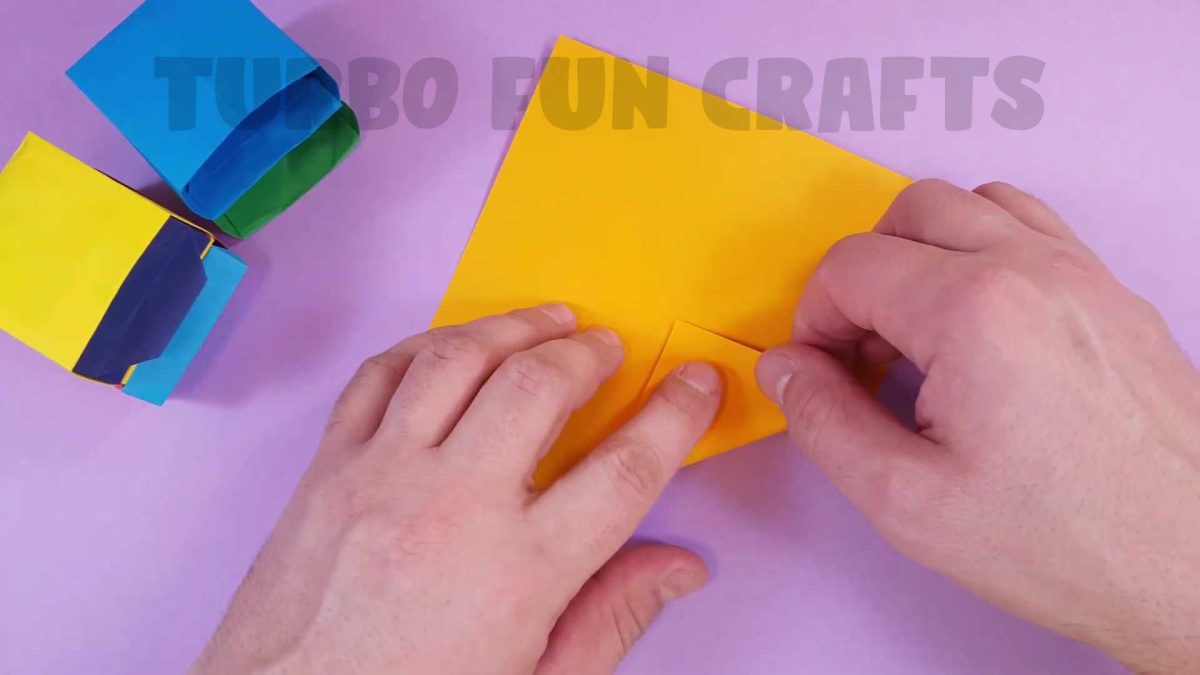
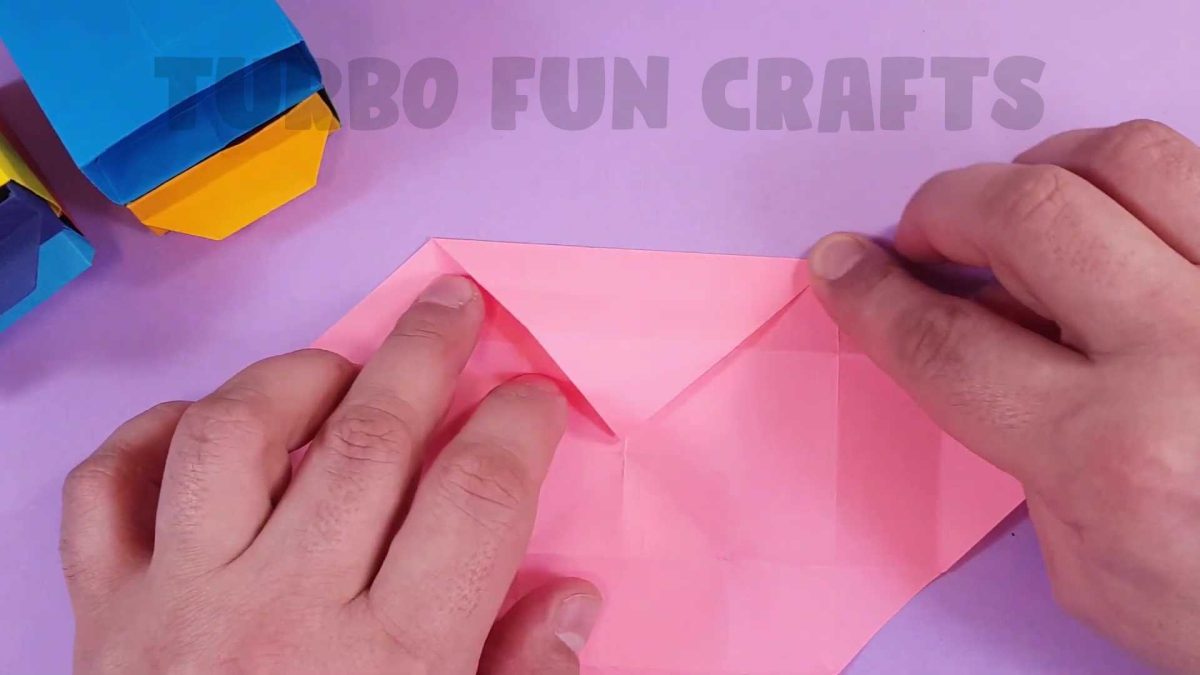
Fold the bottom corner to the center of the sheet
This is shown in the images below

Make a crease only in the middle of the sheet as shown in the picture below

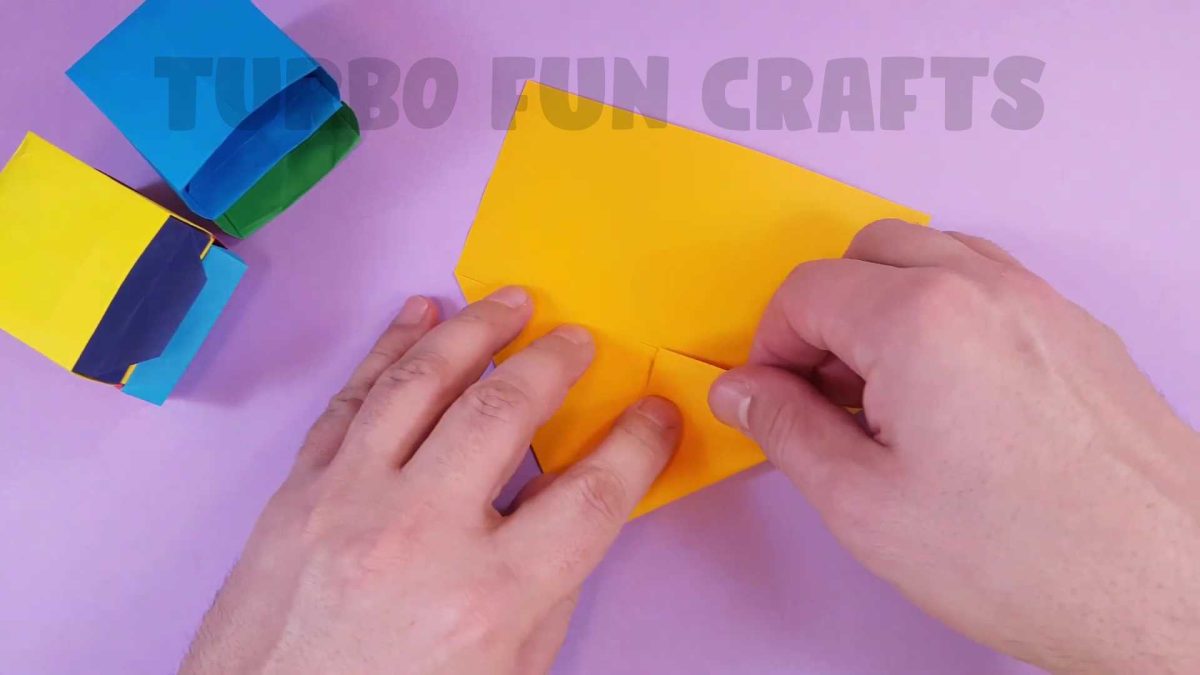
Unfold the corner to its previous position

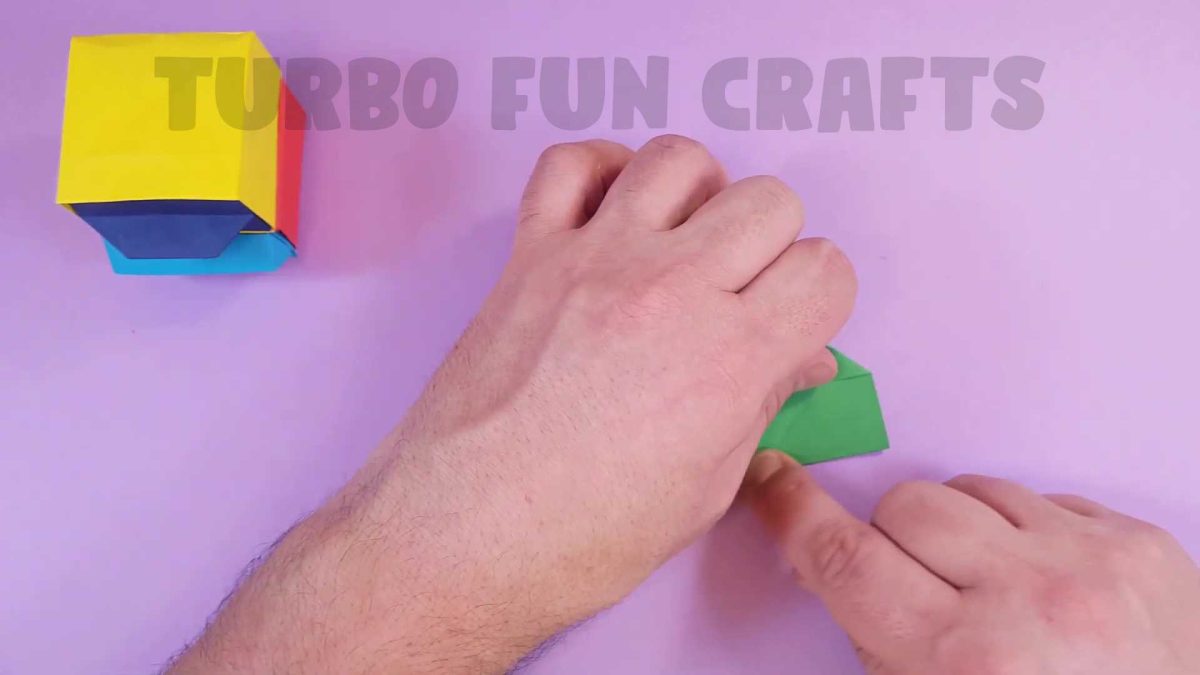
Fold the bottom corner as shown in the images below

This is how it should look like

Rotate the sheet by 180 degrees and make the same actions with another corner

Fold it in the same way as shown earlier
This is how it should look like
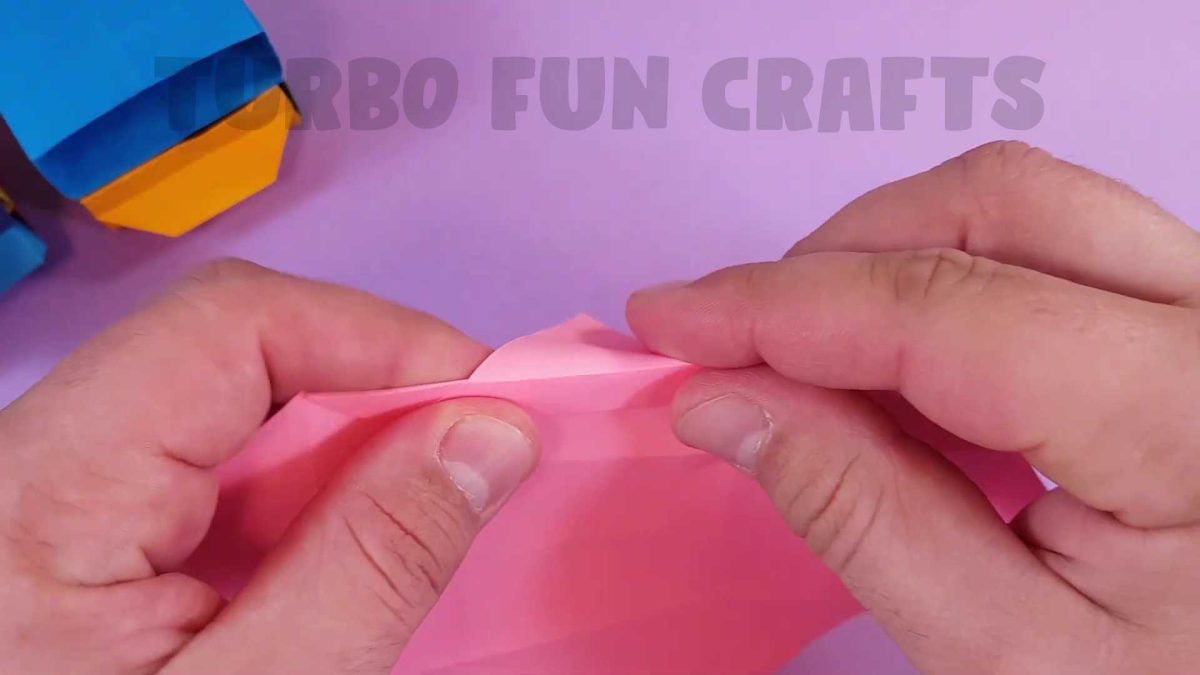
Slightly unfold the corners

Fold the bottom corner as shown in the images below


Unfold the sheet and rotate it by 180 degrees

Fold the bottom edge in the same way as shown earlier

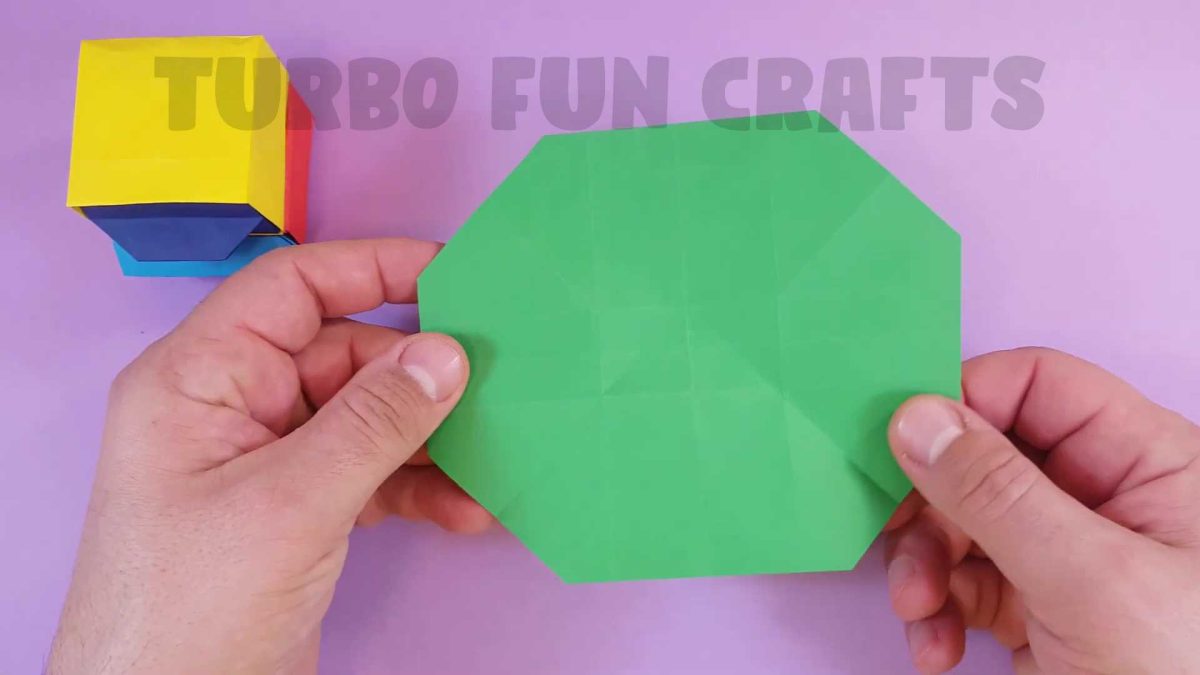
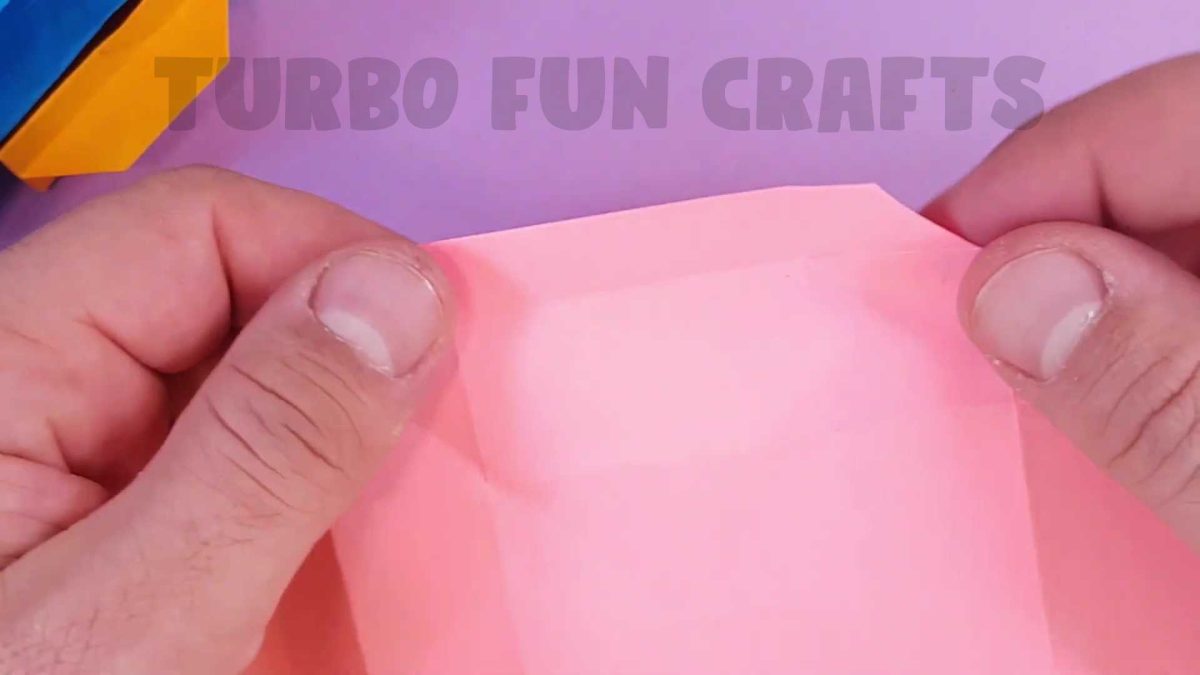
This is how it should look like

Unfold the sheet to its original position

You may also like other ORIGAMI crafts from our collection 🙂
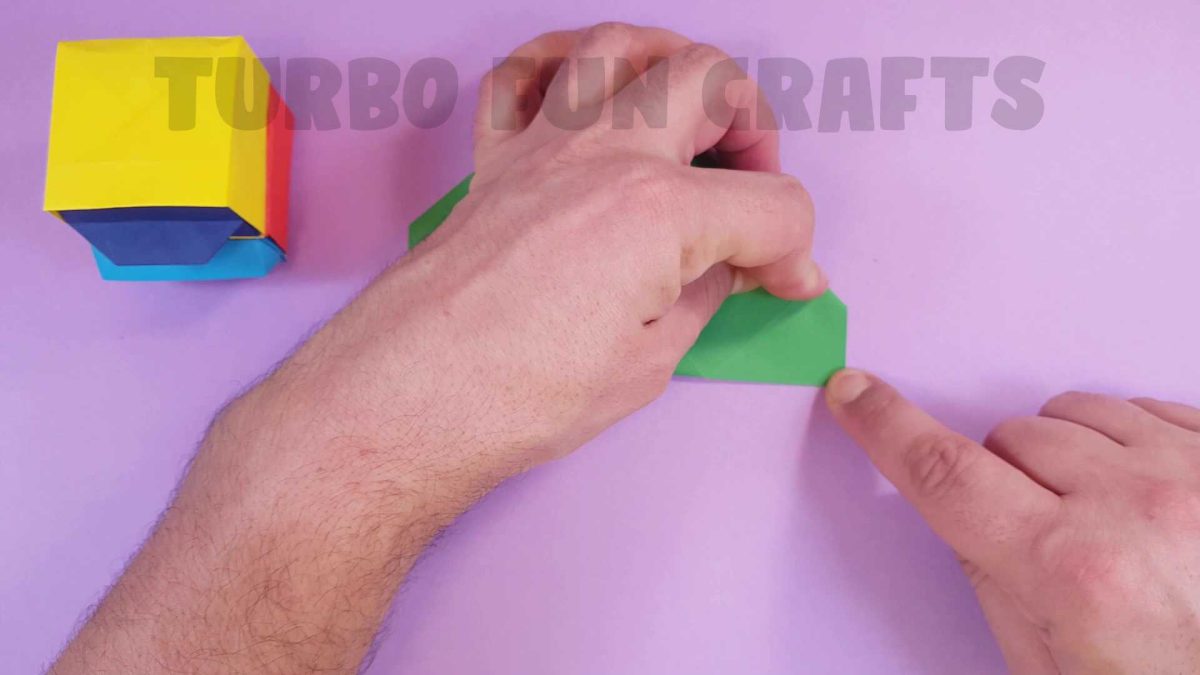
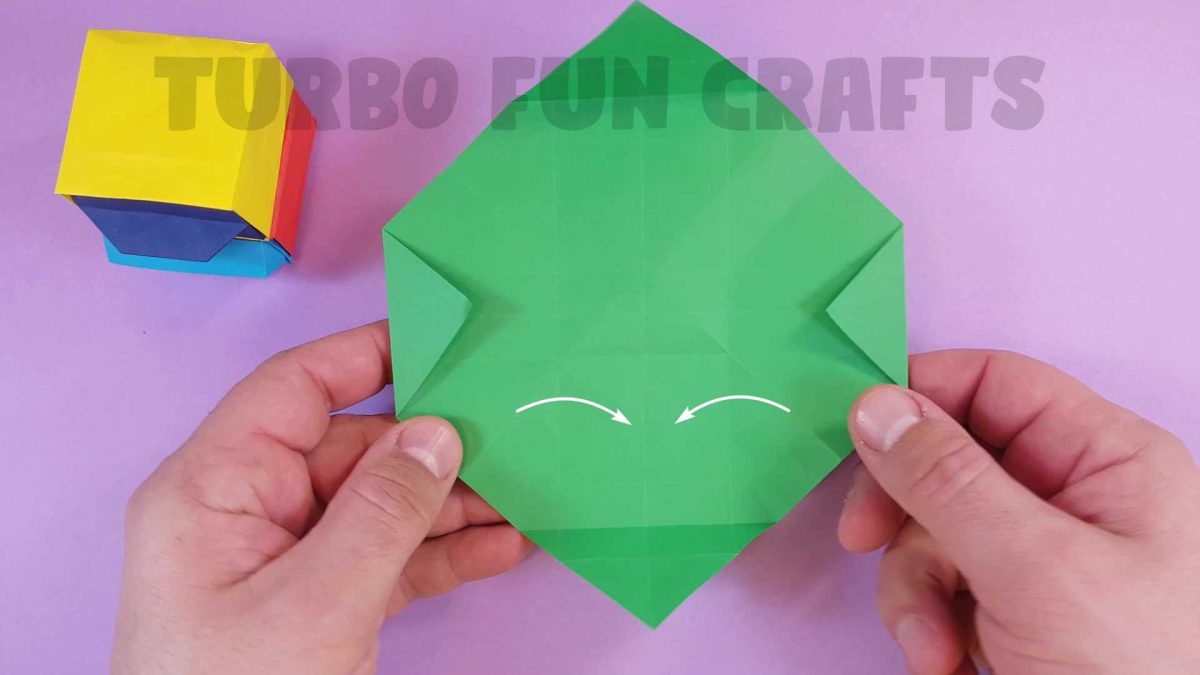
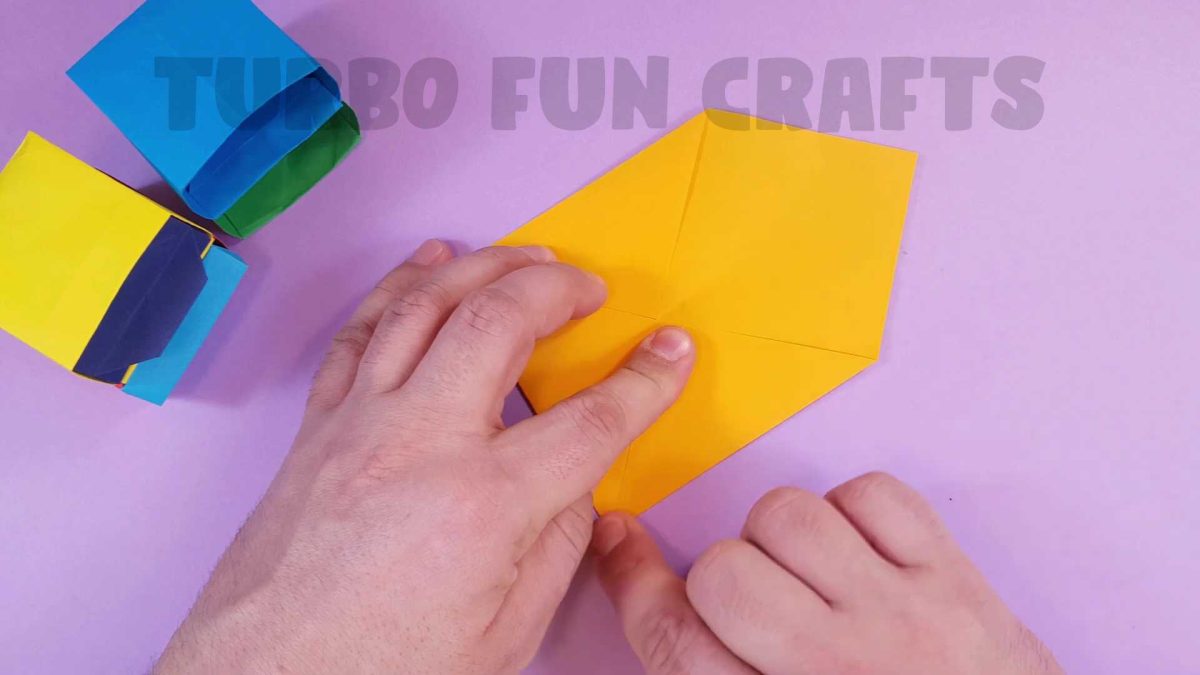
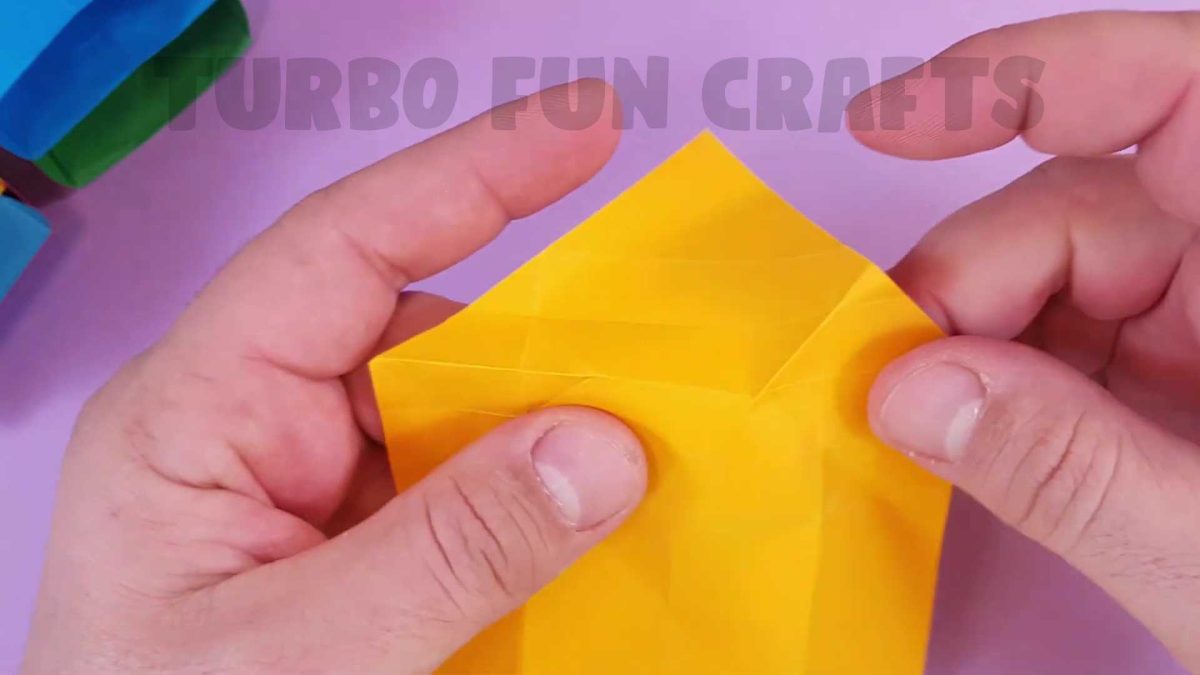
STEP 2 on how to make a Paper Chest of Drawers
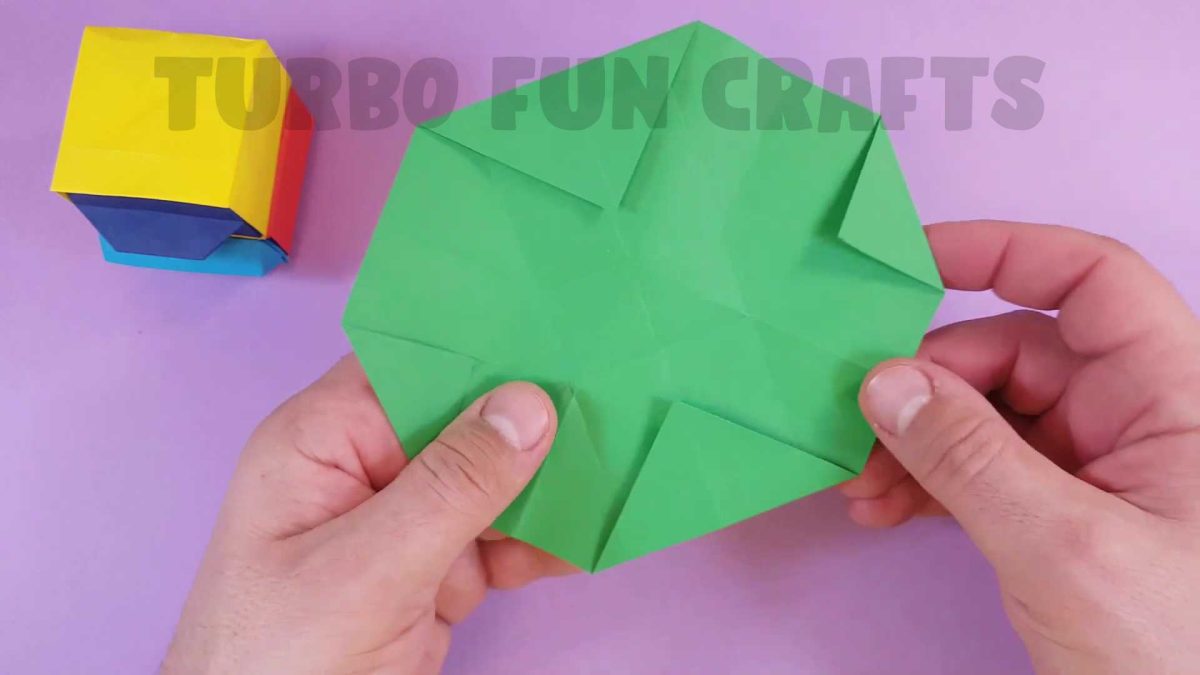
Place the paper as shown in the image below

Fold the bottom corner as shown in the image below

This is how it should look like

Rotate the paper by 180 degrees

Fold the bottom corner in the same way

This is how it should look like


Fold the corner as shown in the image below

Unfold the sheet and place it as shown in the image below

Fold the bottom corner to the other side


This is how it should look like

Fold the bottom edge as shown in the images below


This is how it should look like

Unfold the corner upwards

Rotate the sheet by 180 degrees and fold the opposite corner in the same way
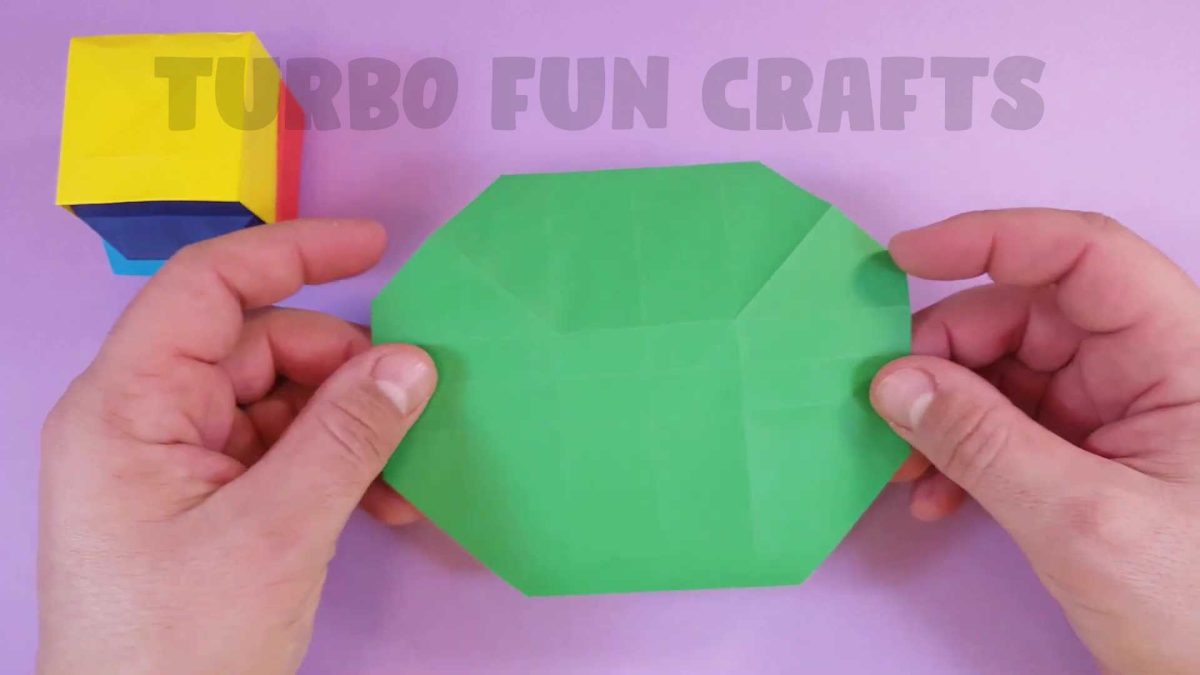
This is how it should look like

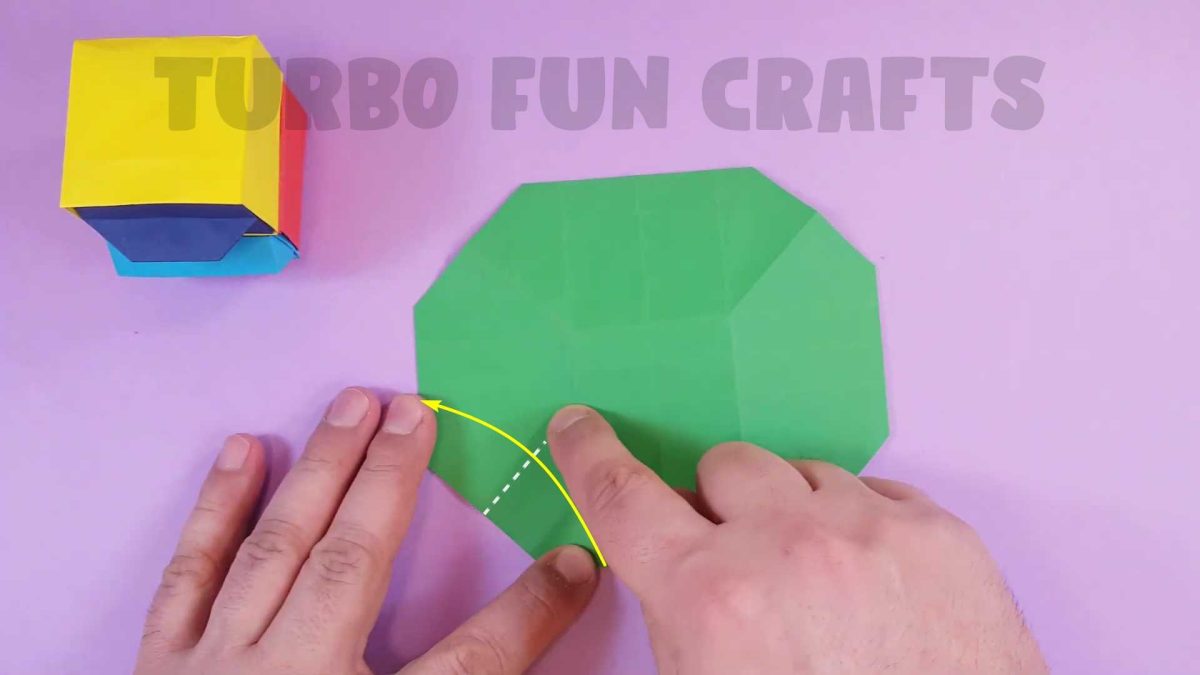
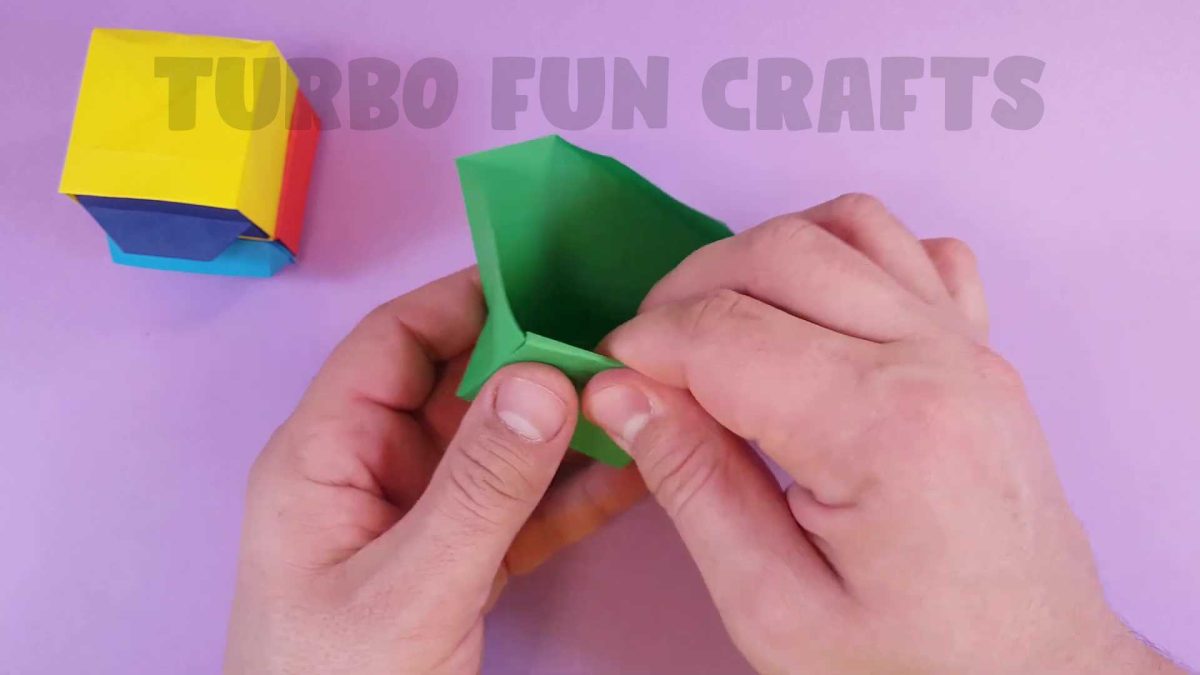
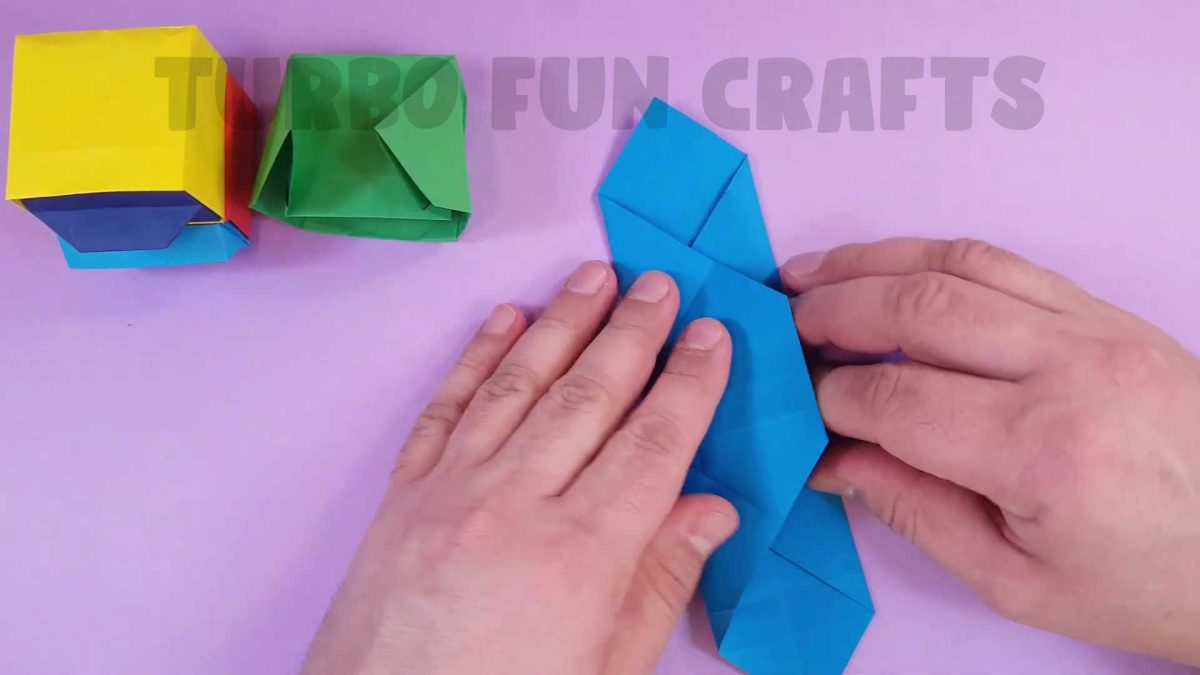
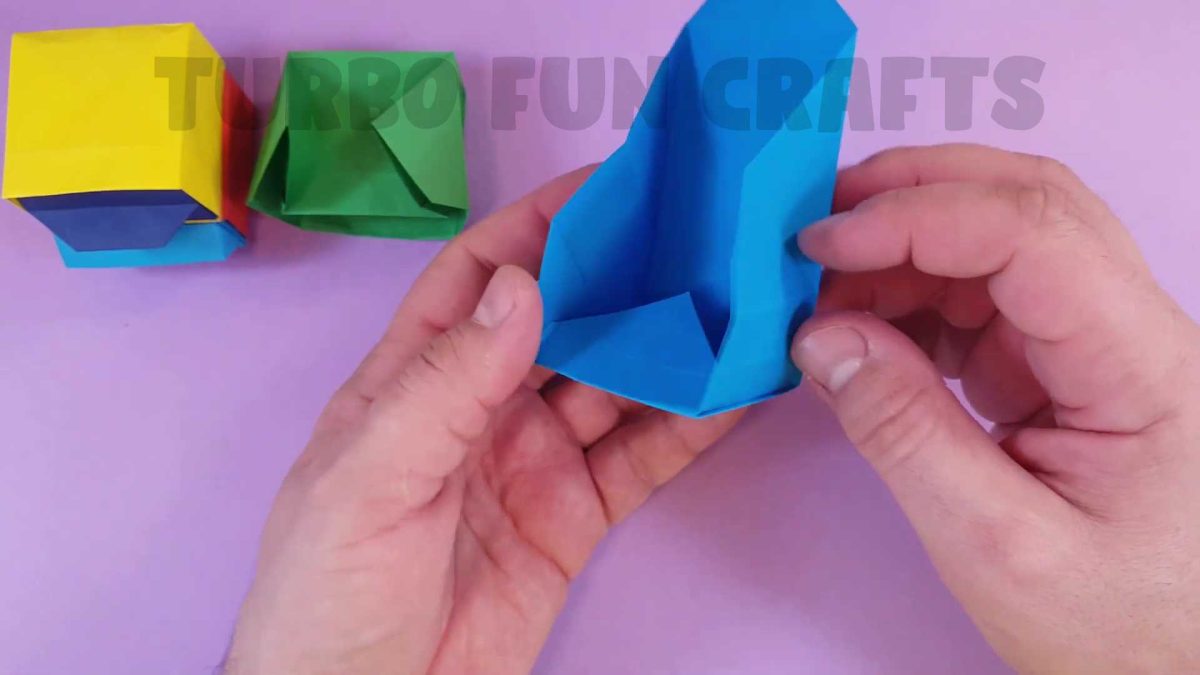
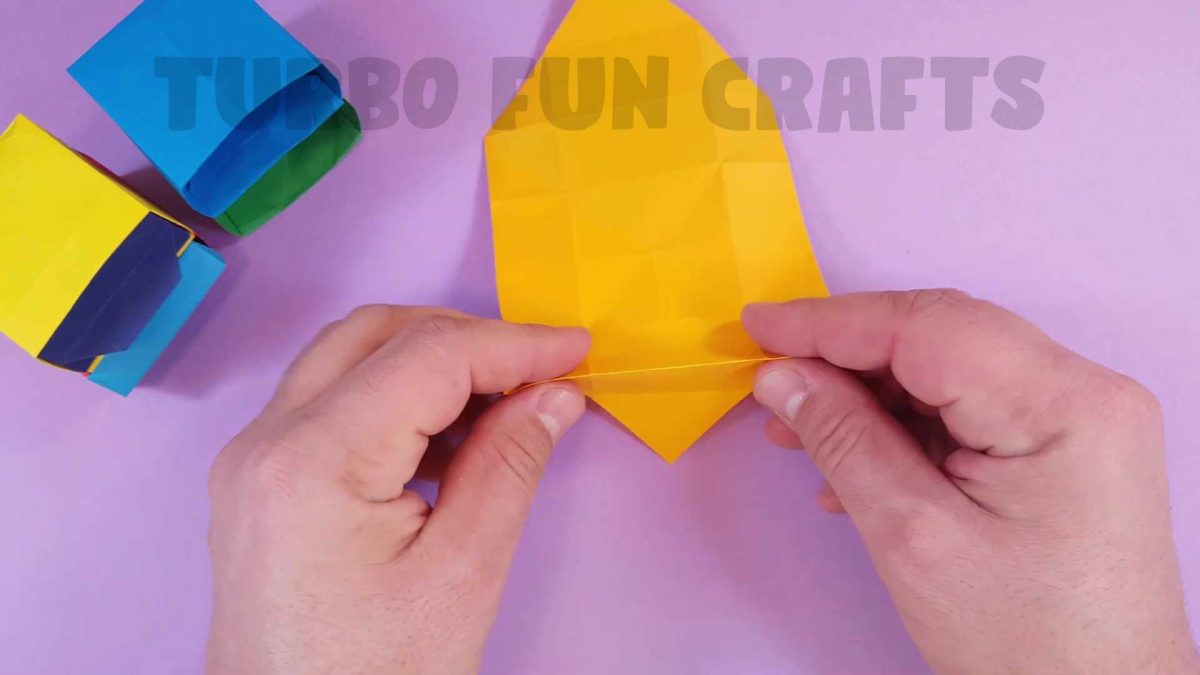
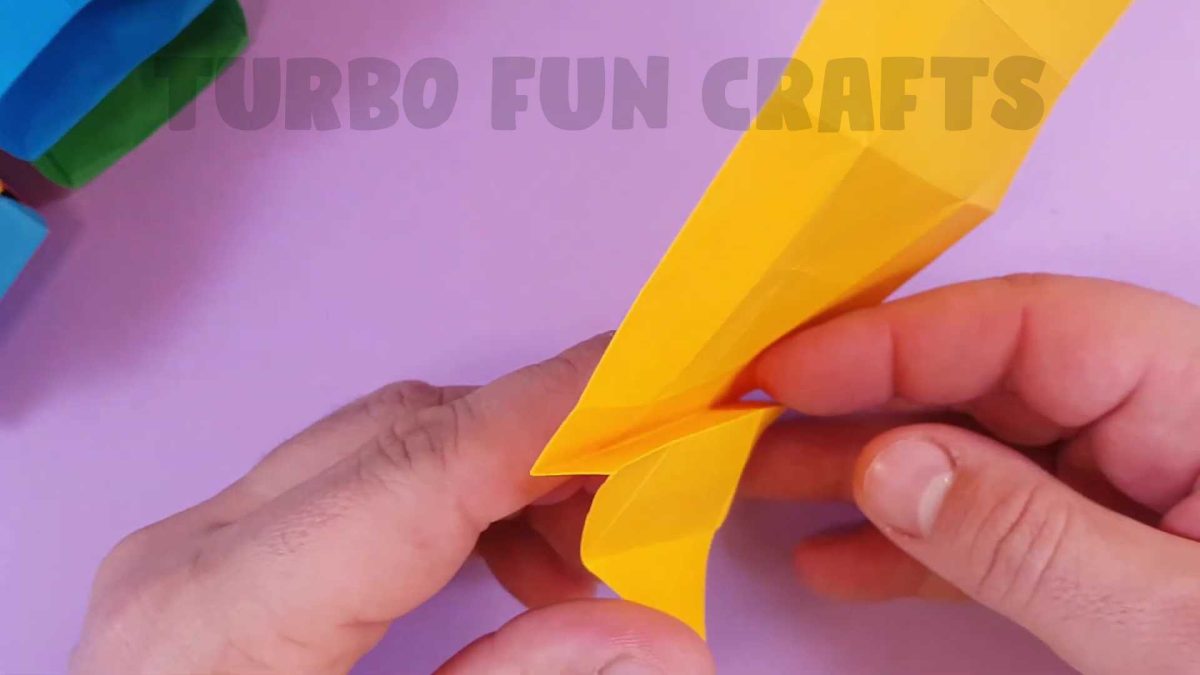
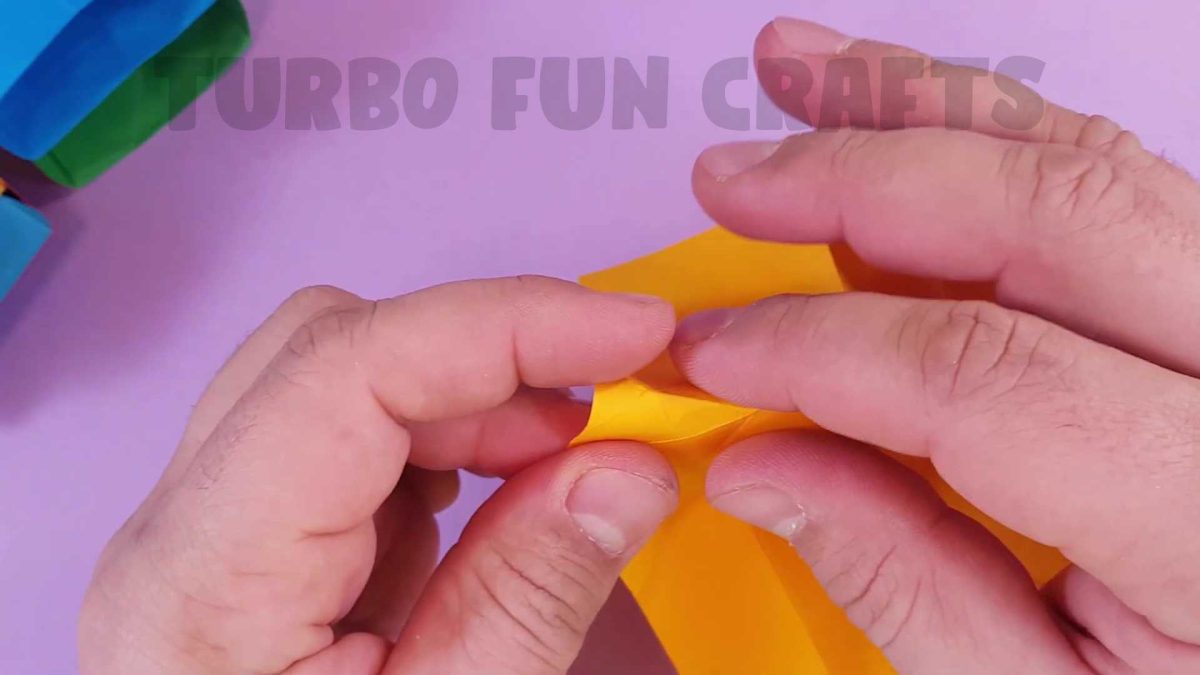
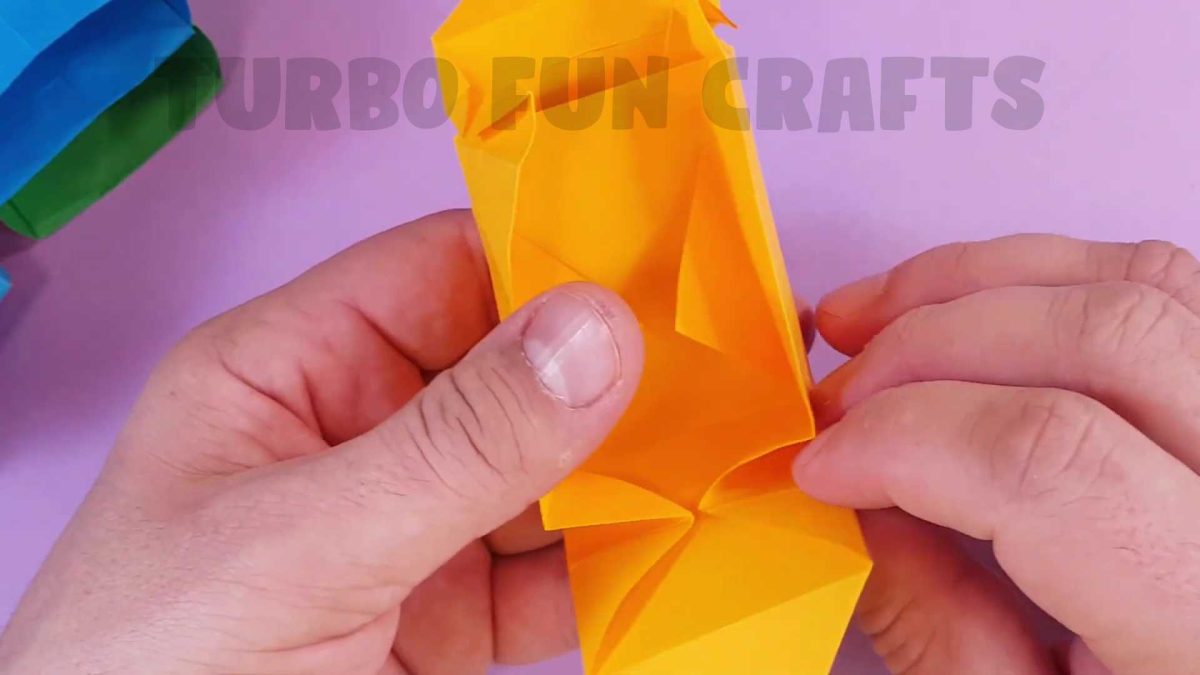
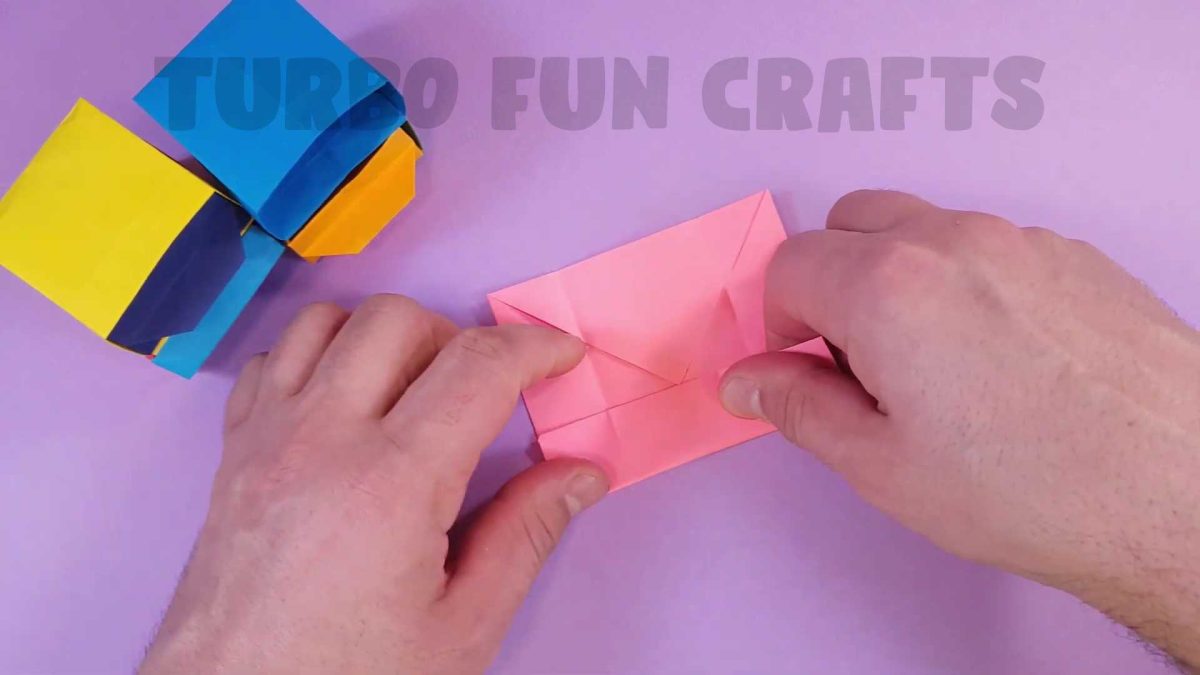
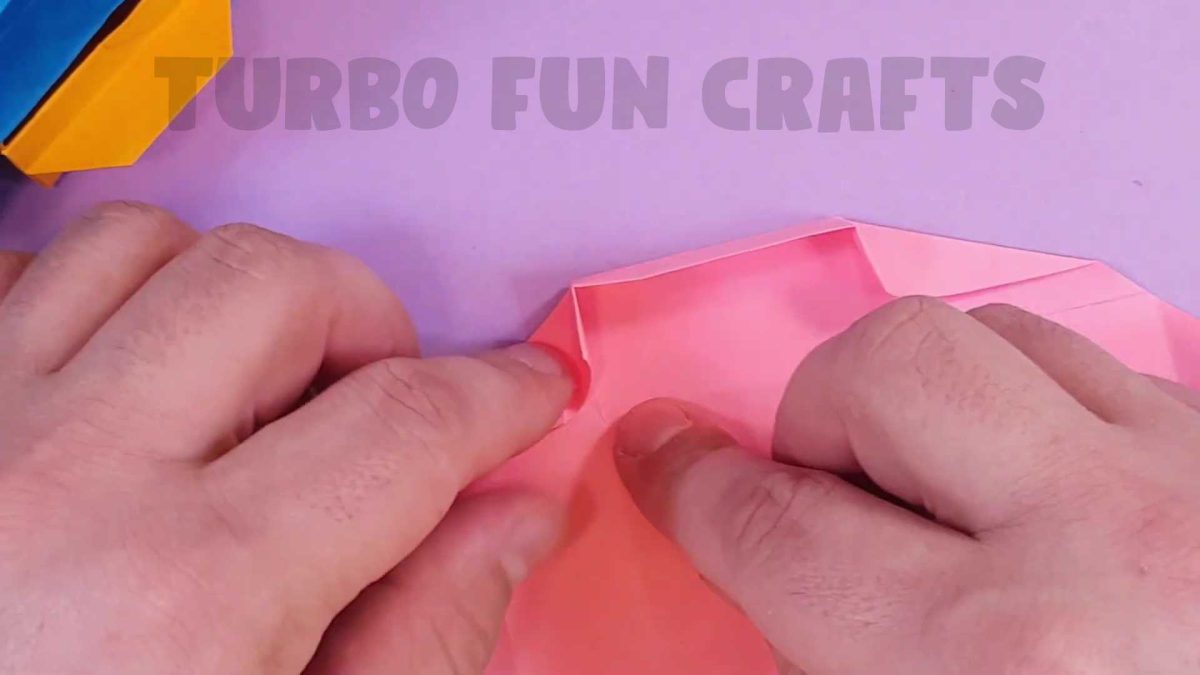
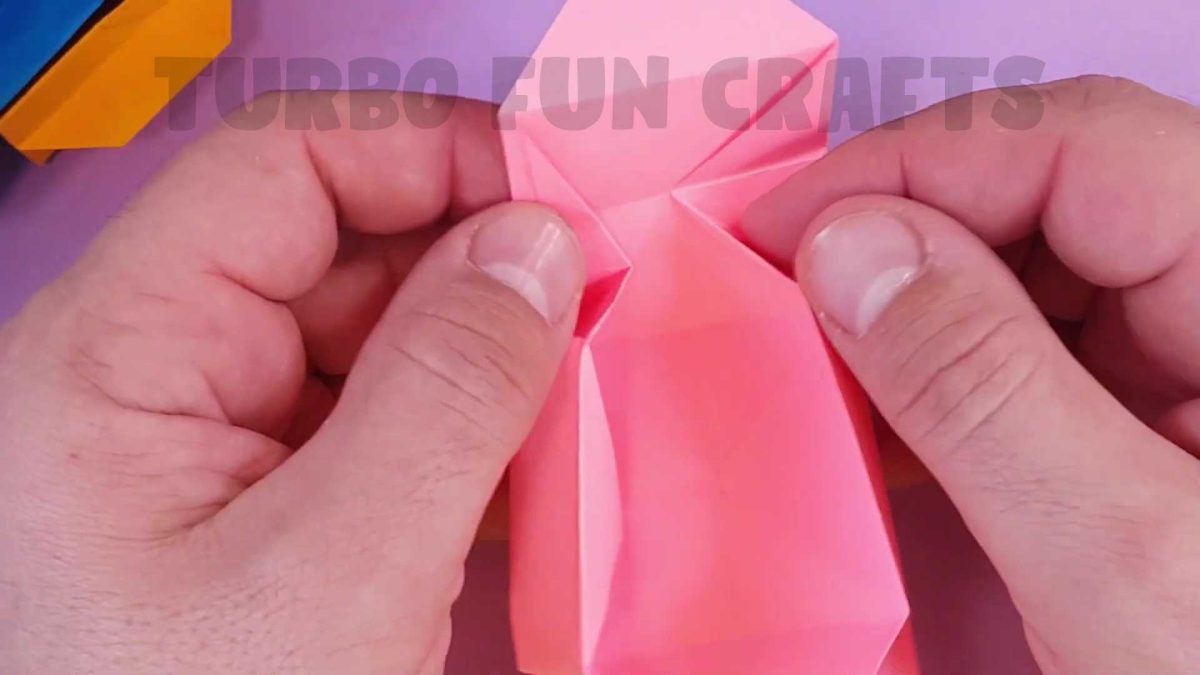
STEP 3 on how to make a Paper Chest of Drawers
Fold the sheet as shown in the images below


Unfold the paper to its previous position

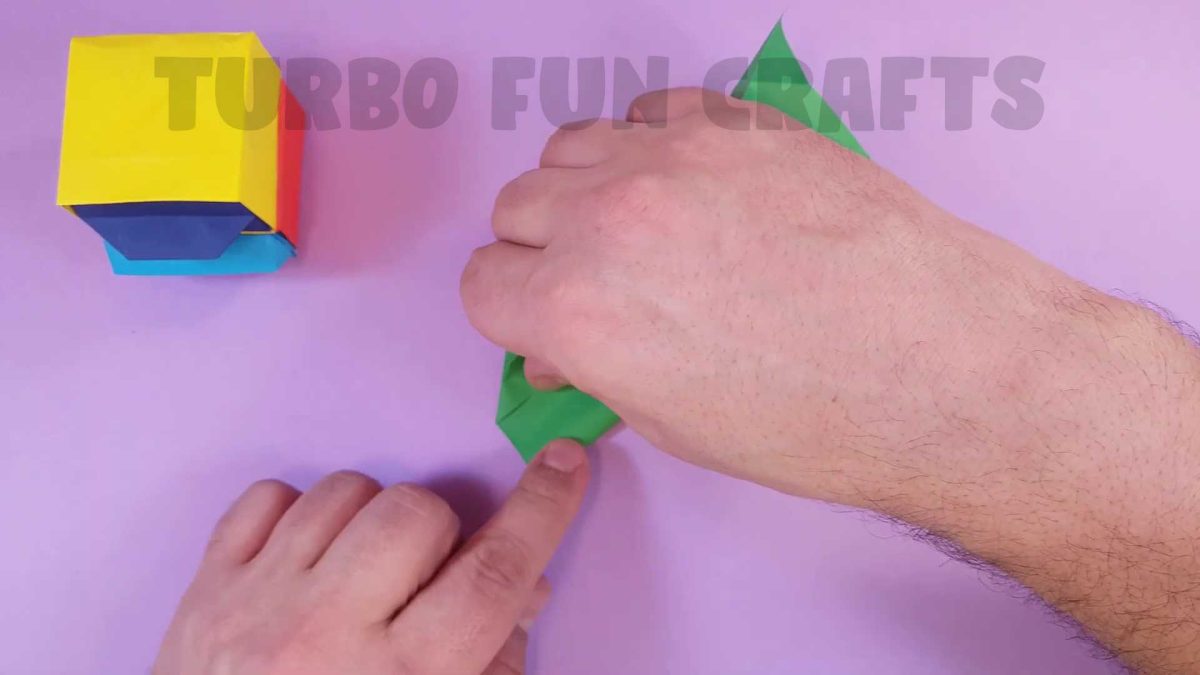
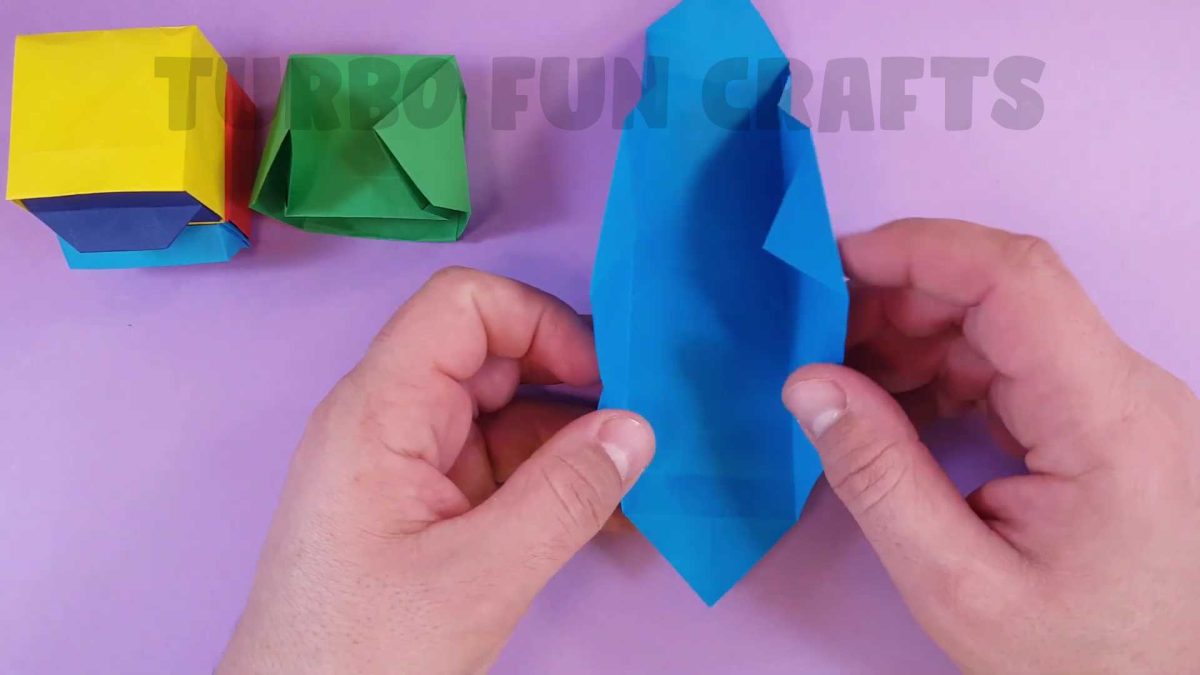
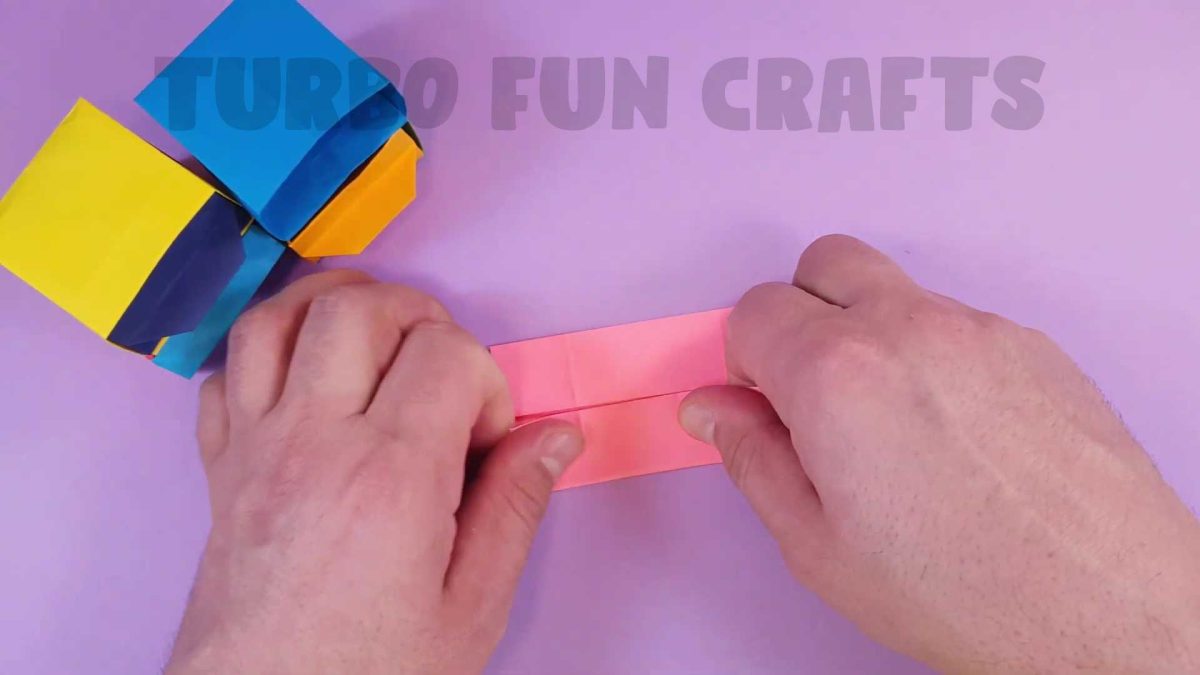
Fold the sheet from the other side in the same way
This is how it should look like

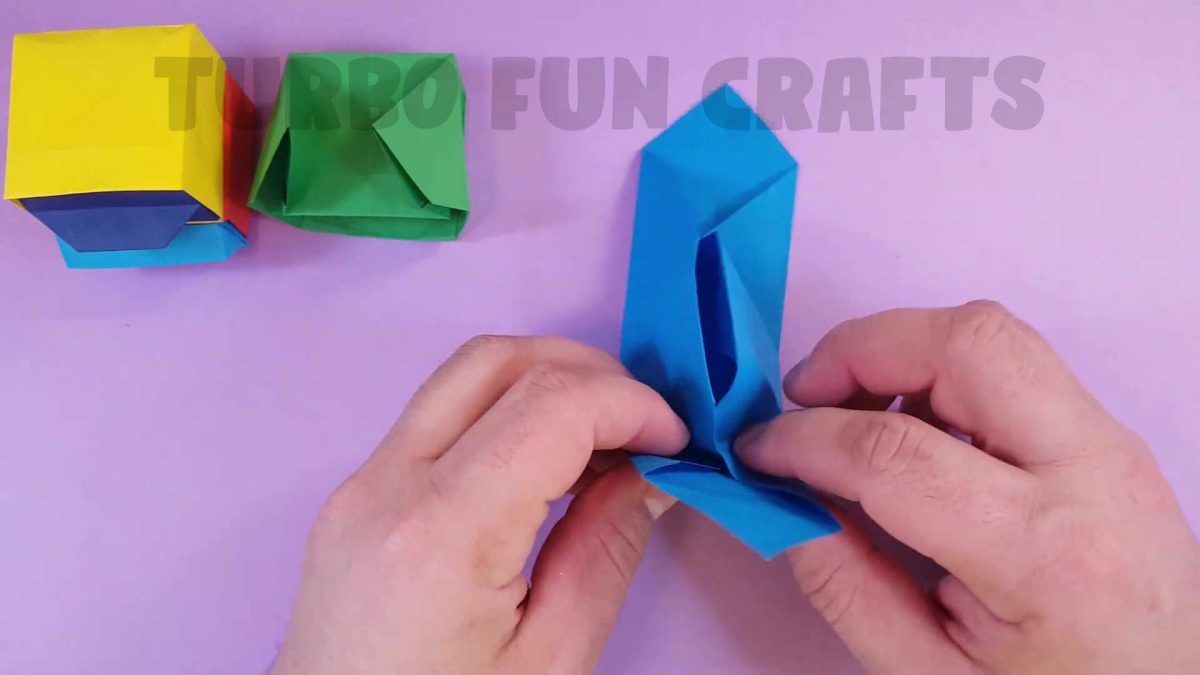
Flip the paper sheet over
Fold the sheet in the same way as shown earlier
This is how it should look like

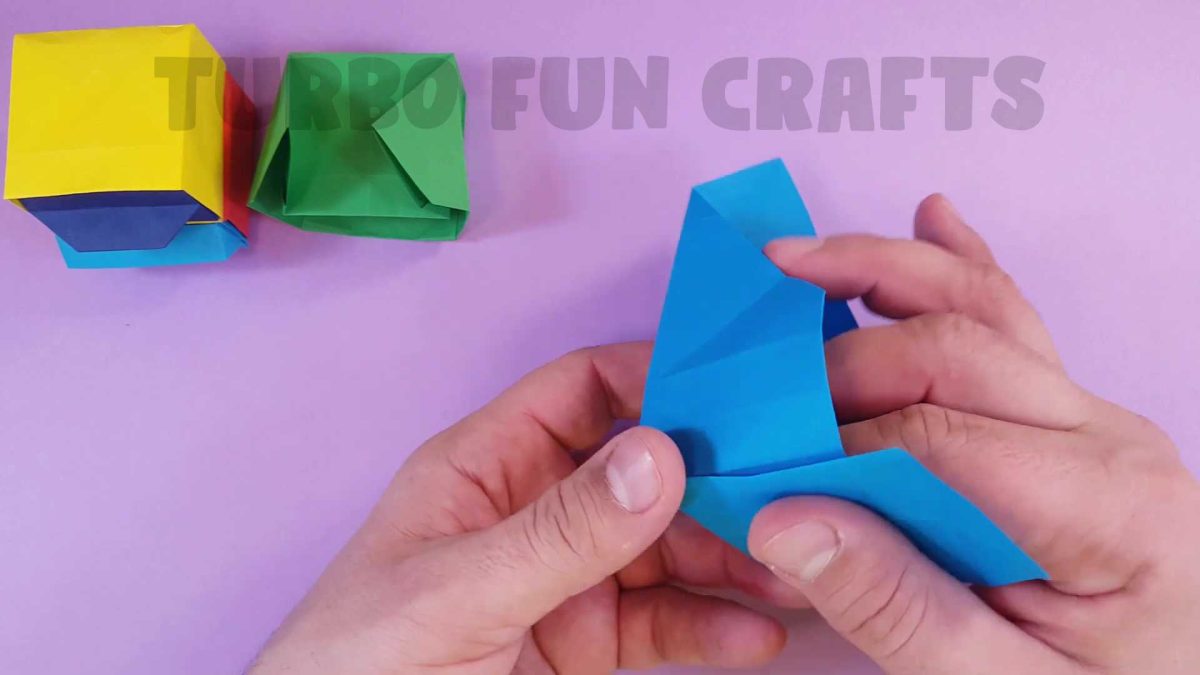
Unfold the paper to its previous position
Fold the sheet from the other side in the same way

Unfold the paper to its previous position
This is how it should look like
You may also like: How to make Anime Paper Puppet | Tutorial of Making a Living Puppet | Easy Moving Paper Crafts | DIY Paper Toys
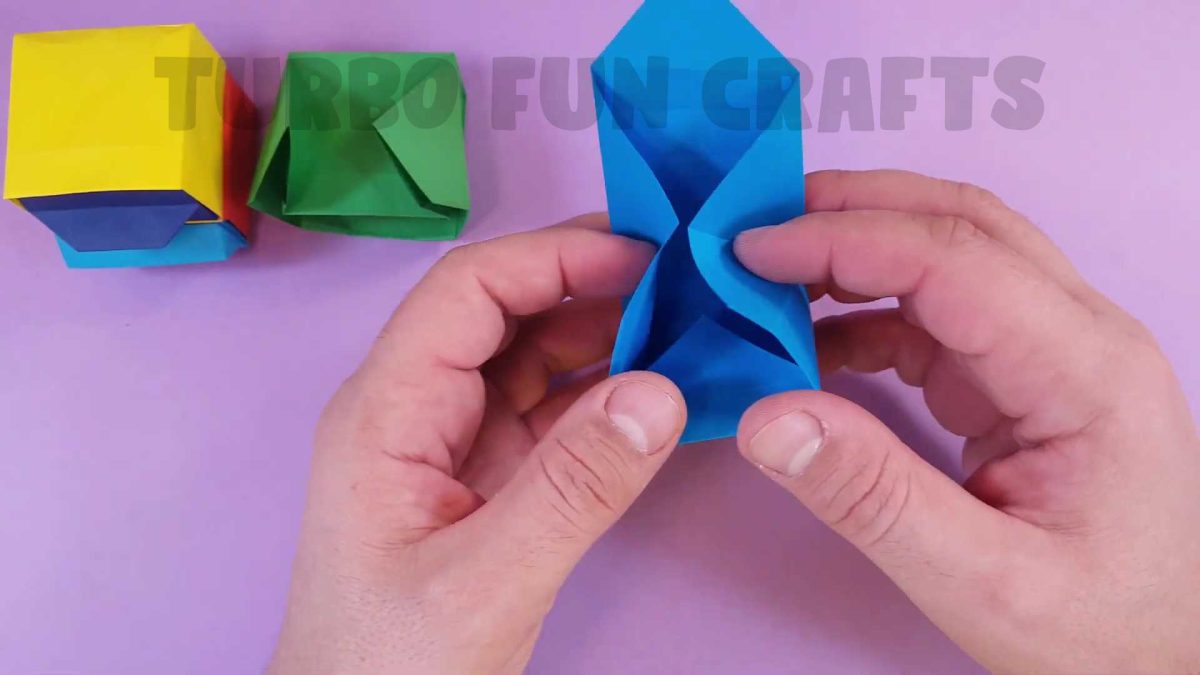
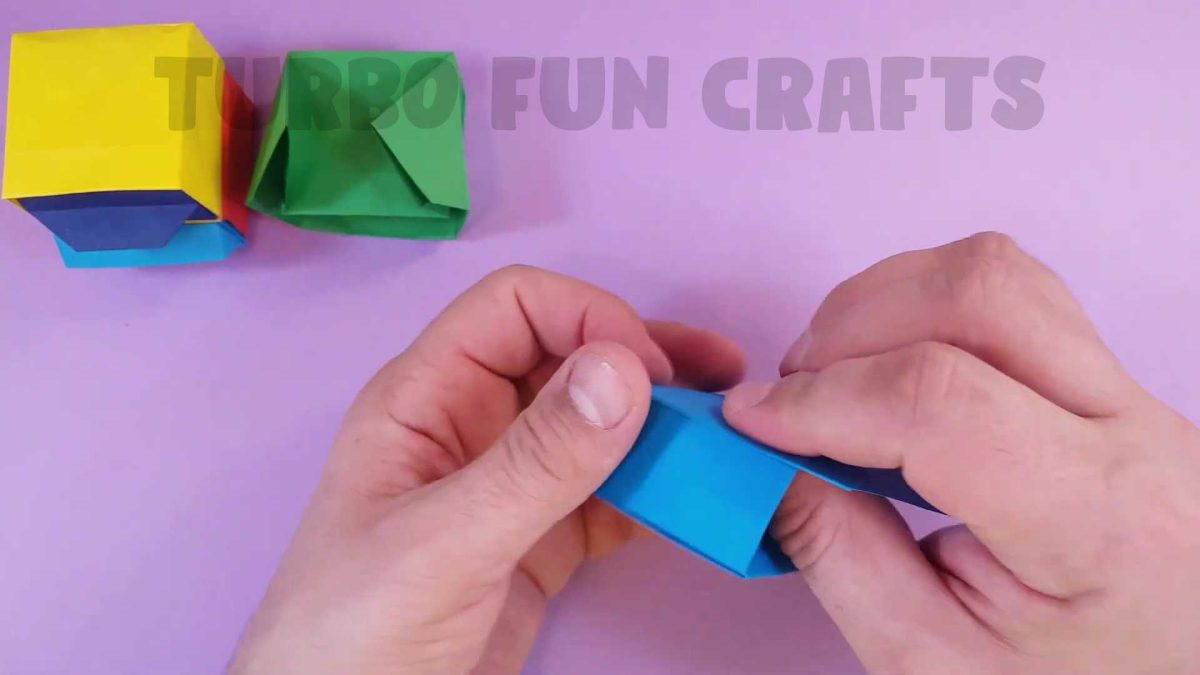
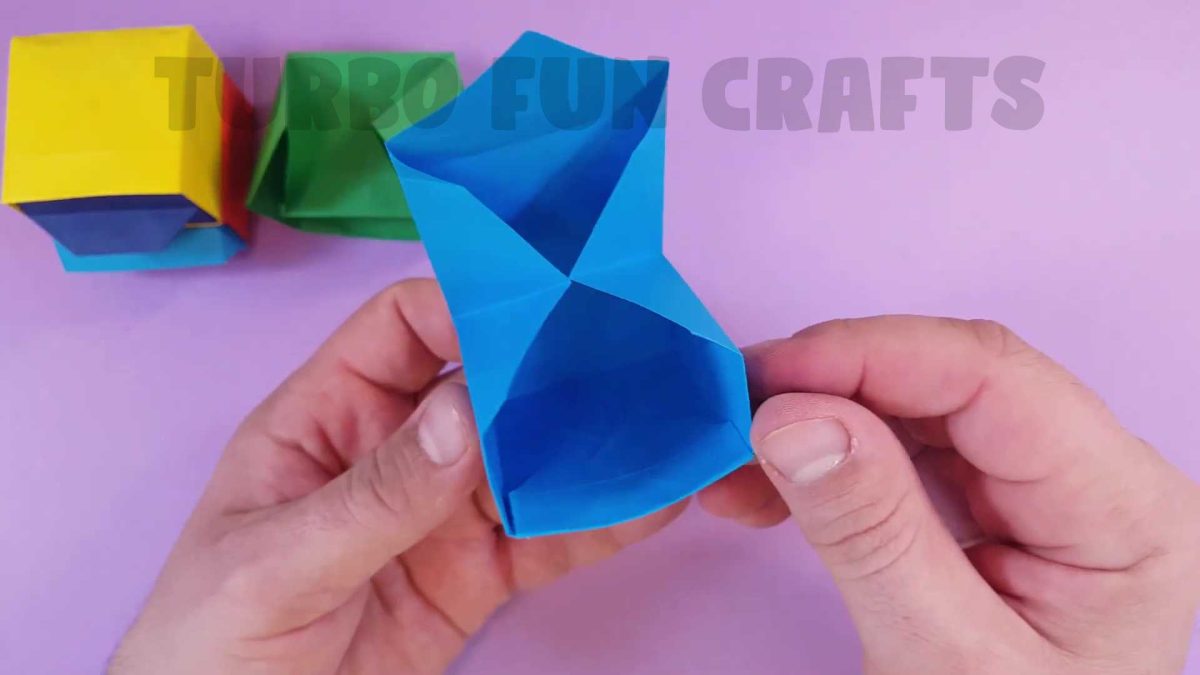
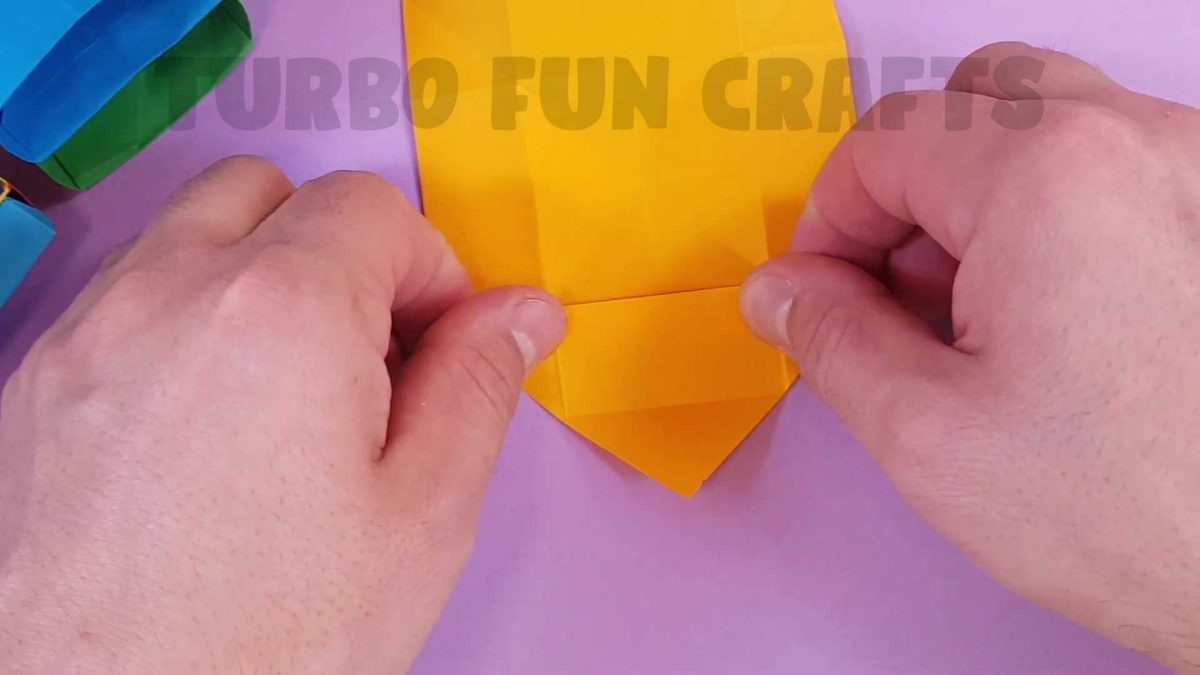
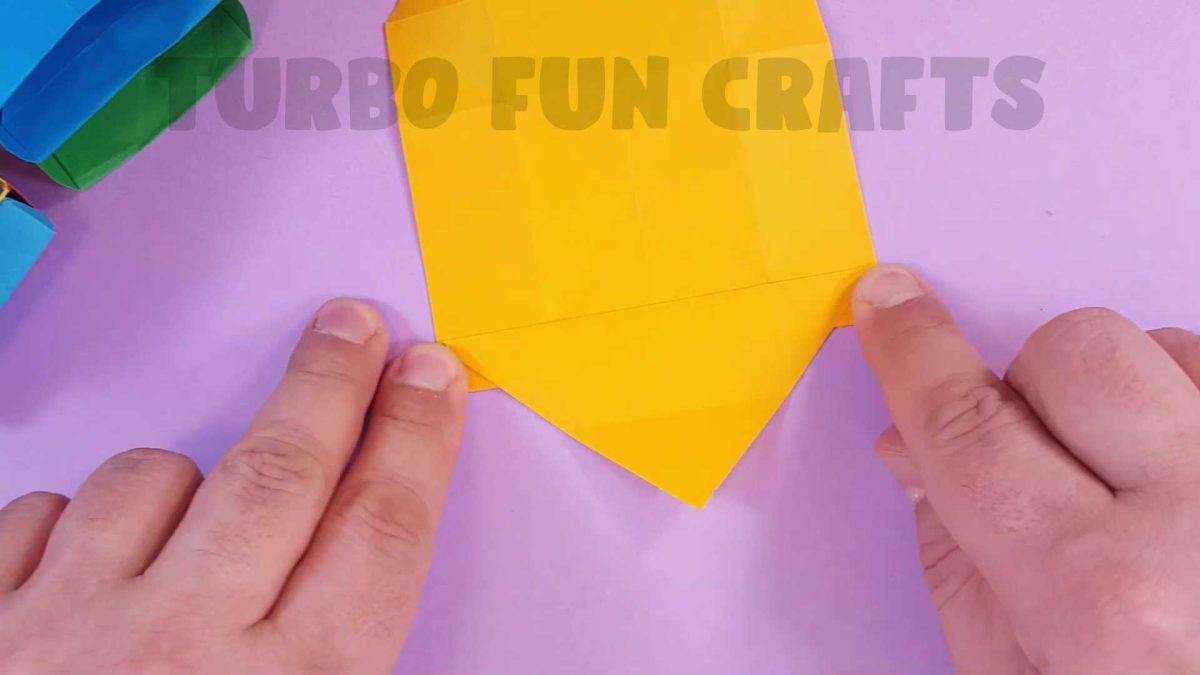
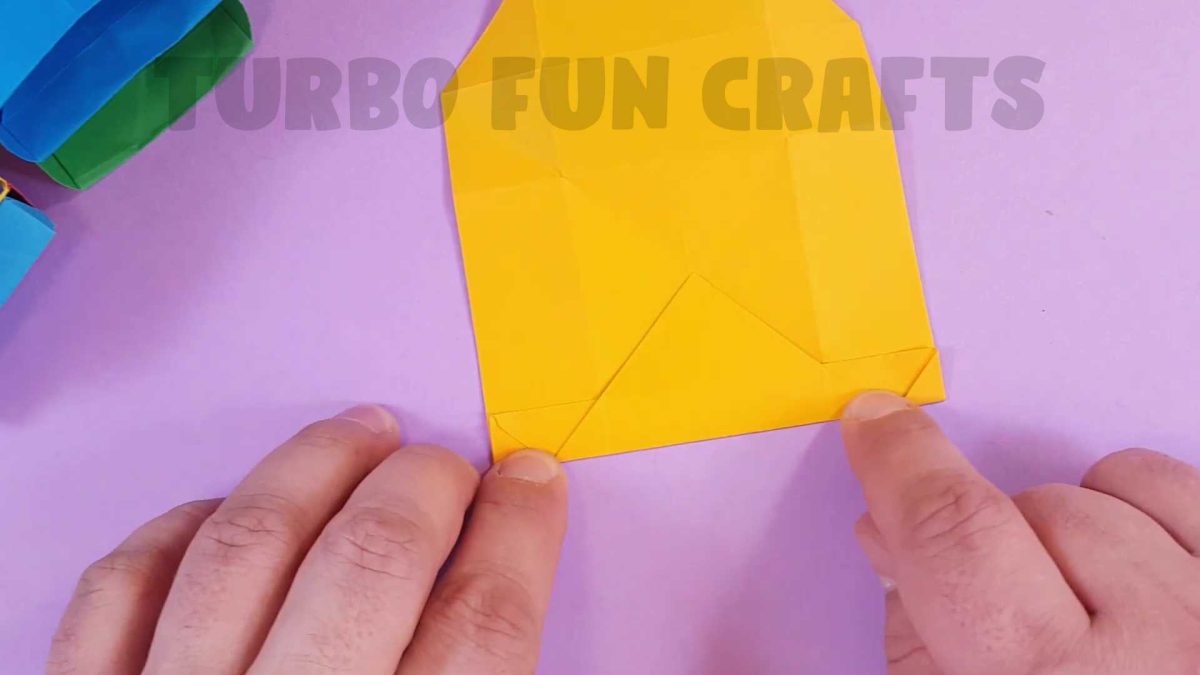
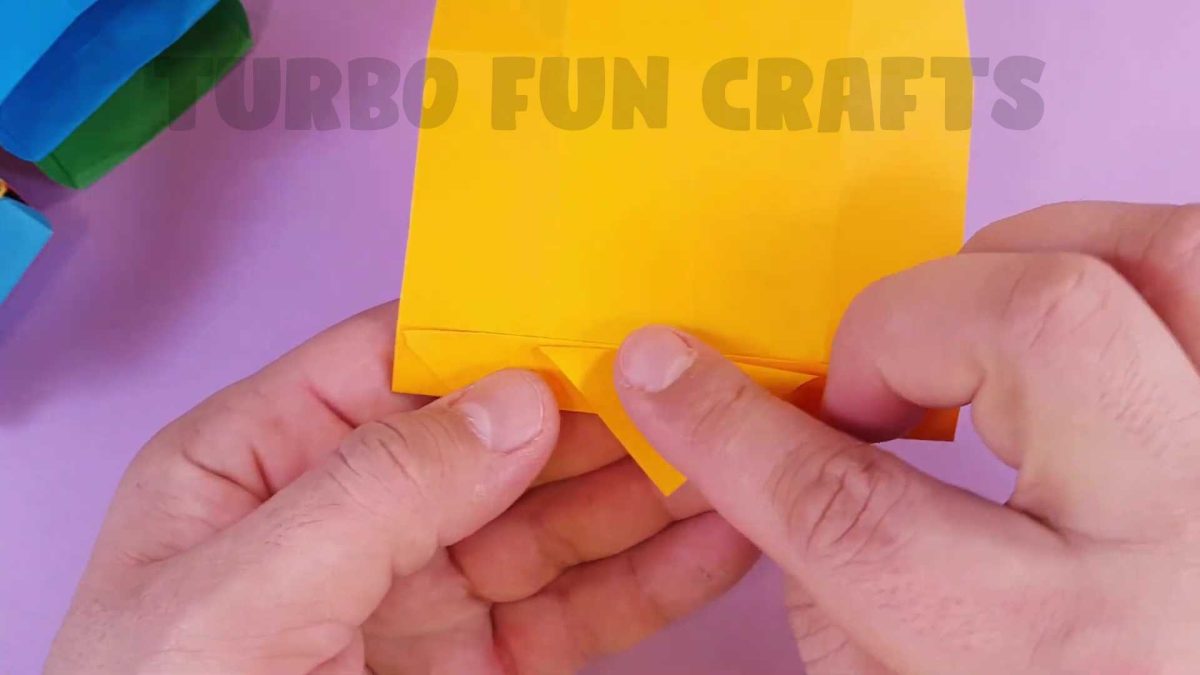
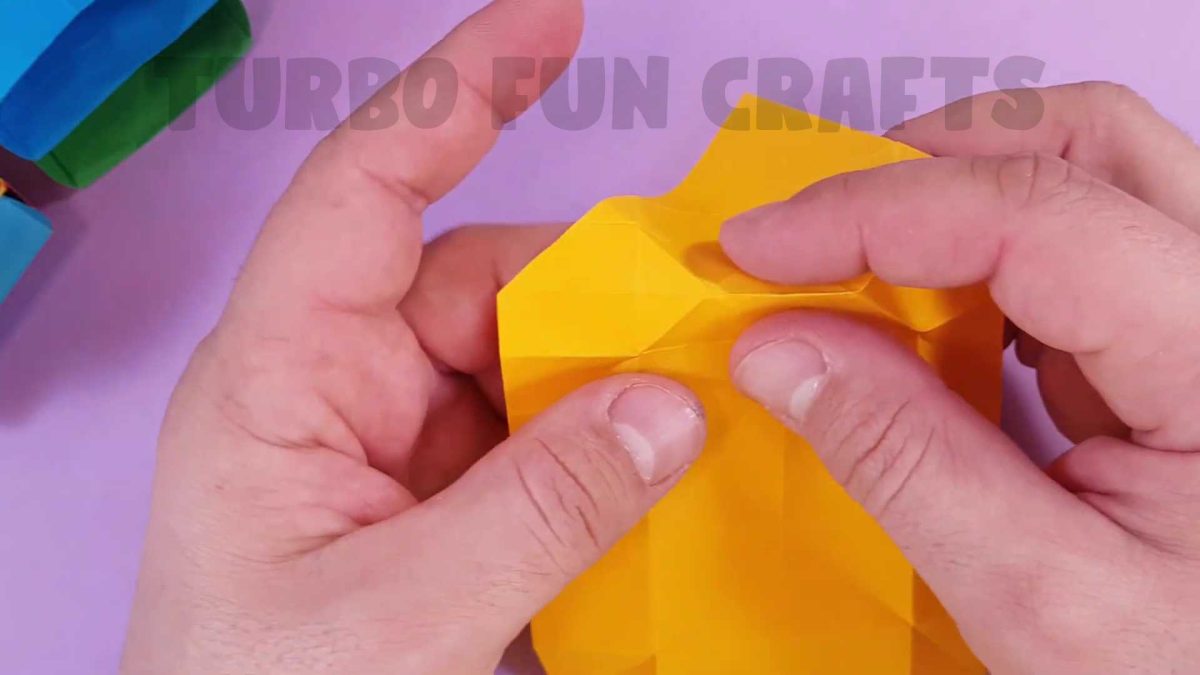
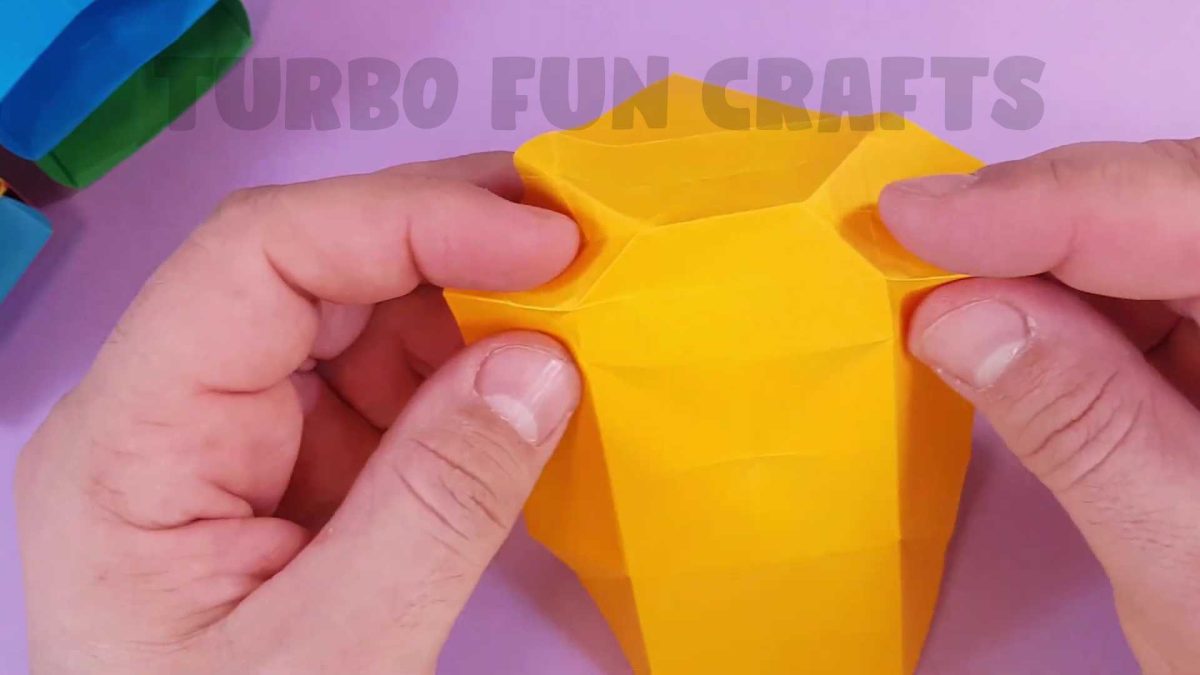
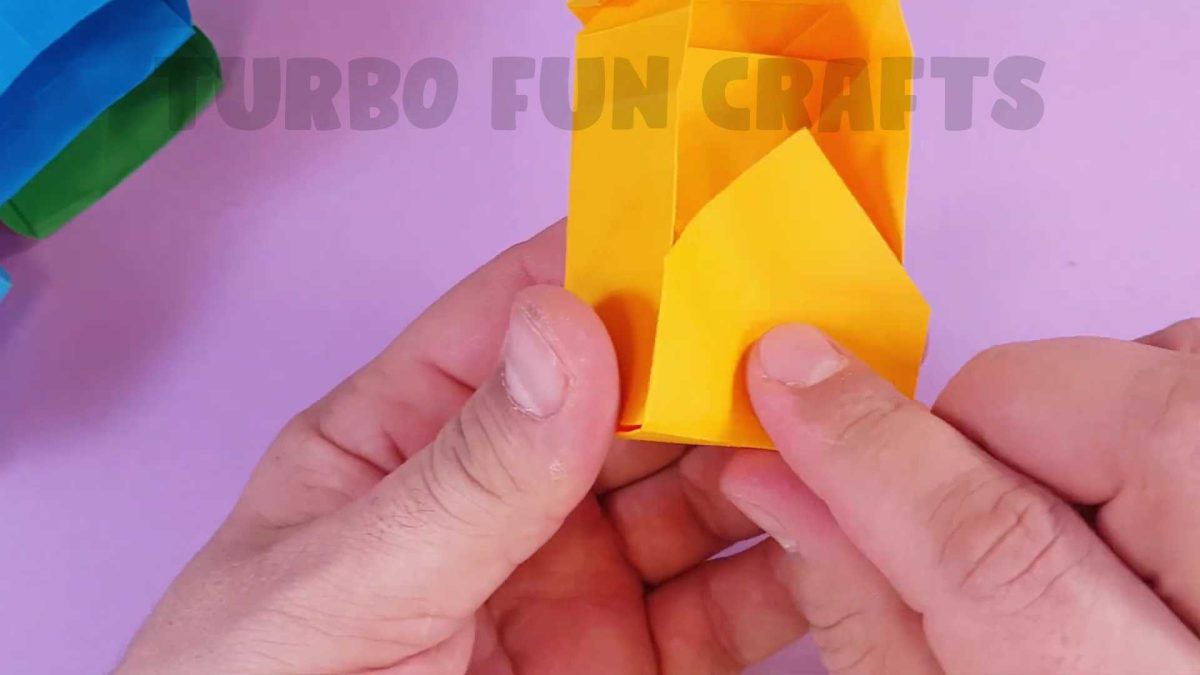
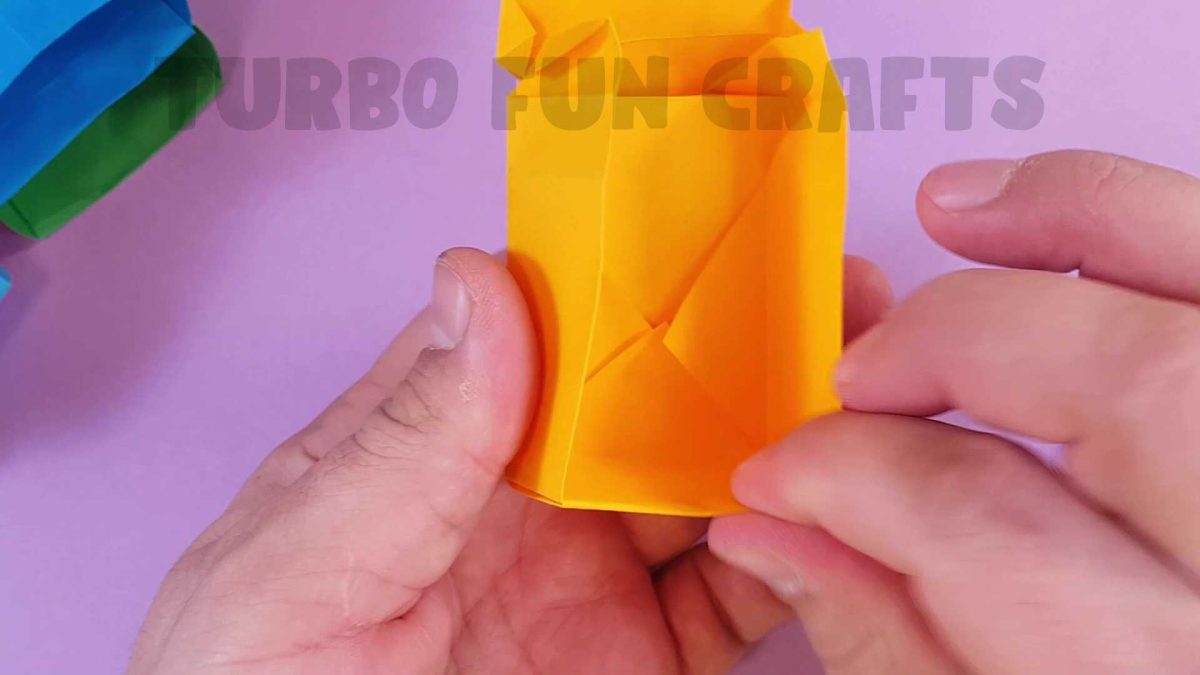
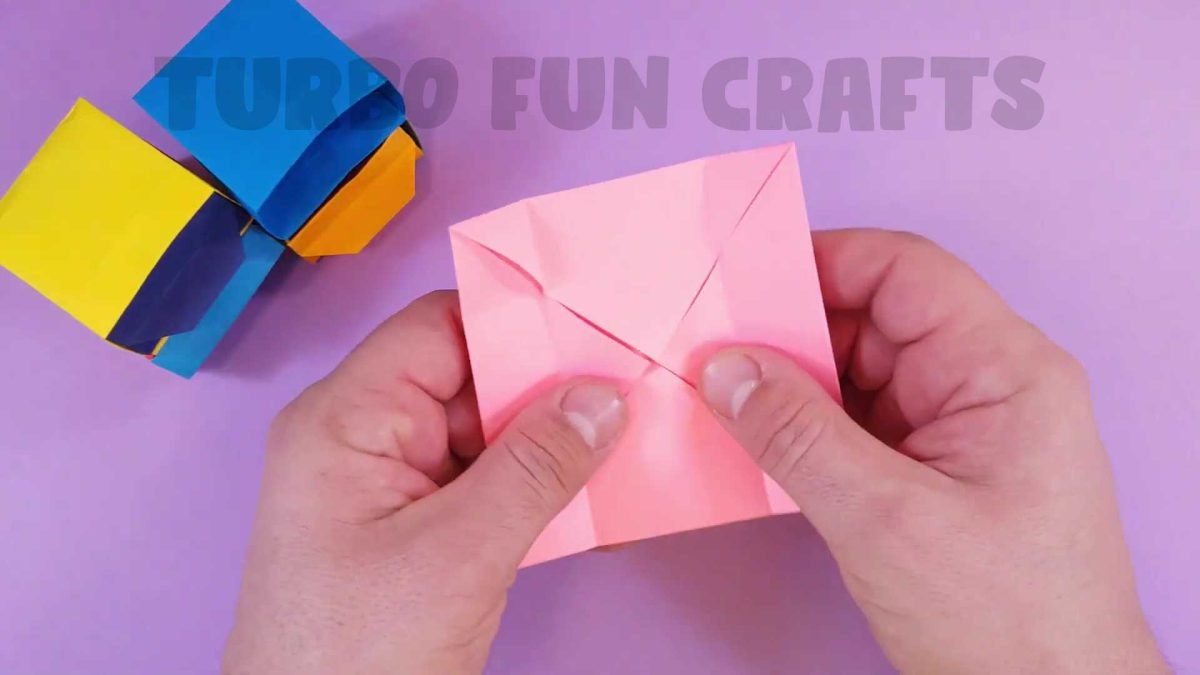
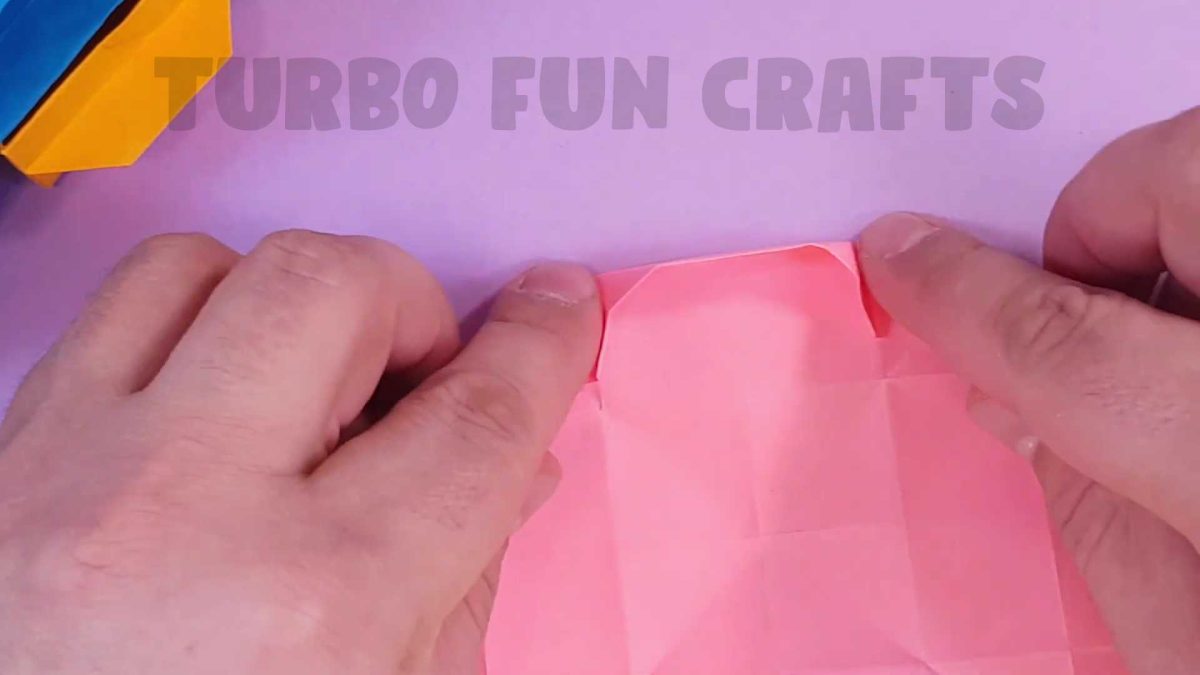
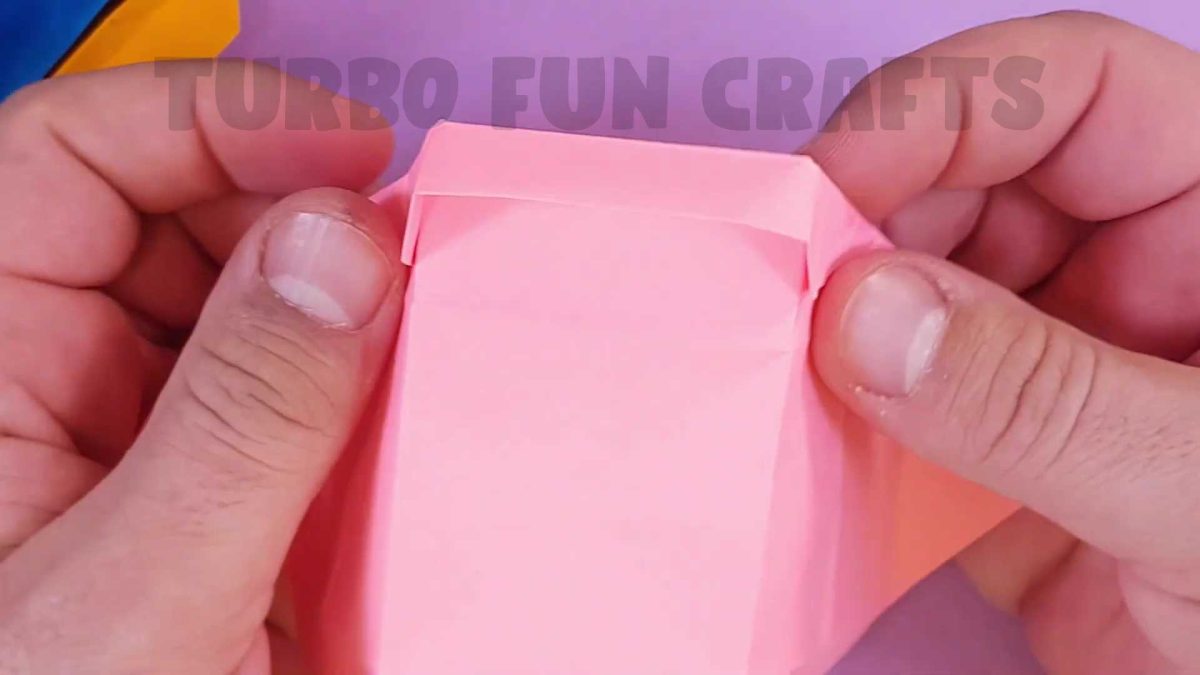
STEP 4 on how to make a Paper Chest of Drawers
Flip the paper sheet over
Unfold the top and the bottom corners

Start folding the sheet as shown in the images below


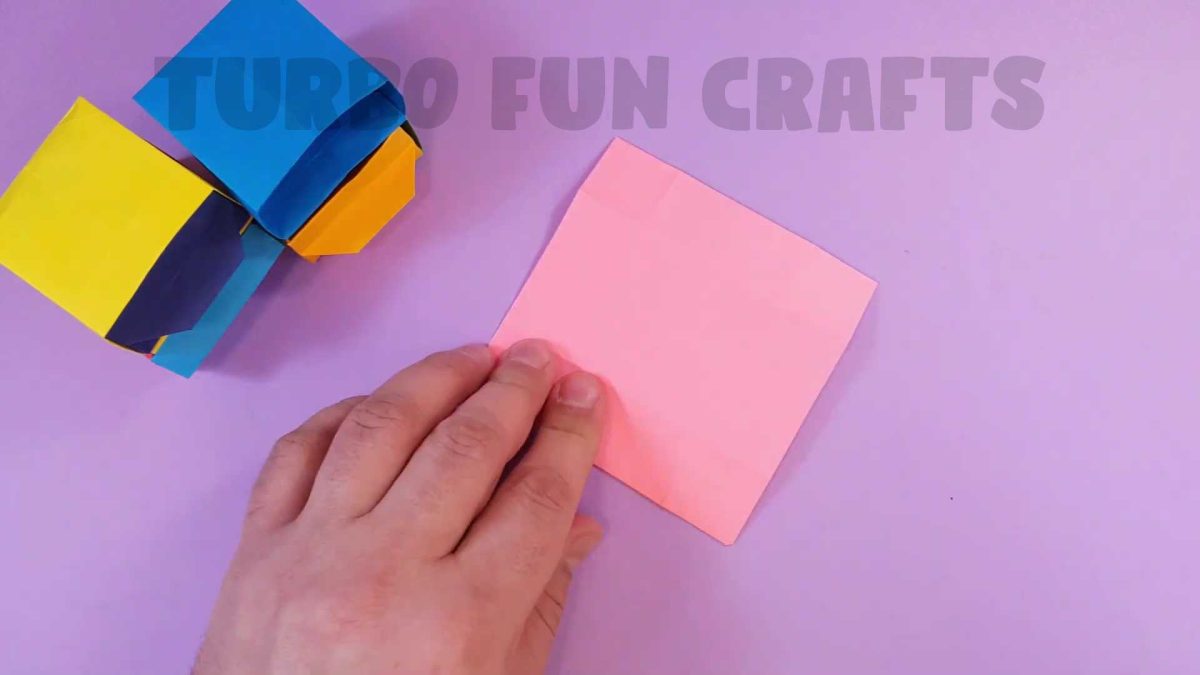
Glue the edges of the sheet

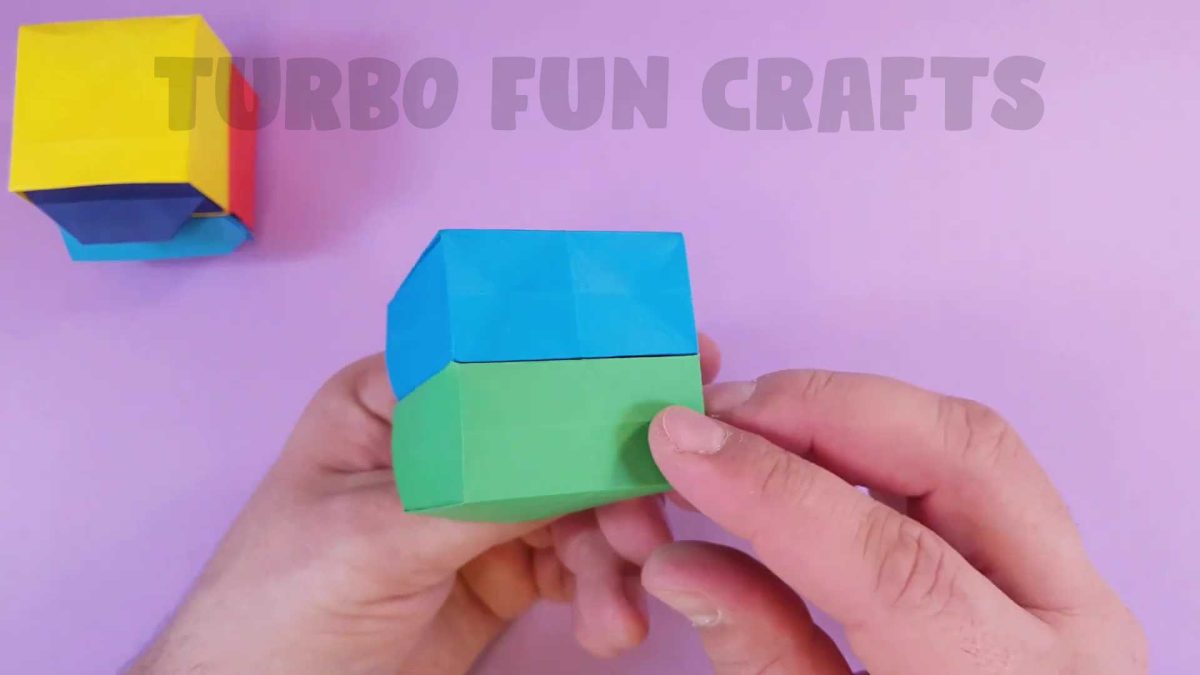
This is how it should look like

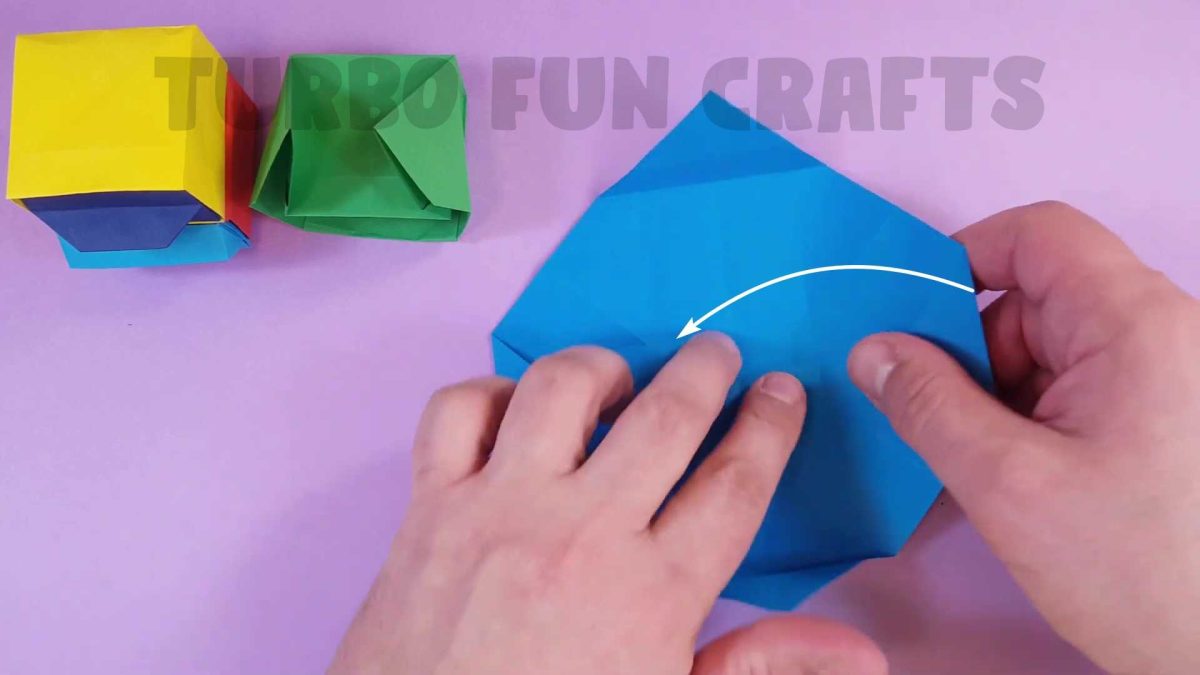
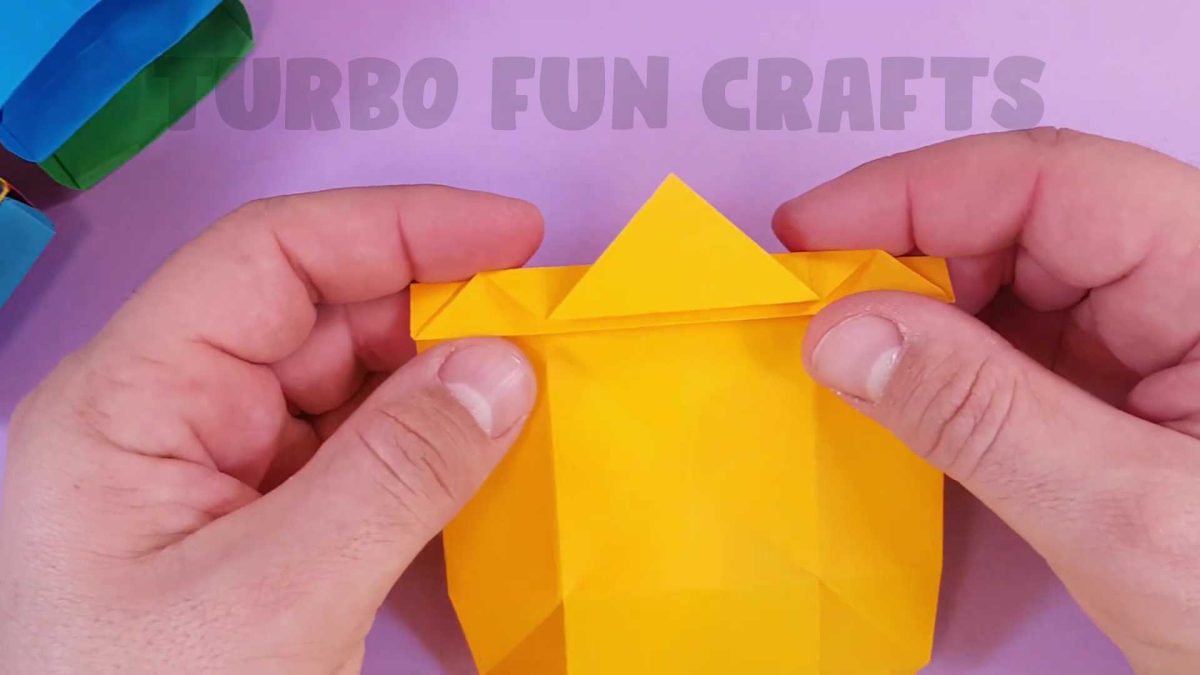
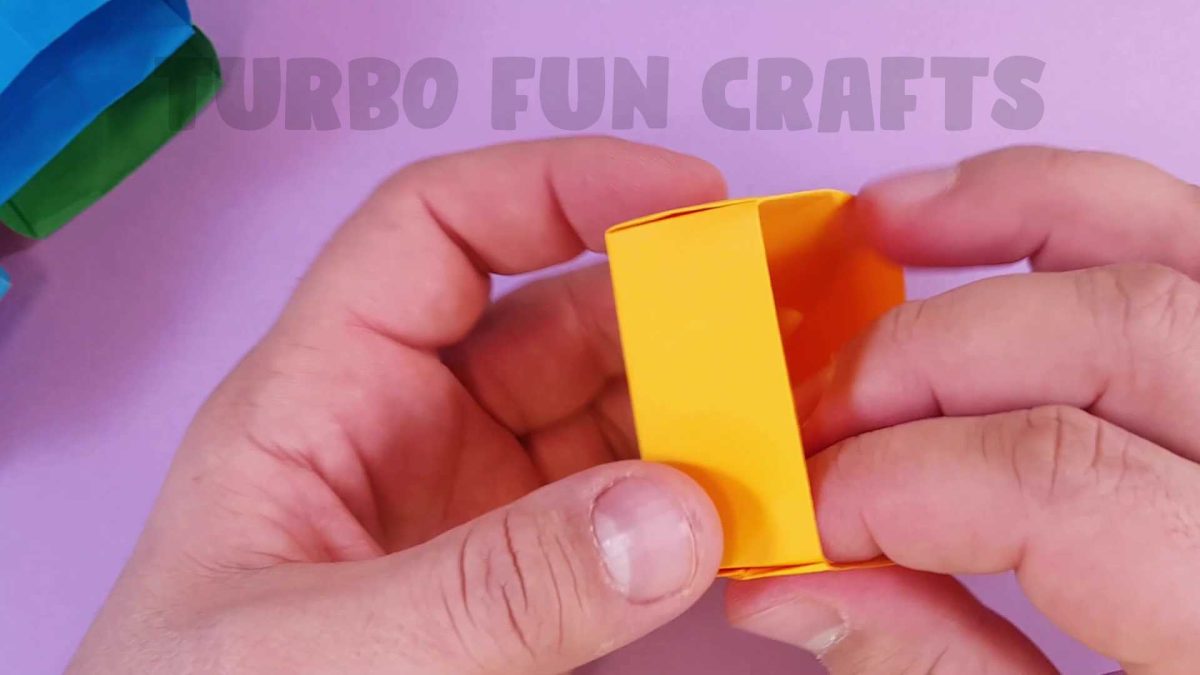
STEP 5 on how to make a Paper Chest of Drawers
Take a sheet of colored paper measuring 15 by 15 cm

Fold the paper diagonally


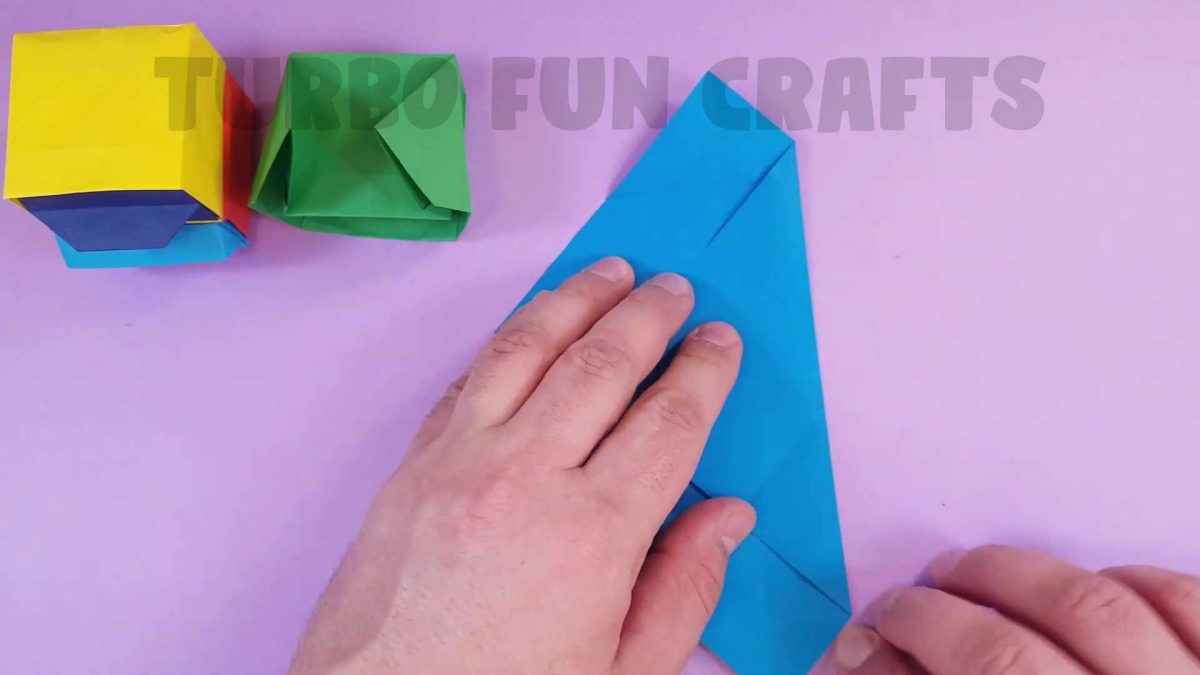
Unfold the paper, rotate it by 180 degrees and fold it diagonally one more time
Please note that you should leave the edges of the sheet uncreased


Unfold the paper to its original position

Fold the bottom corner to the center of the sheet

Make a crease only in the middle of the sheet as shown in the picture below

Unfold the corner to its original position

Fold the bottom corner upwards
This is how it should look like

Rotate the sheet by 180 degrees

Fold the bottom corner in the same way as shown earlier
This is how it should look like

Slightly unfold the corners of the paper

Fold the bottom corner upwards as shown in the image below

This is how it should look like

Unfold the paper to its previous position and rotate it by 180 degrees

Fold the bottom edge upwards in the same way
This is how it should look like

Unfold the paper to its previous position

Fold the bottom corner as shown in the images below


Rotate the sheet by 180 degrees and fold another corner in the same way


Fold the corner as shown in the image below

Unfold the sheet to its original position
This is how it should look like

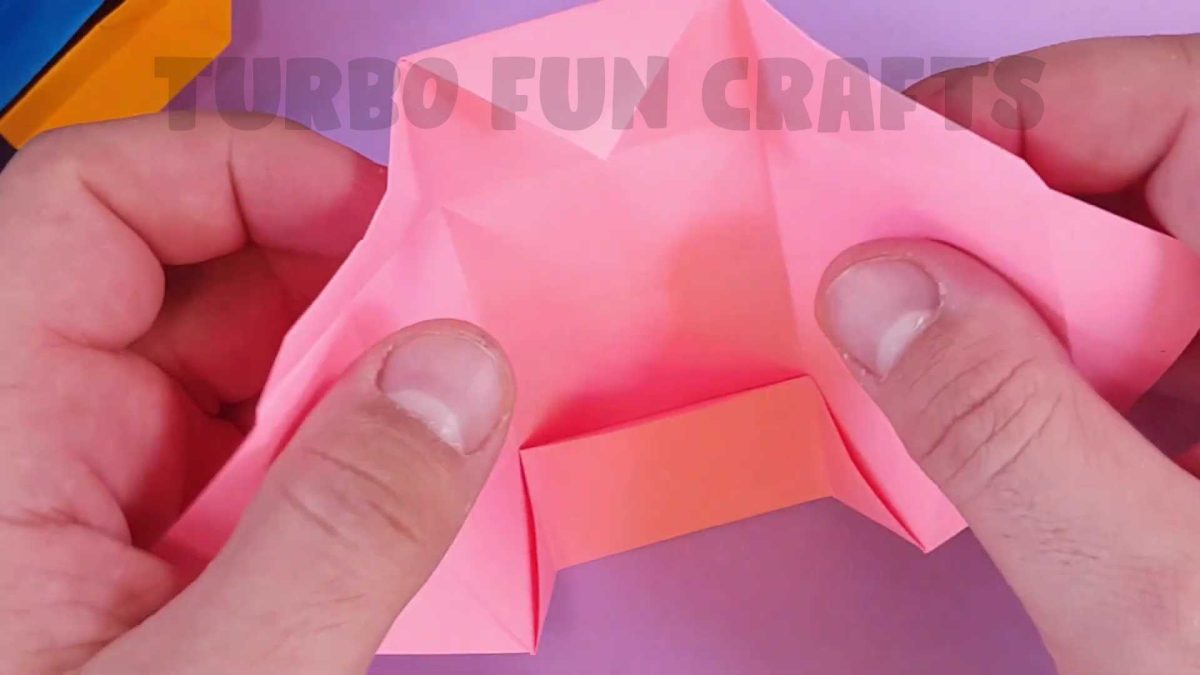
STEP 6 on how to make a Paper Chest of Drawers
Fold the bottom corner to the other side


Fold the bottom edge as shown in the images below


Rotate the sheet by 180 degrees and fold another corner in the same way

This is how it should look like

Flip the paper sheet over

Fold the sheet as shown in the images below


Fold another edge of the sheet in the same way


Do the same actions with two remaining edges
Fold them in the same way
This is how it should look like

Flip the paper sheet over

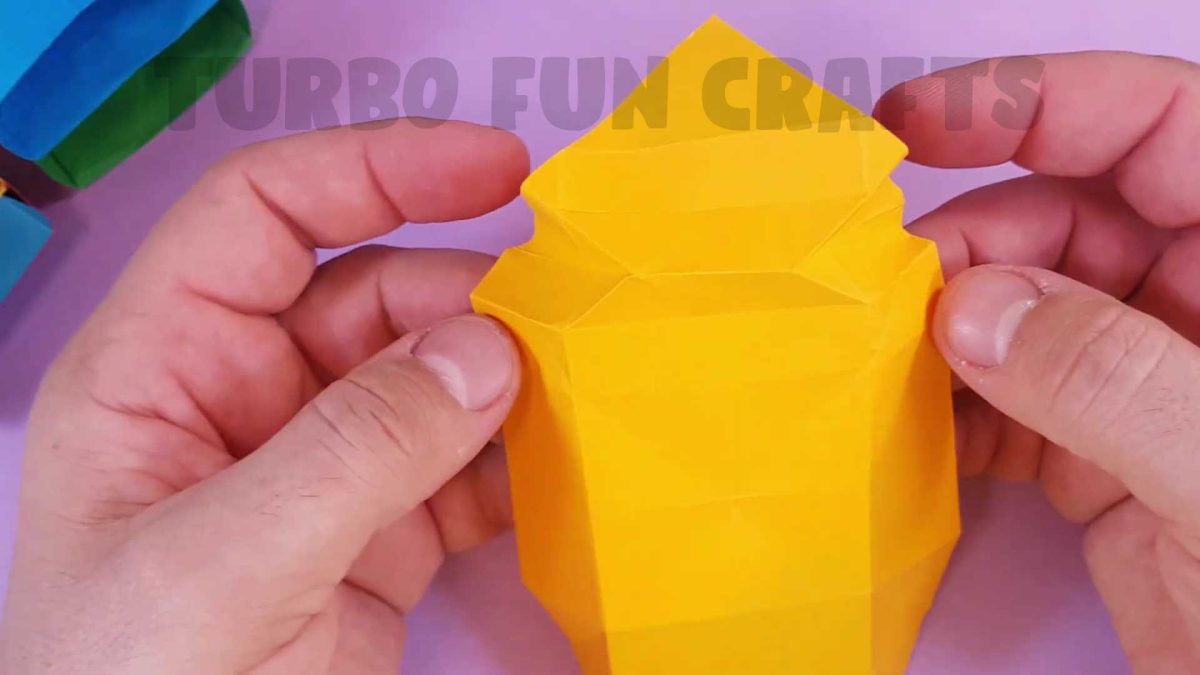
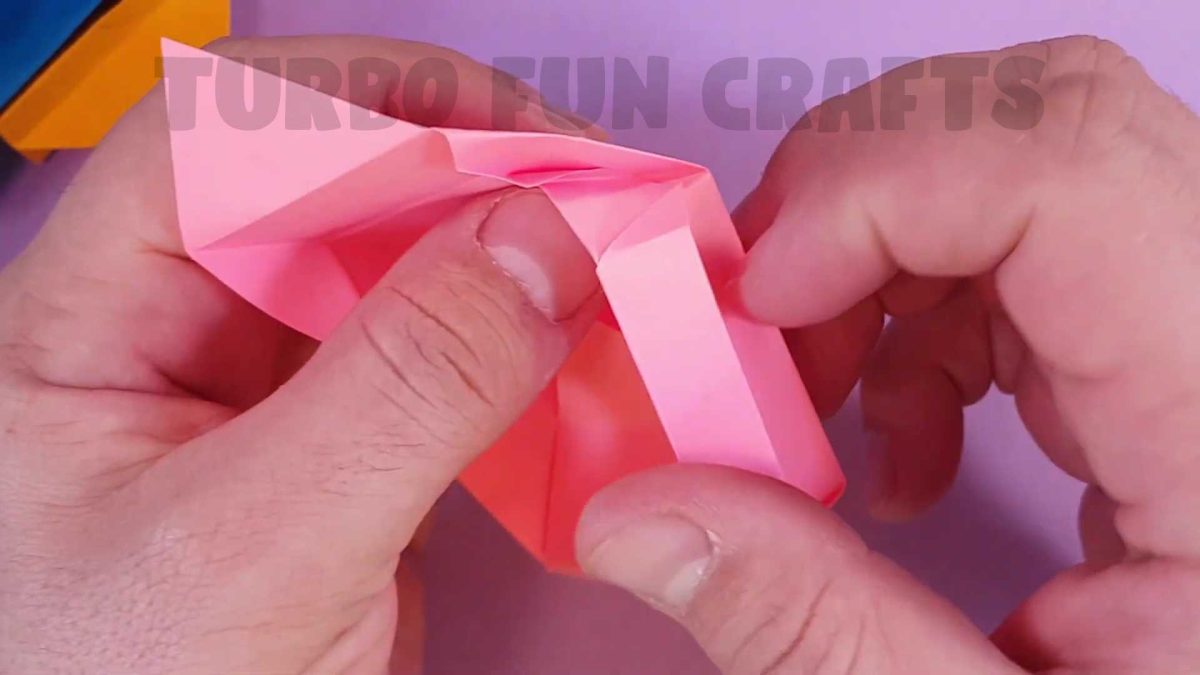
STEP 7 on how to make a Paper Chest of Drawers
Slightly unfold the corners of the sheet

Fold the right edge of the sheet as shown in the images below
Fold the left edge in the same way
Unfold the edges of the sheet as shown in the image below
Start folding the paper as shown in the images below


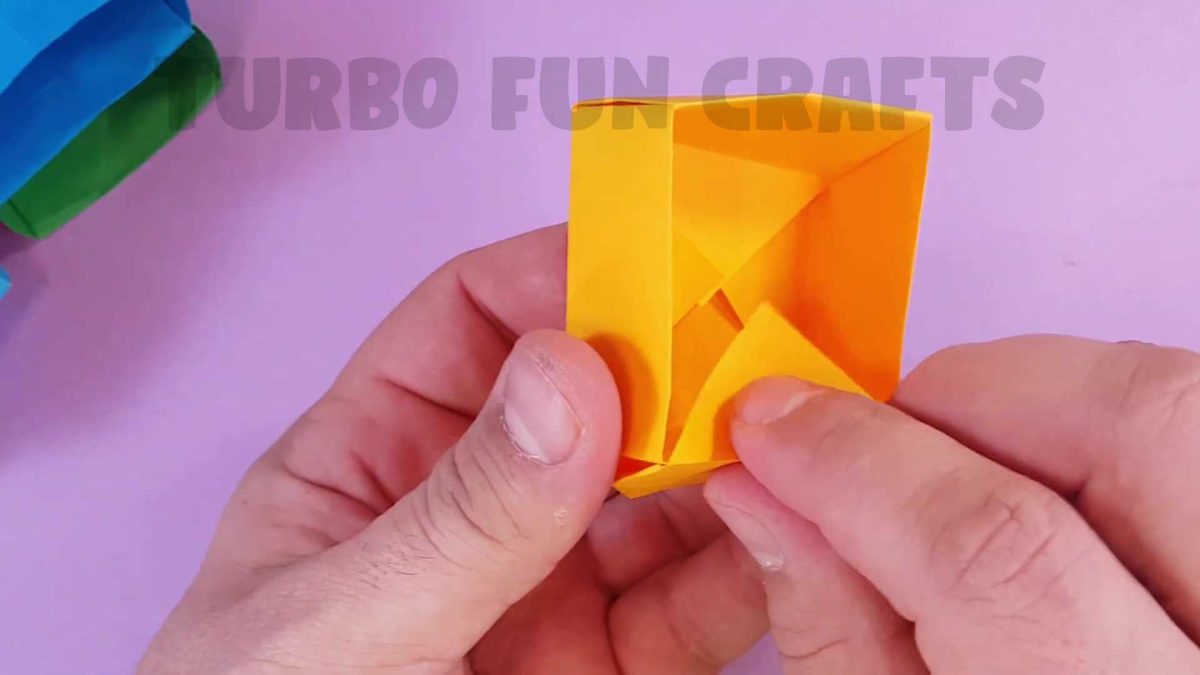
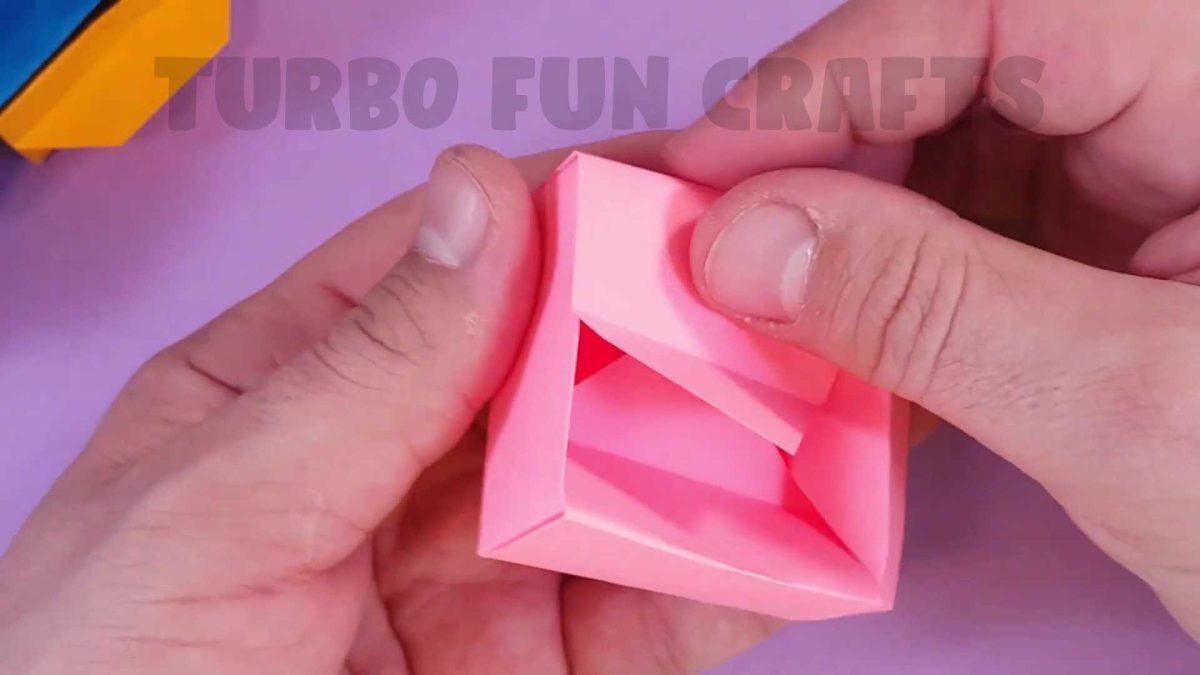
Glue the edges of the sheet
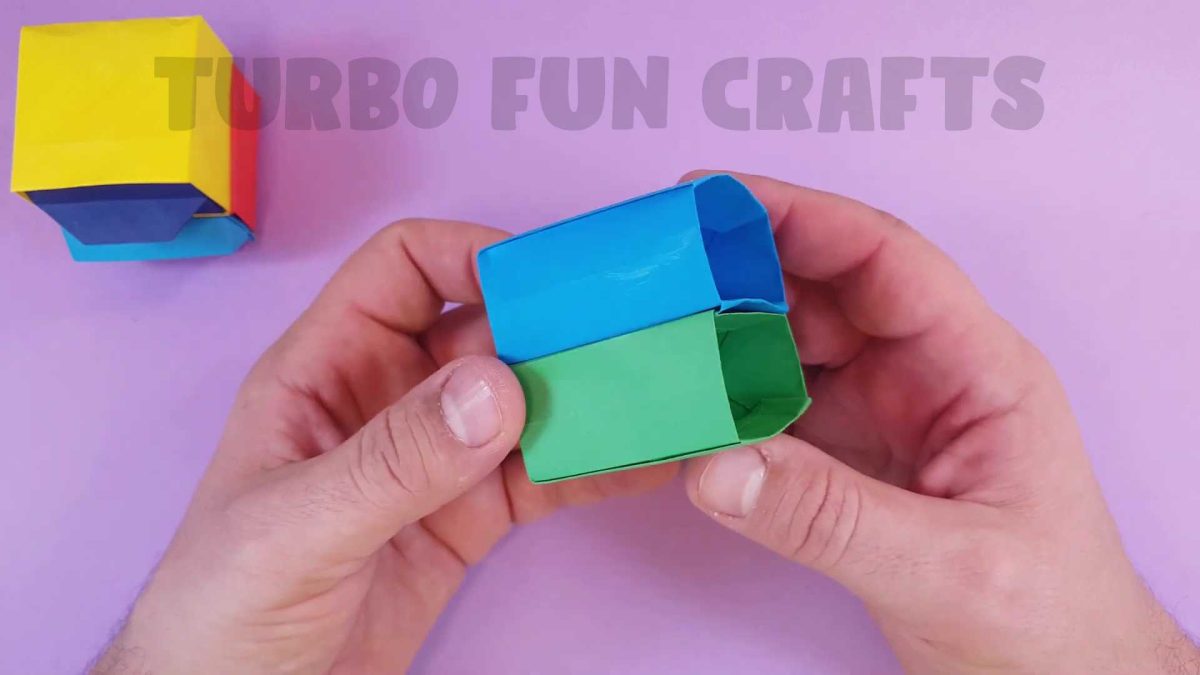
This is how it should look like
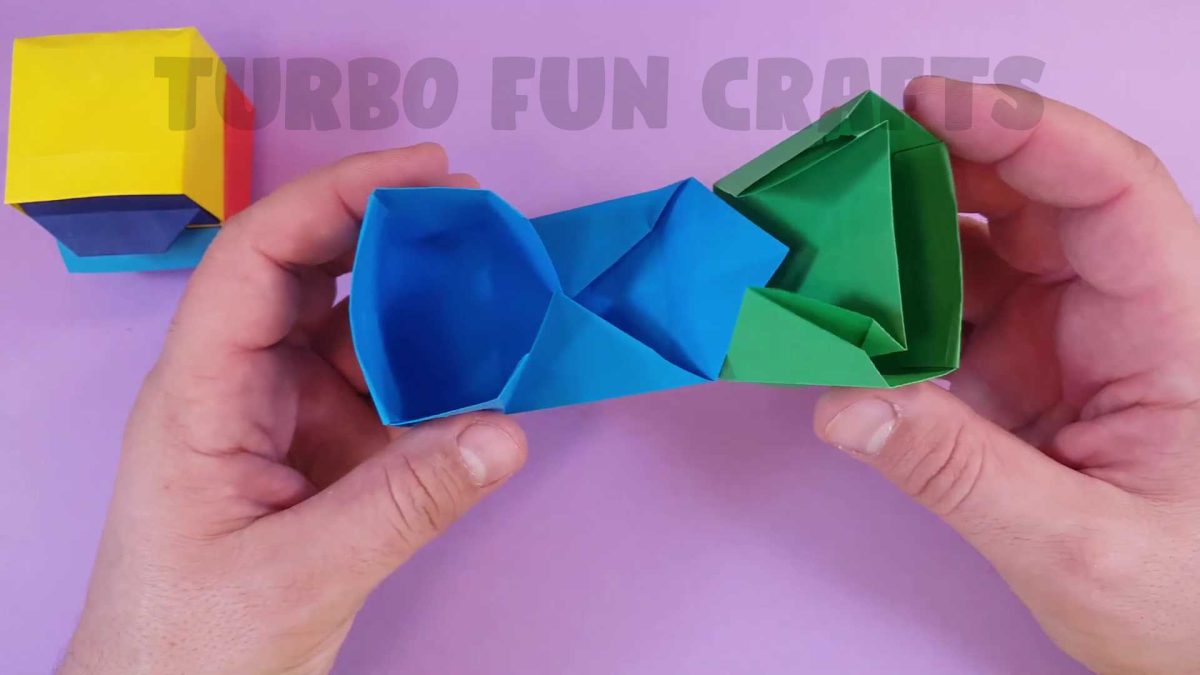
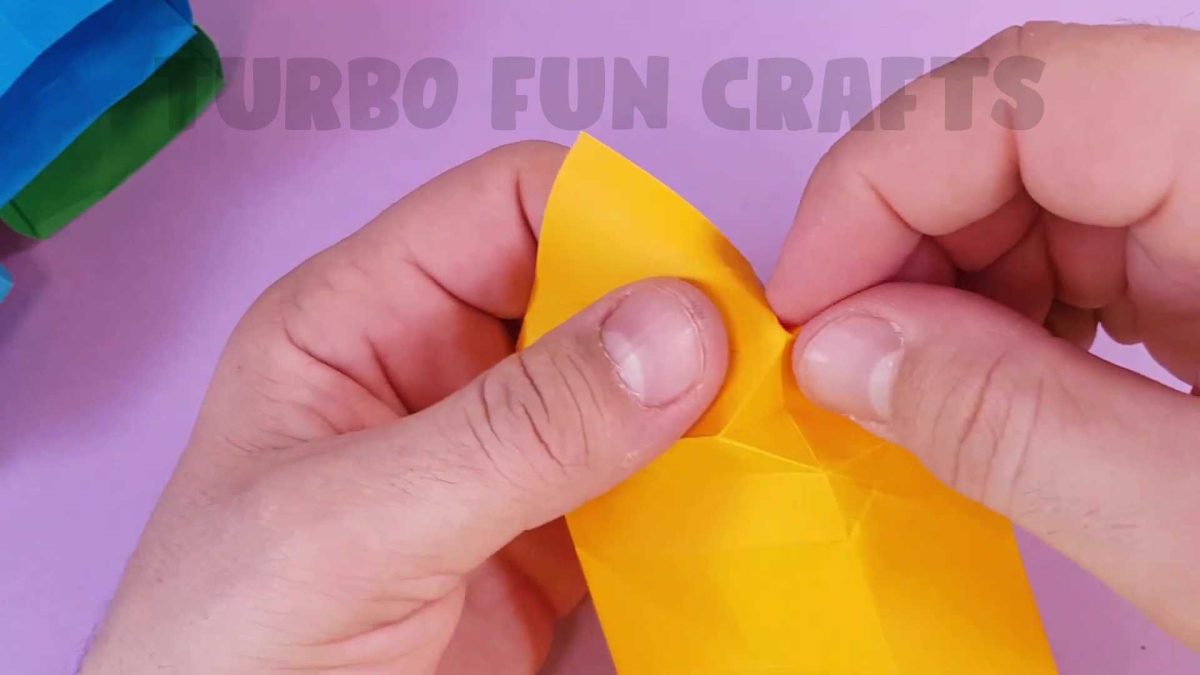
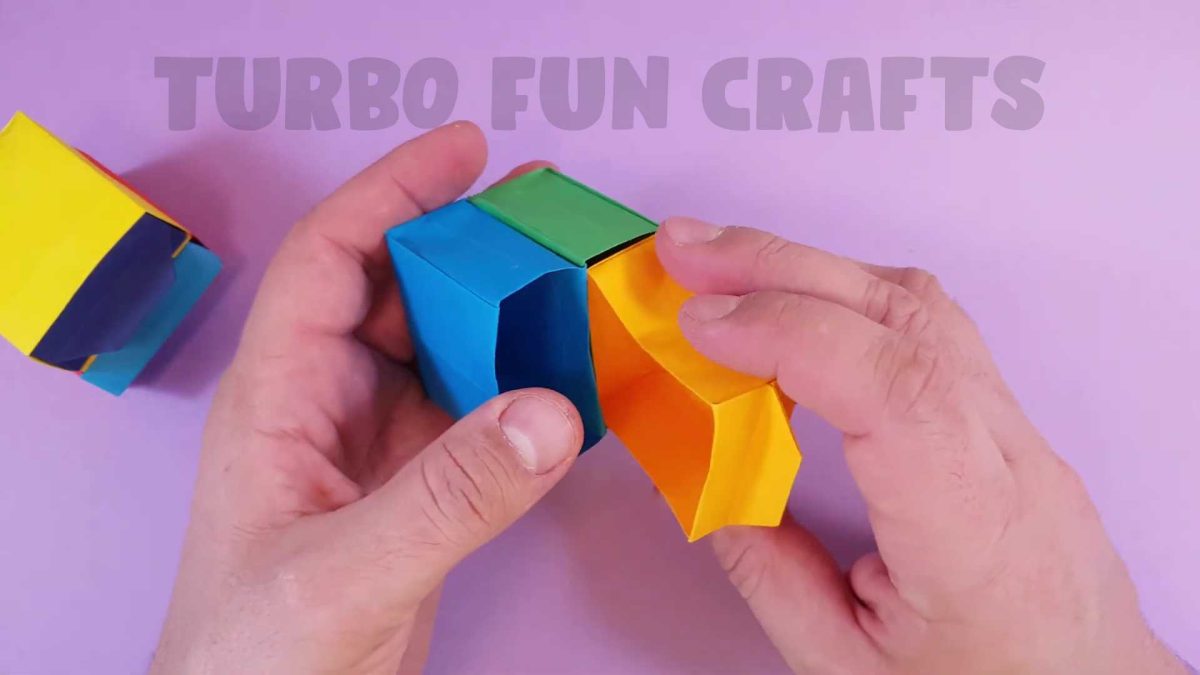
Connect the two paper pieces to each other
This is shown in the images below
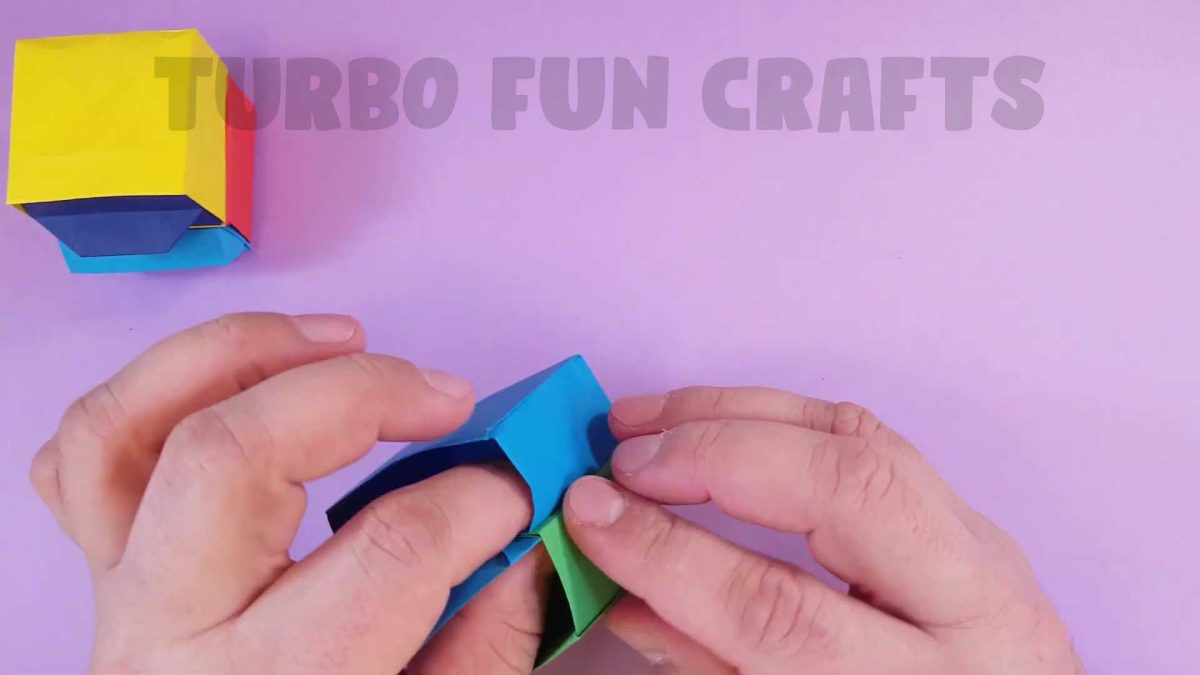
Glue inner edges of the sheet
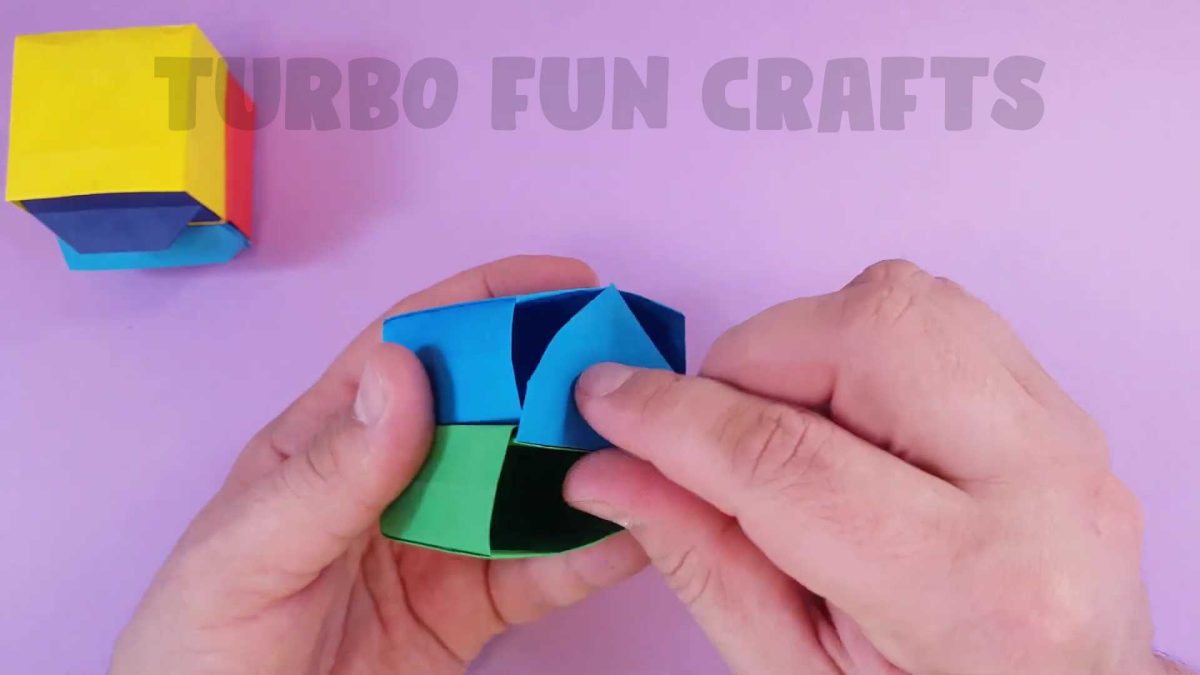
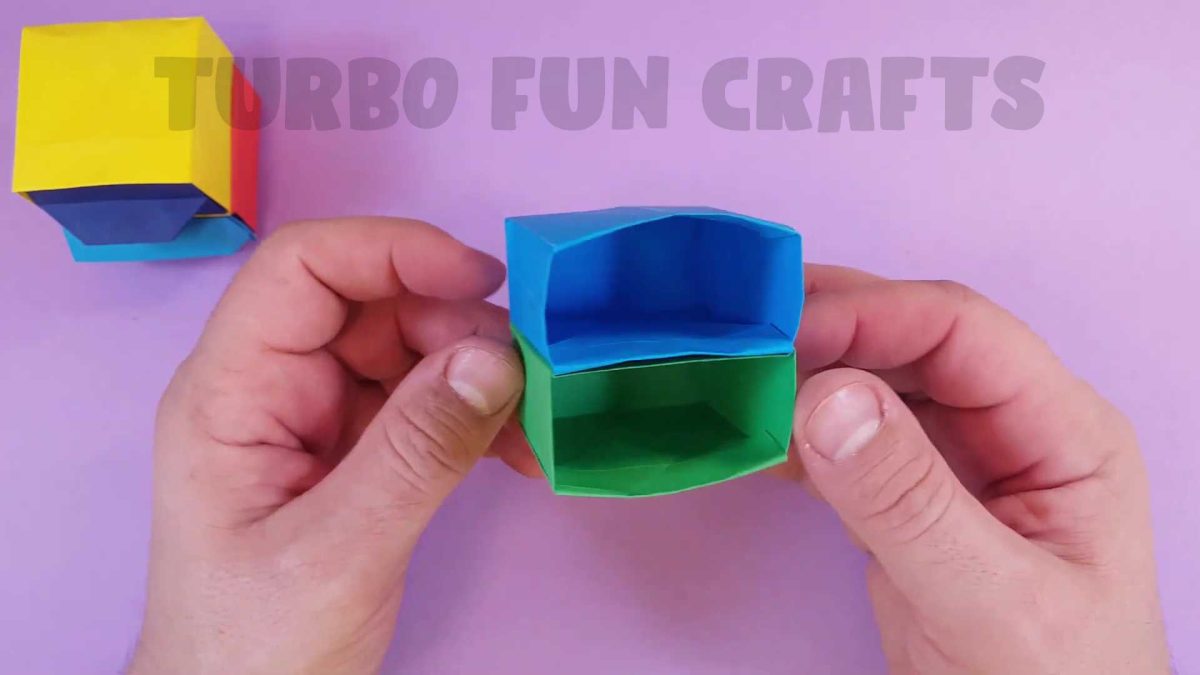
This is how it should look like
You may also like: How to make Cardboard Game Super Mario | No electronic components required | Anyone can make
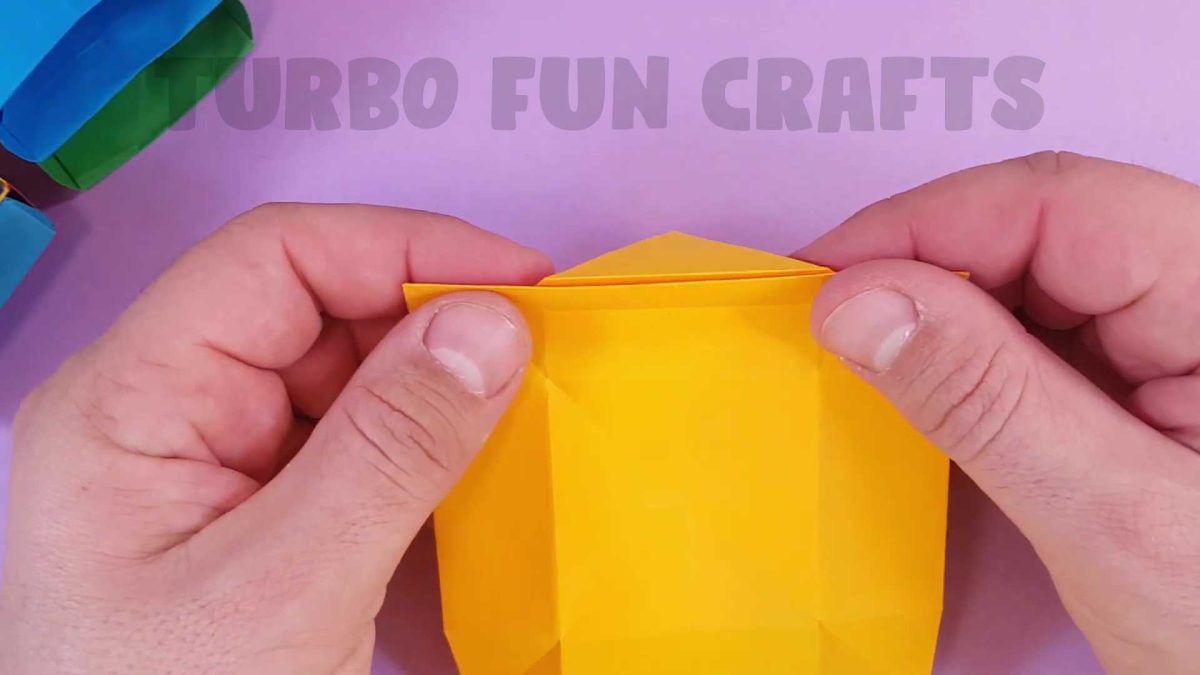
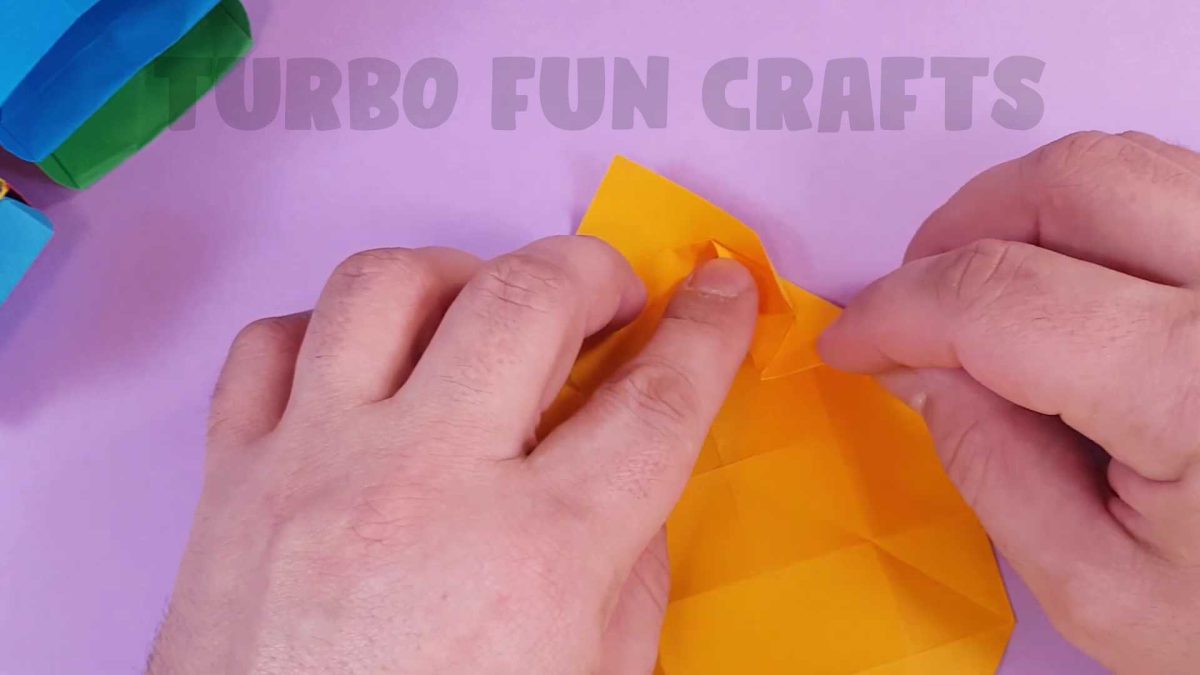
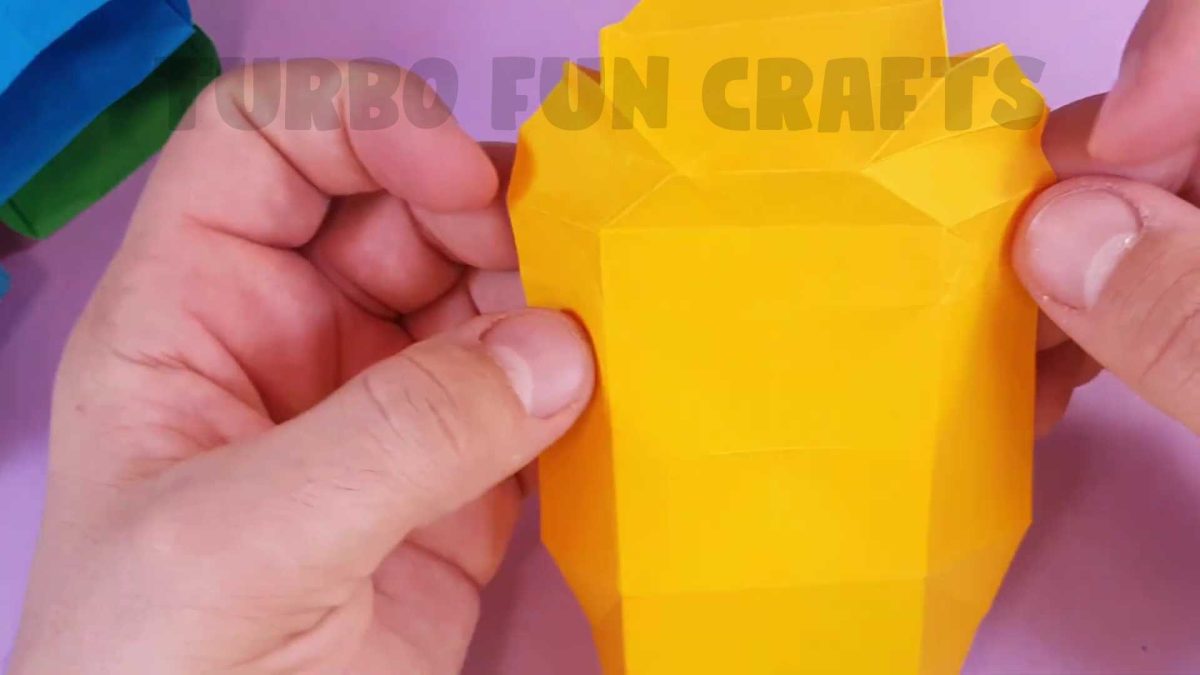
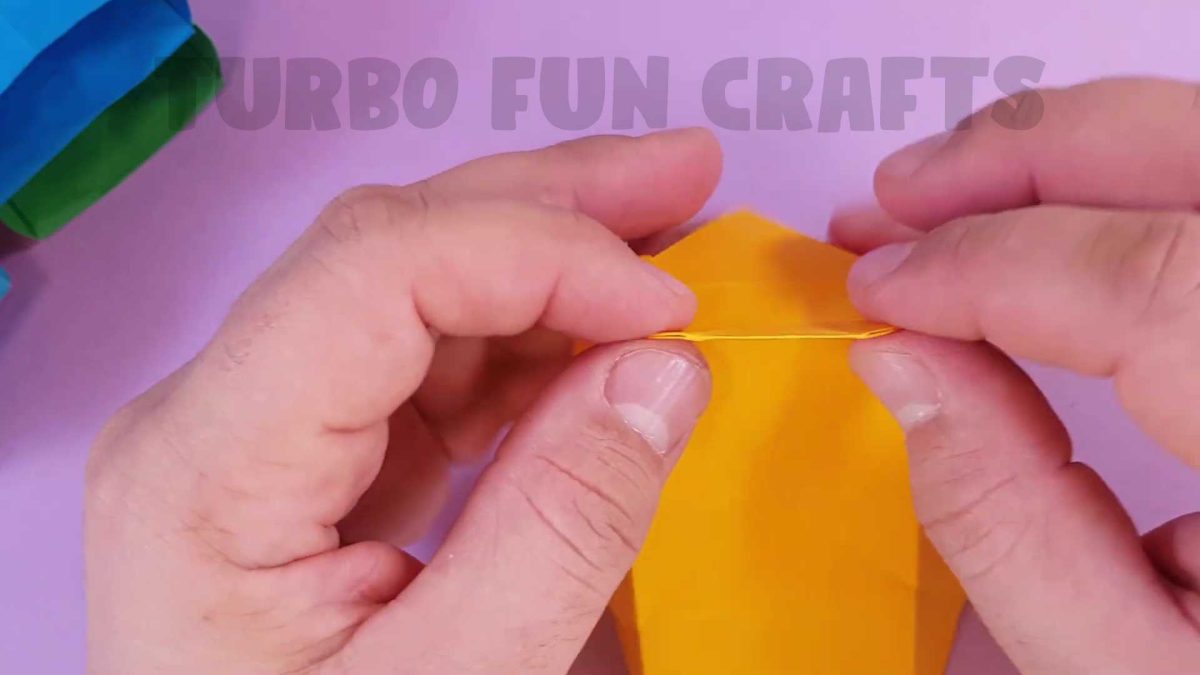
STEP 8 on how to make a Paper Chest of Drawers
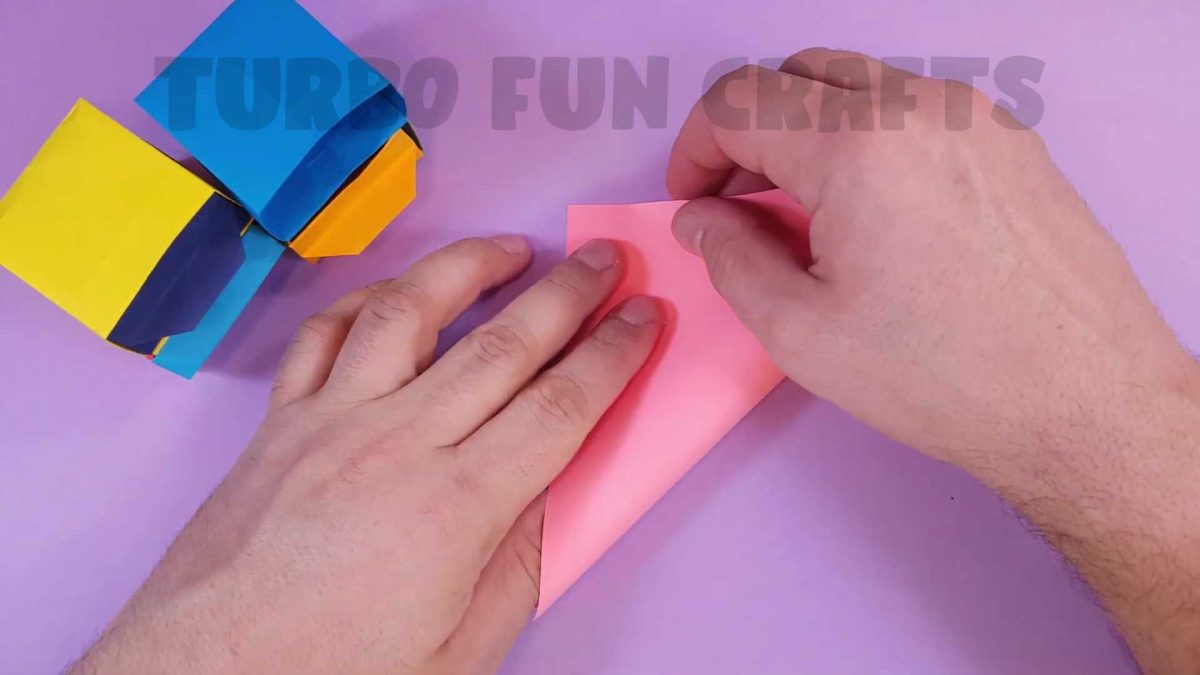
Take a sheet of colored paper measuring 14.6 by 14.6 cm

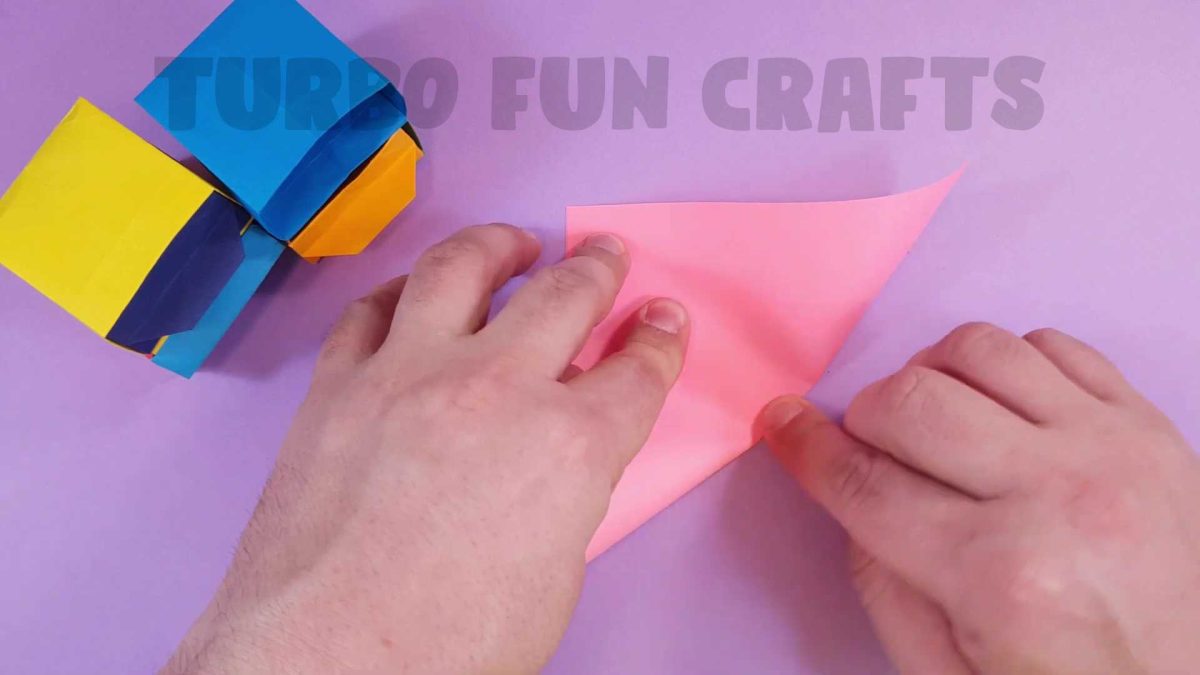
Fold the sheet diagonally
Make a crease only in the middle of the sheet as shown in the picture below
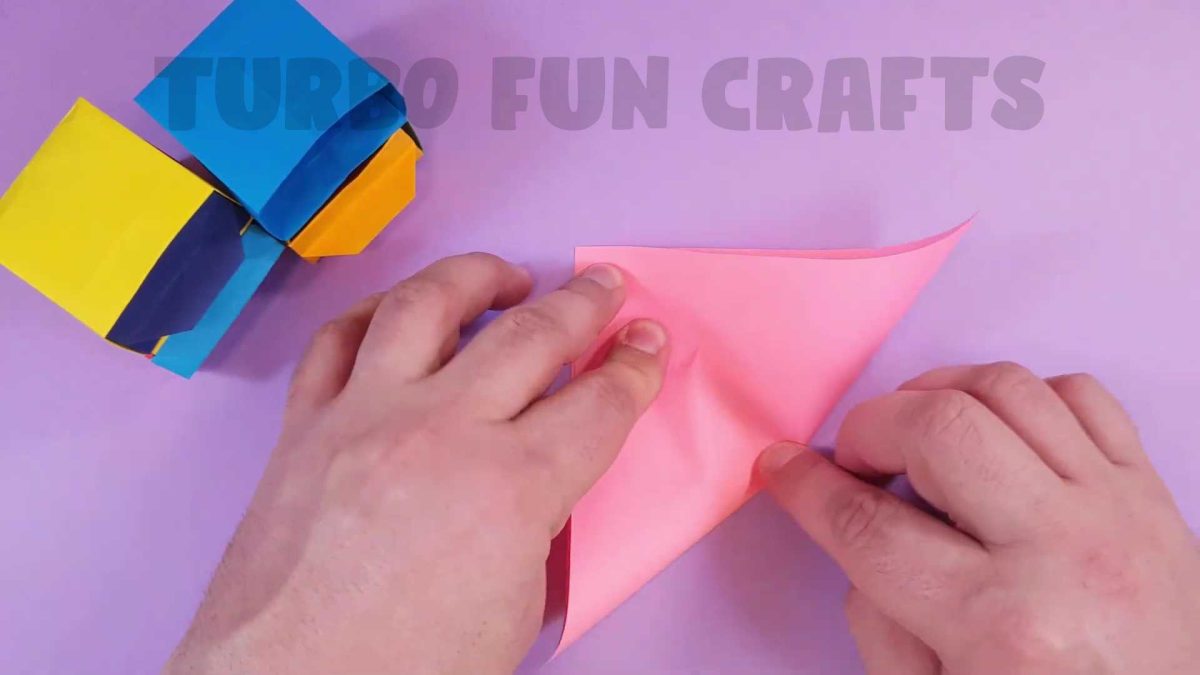
Unfold the sheet, rotate it by 180 degrees and fold the paper across the diagonally one more time
Make a crease only in the middle of the sheet as shown in the picture below

Fold the bottom edge to the center of the sheet
Rotate the sheet by 90 degrees and fold another edge in the same way
Do the same action with the remaining corners
Fold them in the same way
This is how it should look like

Fold the bottom edge of the sheet as shown in the images below


This is how it should look like

Rotate the sheet by 180 degrees and fold another edge in the same way

This is how it should look like

Unfold the sheet and place it as shown in the image below

Fold the bottom edge as shown in the images below


Rotate the sheet by 180 degrees and fold another edge in the same way

Unfold the edges to their previous position
This is how it should look like

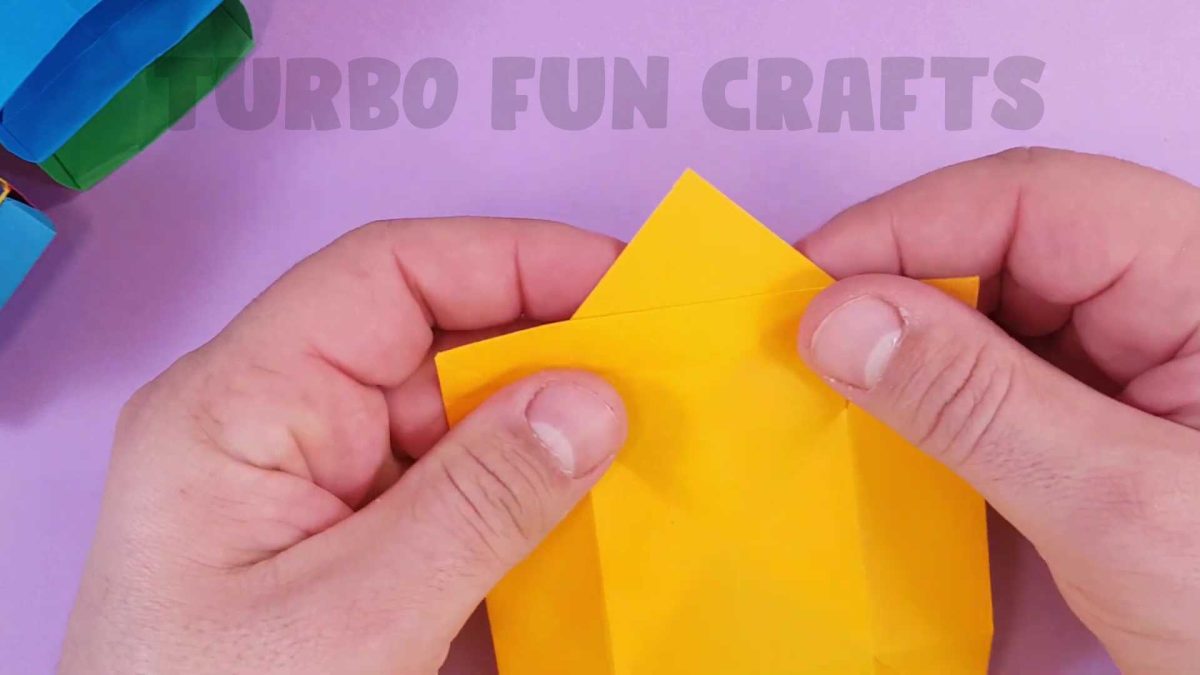
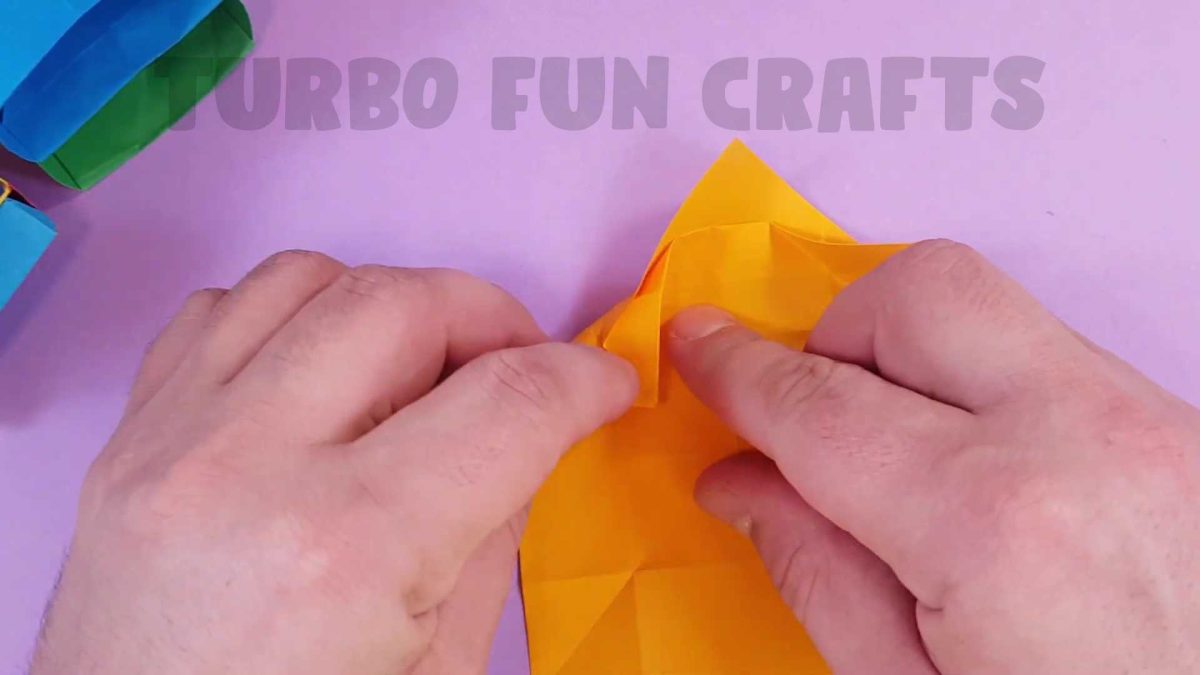
STEP 9 on how to make a Paper Chest of Drawers
Flip the paper sheet over

Fold the sheet diagonally as shown in the images below

Make folds only at the edges of the sheet

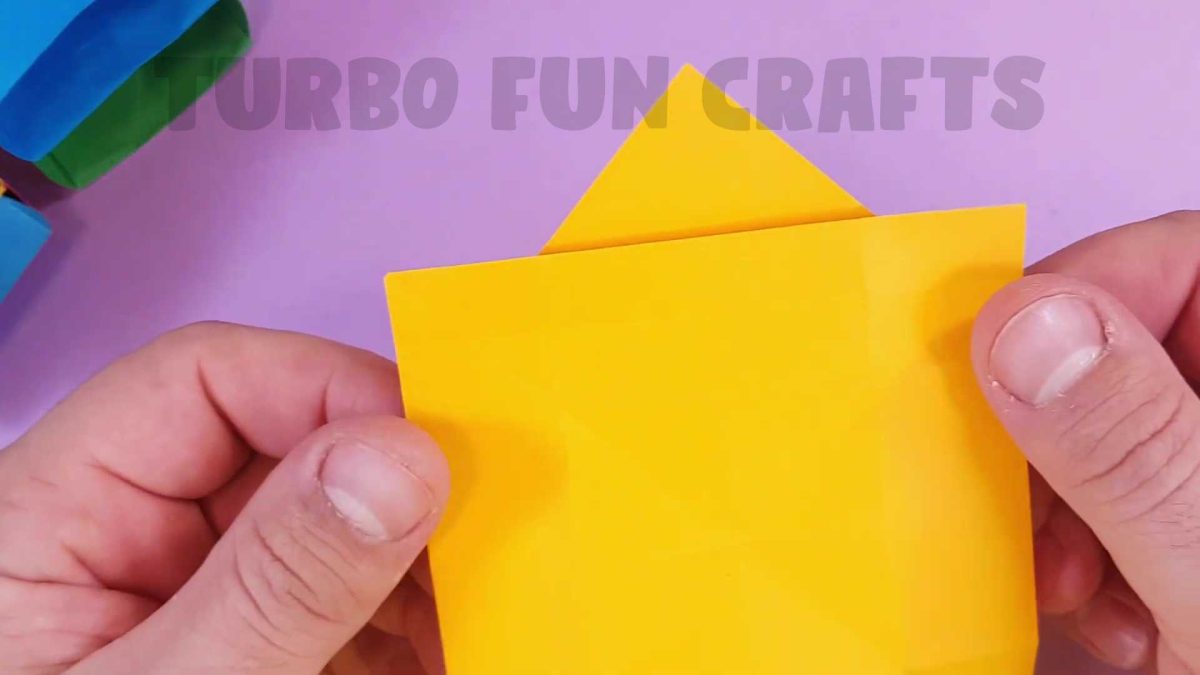
Unfold the sheet and place it as shown in the image below

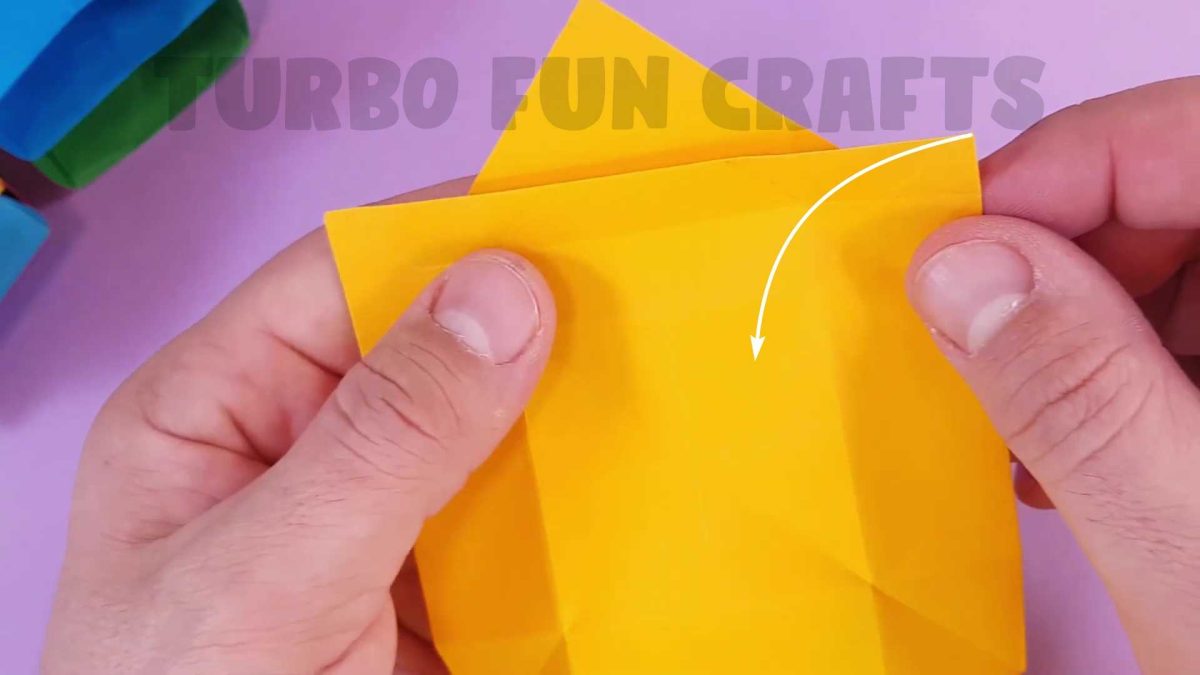
Fold the bottom edge upwards as shown in the image below

Make folds only at the edges of the sheet

This is how it should look like

Flip the paper over

Unfold the corners of the paper and place the sheet as shown in the image below

Fold the bottom edge upwards
This is shown in the images below

Fold the top edge in the same way

Unfold the edges of the sheet and flip it over

Fold the bottom corner as shown in the images below
This is how it should look like
Fold the bottom corner upwards

This is how it should look like
Fold the bottom corner downwards
This is shown in the images below
This is how it should look like
You may also like other PARER CRAFTS from our collection 🙂
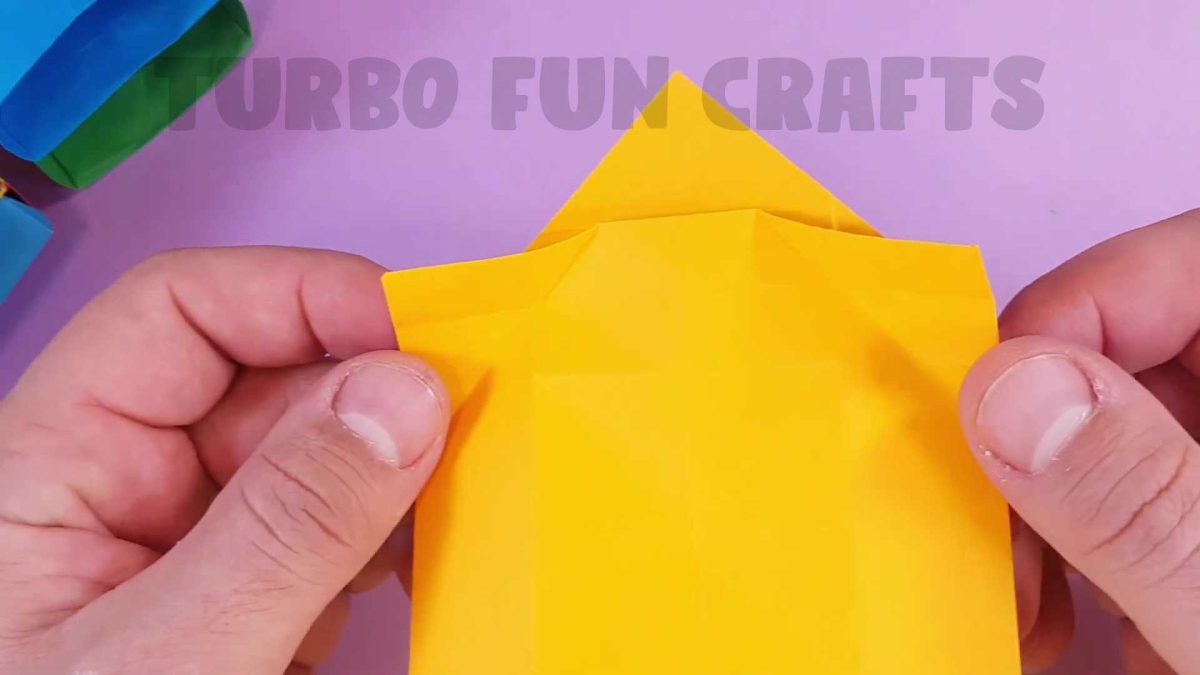
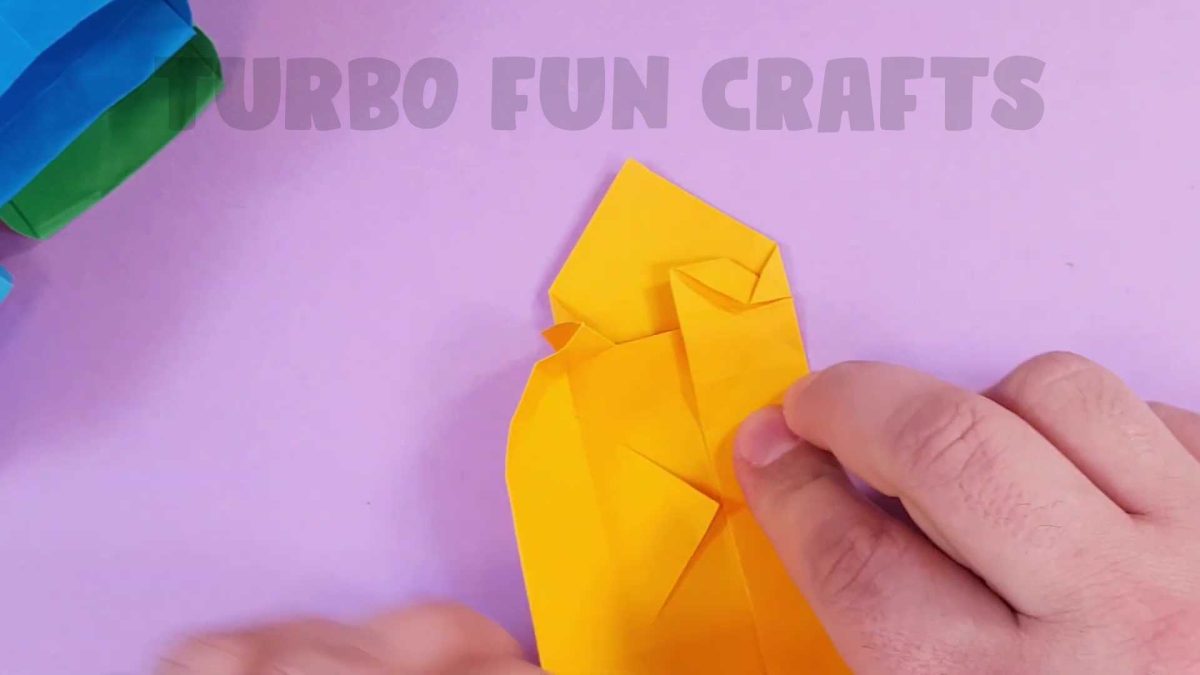
STEP 10 on how to make a Paper Chest of Drawers
Fold the edge of the sheet as shown in the images below
This is how it should look like
Fold the right corner of the sheet as shown in the images below
Slightly unfold the just-folded corner

Make the same action with the left corner
Fold it in the same way
This is how it should look like
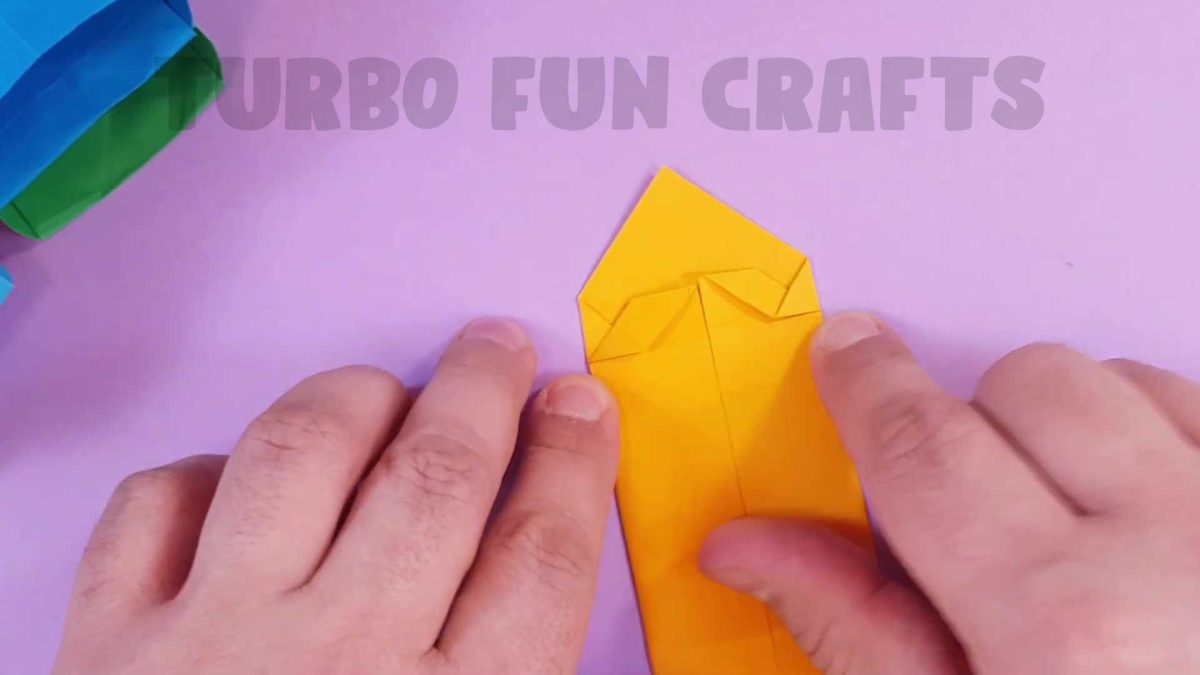
Unfold the top corner of the sheet as shown in the image below
Fold the sheet as shown in the images below

This is how it should look like
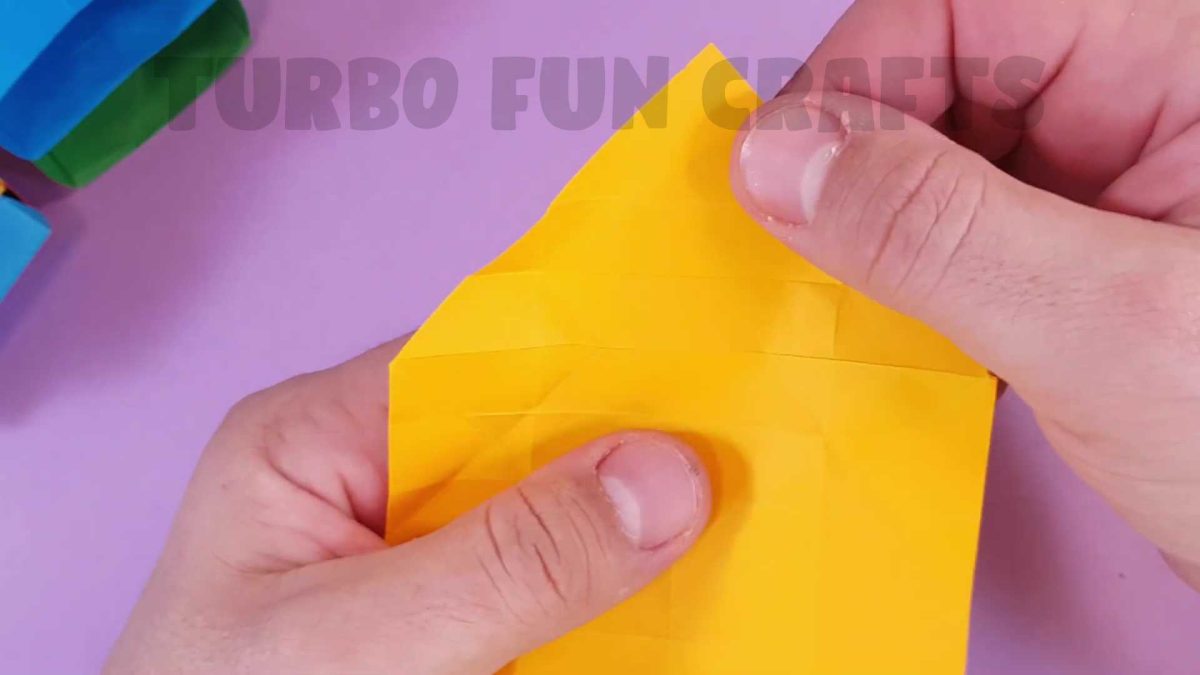
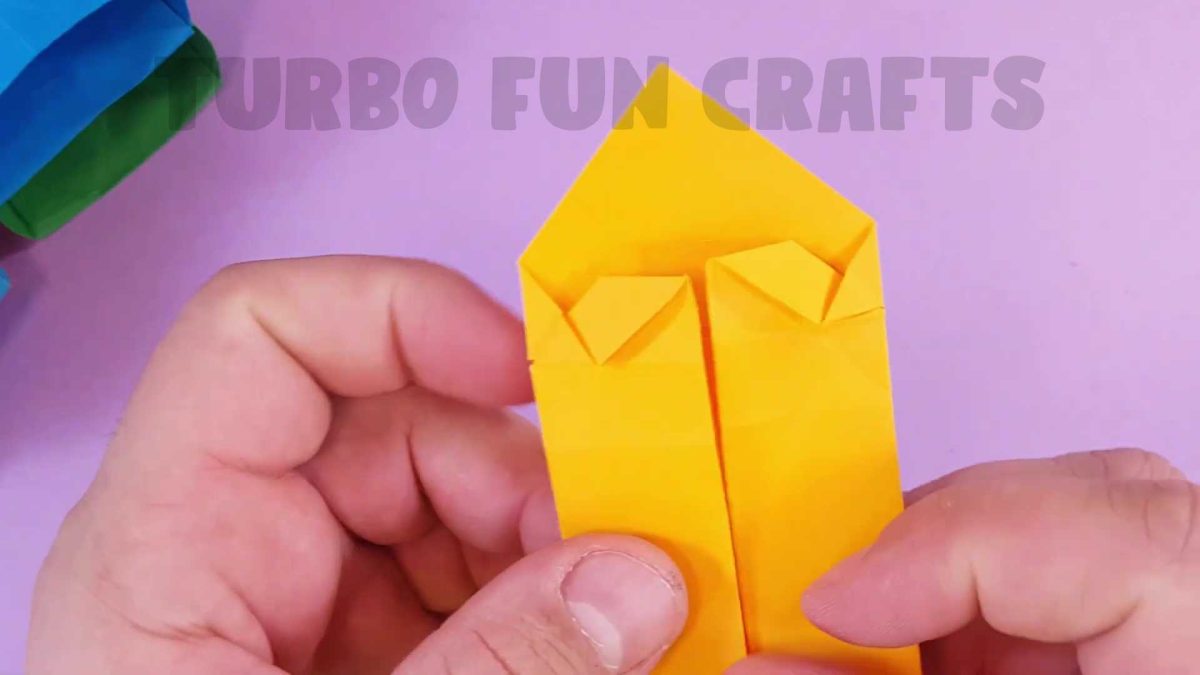
STEP 11 on how to make a Paper Chest of Drawers
Fold the sheet as shown in the images below

Flip the paper sheet over and fold it as shown in the images below
This is how it should look like
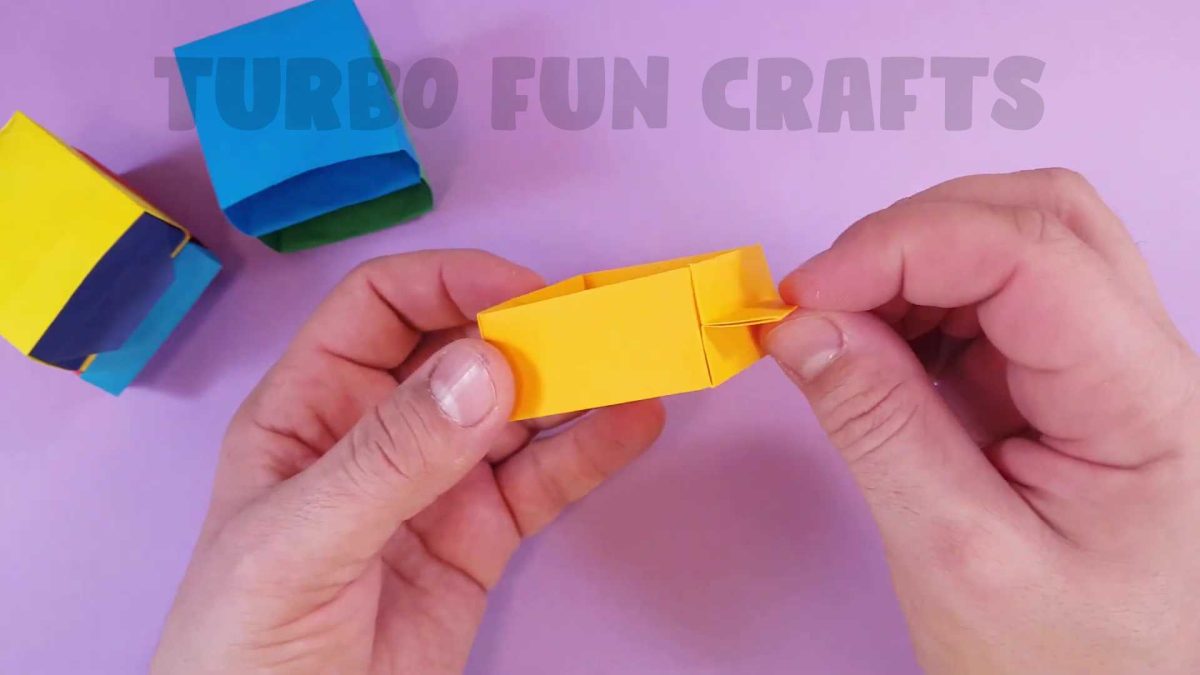
Fold the bottom edge of the sheet as shown in the images below
Glue the inner edges of the sheet
This is how it should look like
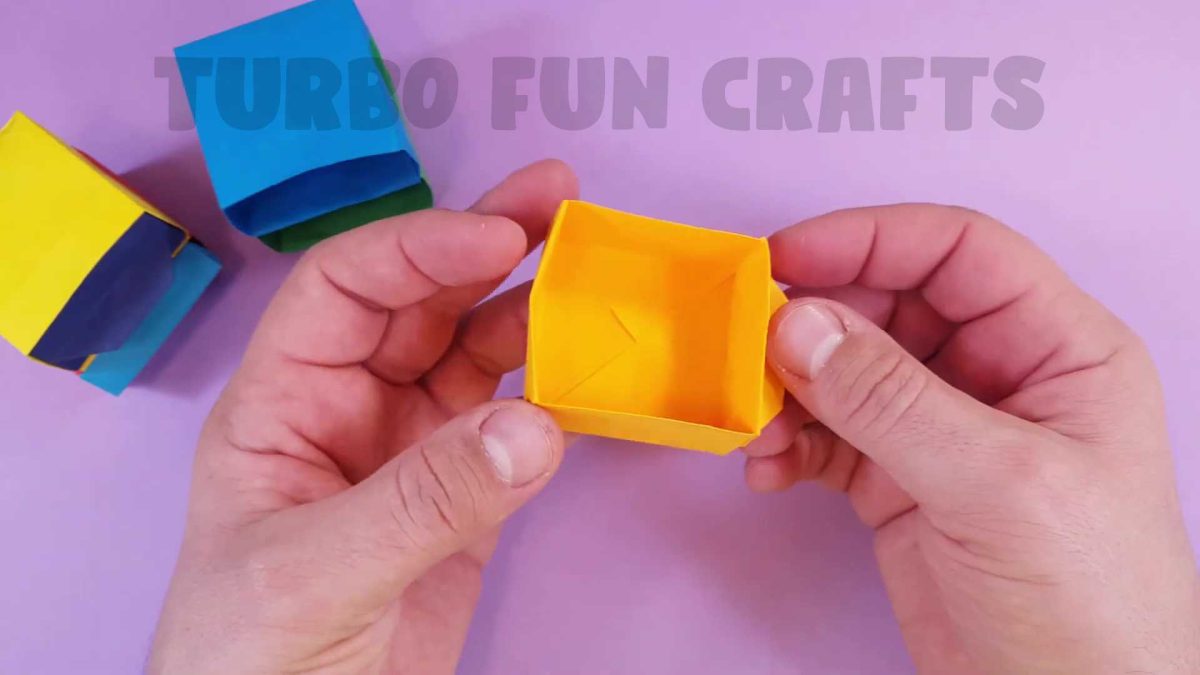
Make sure that the paper parts fit freely into one another
This is how it should look like

You may also like: How to Make Scratch Off Cards at Home | DIY Paper Crafts in just 3 Minutes | Easy-to-Follow Tutorial for Everyone
STEP 12 on how to make a Paper Chest of Drawers
Take a paper sheet measuring 14.6 by 14.6 cm of different color
Fold the sheet diagonally
Make a crease only in the middle of the sheet as shown in the picture below
Rotate the sheet and fold the paper diagonally one more time in the same way
Fold the corners of the paper to the center of the sheet

This is how it should look like
Fold the bottom and the top edges to the middle of the sheet

Unfold the just-folded edges of the sheet
Fold the bottom and the top edges of the sheet in the same way
This is how it should look like
Flip the paper sheet over
Fold the sheet diagonally
This is how it should look like
Flip the paper over and unfold the corners of the sheet
Fold the bottom and the top edges to the middle of the sheet
This is how it should look like
Unfold the paper and flip the sheet over
Fold the top corner downwards
Fold the corner upwards
This is shown in the image below

Fold the corner as shown in the image below
This is how it should look like
STEP 13 on how to make a Paper Chest of Drawers
Fold the top edge of the sheet as shown in the images below

This is how it should look like

Fold the sheet as shown in the images below

Glue the inner edges of the sheet
This is how it should look like
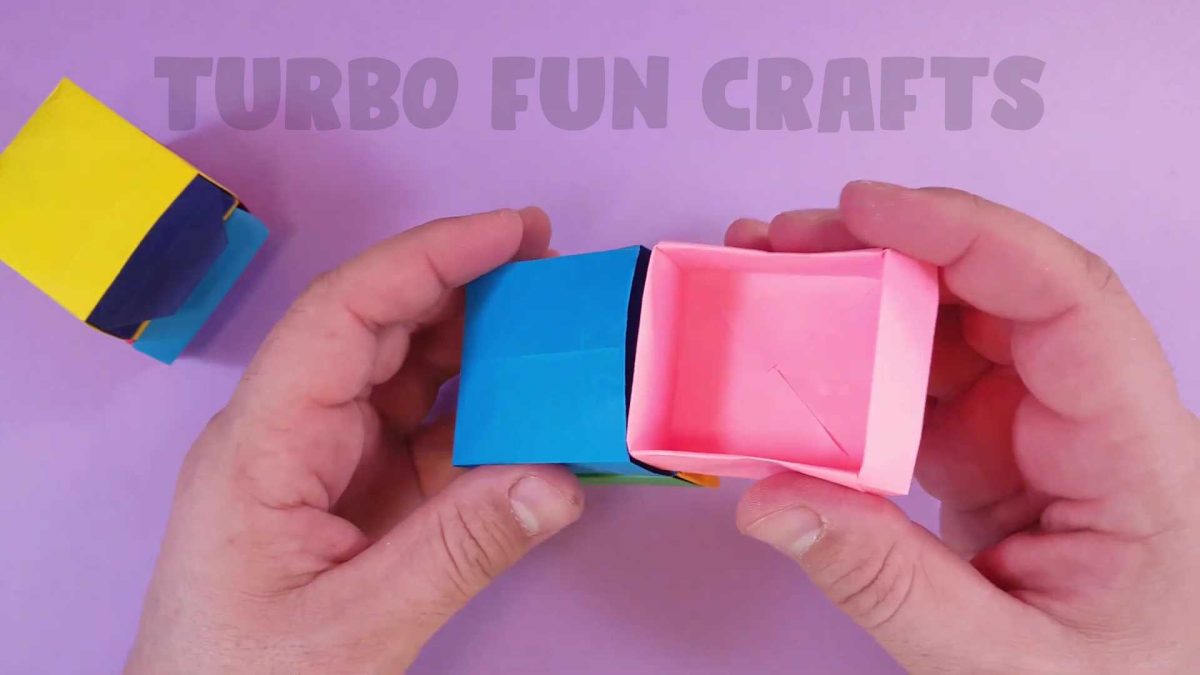
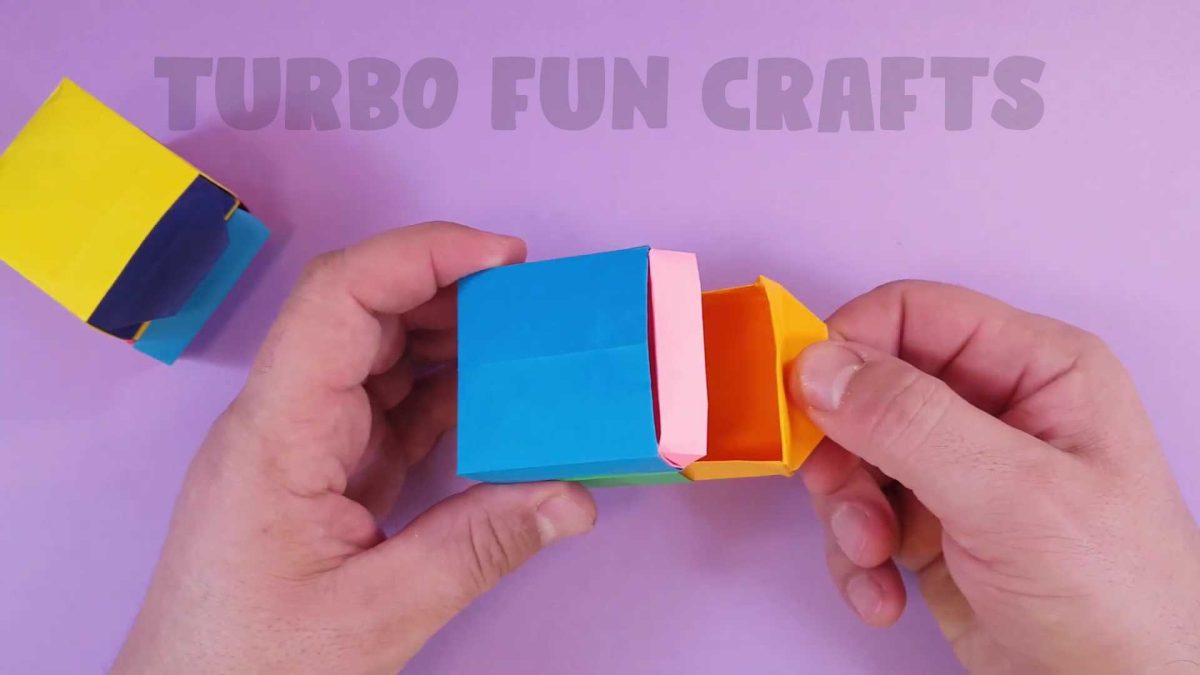
Make sure that the paper parts fit freely into one another
This is how it should look like
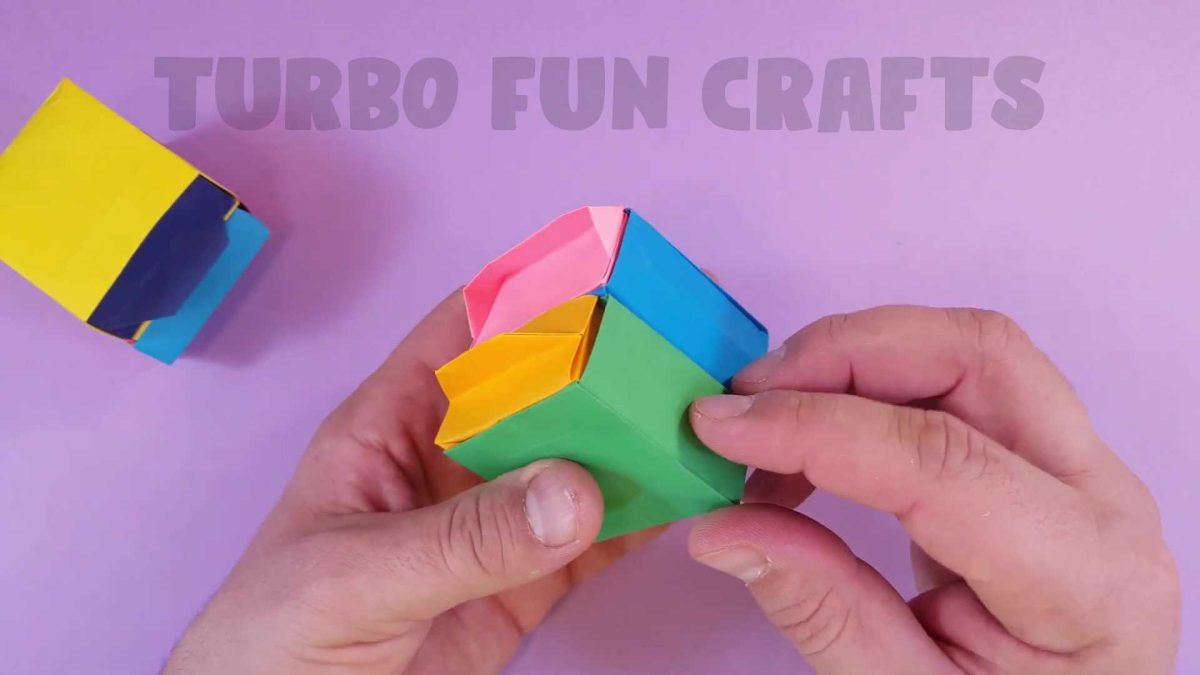
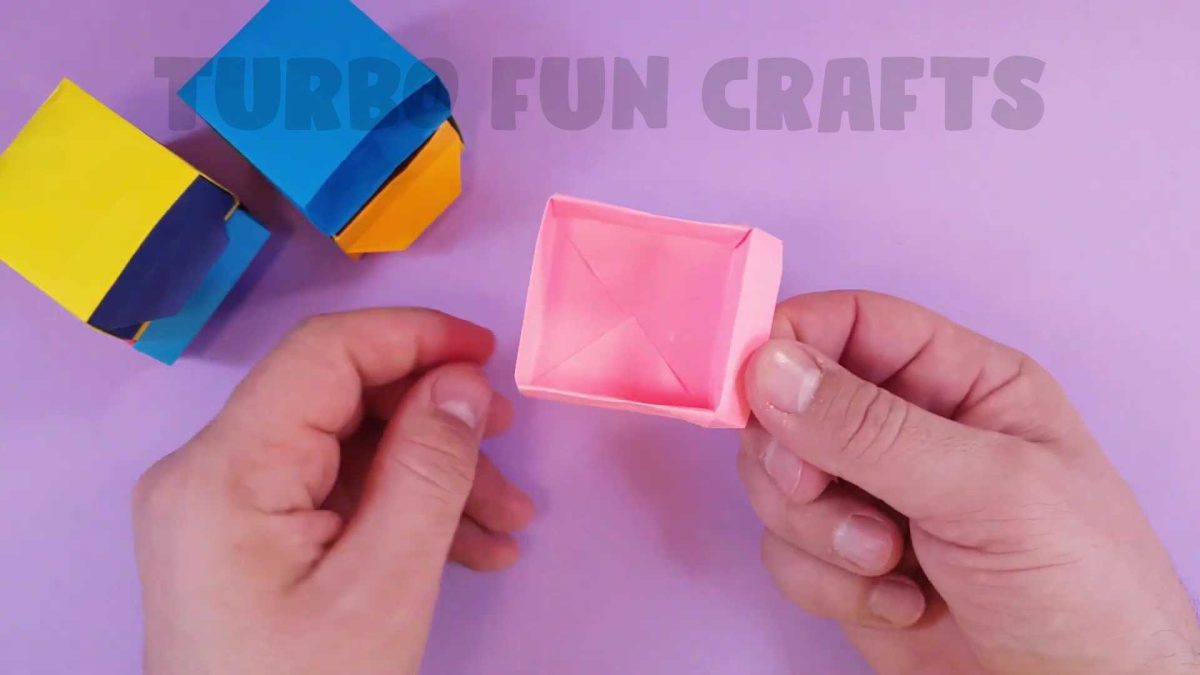
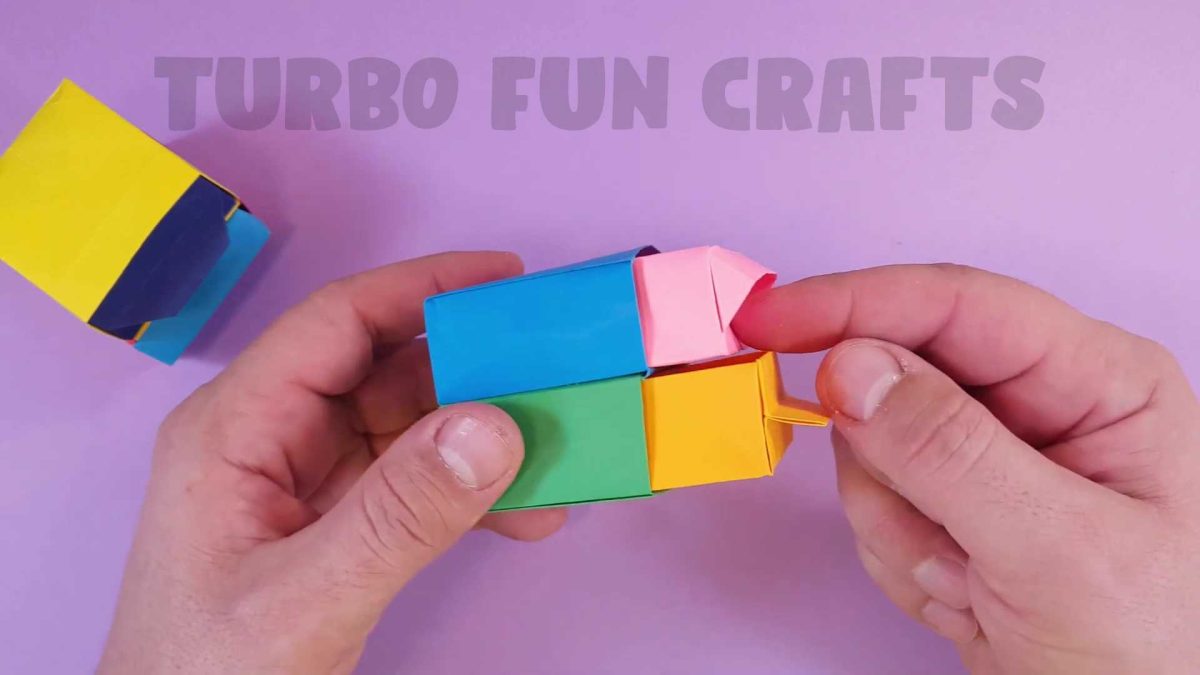
Congratulations!
You have successfully created your own Origami Chest of Drawers!

Experiment with colors and let your imagination run wild!
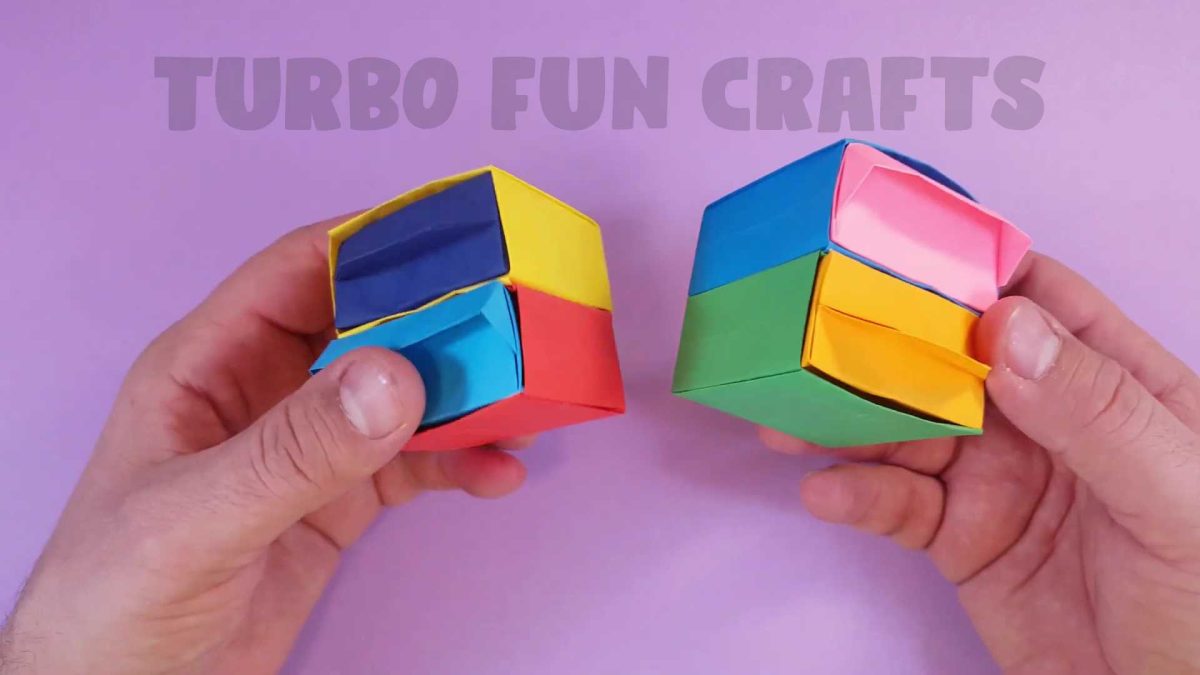

Feel free to decorate the Chest of Drawers with any other embellishments to make it even more impressive!
Crafting a Paper Chest of Drawers invites your children to embark on an imaginative journey. They can customize their chests with a splash of color, patterns, and personal touches, fostering a love for artistic expression. Origami is more than just paper-folding; it’s a valuable learning experience. Children develop fine motor skills, spatial awareness, and the ability to follow instructions, all while having fun and exploring their creative side.
If you experienced difficulties with some steps, you can watch the video instruction on how to make Paper Chest of Drawer
Please scroll down for the video tutorial 🙂
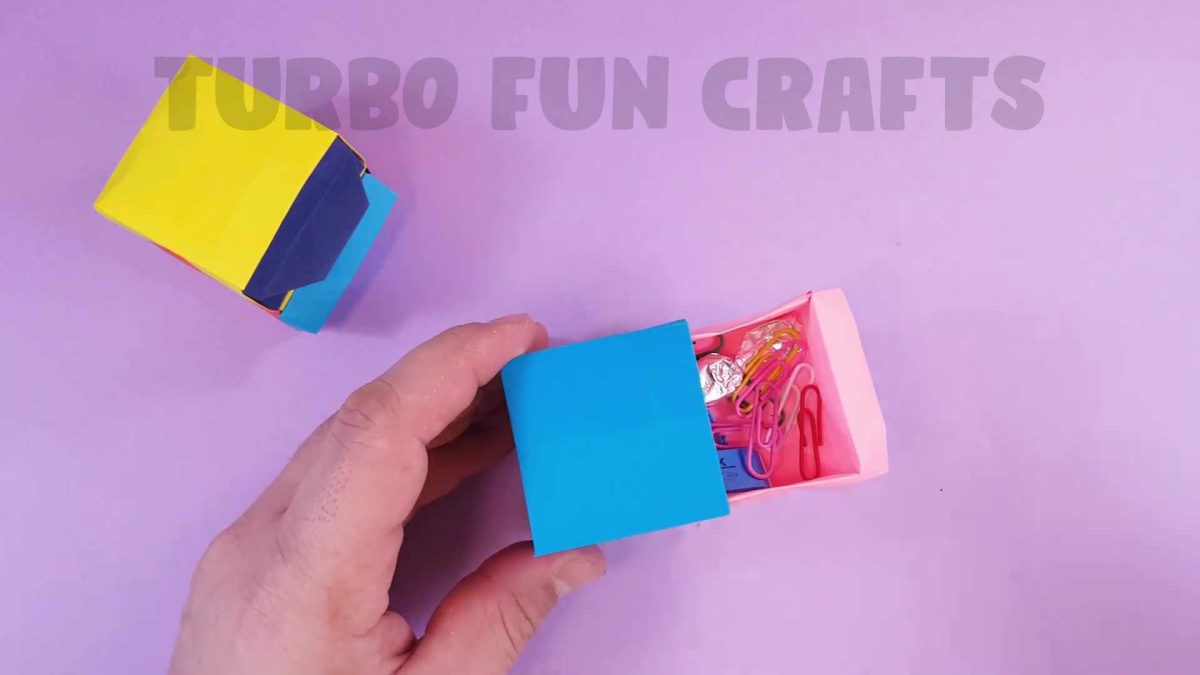
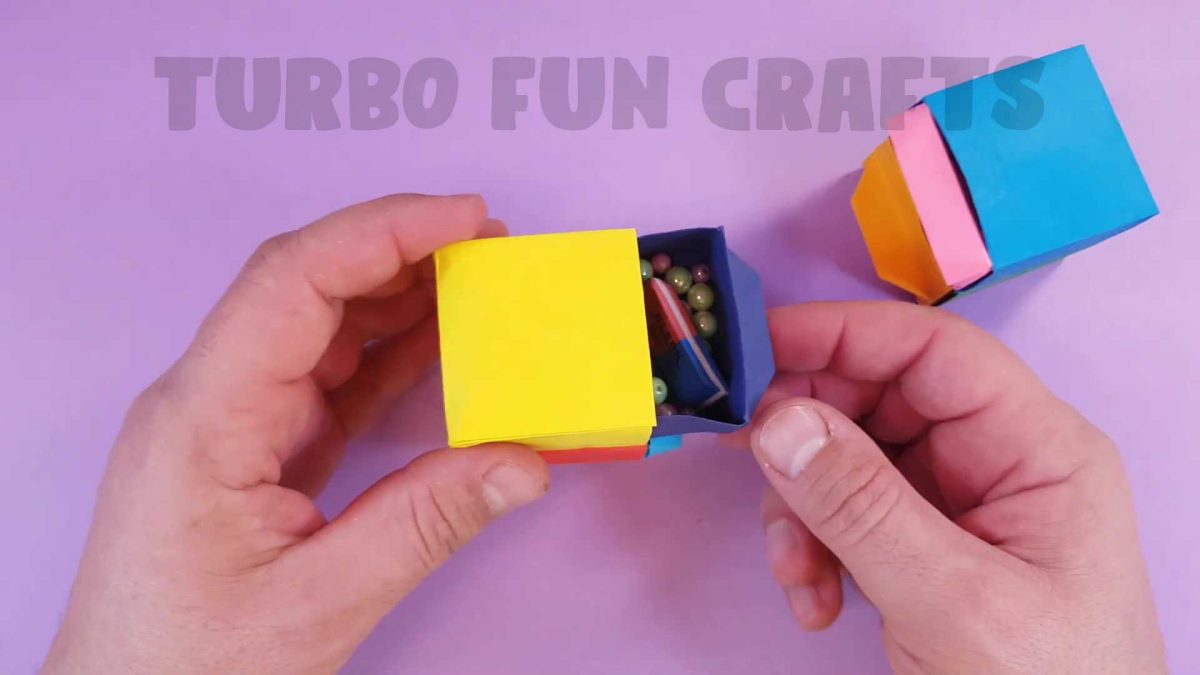
Parents, rejoice! The Paper Chest of Drawers offers a practical storage solution for those small items that tend to clutter your home. From art supplies to trinkets, this craft creation keeps things organized and within reach. Going green has never been more fun. This creative paper craft promotes eco-consciousness by encouraging the use of recyclable materials, allowing you to craft responsibly.
The Paper Chest of Drawers is a budget-friendly DIY project. With minimal supplies required, it’s an accessible activity that won’t break the bank, making it an ideal choice for families. Creating these paper chests as a family creates precious bonding moments. Parents and children working together not only strengthen their relationships but also build fond memories that last a lifetime.
Completing a Paper Chest of Drawers brings a sense of achievement for everyone involved. Kids gain confidence as they witness their creations taking shape, while parents take pride in their child’s creativity and organizational skills. Once your children master the art of origami with the Paper Chest of Drawers, they open the door to a world of creative possibilities. They can apply their newfound skills to other paper crafts, expanding their horizons even further.
In conclusion, the Paper Chest of Drawers is more than just a DIY project; it’s a gateway to creativity, organization, and quality family time. Embrace this opportunity to unlock your child’s artistic potential while enjoying a clutter-free home. Start your creative journey today!