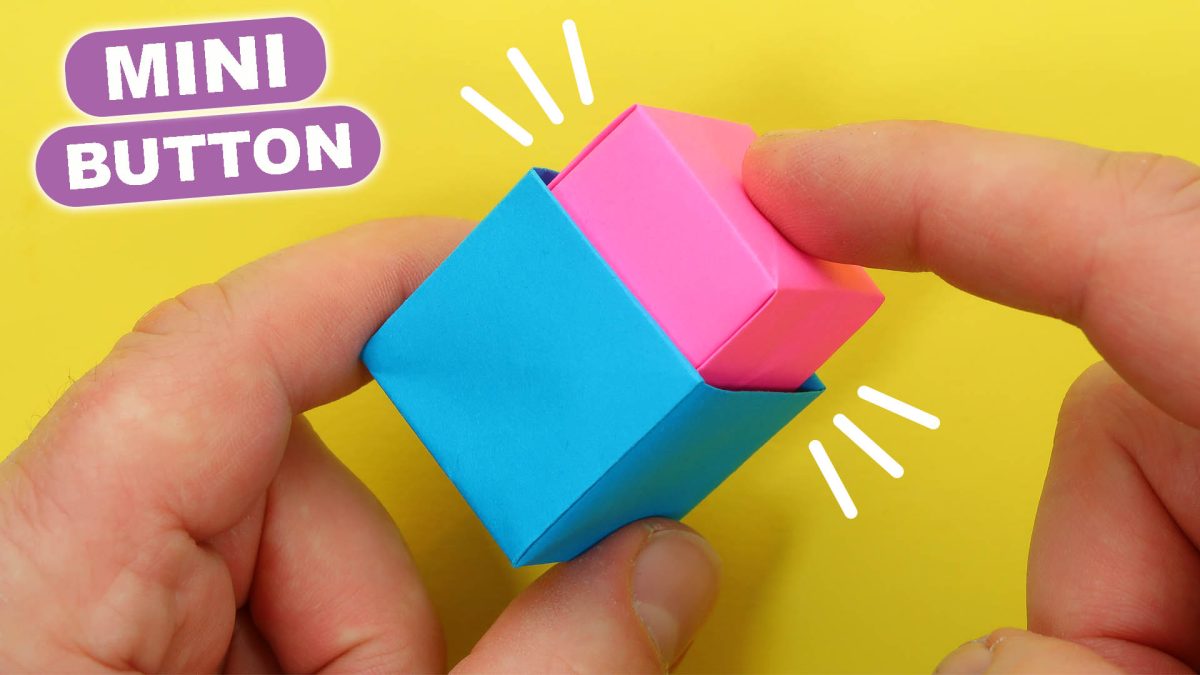
How to make MINI BUTTON POP IT FIDGET TOY – NO GLUE | Origami Paper Craft – Push pop
Greetings, all! 🙂 In our step-by-step tutorial, we’ll guide you through the process of creating your very own Origami MINI BUTTON POP IT FIDGET toy. We’ll explain each fold in detail, so even beginners can create a Pop It Fidget Toy quickly.
With no need for glue or complicated instructions, this simple and satisfying paper craft is perfect for all ages. You will only need a few sheets of paper, and with just some basic folds, you’ll be on your way to creating your own collection of origami pop it fidgets. 🙂
Please scroll down for a step-by-step tutorial of how to make Origami MINI BUTTON POP IT FIDGET toy:
HERE IS THE TUTORIAL:
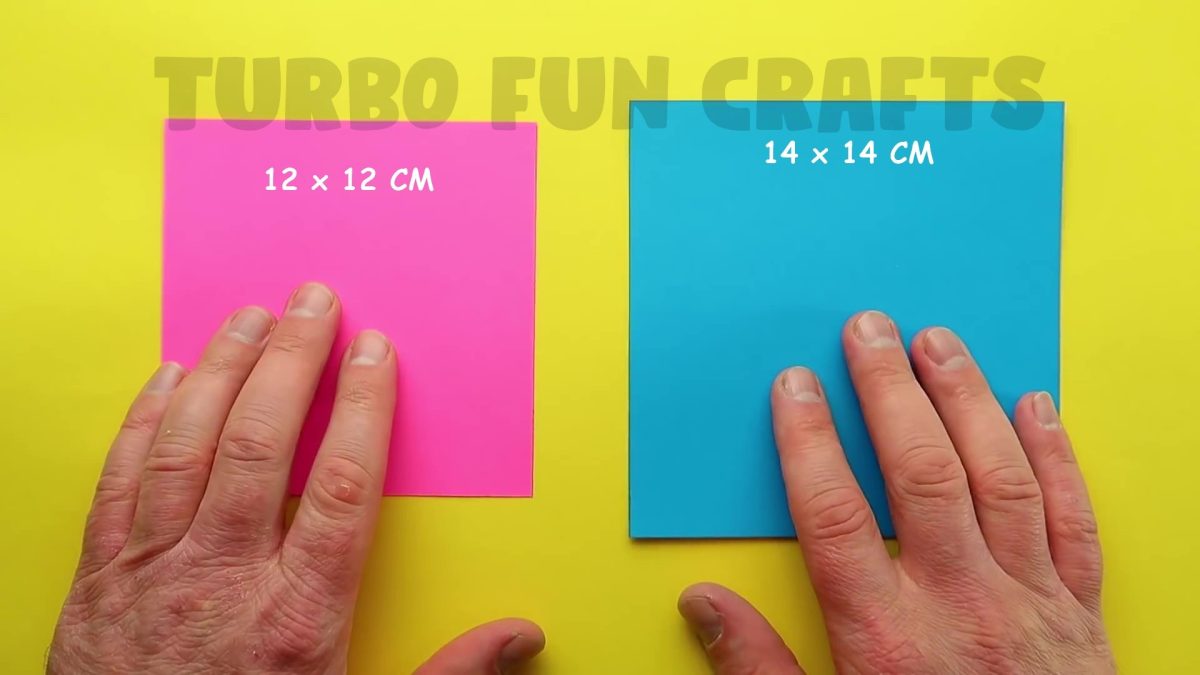
To create this toy, you will only need three sheets of colored paper of different sizes:
- 12 by 12 cm
- 14 by 14 cm
- 20 by 20 cm
Choose the paper color you like the most.
STEP 1 of how to make Mini Button Pop It Fidget Toy
You will need two square sheets of colored paper
The dimensions of the sheets are indicated in the picture below
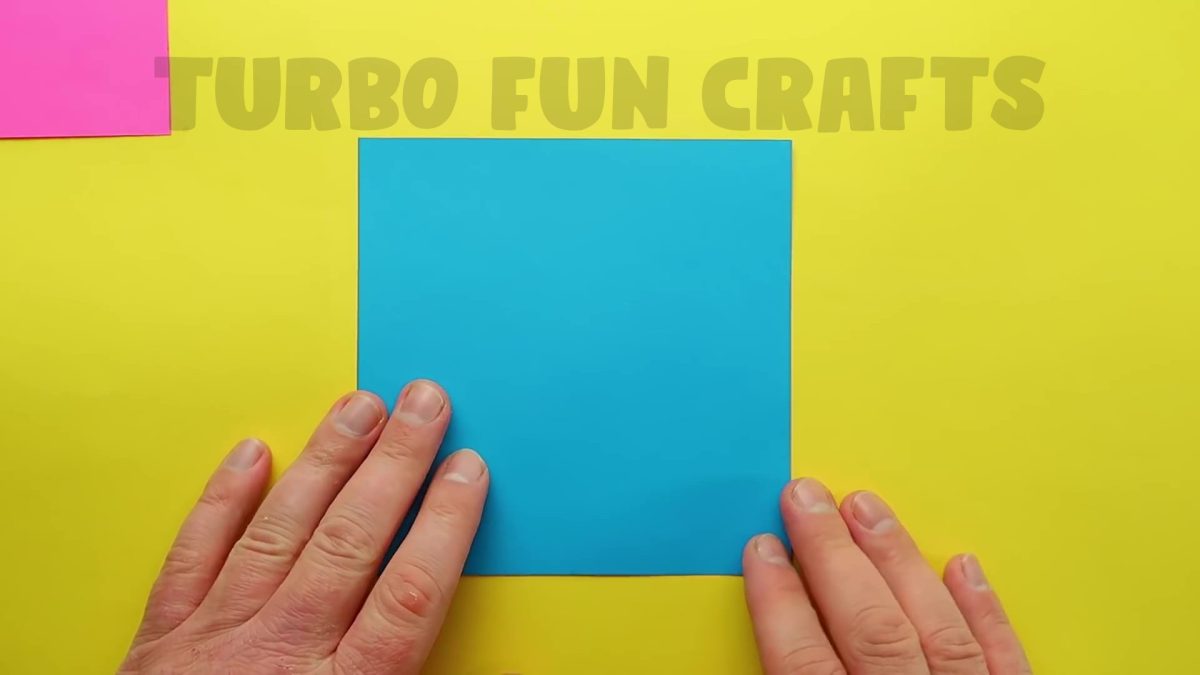
Take a sheet of paper measuring 14 by 14 cm
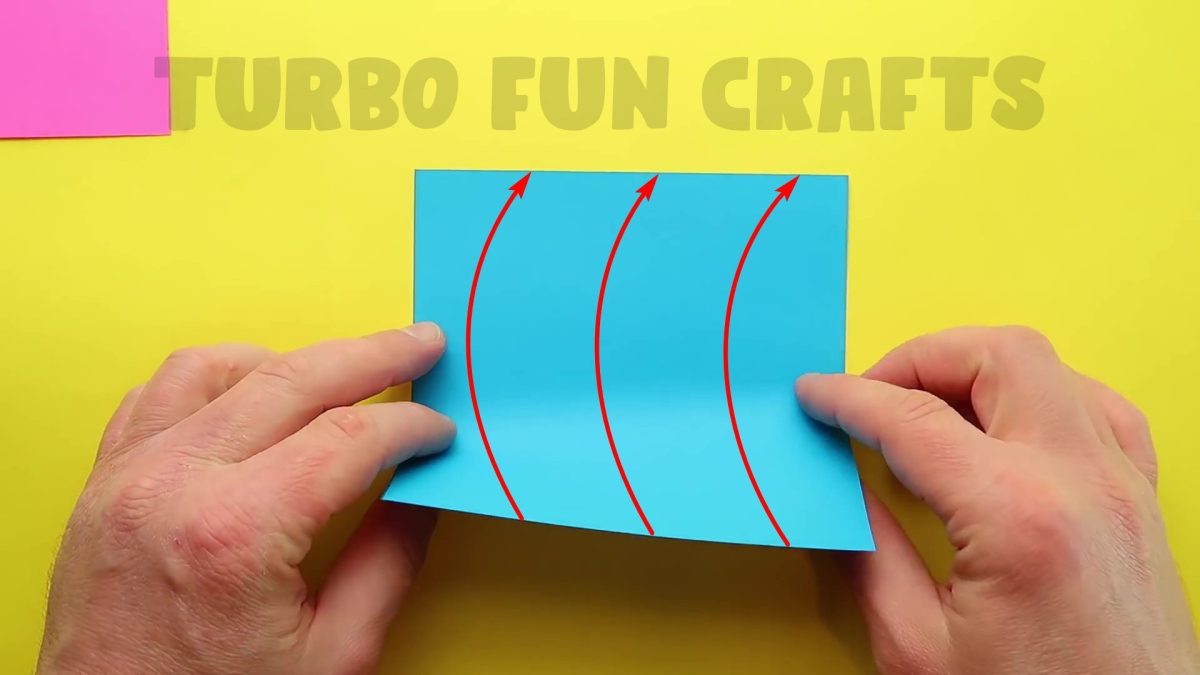
Fold the sheet in half as shown in the picture below
Let the bottom edge meet the top edge
This is how it should look like

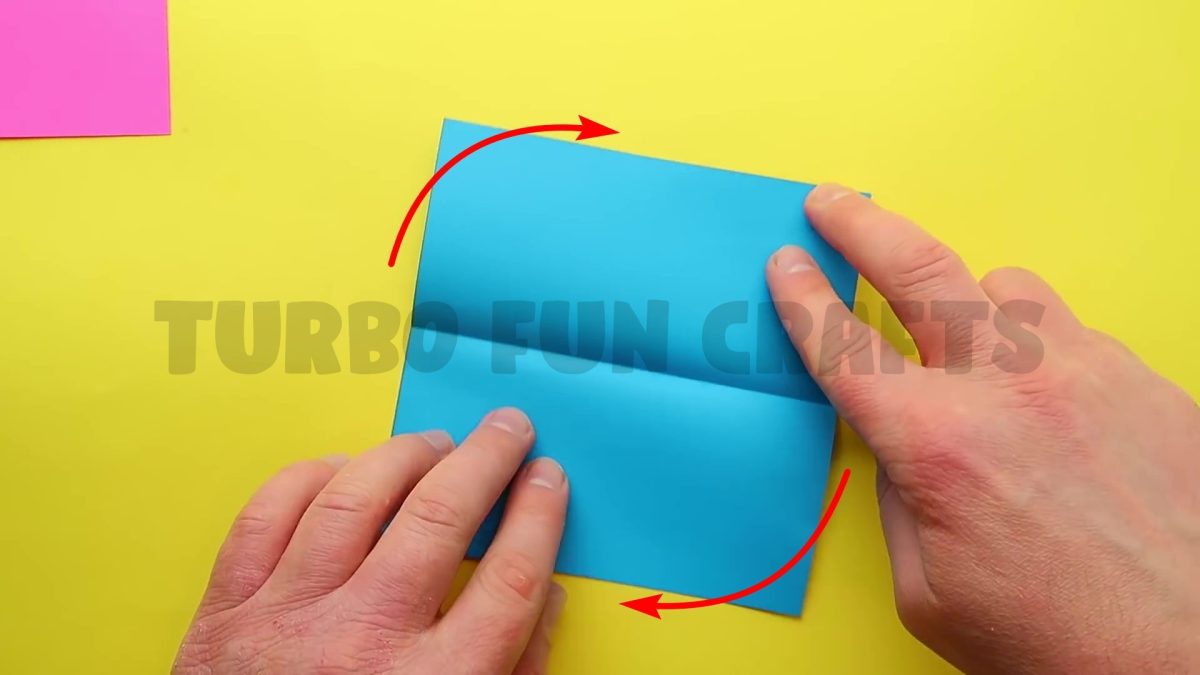
Unfold the sheet to its original position
Rotate the sheet by 90 degrees
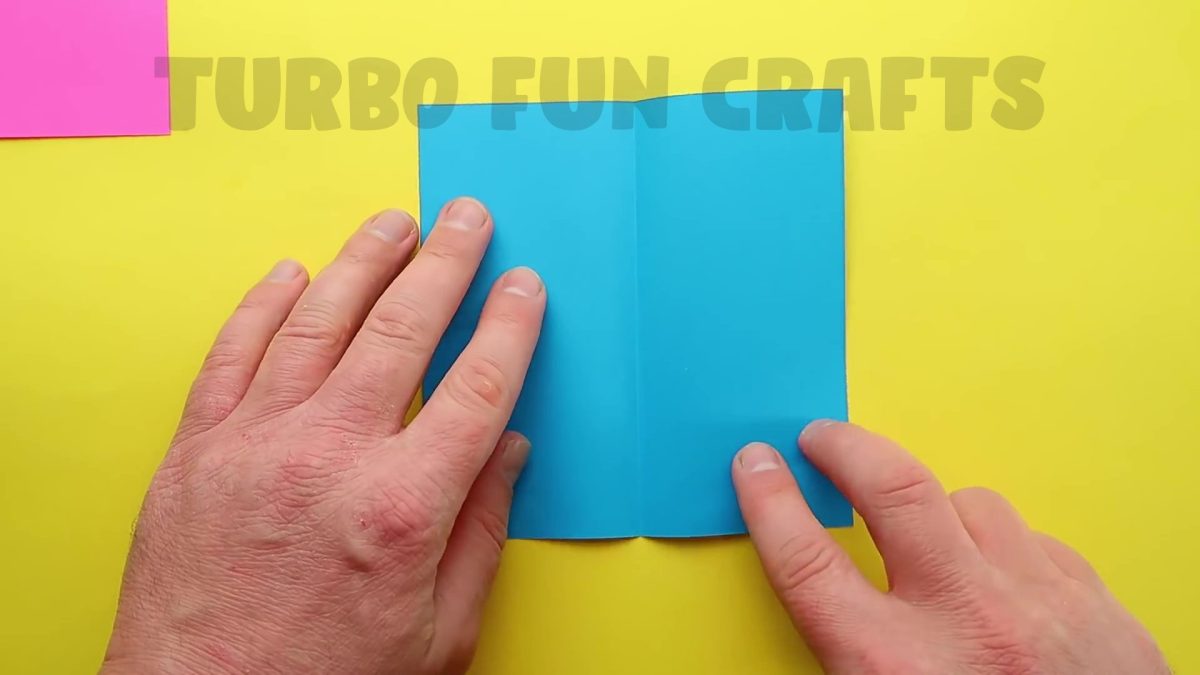
Fold the sheet in half again as shown in the picture below
Let the bottom edge meet the top edge
This is how it should look like

Unfold the sheet to its original position
Place the sheet so that one of the corners is at the bottom
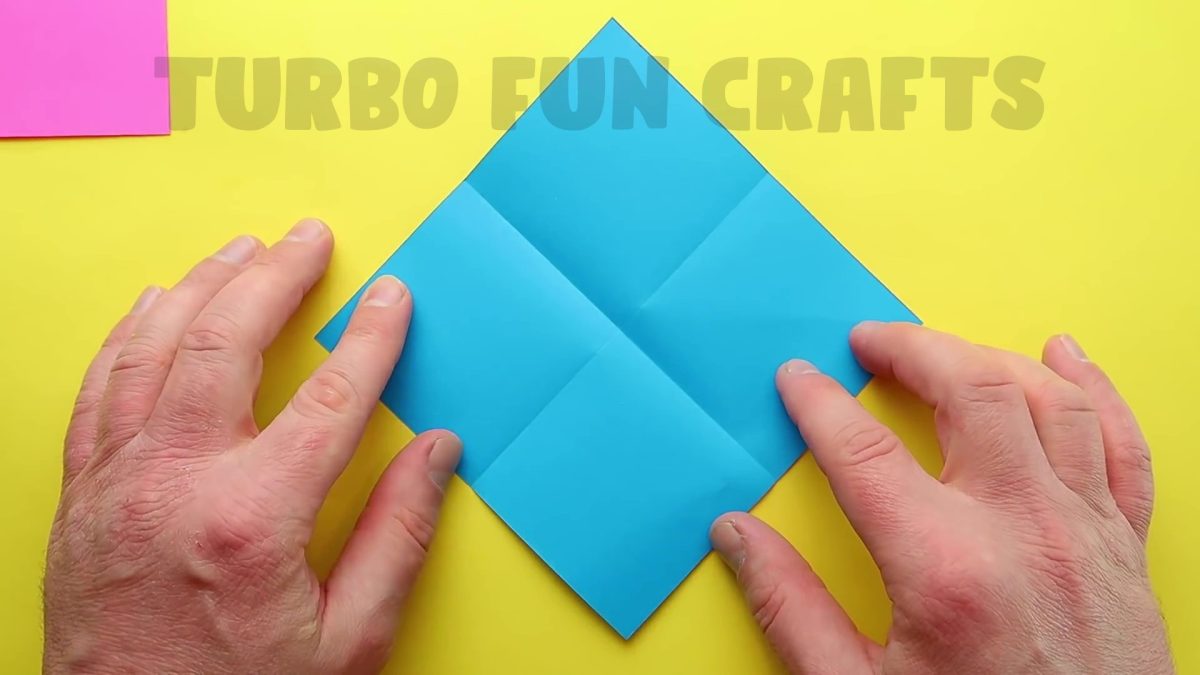
Fold the bottom corner of the sheet as shown in the picture below
Let the bottom corner meet the center of the sheet


This is how it should look like

Fold the remaining corners of the sheet in the same way


This is how it should look like

STEP 2 of how to make Mini Button Pop It Fidget Toy
Take a ruler and place it on the side edge of the just folded sheet
This is shown in the picture below

Fold the sheet as shown in the picture below
Let the bottom edge meet the white dashed line


This is how it should look like

Unfold the sheet to its previous position and rotate it by 180 degrees


Fold the sheet as shown in the picture below
Let the bottom edge meet the just-made fold line


This is how it should look like

Unfold the sheet to its previous position and rotate it by 90 degrees


Fold the paper sheet as shown in the picture below
Let the bottom edge meet the white dashed line


This is how it should look like

Unfold the sheet to its previous position and rotate it by 180 degrees


Fold the sheet as shown in the picture below
Let the bottom edge meet the just-made fold line


This is how it should look like

Unfold the sheet to its previous position and rotate it by 90 degrees

This is how it should look like

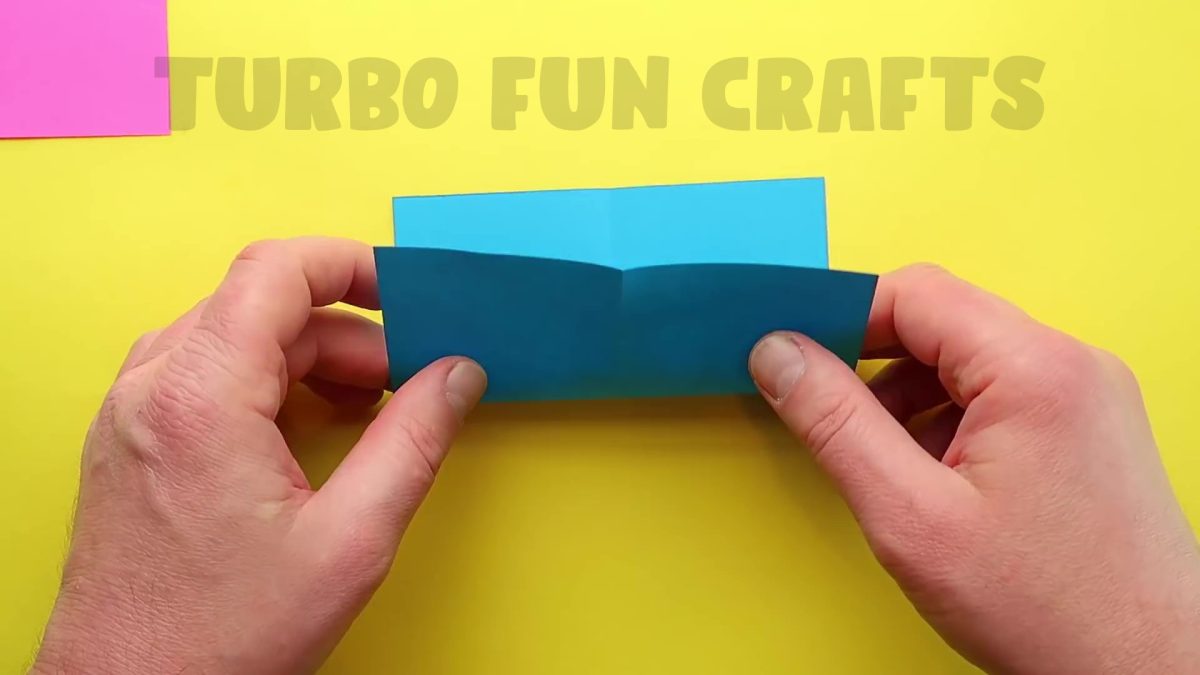
STEP 3 of how to make Mini Button Pop It Fidget Toy
Unfold the right and the left edges of the sheet to their original position as shown in the picture below

Fold the bottom edge as shown in the picture below


Unfold the sheet to its previous position

Fold the top edge as shown in the picture below


Unfold the paper sheet to its previous position and place it as shown in the picture below

Start folding the sheet along the indicated dashed line as shown in the pictures below

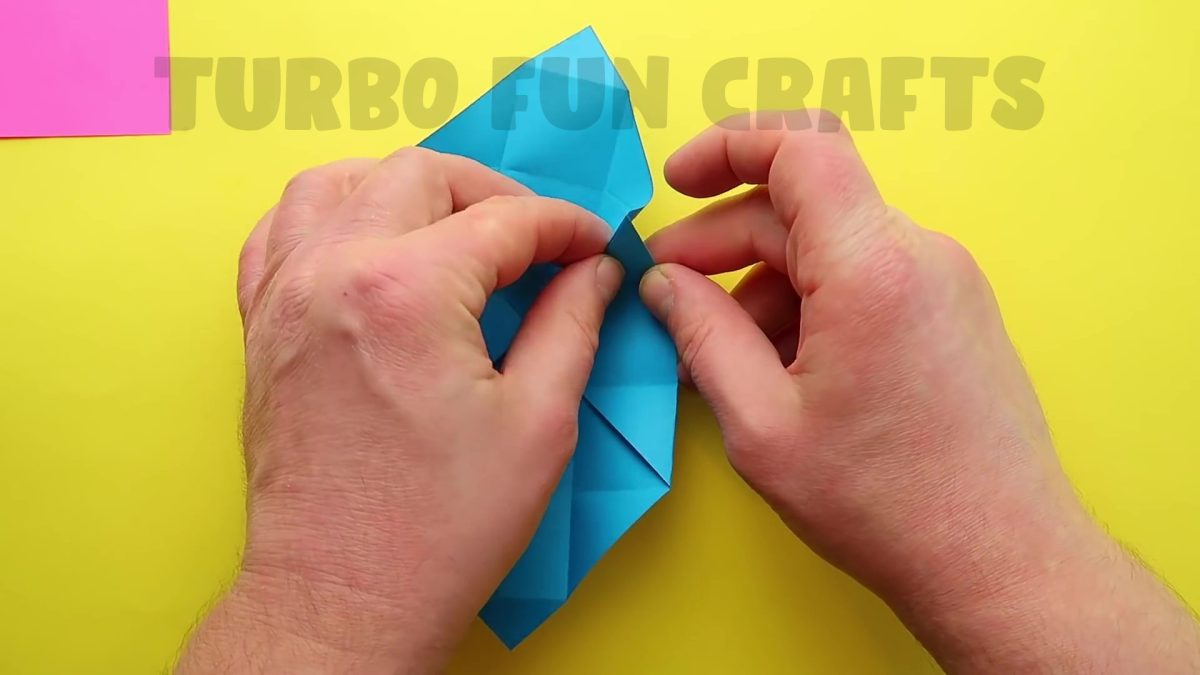


This is how it should look like

Fold the left edge in the same way
Start folding the sheet along the indicated dashed line as shown in the pictures below


This is how it should look like

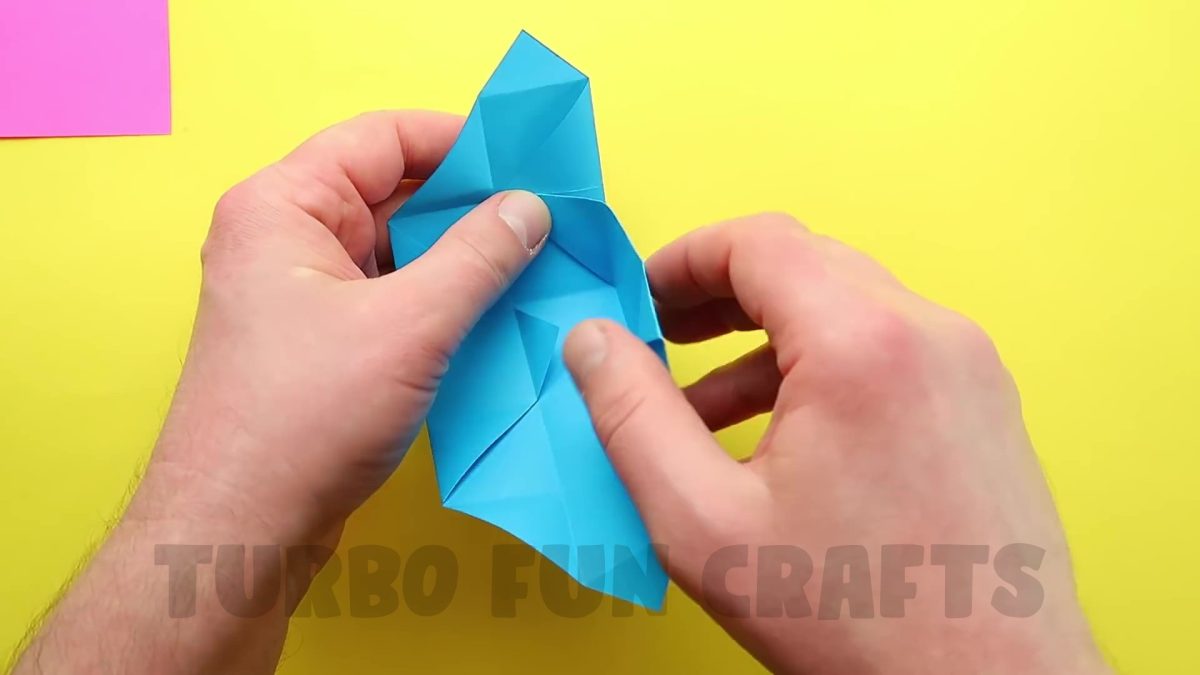
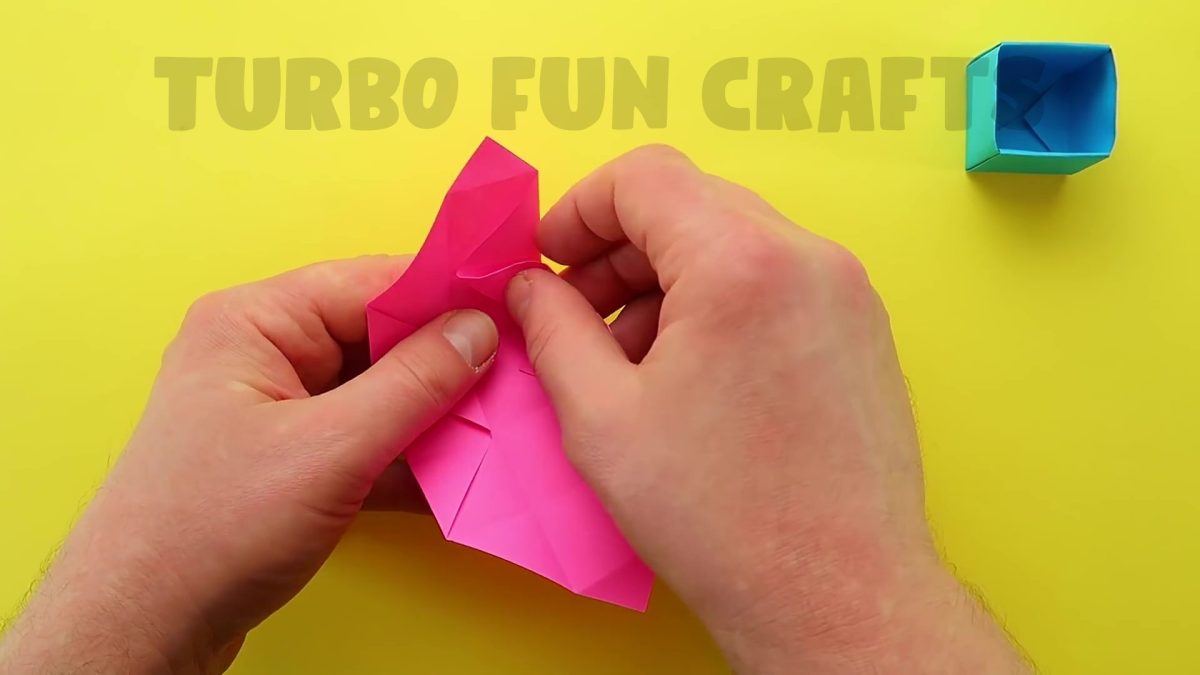
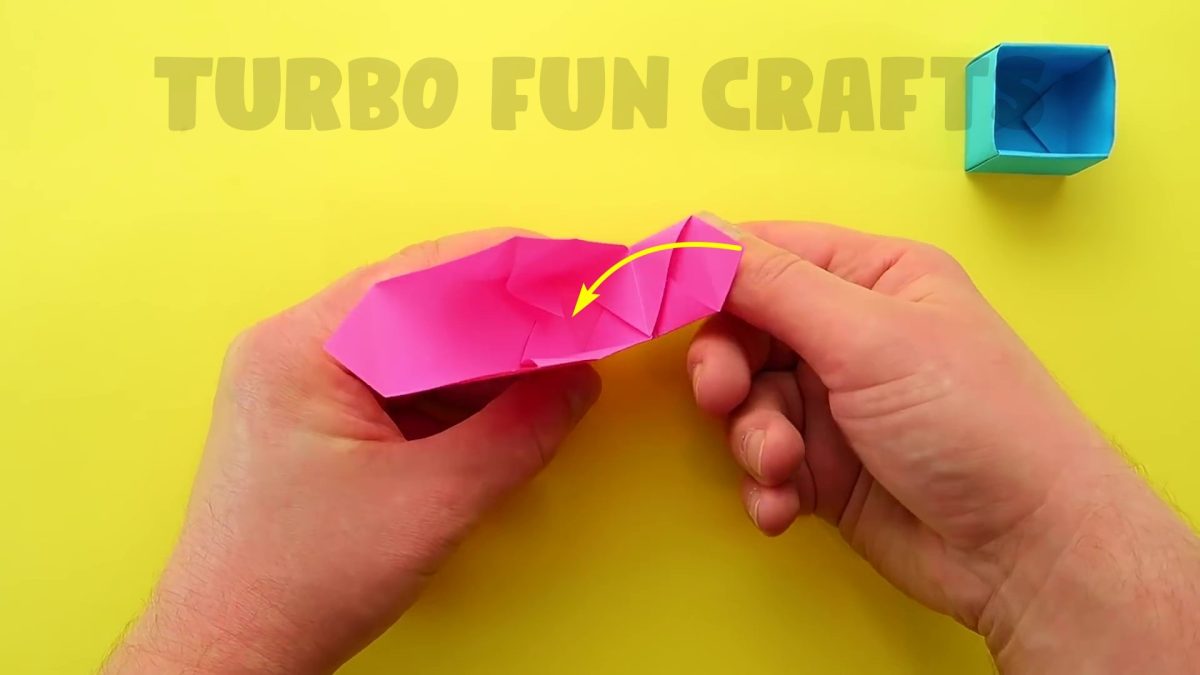
Fold the top edge of the sheet as shown in the picture below


This is how it should look like

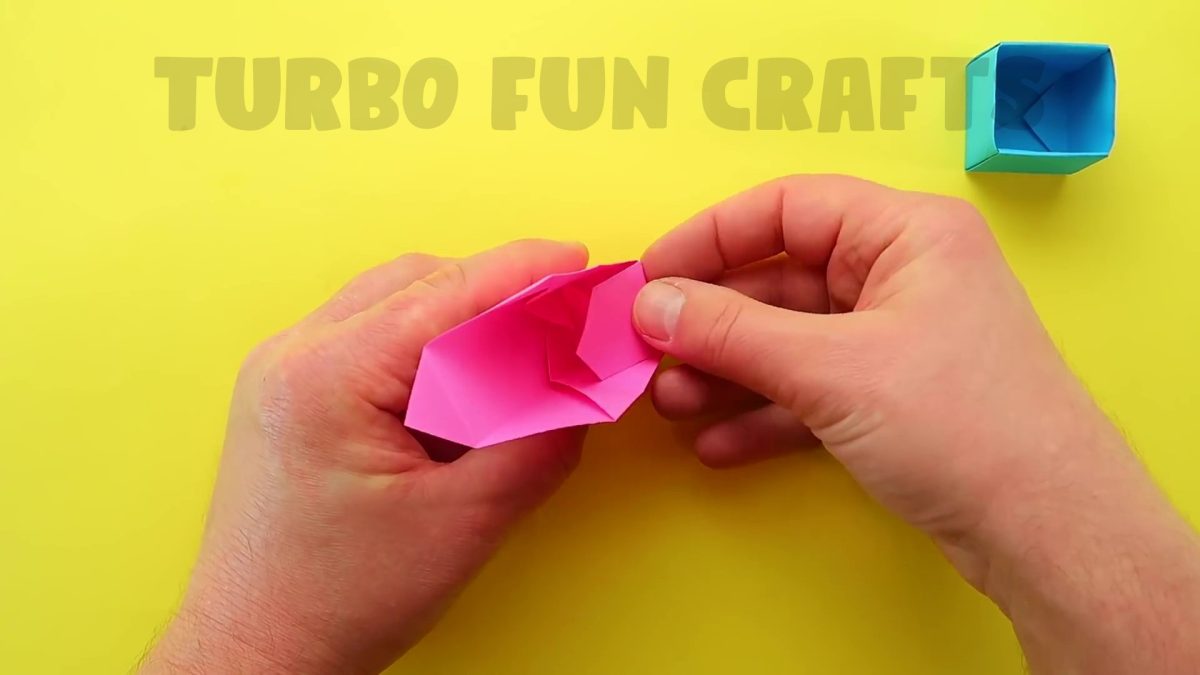
Place the sheet as shown in the picture below
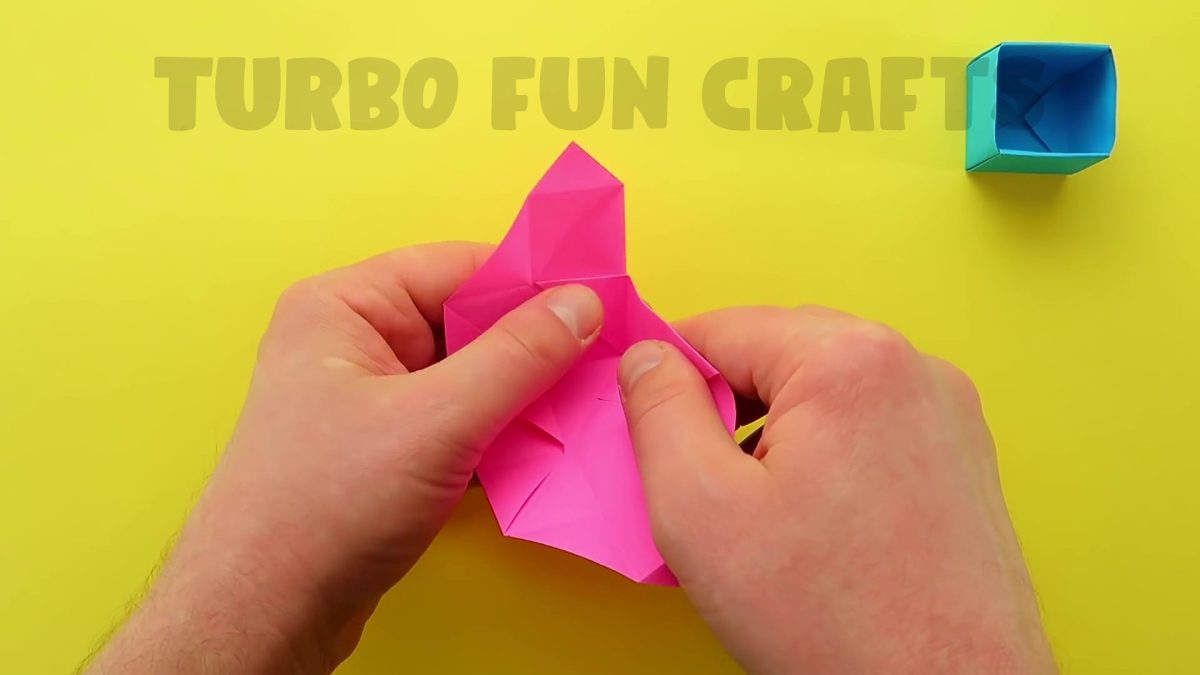
Start folding the sheet along the indicated dashed line as shown in the pictures below


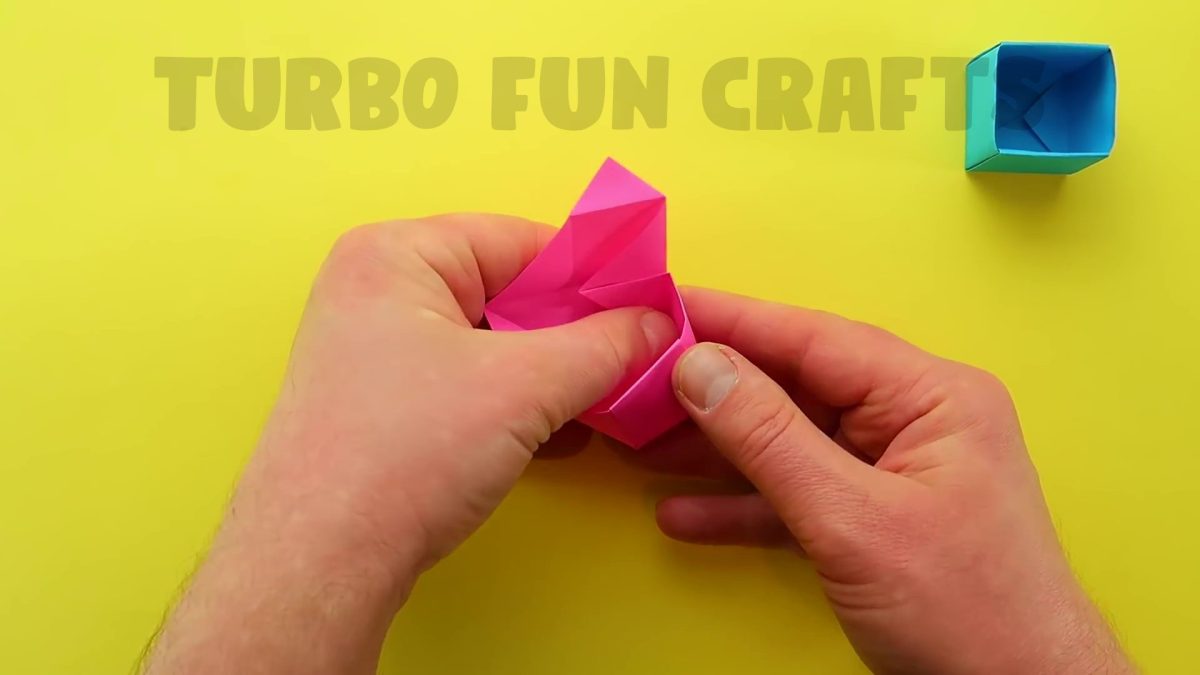
This is how it should look like

Fold the remaining edge in the same way
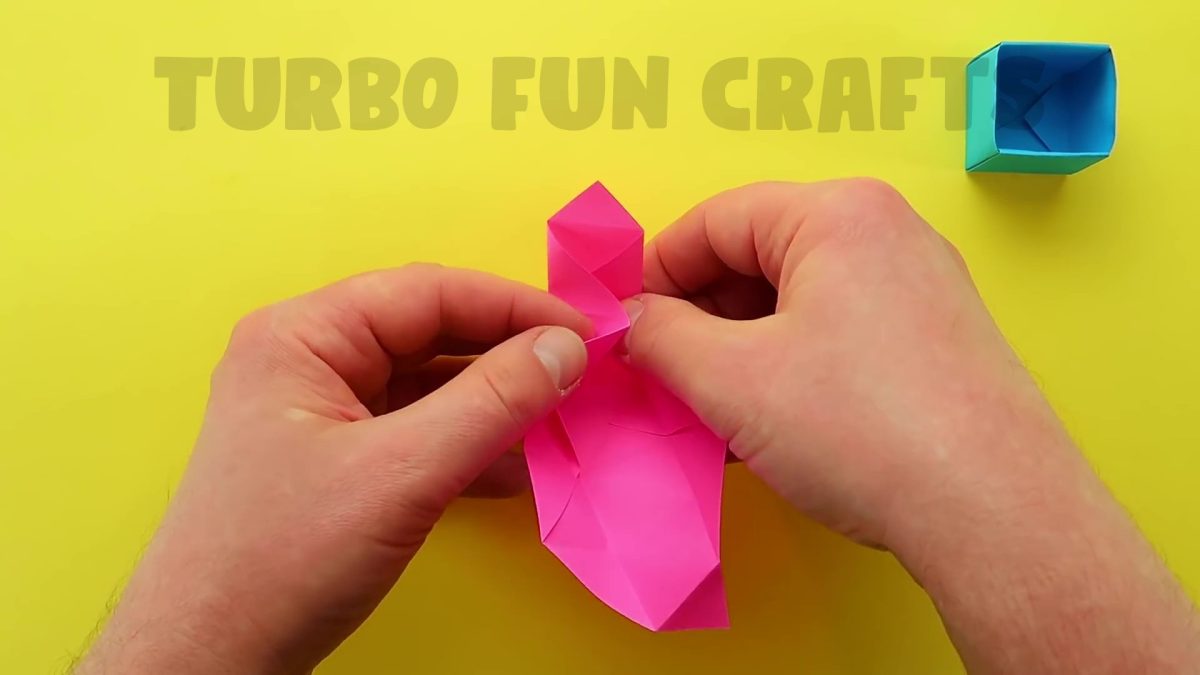
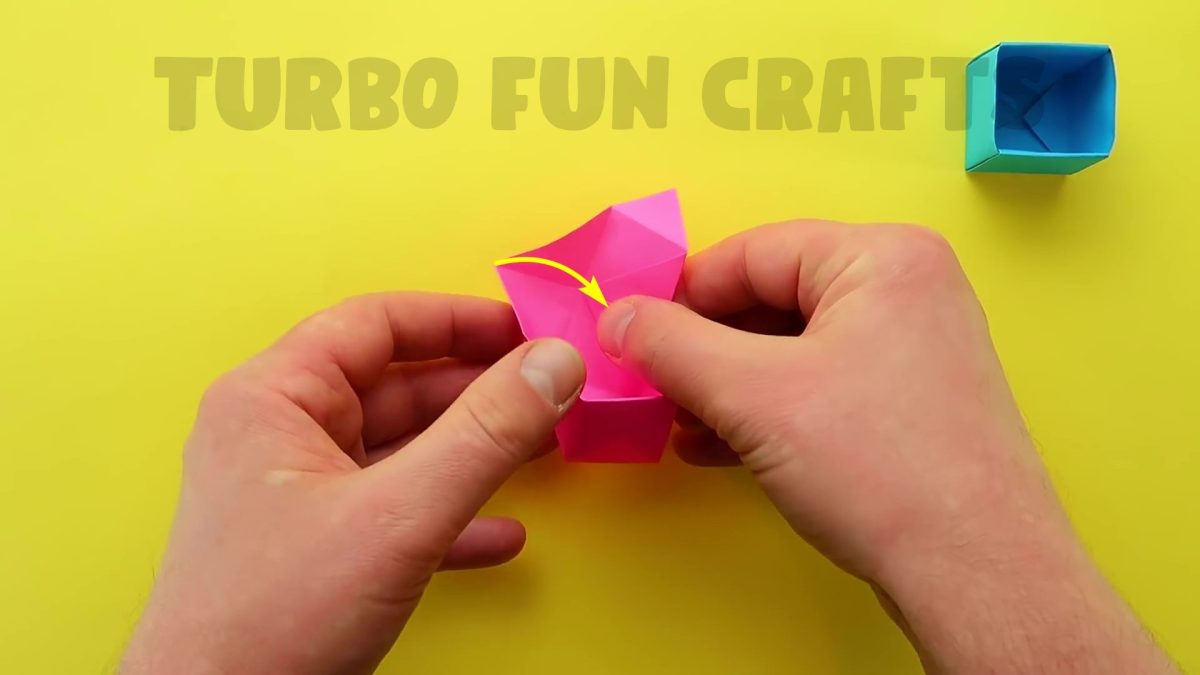
Start folding the sheet along the indicated dashed line as shown in the pictures below


This is how it should look like

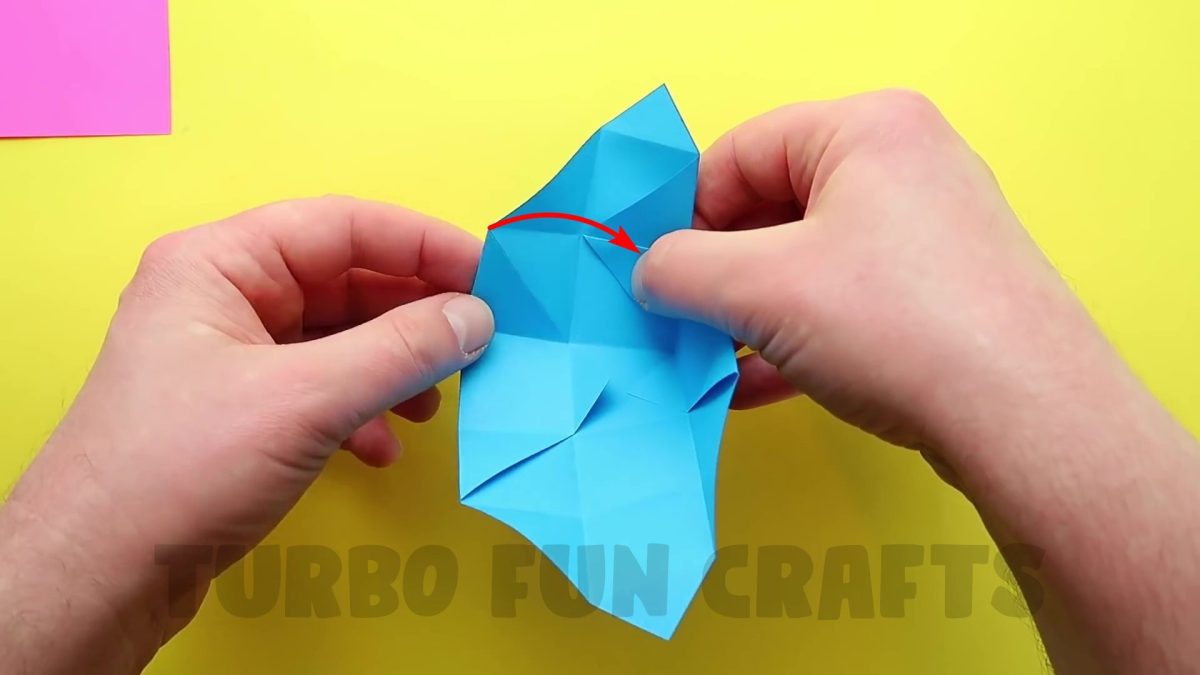
Fold the top edge inside the paper box as shown in the pictures below


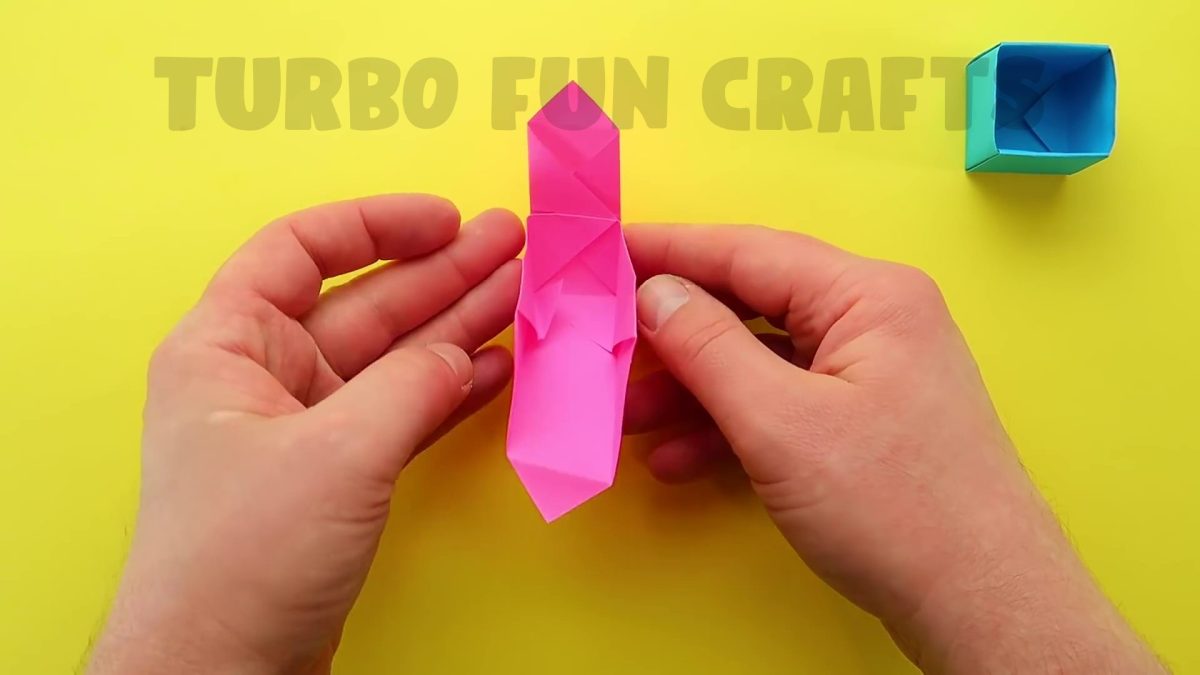
This is how it should look like

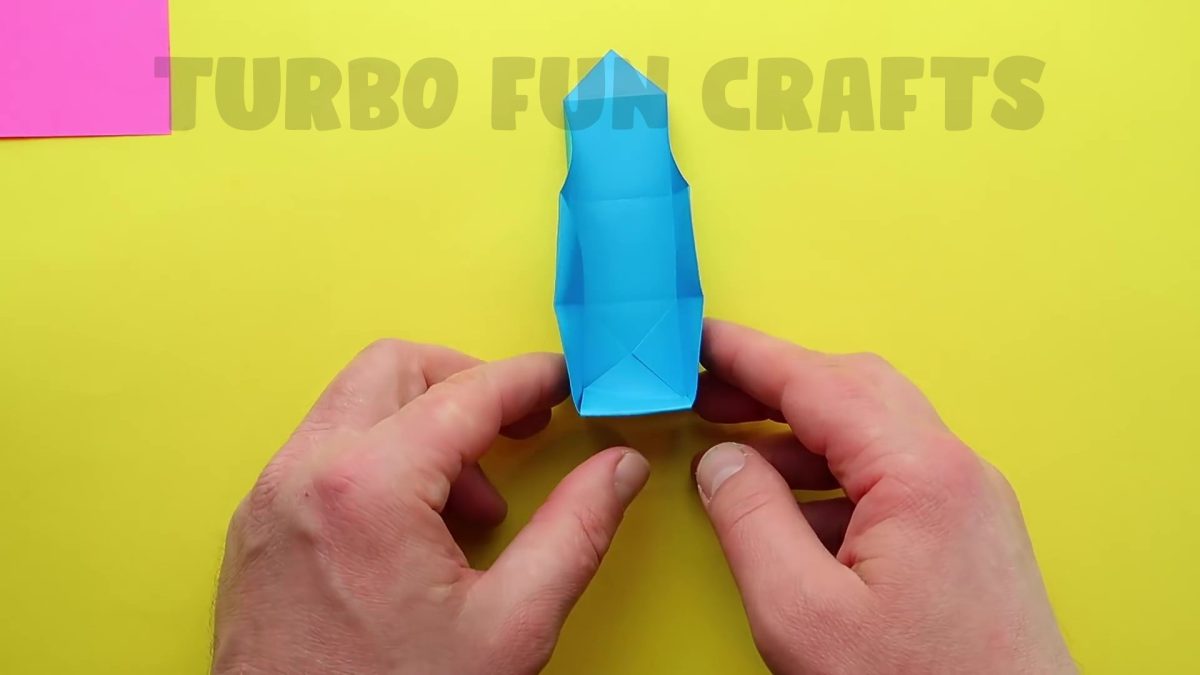
STEP 4 of how to make Mini Button Pop It Fidget Toy
So, the first box is ready, let’s make the second box
Make it the same way as the first box
Take a sheet of paper measuring 12 by 12 cm

Fold the sheet in half and meet the bottom edge with the top edge as shown in the picture below


Unfold the sheet to its original position and rotate it by 90 degrees

Fold the sheet in half and meet the bottom edge with the top edge as shown in the picture below


Unfold the paper sheet to its original position
Place it so that one of the corners is at the bottom

Fold the corners of the sheet in the same way as you did with the previous sheet
Let all the corners meet the center of the sheet as shown in the picture below

Take a ruler and place it along the side edge of the sheet

Fold the sheet as shown in the picture below
Let the bottom edge meet the white dashed line


Unfold the sheet to its previous position and rotate it by 180 degrees

Fold the sheet as shown in the picture below
Let the bottom edge meet the just-made fold line


Unfold the sheet to its previous position and rotate it by 90 degrees

Fold the paper sheet as shown in the picture below
Let the bottom edge meet the white dashed line


Unfold the sheet to its previous position and rotate it by 180 degrees

Fold the sheet as shown in the picture below
Let the bottom edge meet the just-made fold line


Unfold the sheet to its previous position and rotate it by 90 degrees


Yoy may also like: How to make Antistress Moving PAPER TOY | Easy Origami Pop It Fidgets
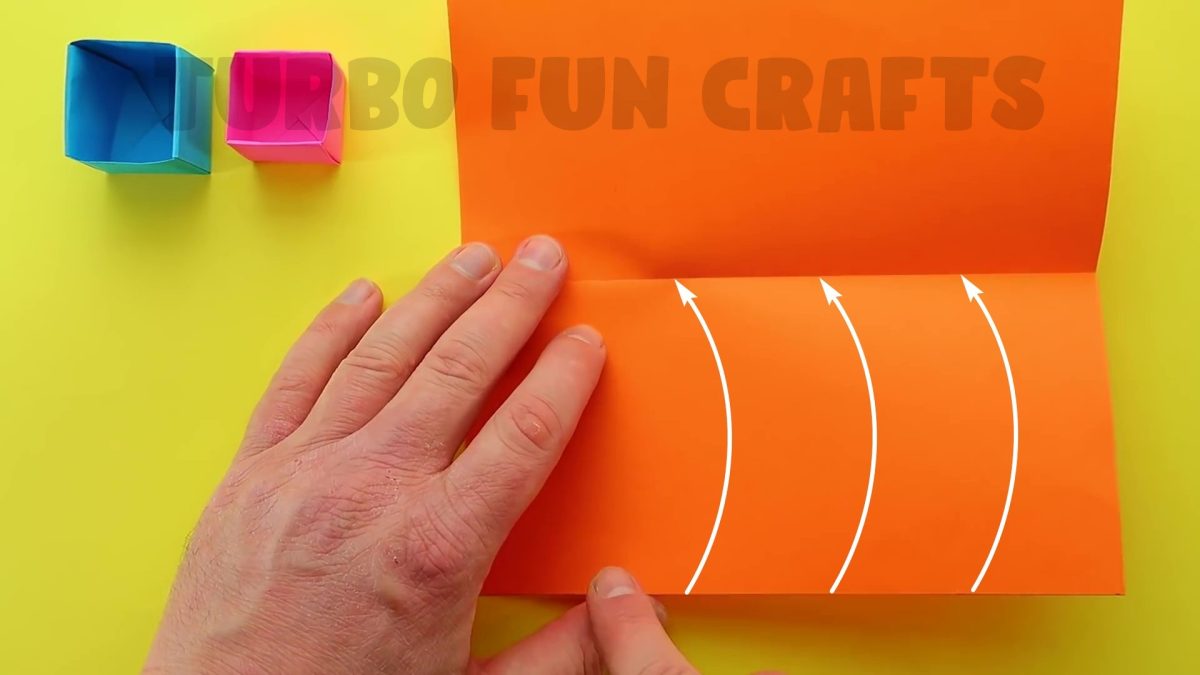
STEP 5 of how to make Mini Button Pop It Fidget Toy
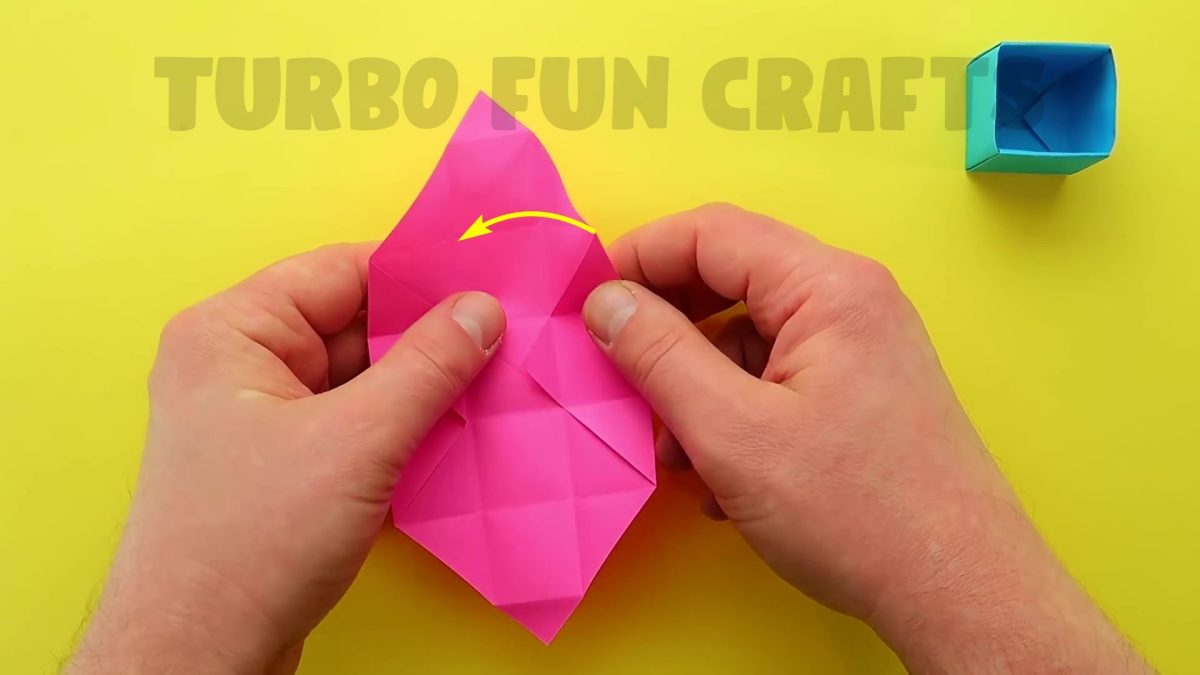
Unfold the right and the left edges to their original position as shown in the picture below

Fold the bottom edge as shown in the picture below


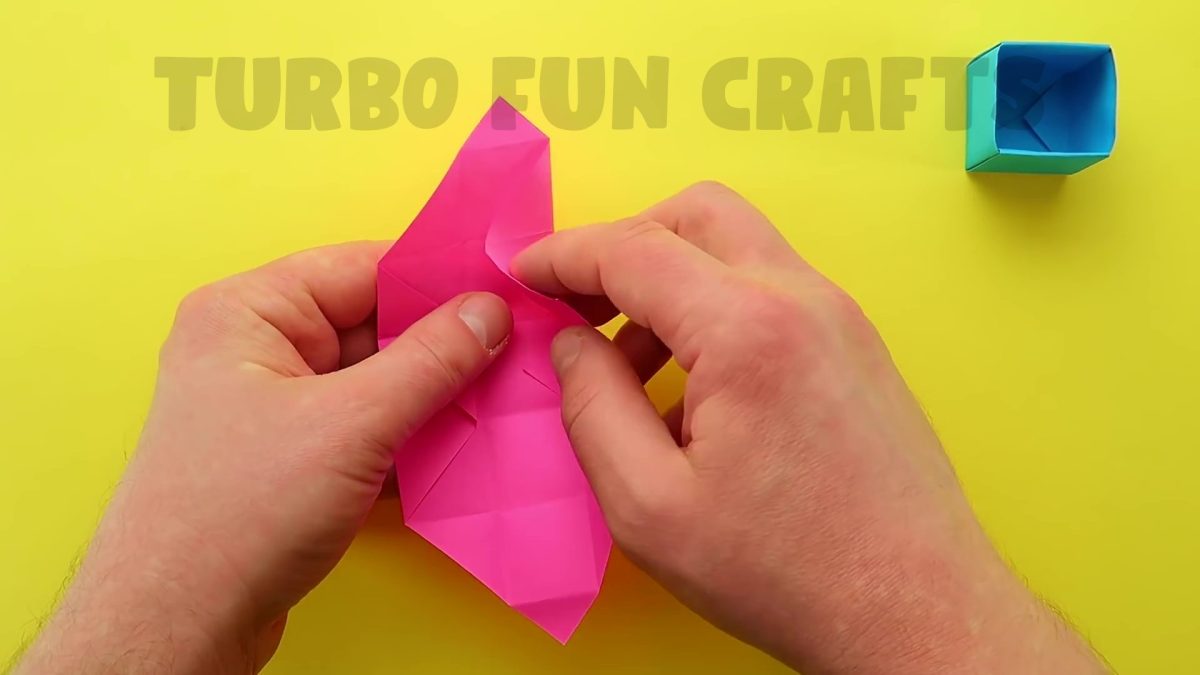
Unfold the sheet to its previous position
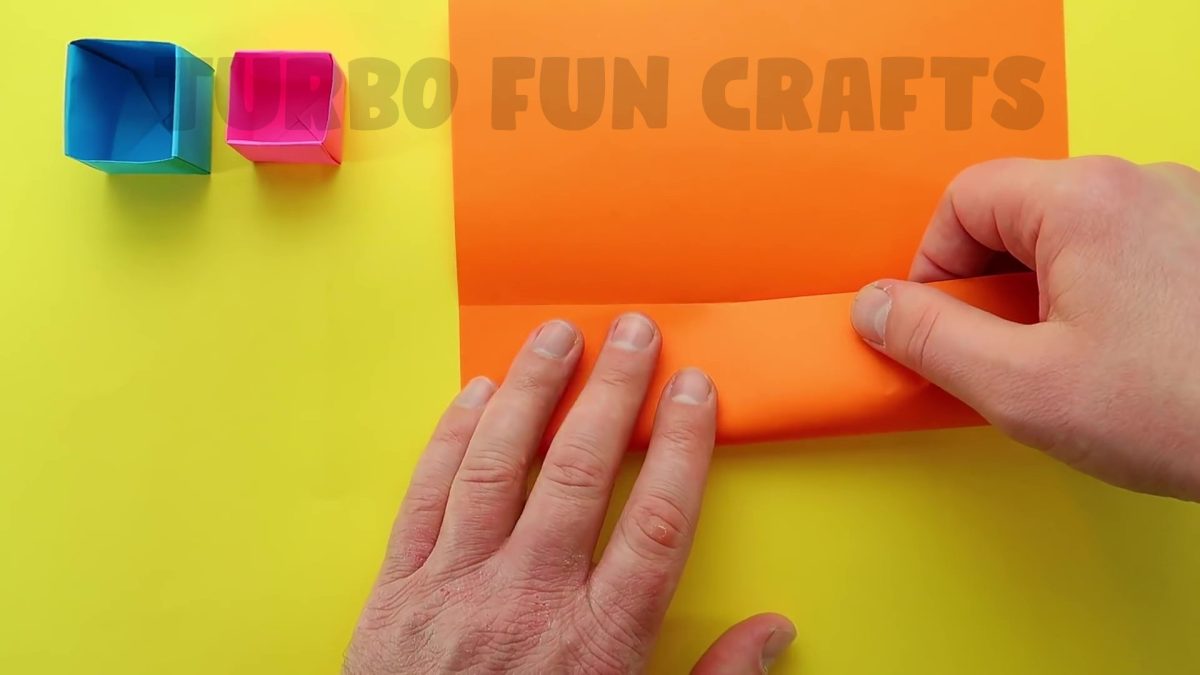
Fold the top edge in the same way

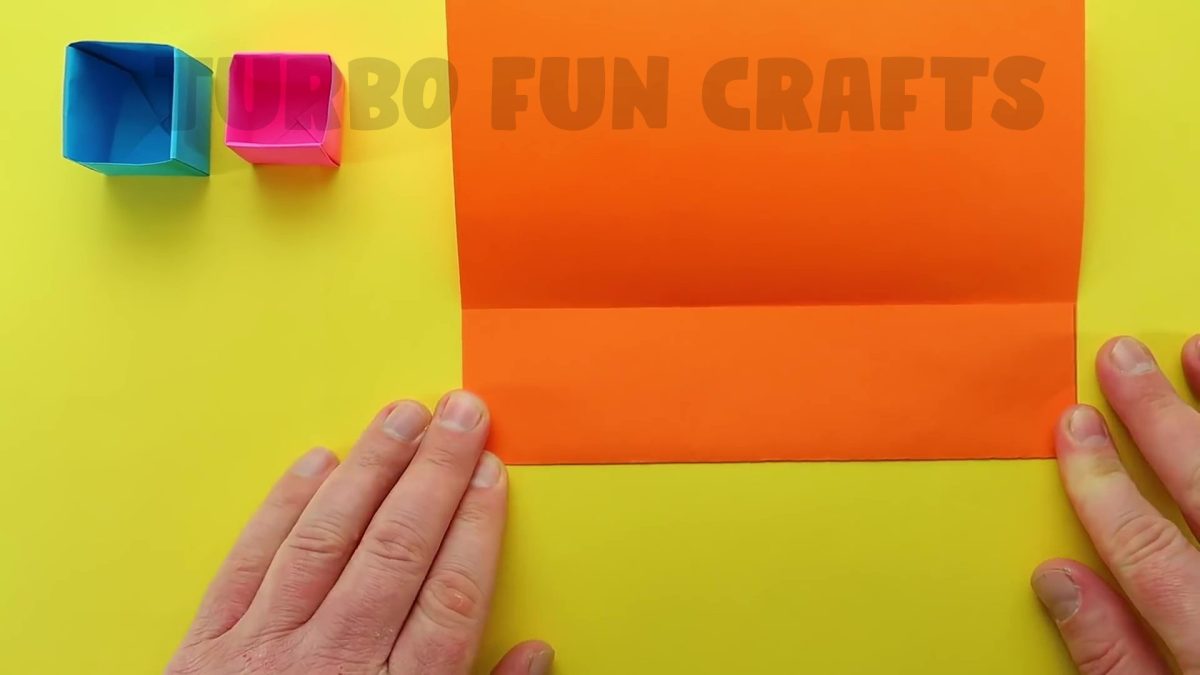
Unfold the sheet to its previous position and place it as shown in the picture below

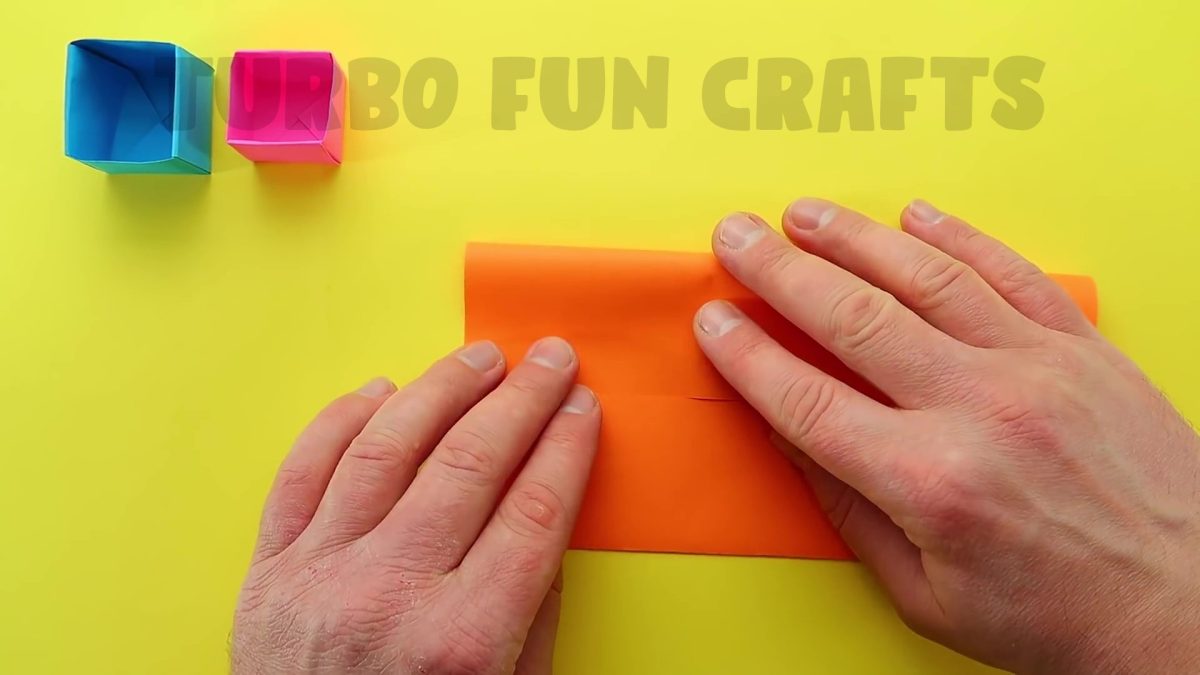
Fold the corners of the sheet in the same way as you did with the previous sheet
This is how it should look like
Fold the left edge in the same way

This is how it should look like
Fold the top edge of the sheet
This is shown in the picture below
This is how it should look like

Fold the remaining edges in the same way as shown earlier

Hold the folded edge with your hand, and fold the remaining edge in the same way
Fold the top edge of the sheet
This is shown in the picture below

This is how it should look like
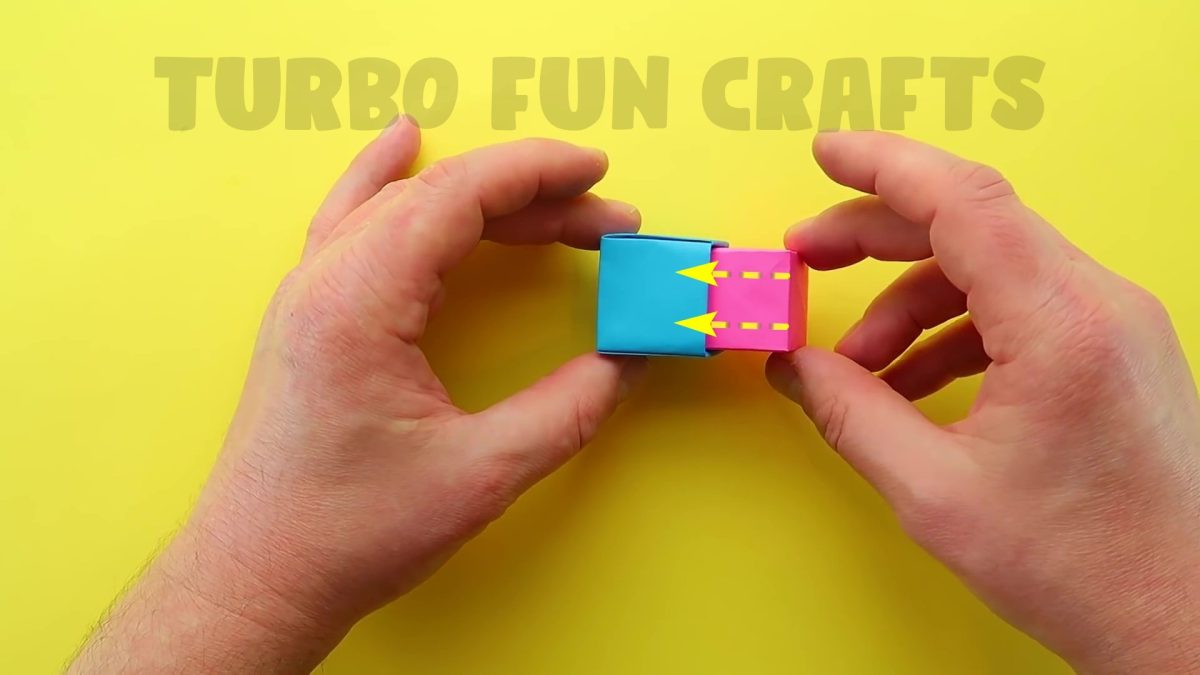
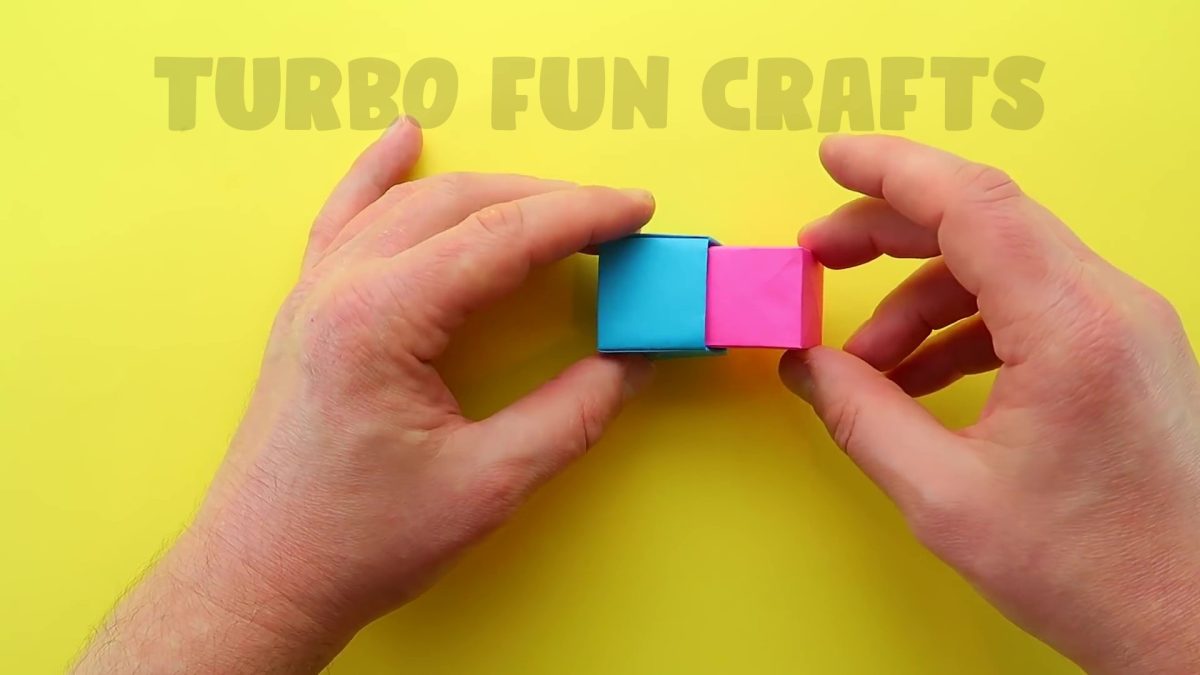
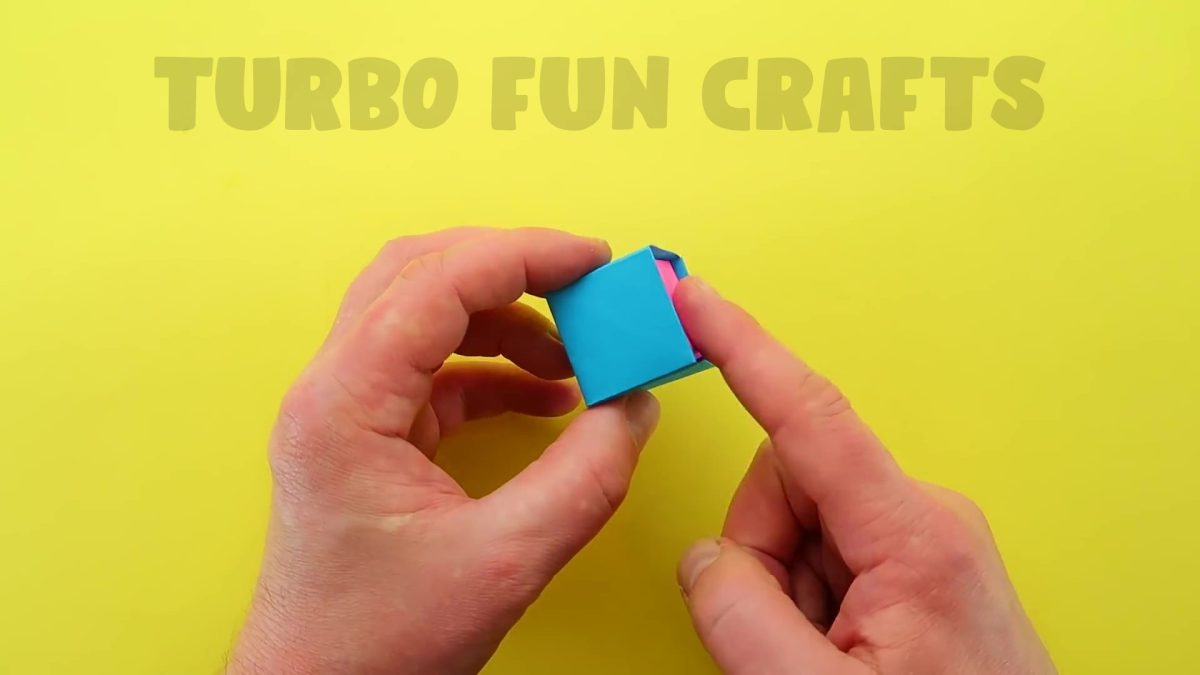
Take both of the newly made paper boxes and insert the smaller box into the larger one
Make sure that the smaller box fits easily inside the larger one

STEP 6 of how to make Mini Button Pop It Fidget Toy
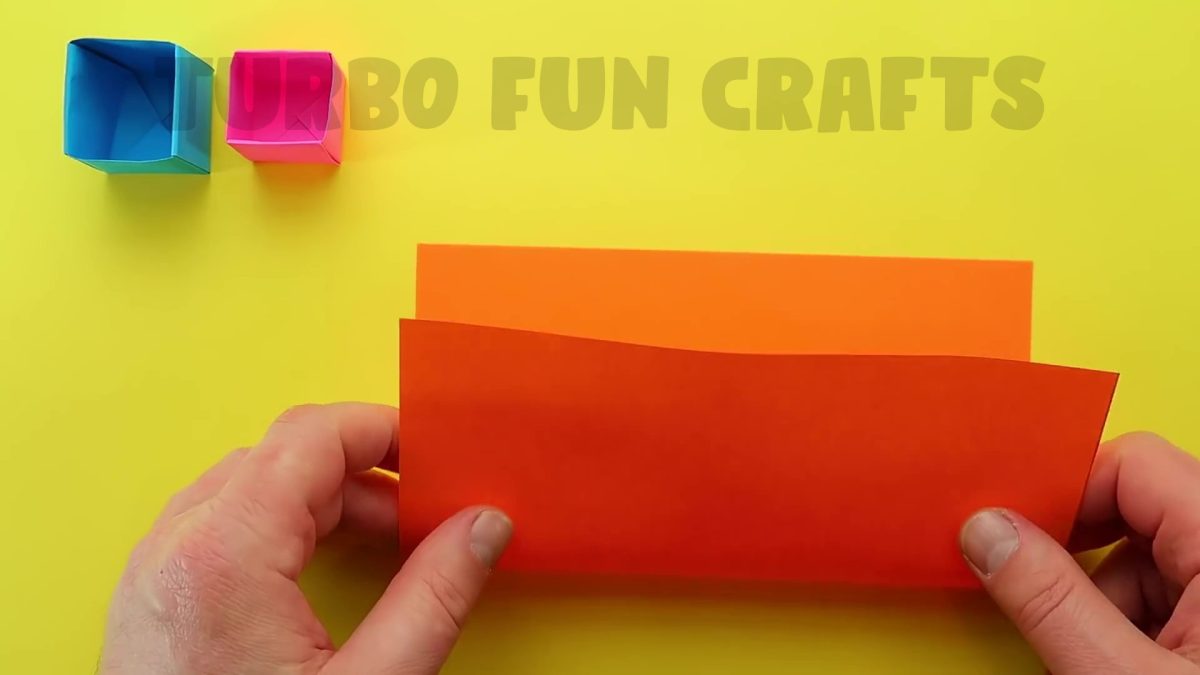
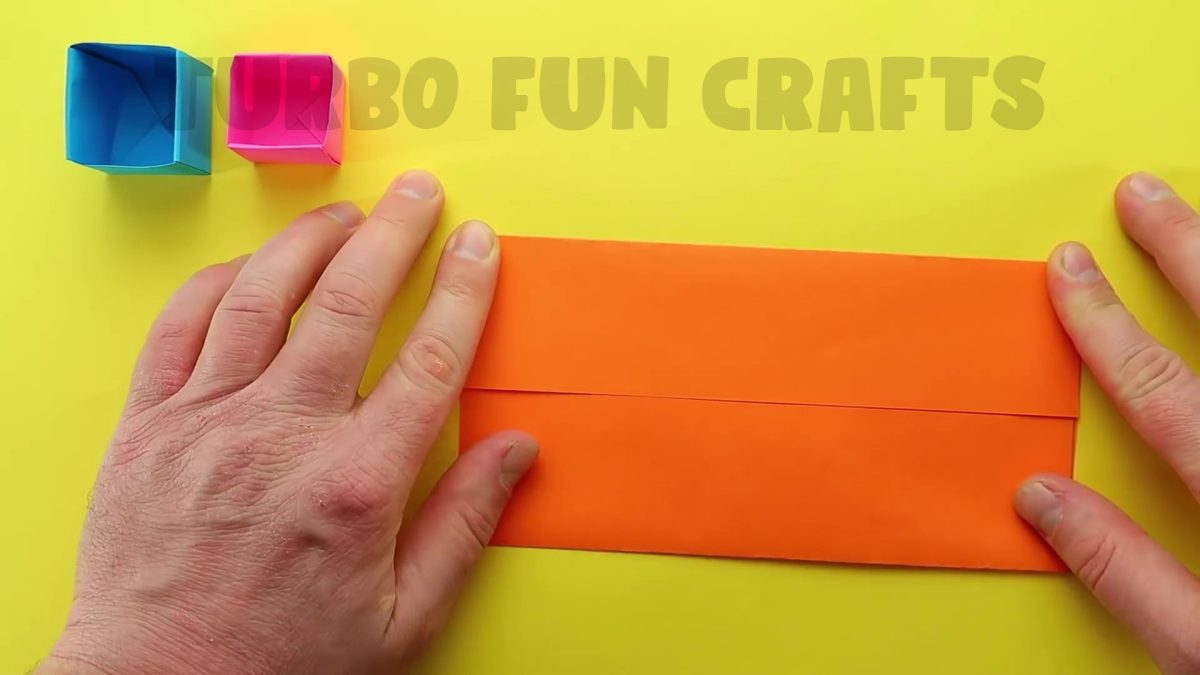
Take a sheet of paper 20 by 20 cm
You can use either colored paper or standard white paper

Fold the sheet in half and meet the bottom edge with the top edge
This is shown in the picture below

Unfold the sheet to its original position
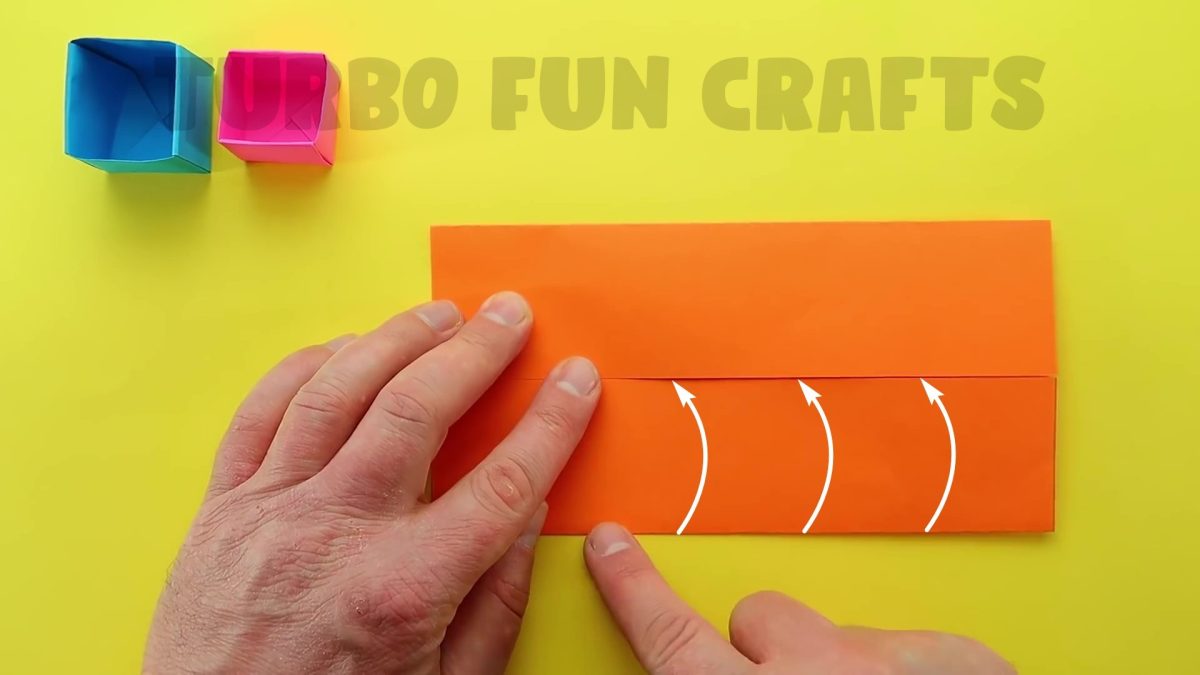
Fold the sheet as shown in the picture below
Let the bottom edge meet the middle of the sheet
This is how it should look like
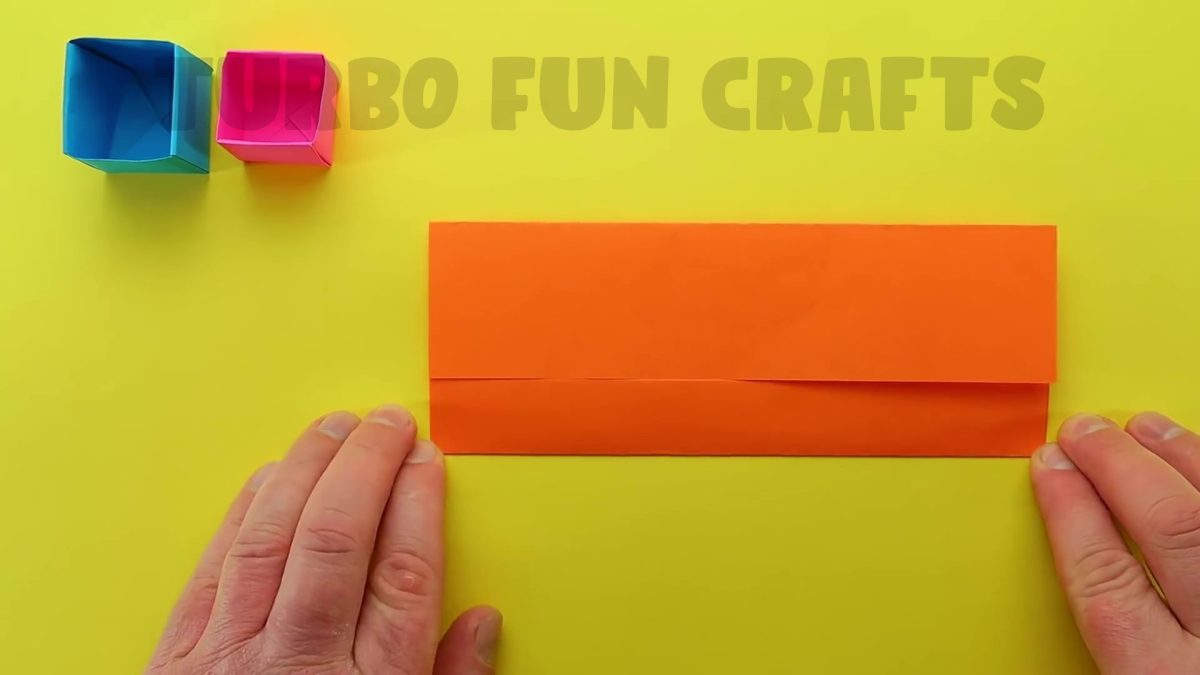
Fold the top edge in the same way
Let the top edge meet the middle of the sheet
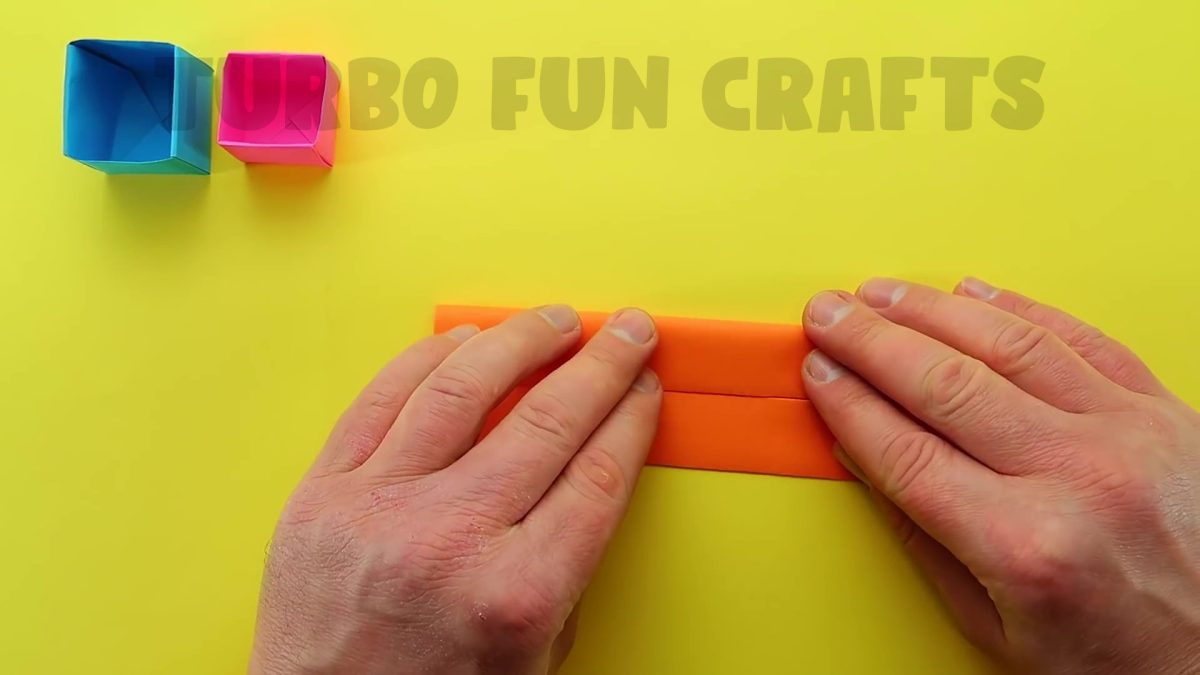
Fold the sheet in half again and meet the bottom edge with the middle of the sheet
This is shown in the picture below

This is how it should look like
Fold the top edge in the same way
Let the top edge meet the middle of the sheet
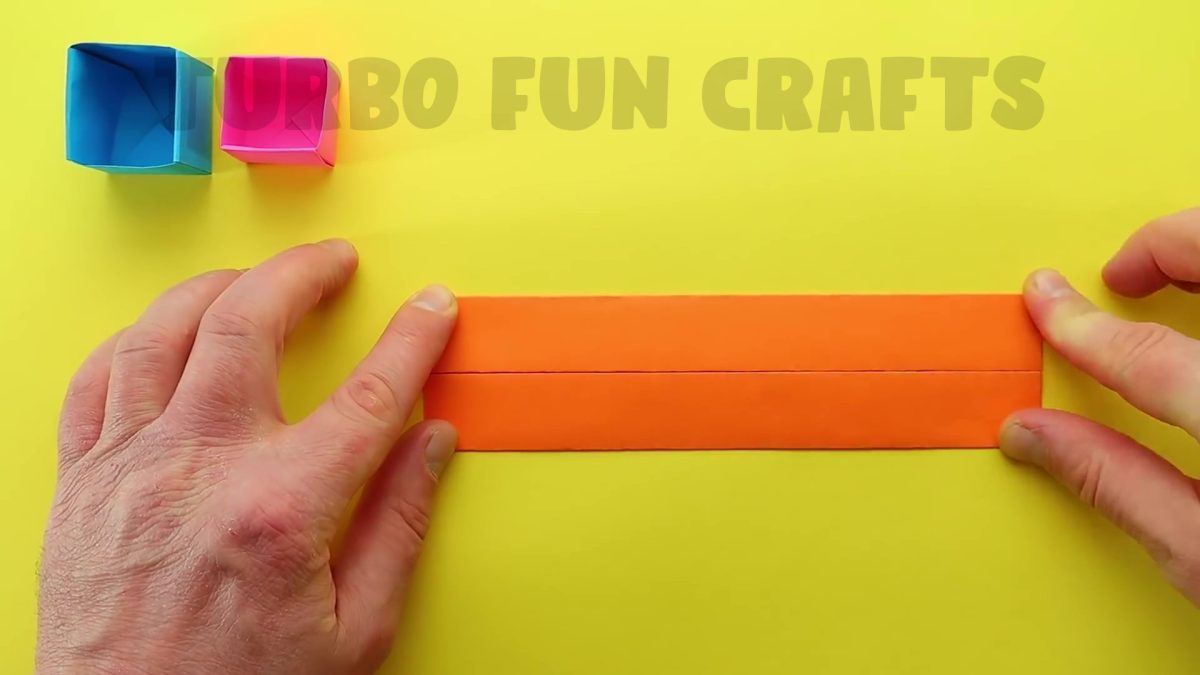
Fold the sheet in half one more time and meet the bottom edge with the top edge
This is shown in the picture below
This is how it should look like
STEP 7 of how to make Mini Button Pop It Fidget Toy
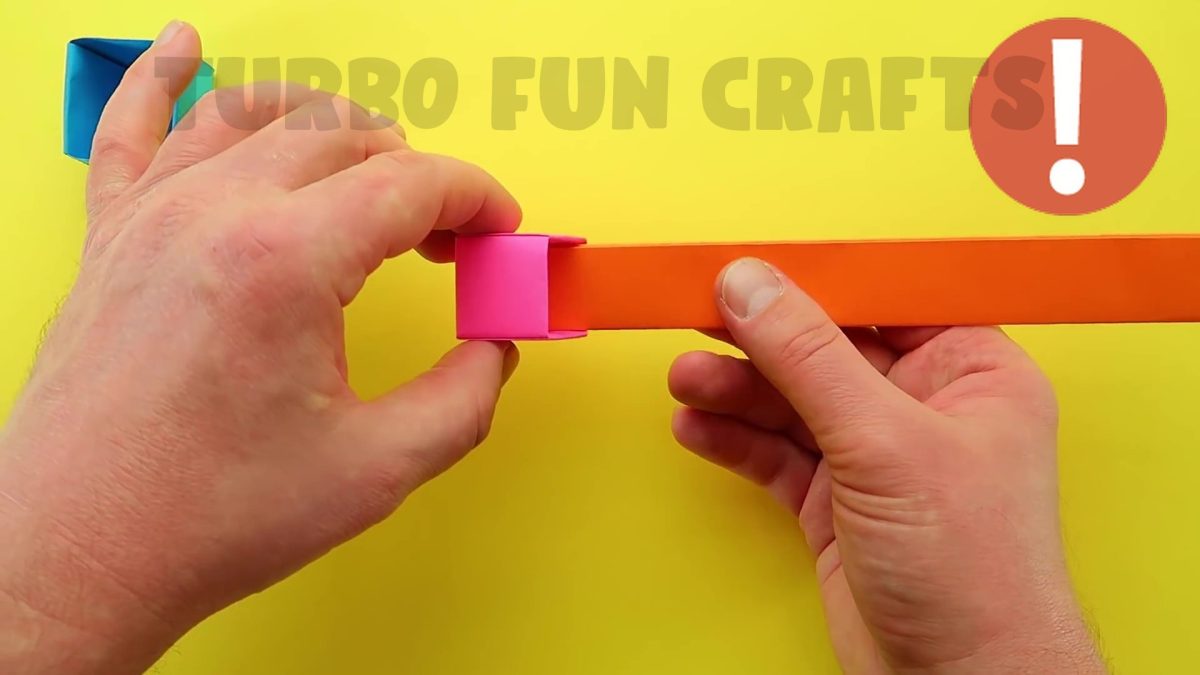
Take the just-folded sheet of paper and try to insert one of its edges into the smaller paper box prepared earlier
Make sure that the edge of the sheet fits easily into the smaller paper box
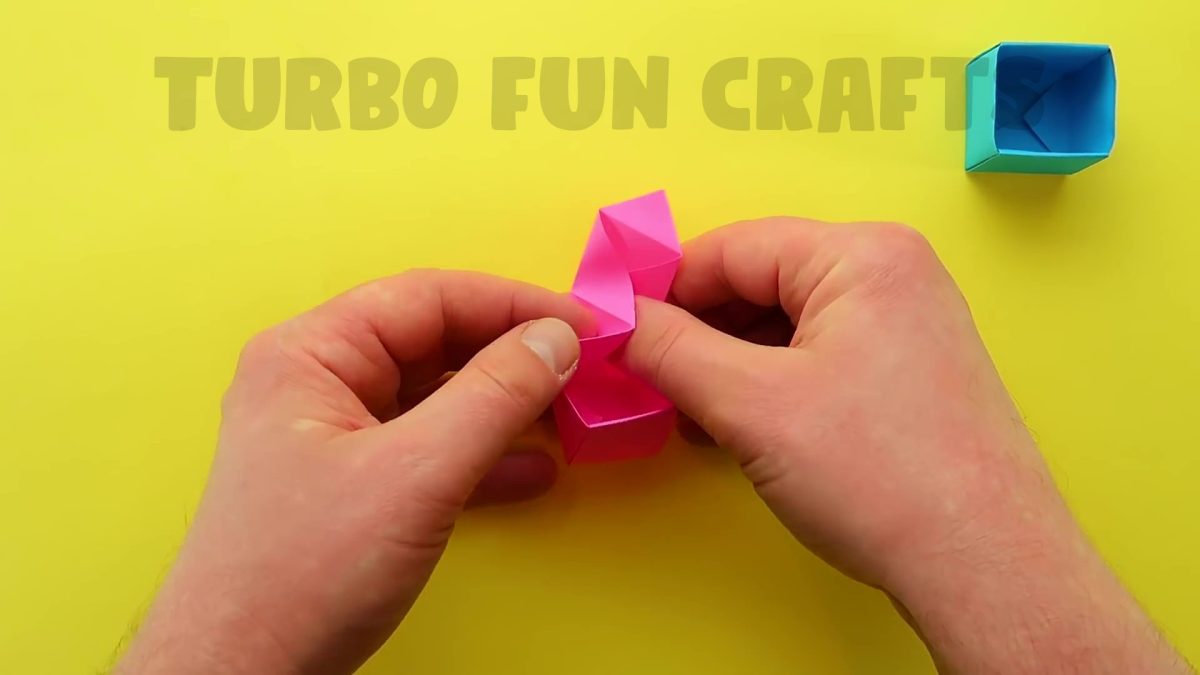
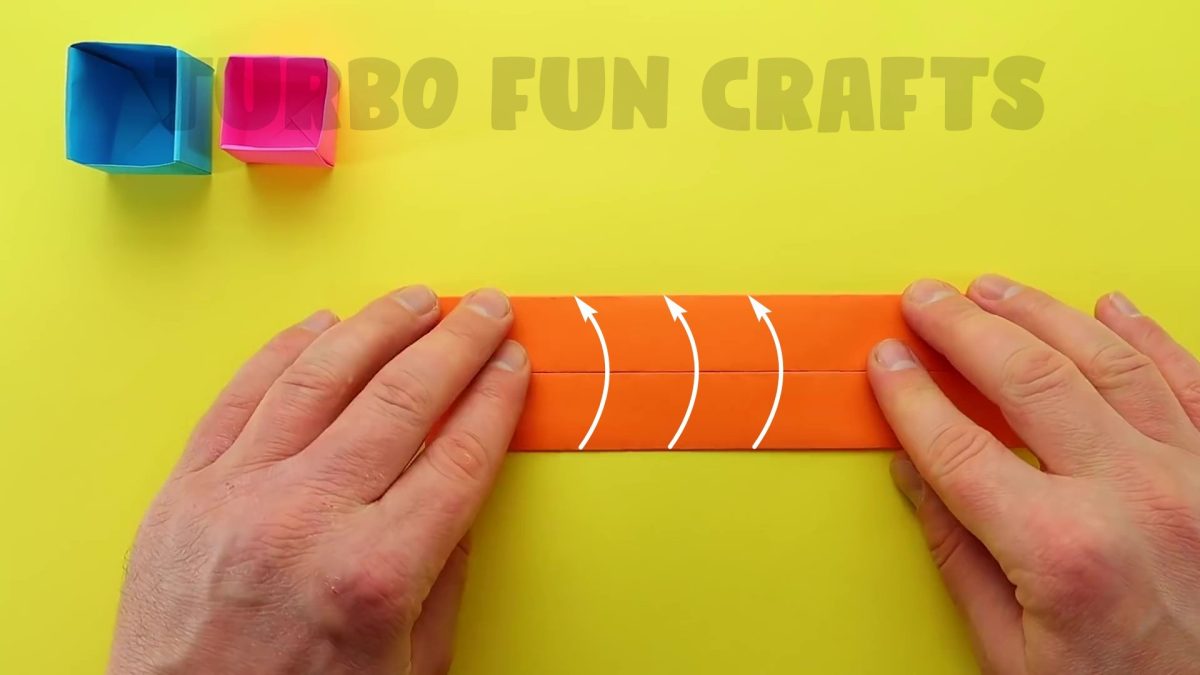
Start folding the paper sheet as shown in the picture below
Fold the sheet of paper like an accordion

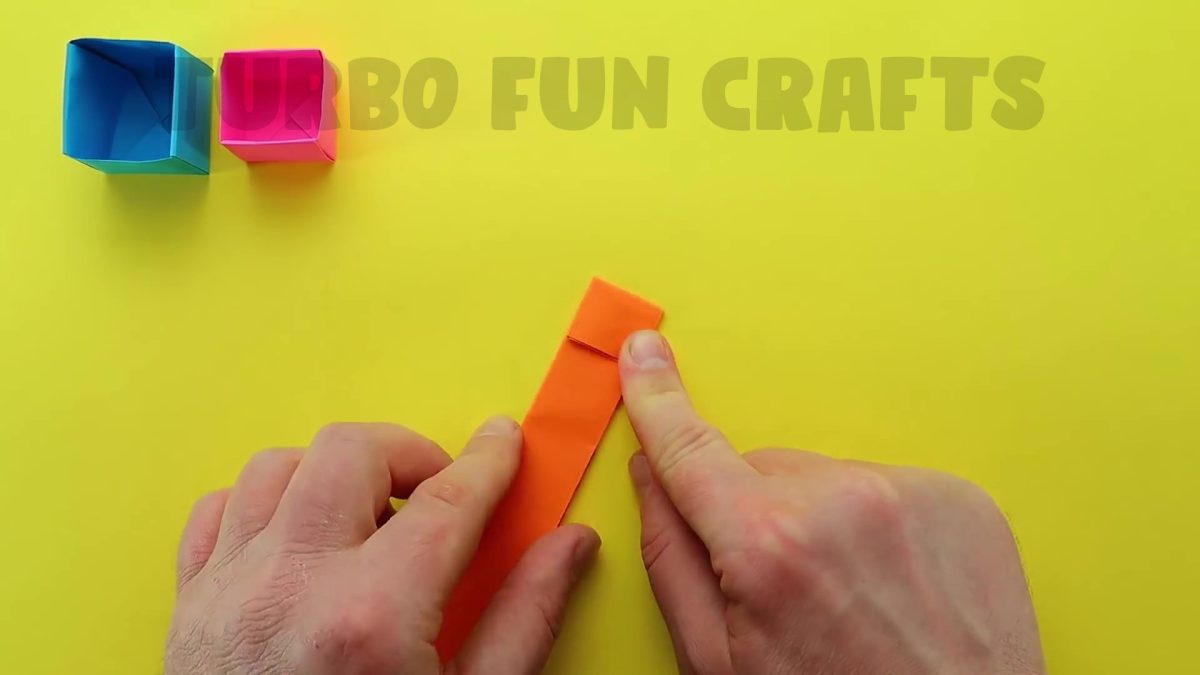
Flip the sheet over and continue folding it in the same way


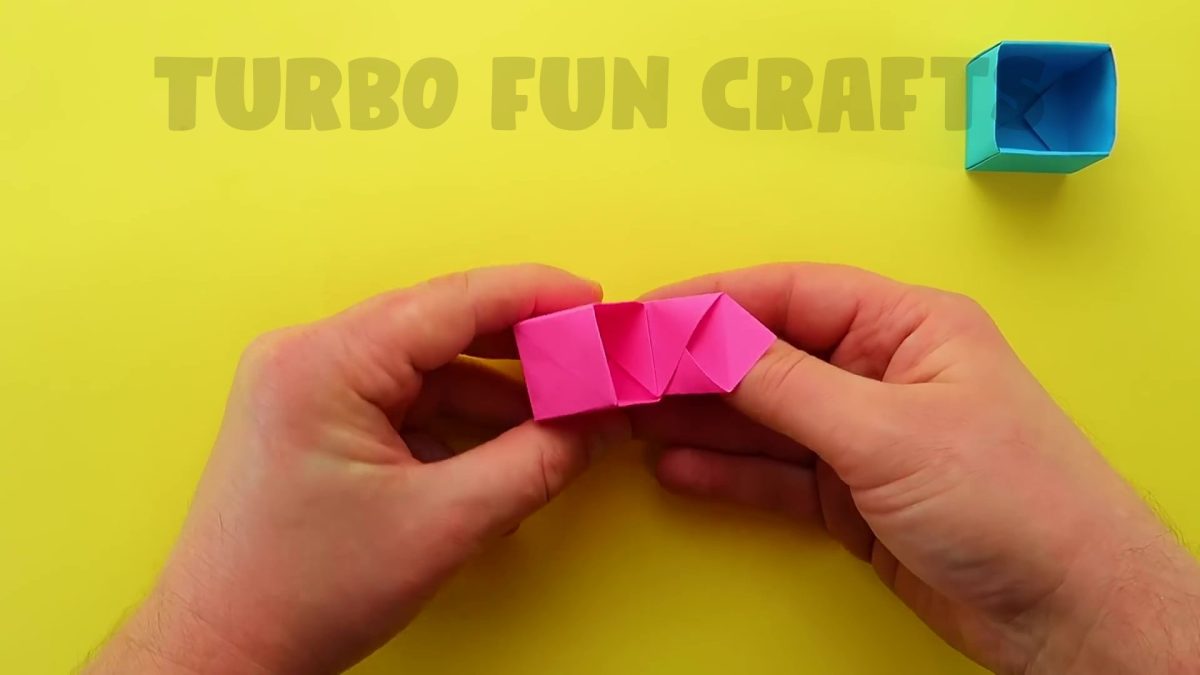
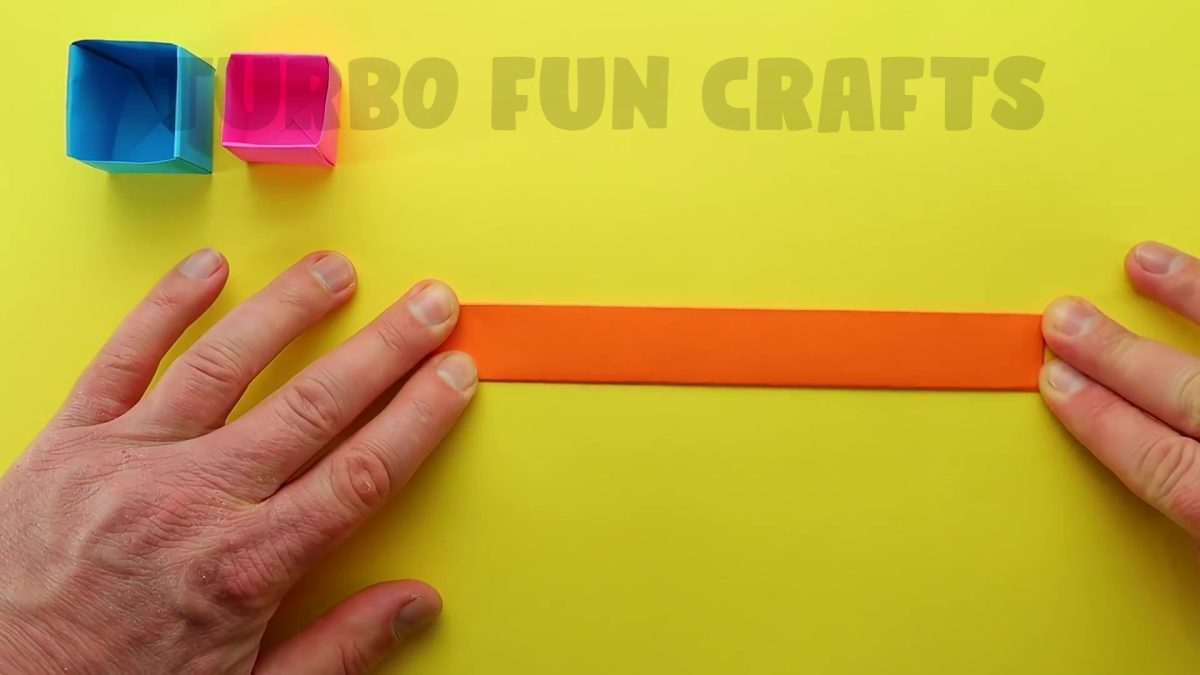
This is how it should look like
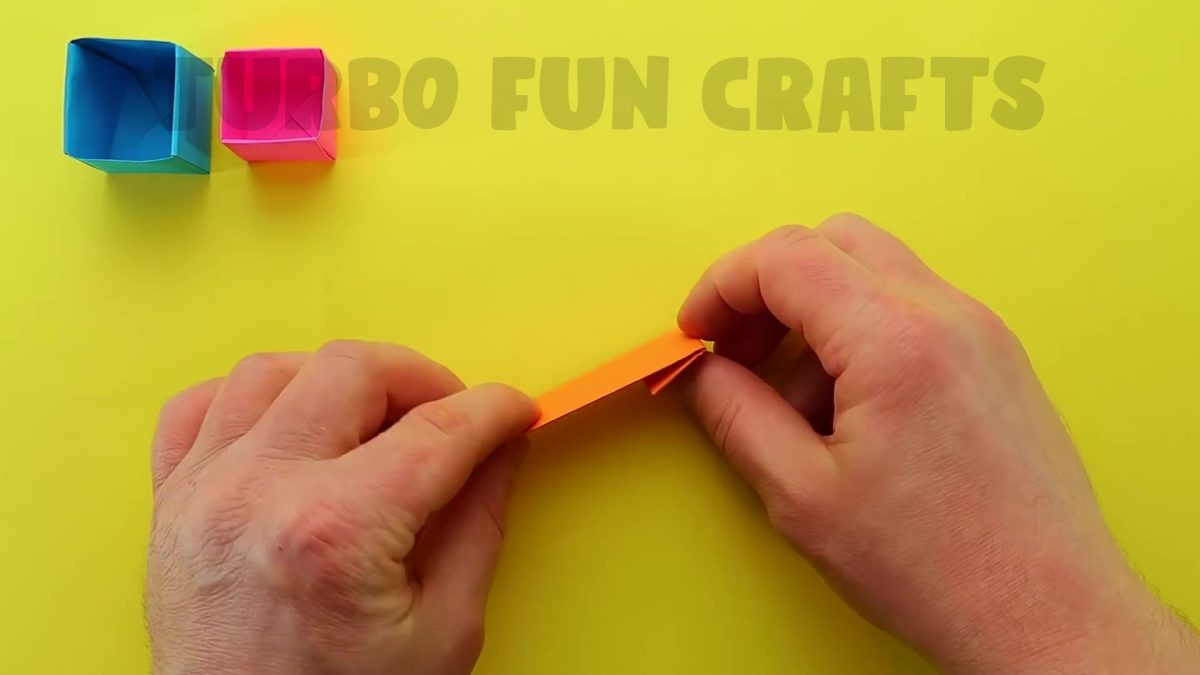
Continue folding the sheet as shown previously
You should fold the entire length of the sheet in the same way that was shown earlier
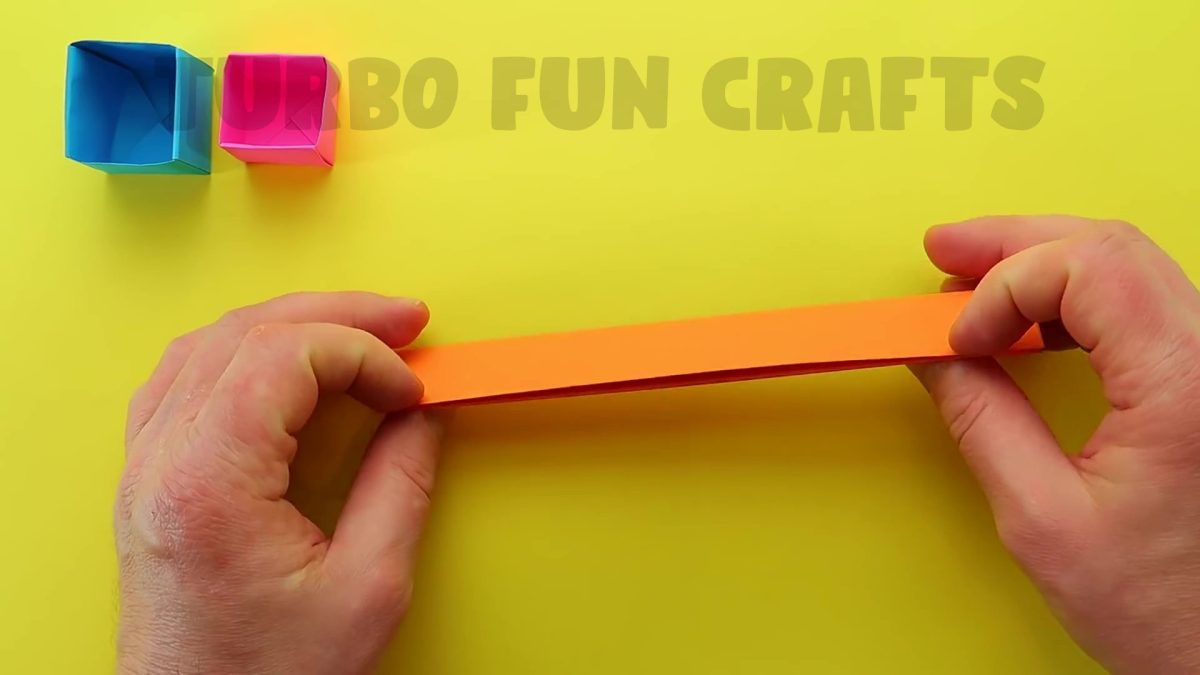
This is how it should look like
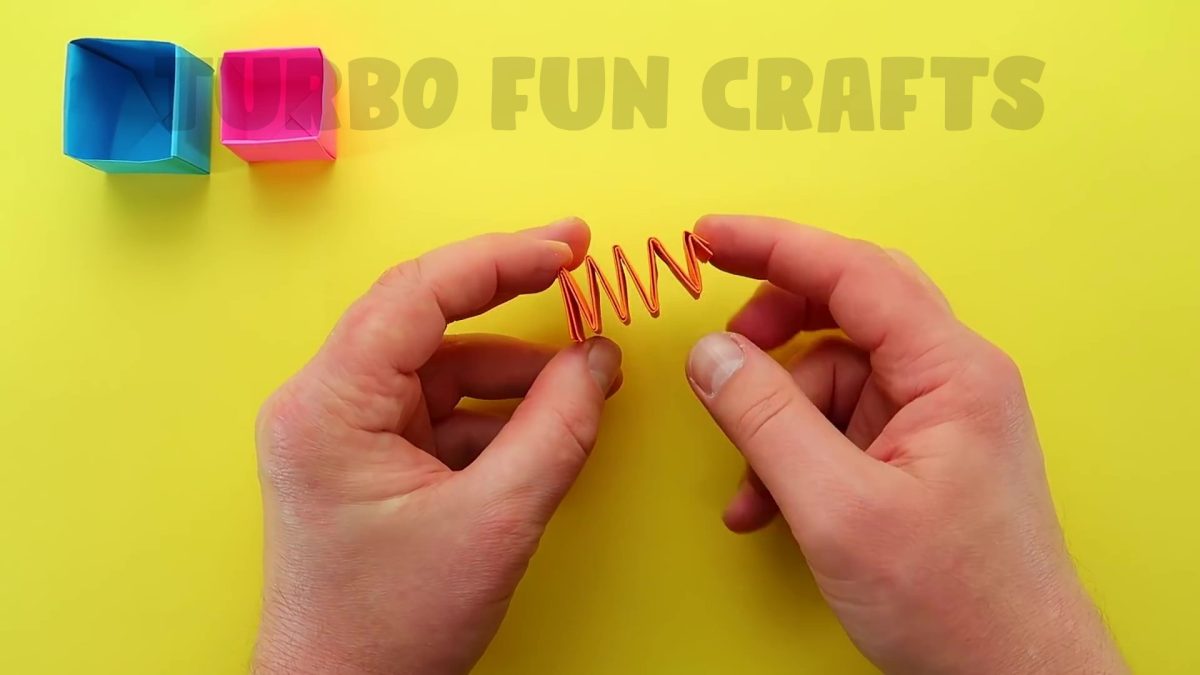
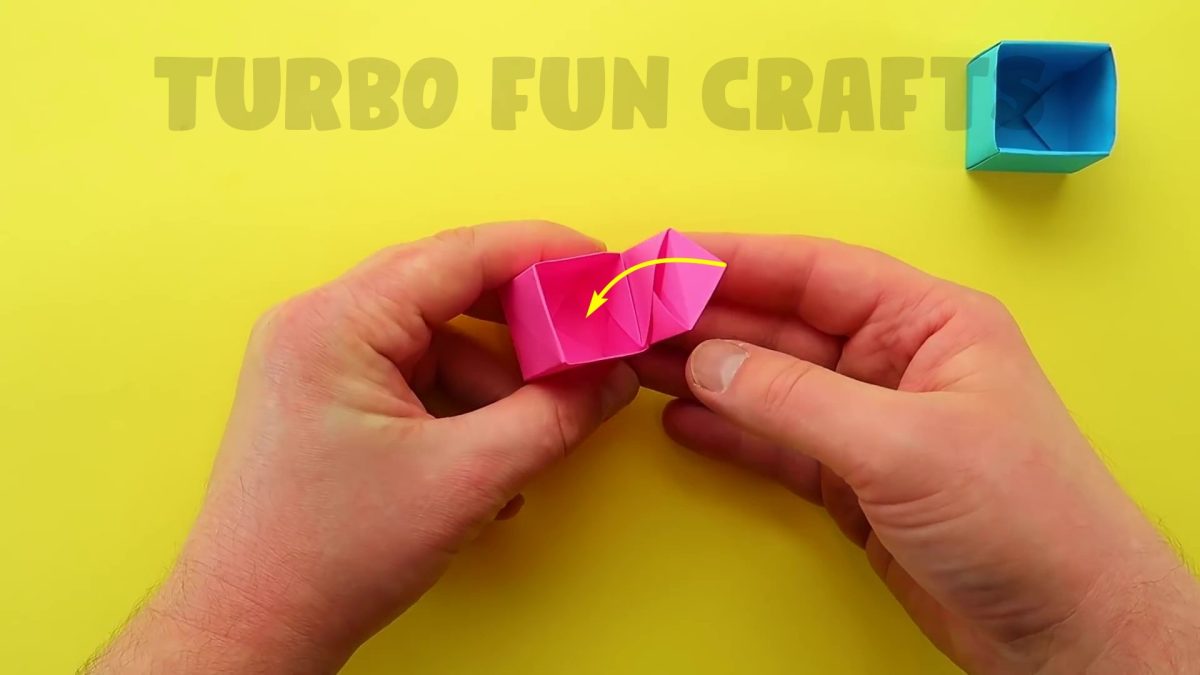
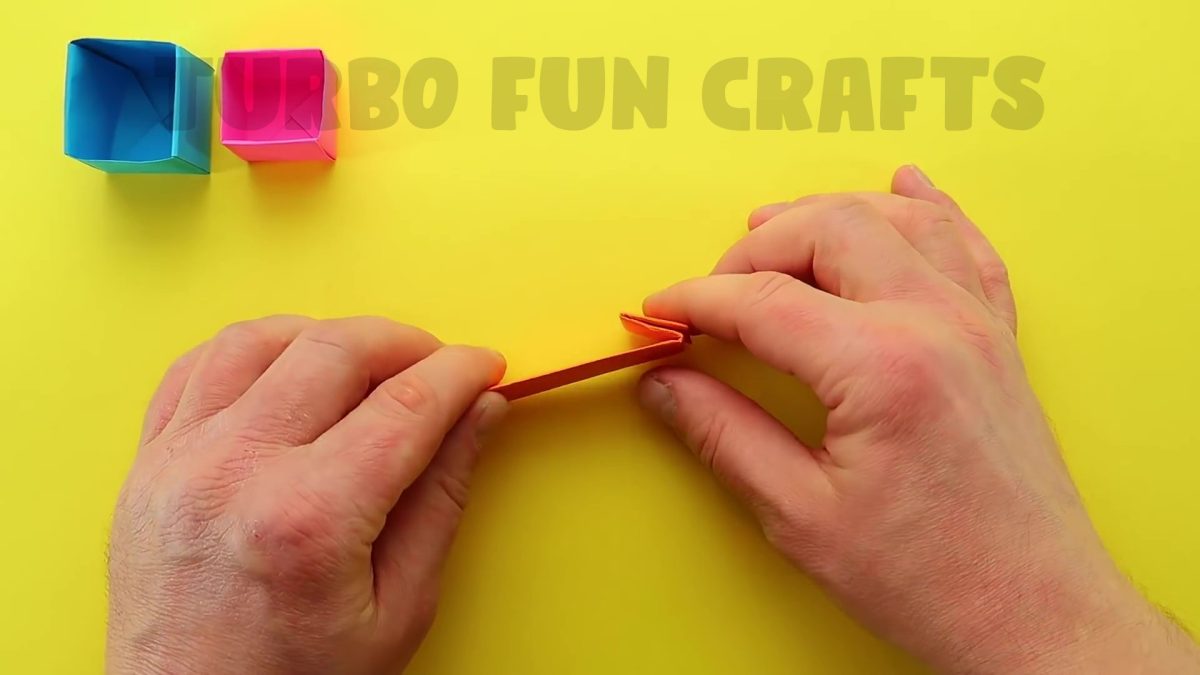
The sheet that was just folded will be used as a spring
Try compressing it like a spring and release it
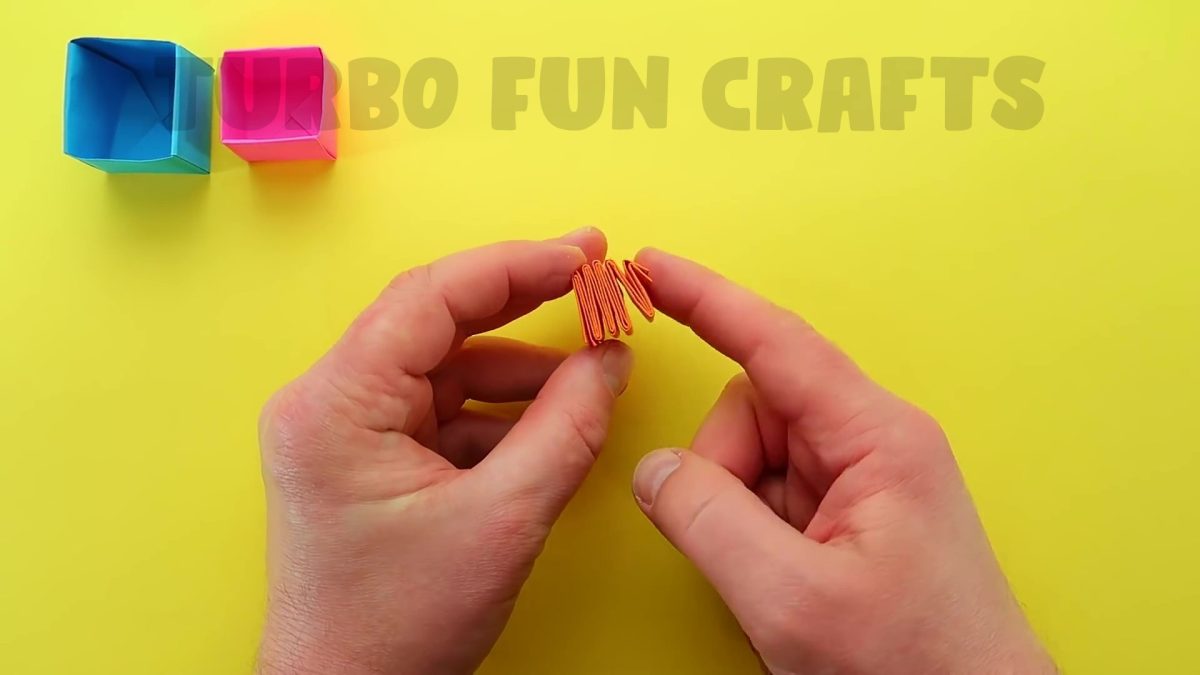
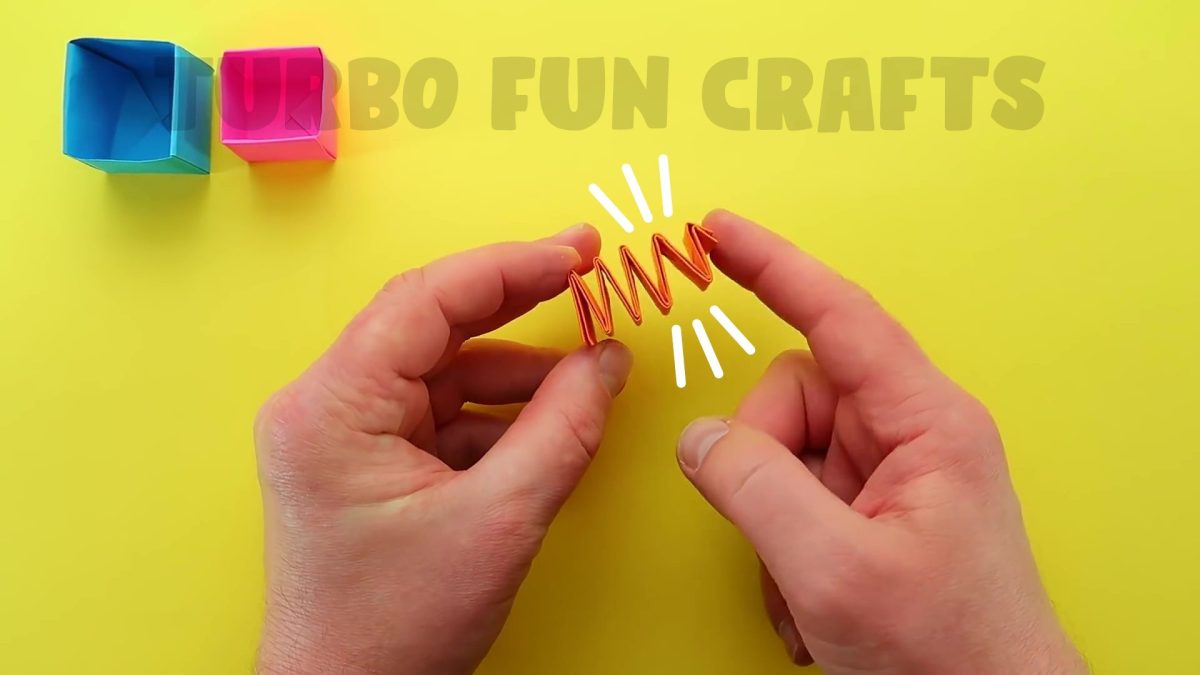
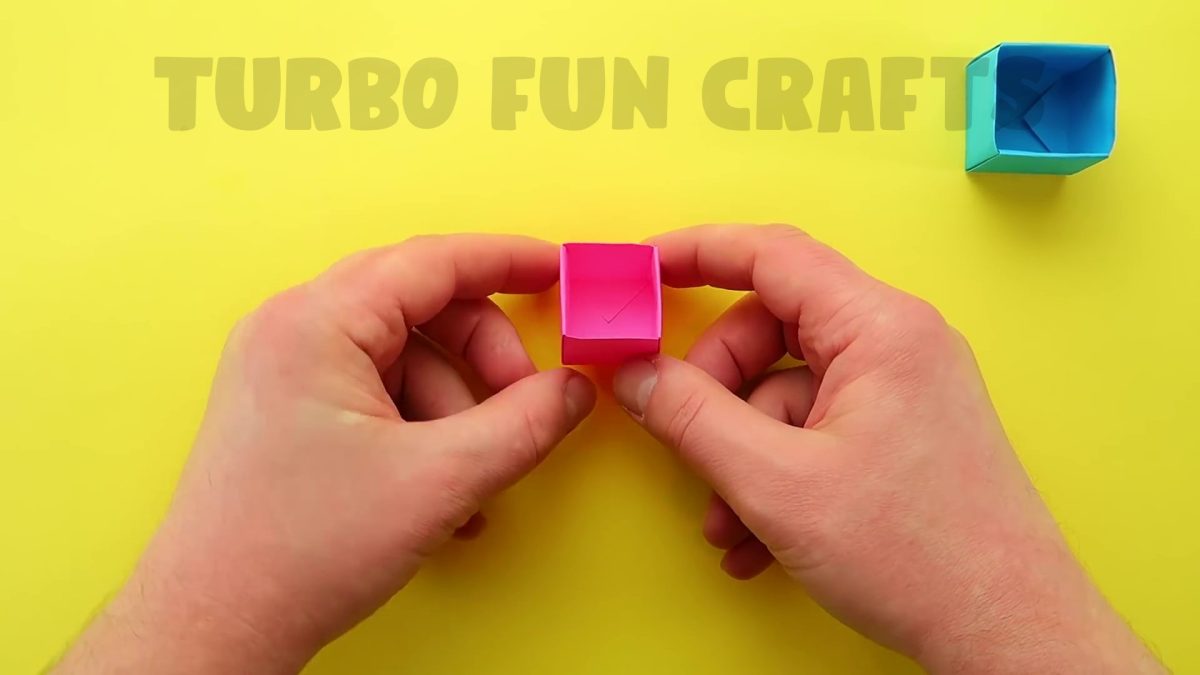
Insert the just-folded sheet into the smaller paper box

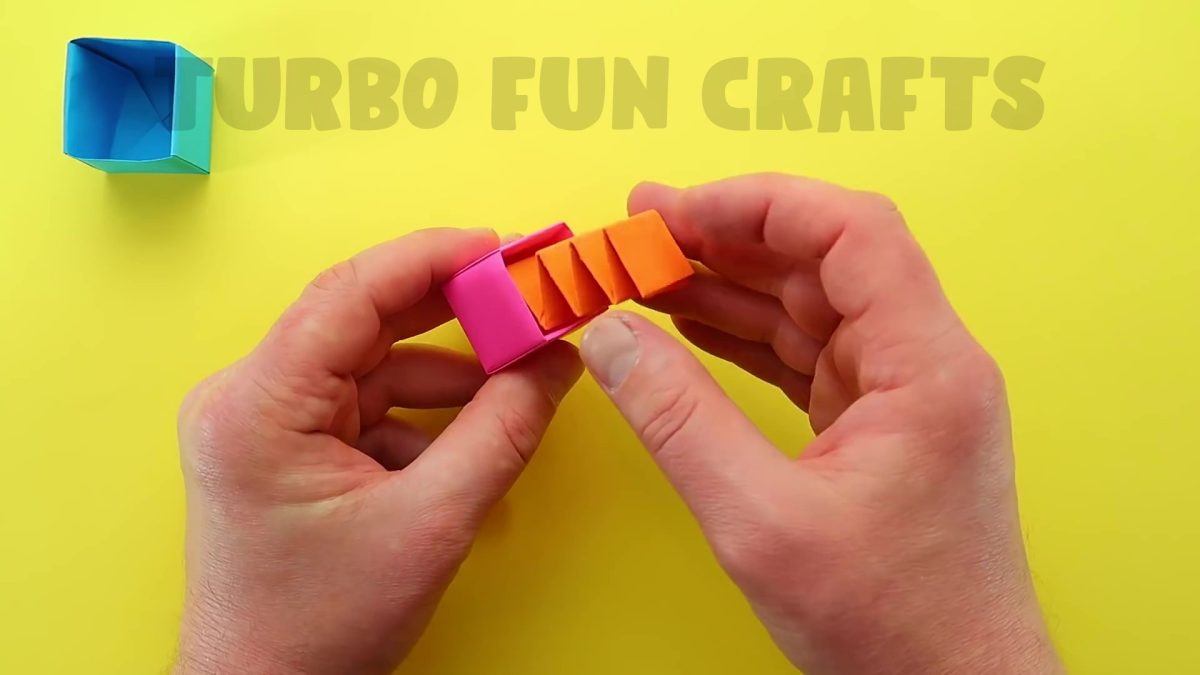
Take the larger paper box and put it on the edge of the just-folded sheet
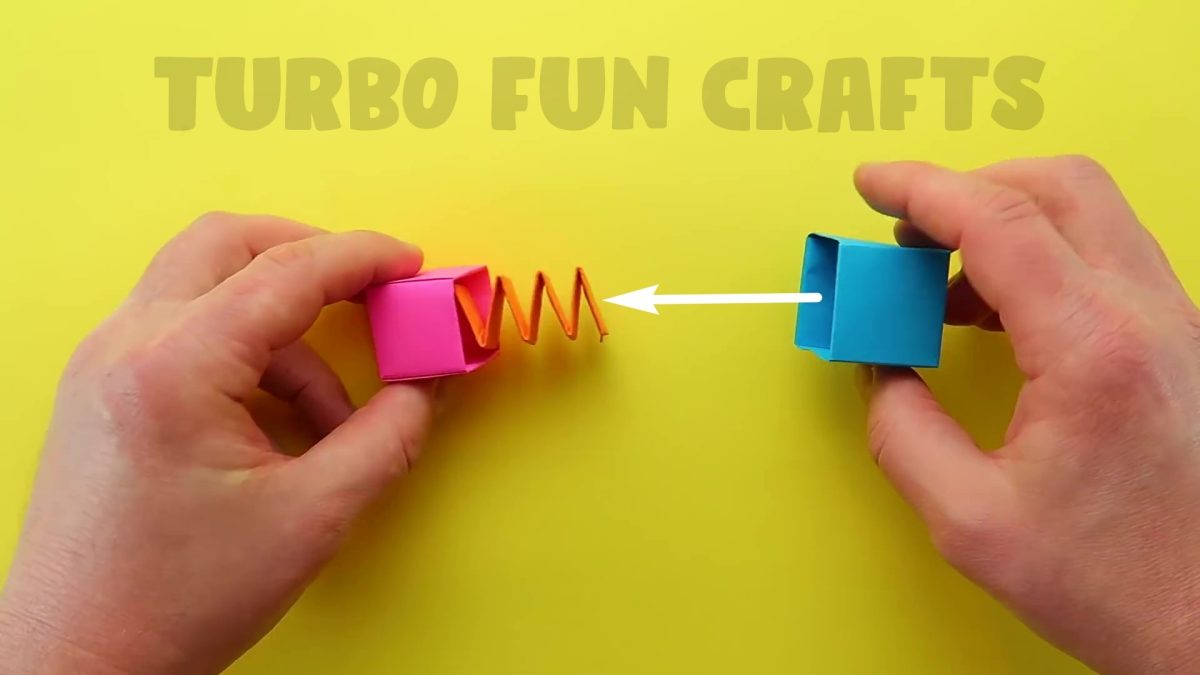
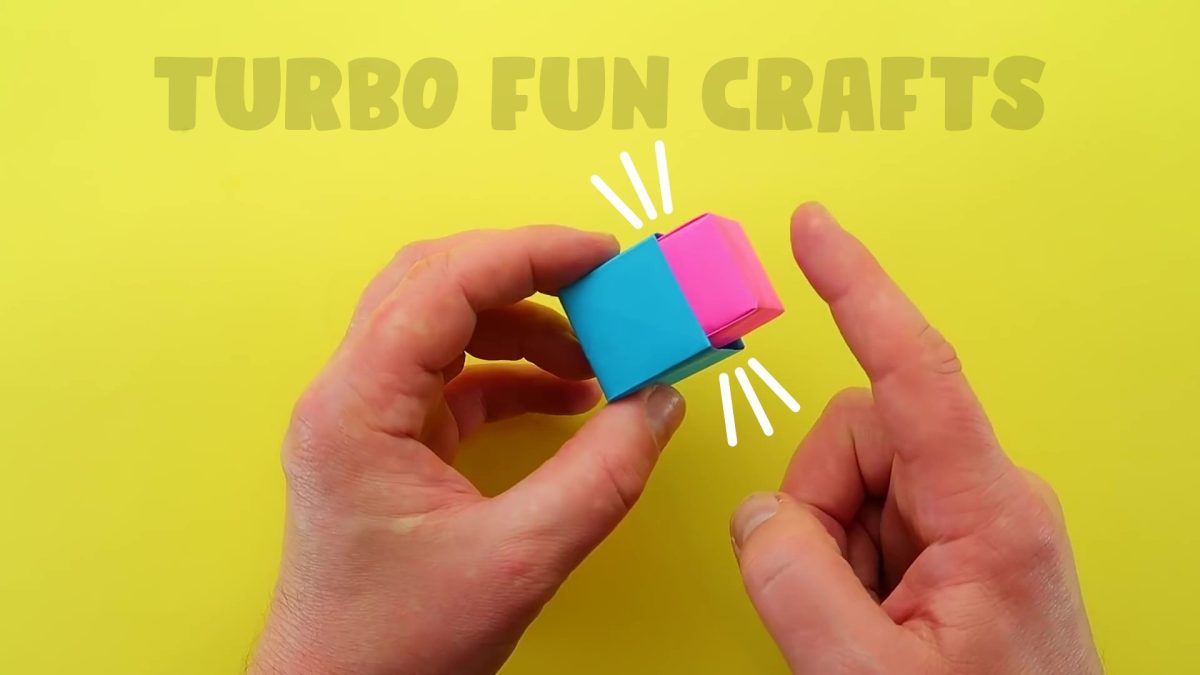
Your Mini Button Pop It Fidget Toy is ready!
POP IT! 🙂
You may also like other ORIGAMI POP IT toys from our collection 🙂
You can make as many Origami MINI BUTTON POP IT FIDGET Toys as you want. Experiment with colors and enjoy making this Origami Mini Button Pop It Fidget Toy.
If you experienced difficulties with some steps, you can watch the video instruction of how to make Origami Mini Button Pop It Fidget Toy
Please scroll down for the video tutorial 🙂
This paper craft is a great way to engage your creativity and enhance your fine motor skills. And with our Origami MINI BUTTON POP IT FIDGET toy, you can take your paper folding skills to the next level.
Best of all, our Origami MINI BUTTON POP IT FIDGET toy is a mess-free and hassle-free activity that’s perfect for both children and grown-ups, as it doesn’t require any glue.
Whether you’re looking for a new hobby, a fun activity to do with friends and family, or a unique way to pass the time, our Origami MINI BUTTON POP IT FIDGET toy is the perfect choice. So go ahead, unleash your creativity, and let the folding begin!
Have Fun! 🙂