How to make Bumblebee Transformer from Paper | DIY Iconic Autobot | Easy Origami Transformer | Creative Paper Crafts
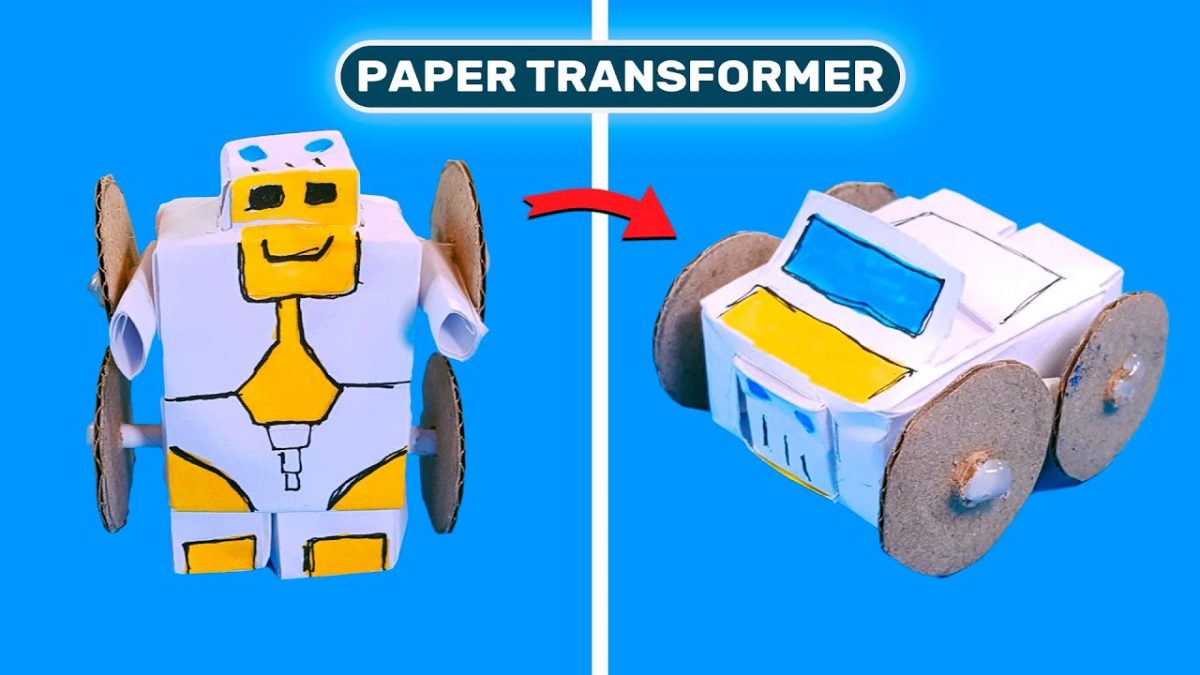
Hey there, fellow Transformers fans! 🙂 Today, we’re going to dive into the world of paper crafts and introduce you to a step-by-step tutorial on how to make Bumblebee Transformer from Paper. Get ready to unleash your creativity and bring this Iconic Autobot to life!
In this easy-to-follow guide, we’ll show you the whole process of creating your own mini Bumblebee Transformer in detail, using just a few simple materials and some crafty skills! This craft project is perfect for Transformers fans of all ages 🙂
Let’s get started!
Please scroll down for a step-by-step tutorial of how to make Bumblebee Transformer from Paper
HERE IS THE TUTORIAL:
Materials You’ll Need:
- paper sheet measuring 19 by 12.5 cm
- paper sheet measuring 19 by 7.5 cm (3 pcs.)
- pencil
- ruler
- scissors
- glue
- piece of cardboard
- alcohol markers (choose colors you like the most)
- glue gun
STEP 1 of how to make Bumblebee Transformer from Paper
Take a paper sheet measuring 19 by 12.5 cm
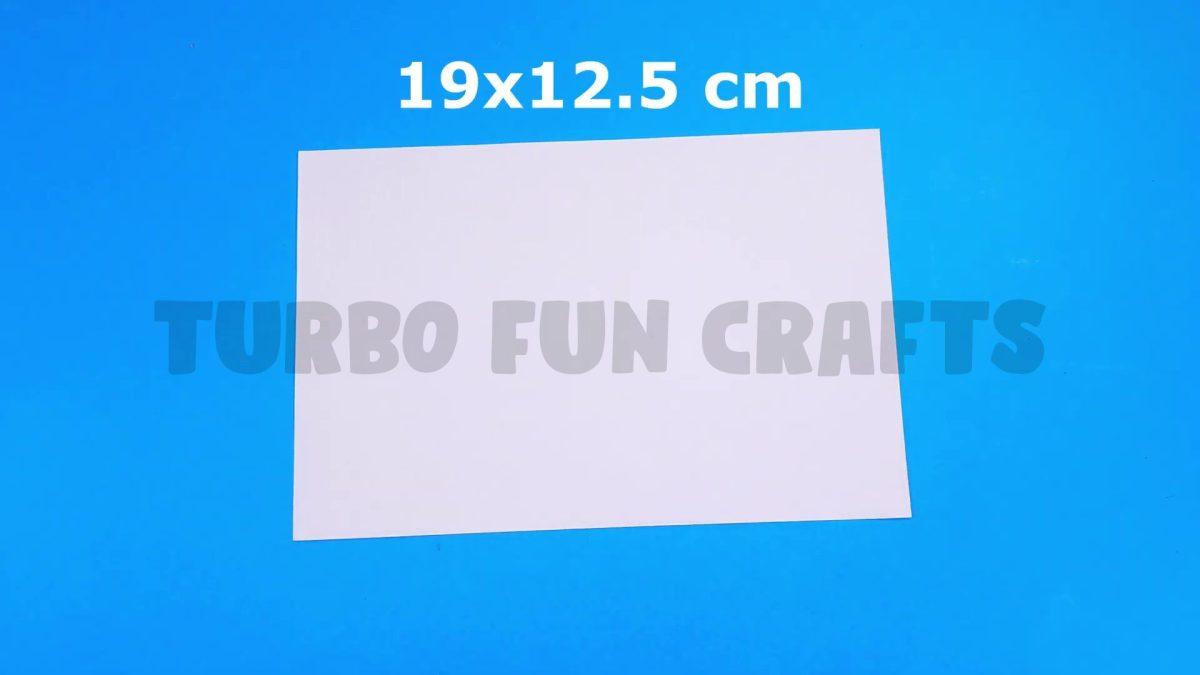
Make marks using a pencil as shown in the images below
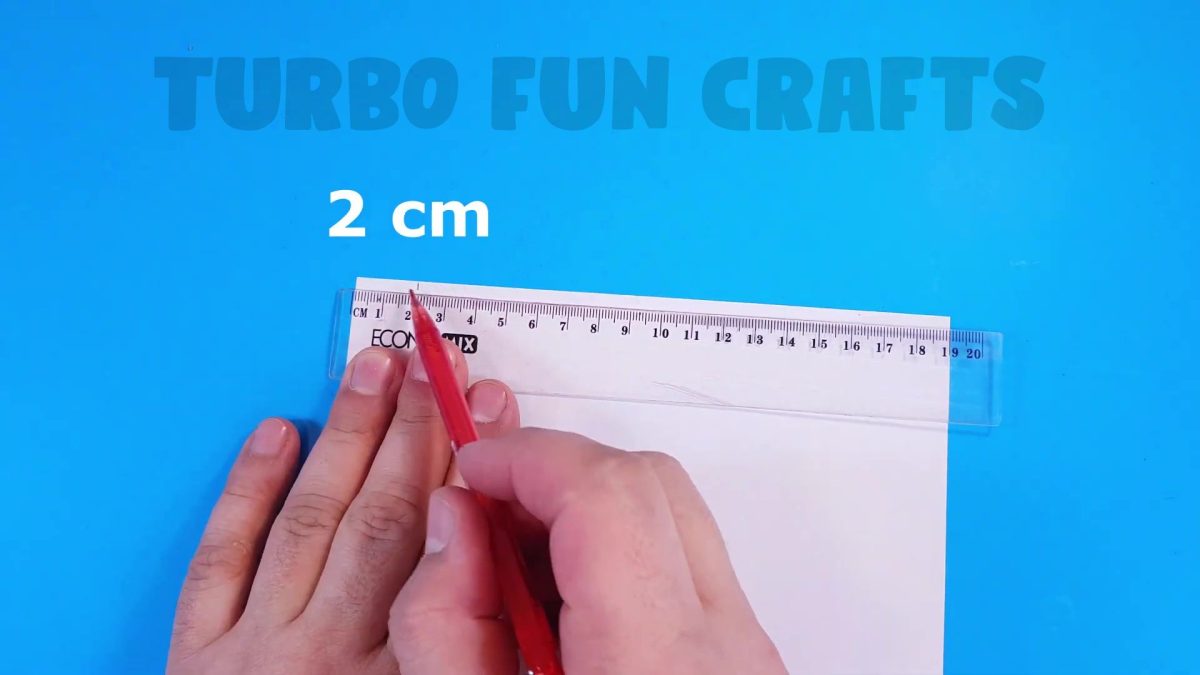
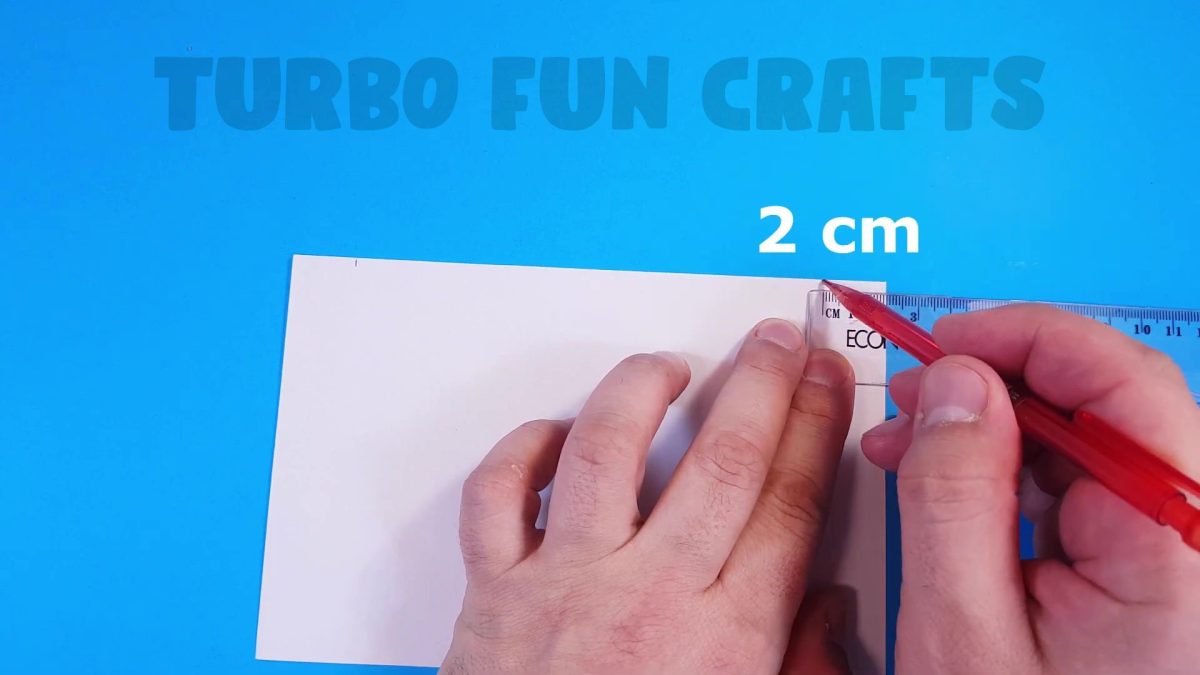
Place the sheet vertically
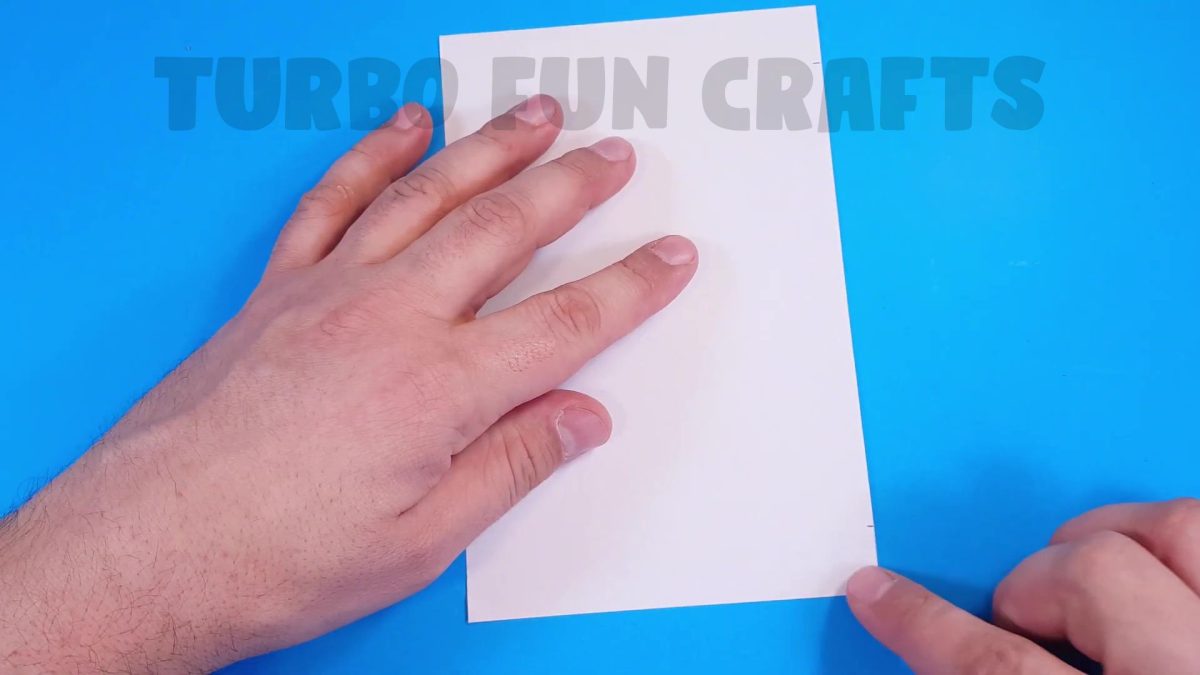
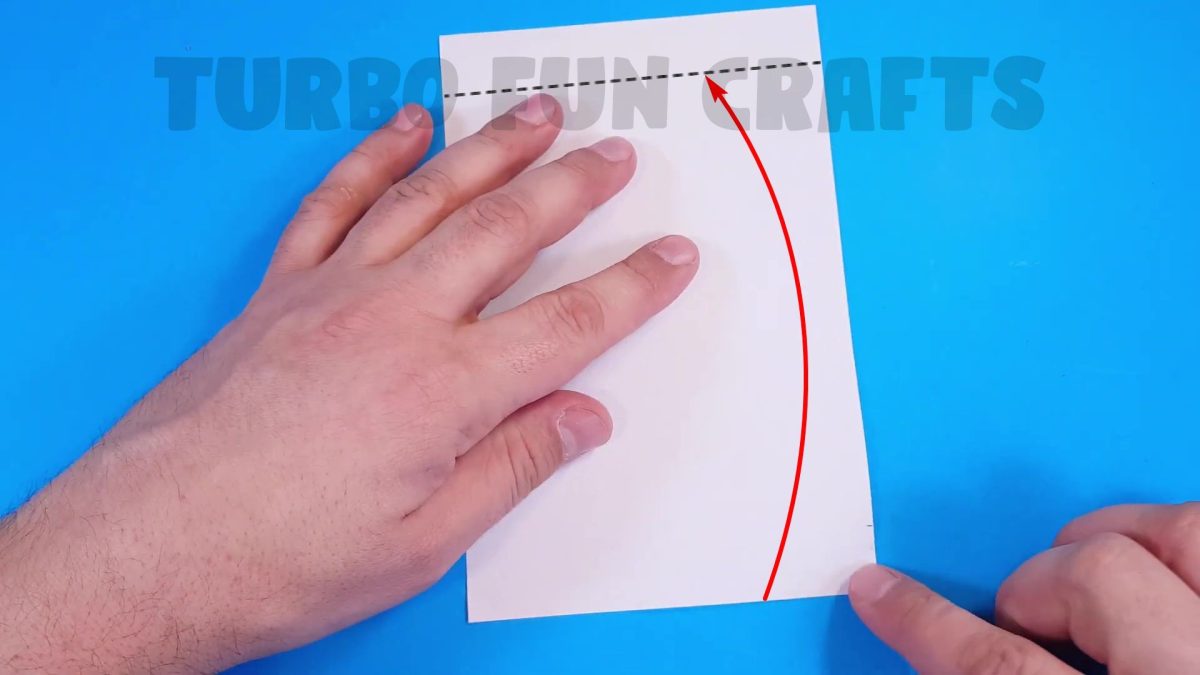
Fold the paper as shown in the images below
Let the bottom edge meet the just-made mark
This is how it should look like
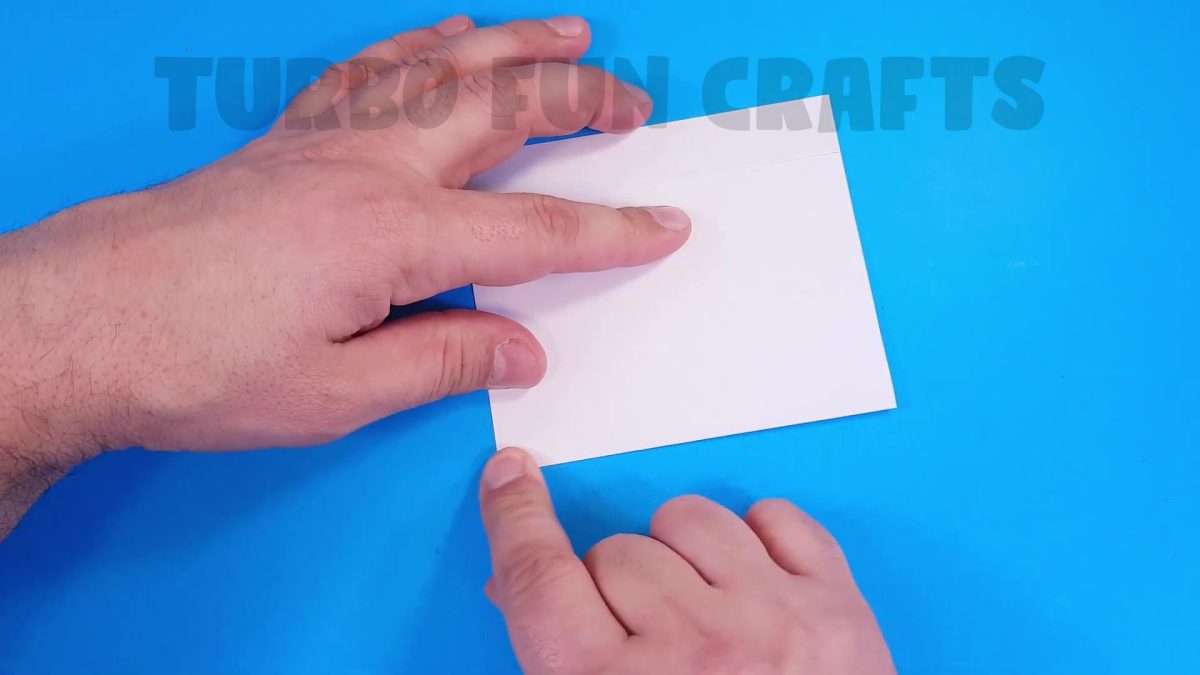
Unfold the sheet to its original position and rotate it by 180 degrees
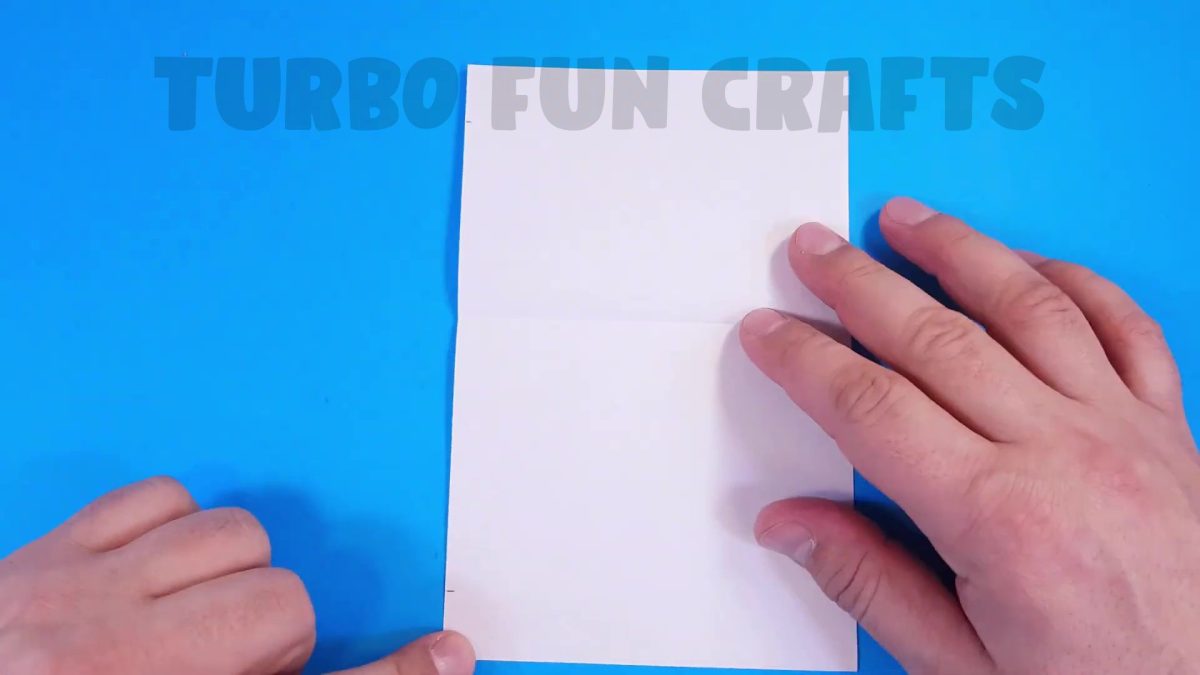
Fold the bottom edge in the same way as shown earlier
Meet the bottom edge with the just-made mark

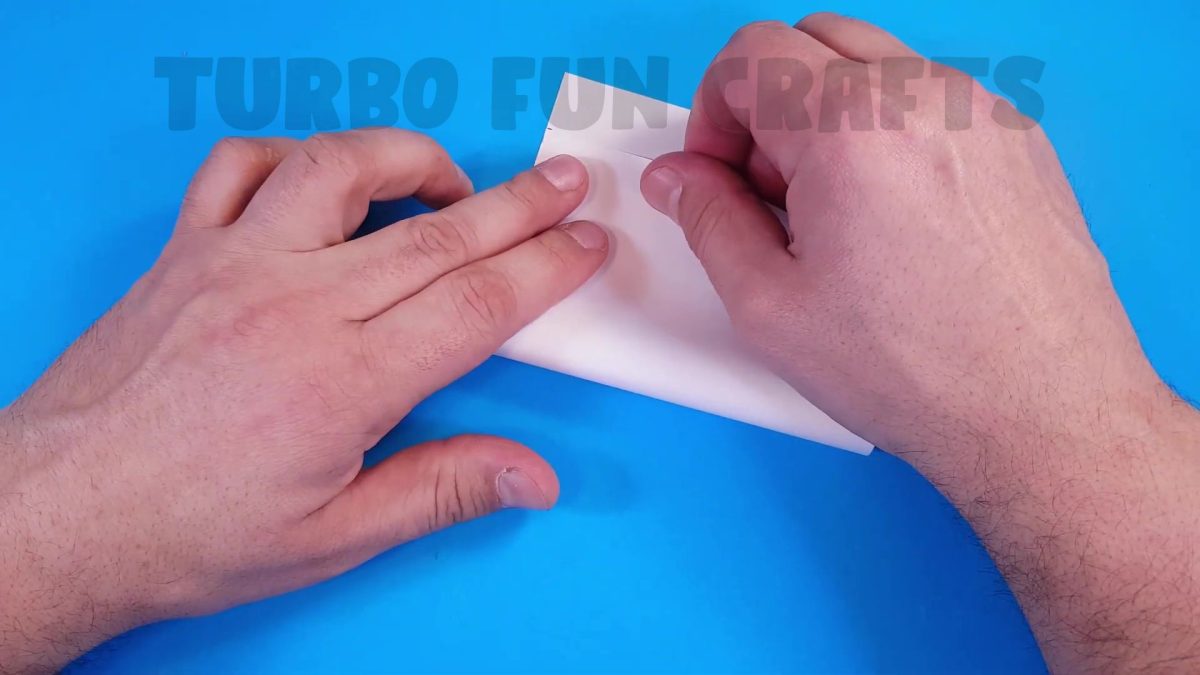
This is how it should look like


Make marks using a pencil as shown in the pictures below


This is how it should look like

Fold the sheet as shown in the images below
Let the bottom edge meet the just-made mark


Unfold the sheet to its original position and rotate it by 180 degrees
Fold the bottom edge in the same way as shown earlier
Meet the bottom edge with the just-made mark


This is how it should look like

You may also like: FUNNY Paper Craft Idea with SpongeBob | Cardboard Toy DIY
STEP 2 of how to make Bumblebee Transformer from Paper
Place the sheet as shown in the picture below

Fold the right edge of the sheet as shown in the images below


This is how it should look like

Trim the edge of the sheet with scissors as shown in the pictures below

This is how it should look like

Fold the left edge of the sheet in the same way as shown earlier


Trim the edge of the sheet with scissors in the same way as shown earlier


This is how it should look like

Keep folding the sheet from the other side in the same way as shown earlier


Trim the edge of the paper in the same way as shown earlier

Keep folding the sheet in the same way as shown earlier


Trim the edge of the paper in the same way as shown earlier

Fold the sheet along the crease lines as shown in the pictures below

This is how it should look like

STEP 3 of how to make Bumblebee Transformer from Paper
Trim the edges of the paper as shown in the images below


This is how it should look like

Fold the edges of the sheet inward
This is shown in the images below


Glue the just folded edges of the paper


This is how it should look like


STEP 4 of how to make Bumblebee Transformer from Paper
Take a paper sheet measuring 19 by 7.5 cm
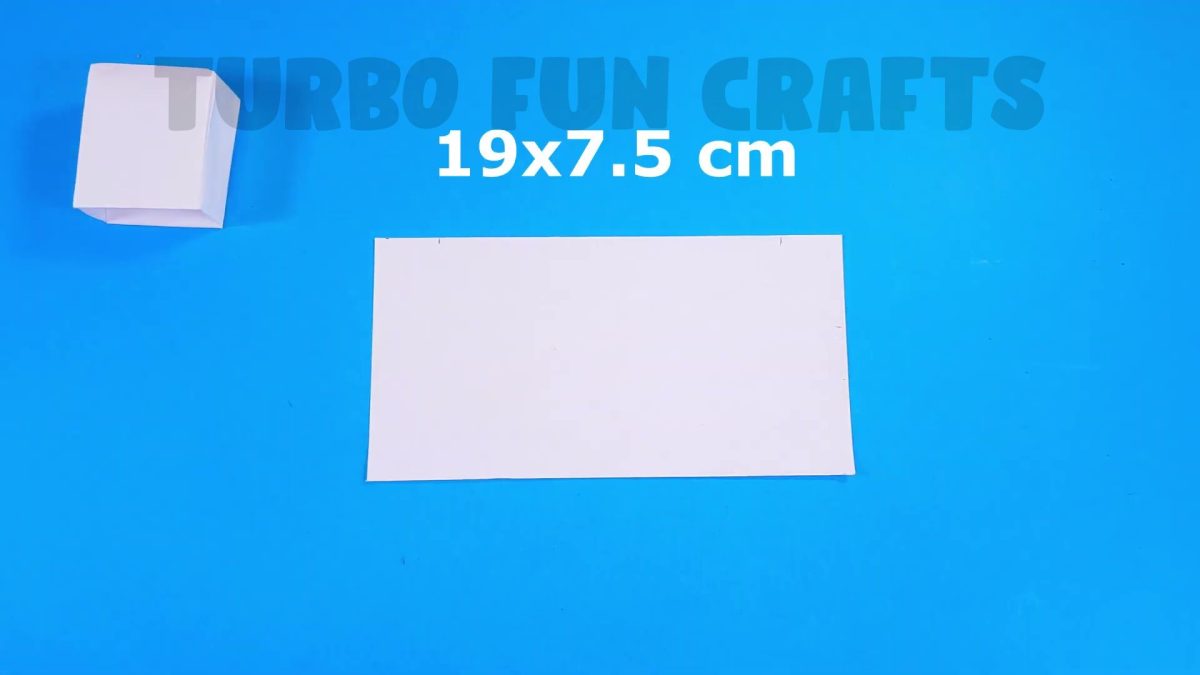
Place the paper vertically and make marks using a pencil
This is shown in the images below
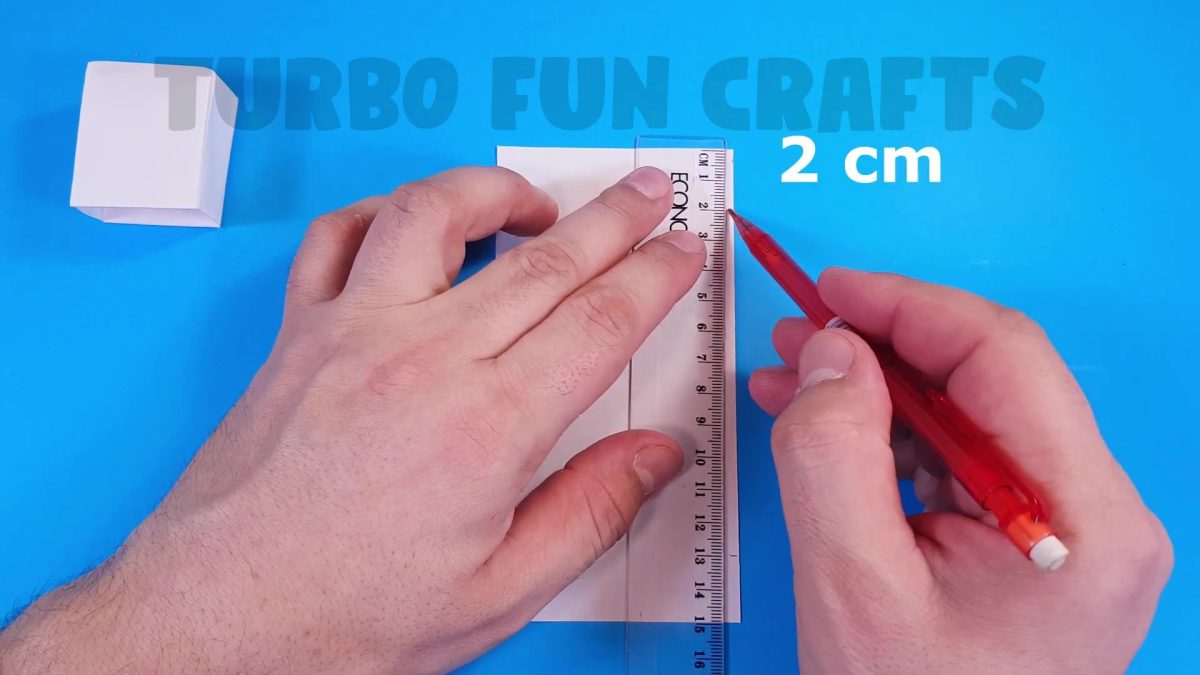
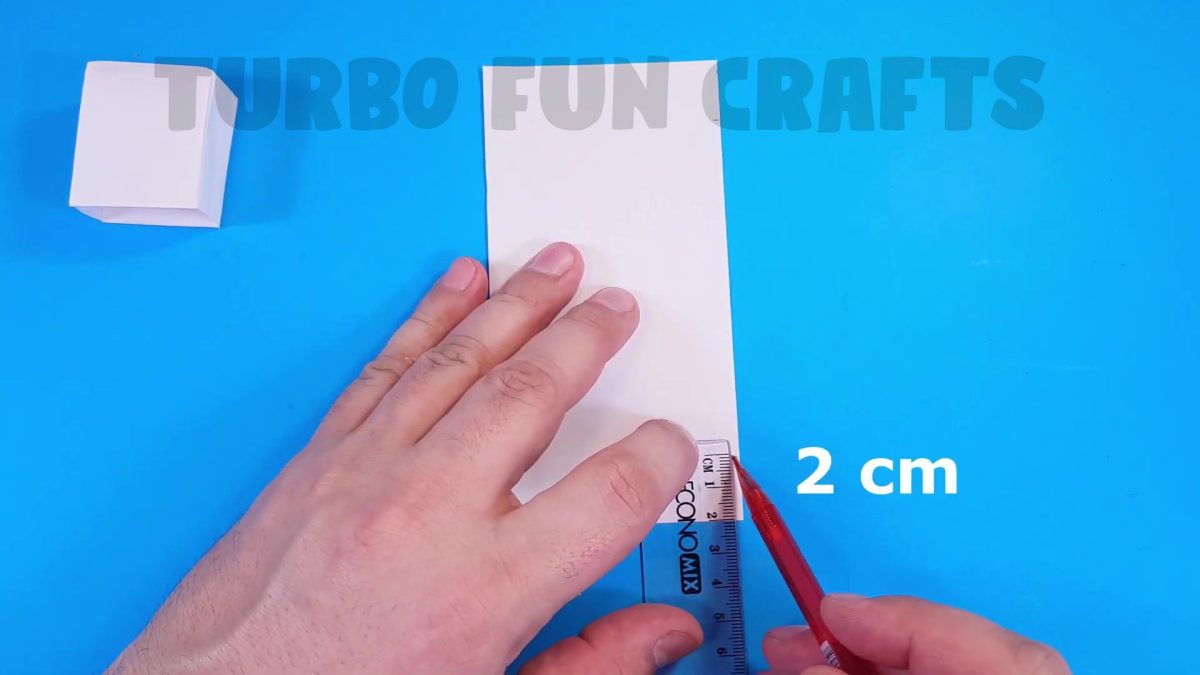
This is how it should look like

Fold the sheet in the same way as the previous one

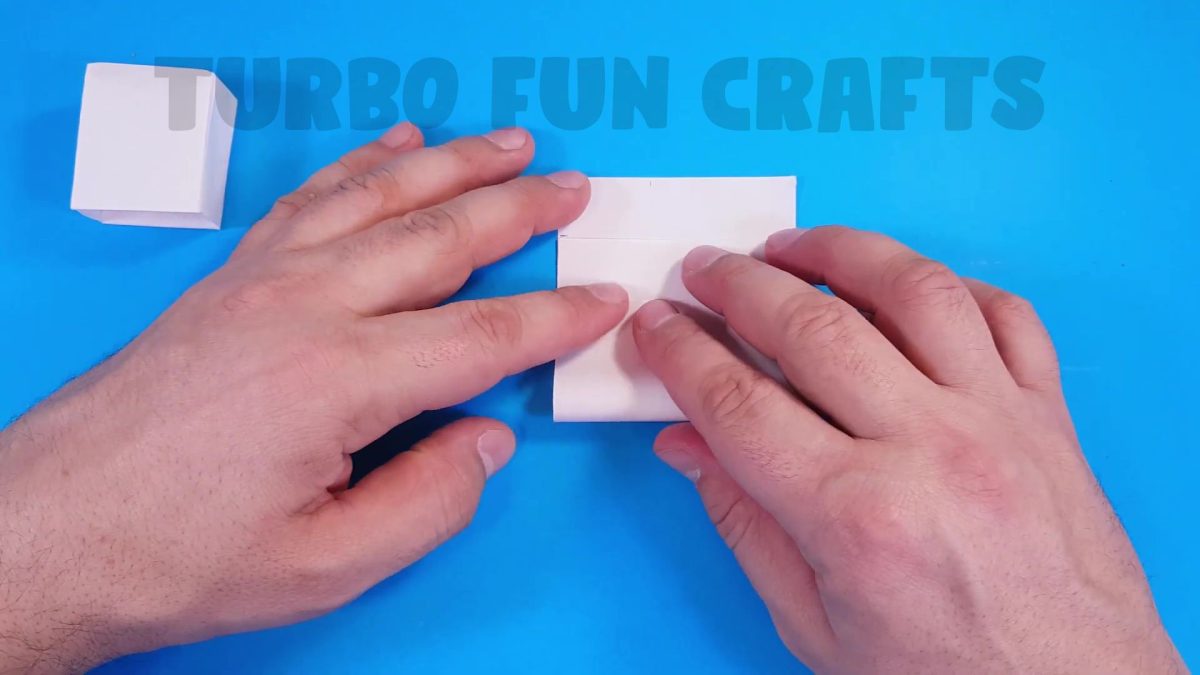
This is how it should look like
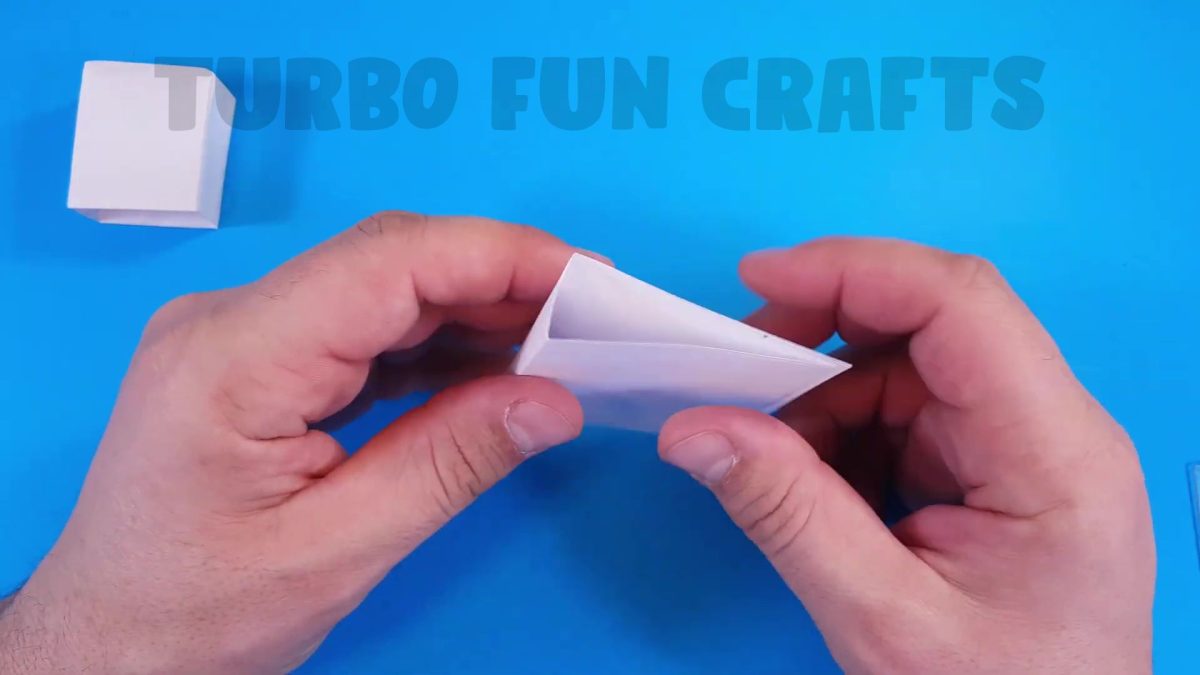
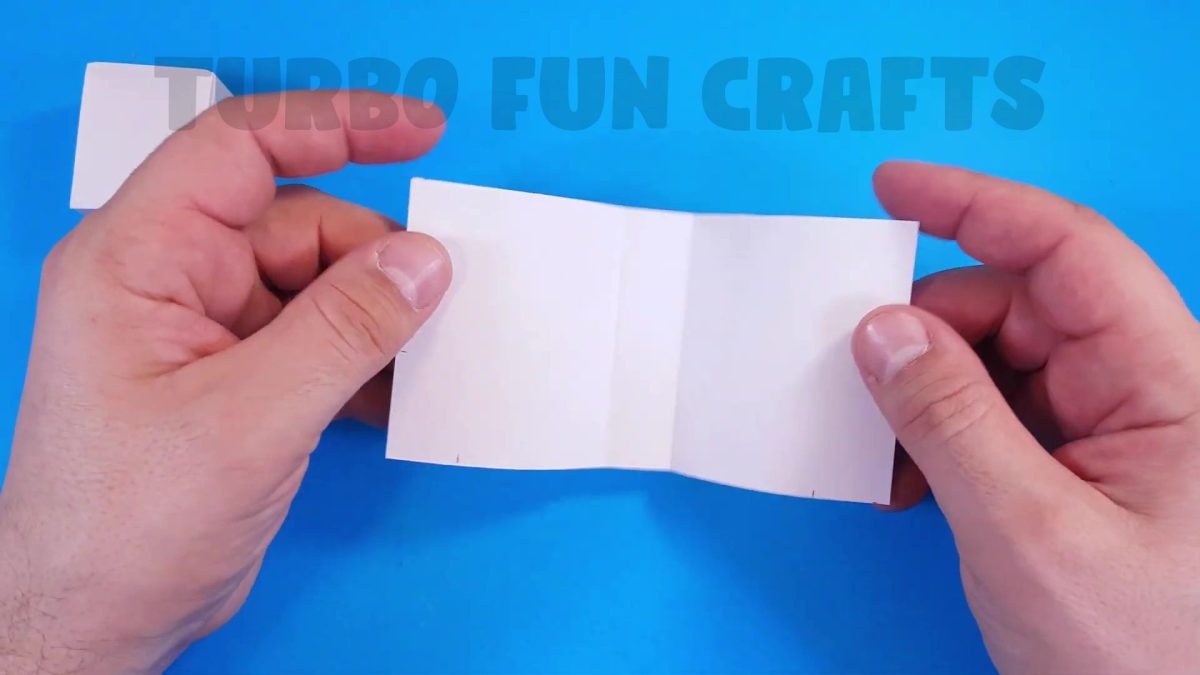
Make marks on the edges of the sheet using a pencil
This is shown in the images below
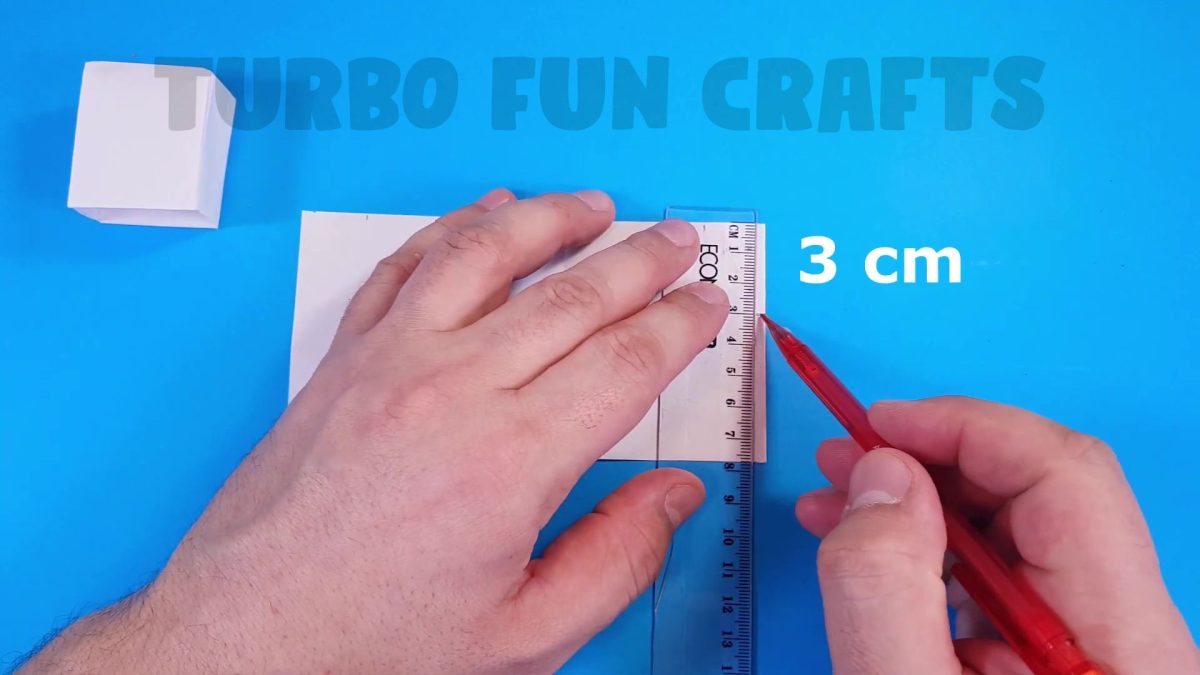
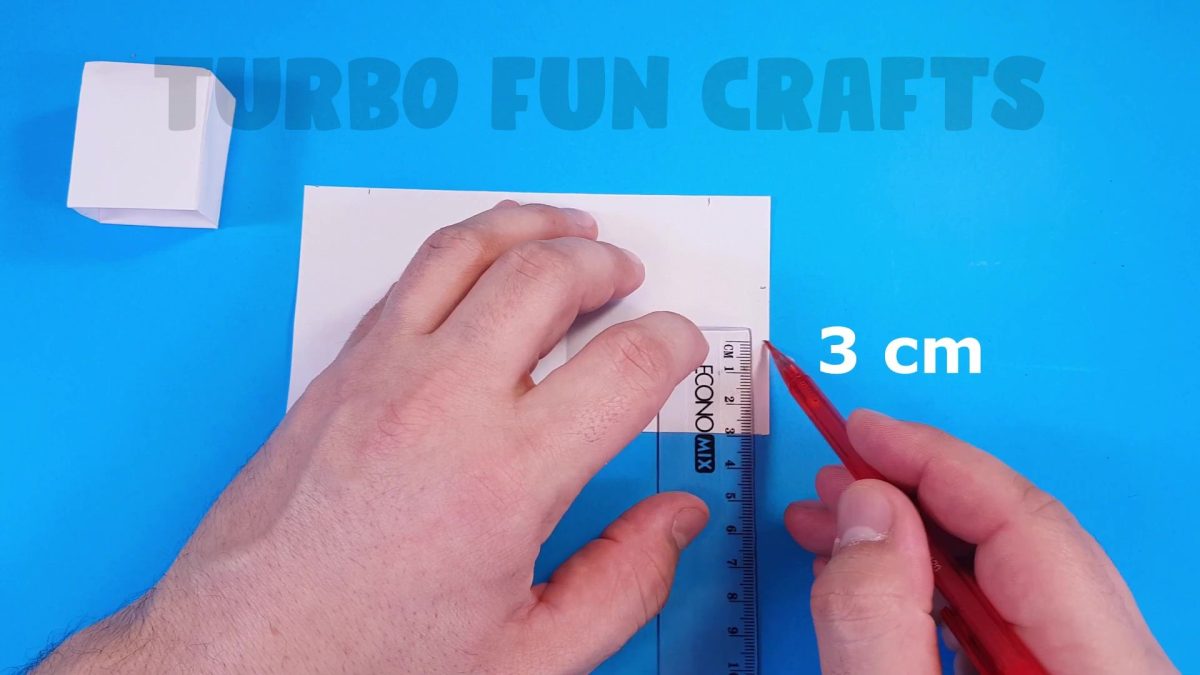
This is how it should look like
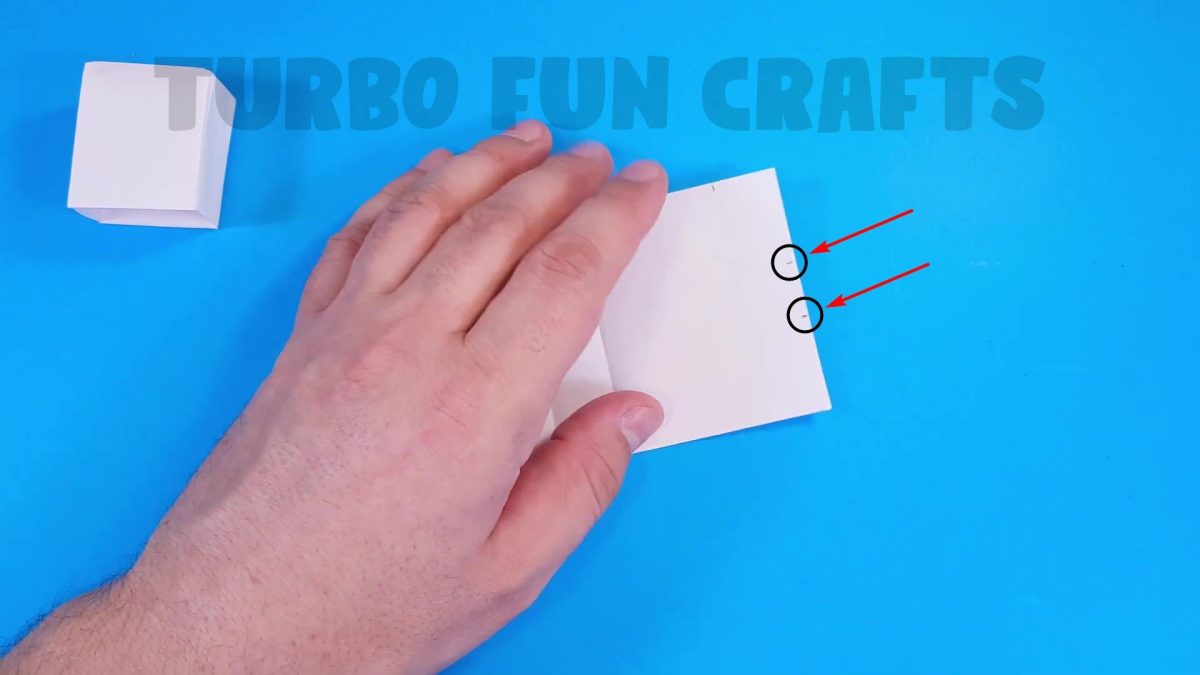
Keep folding the sheet in the same way as the previous one
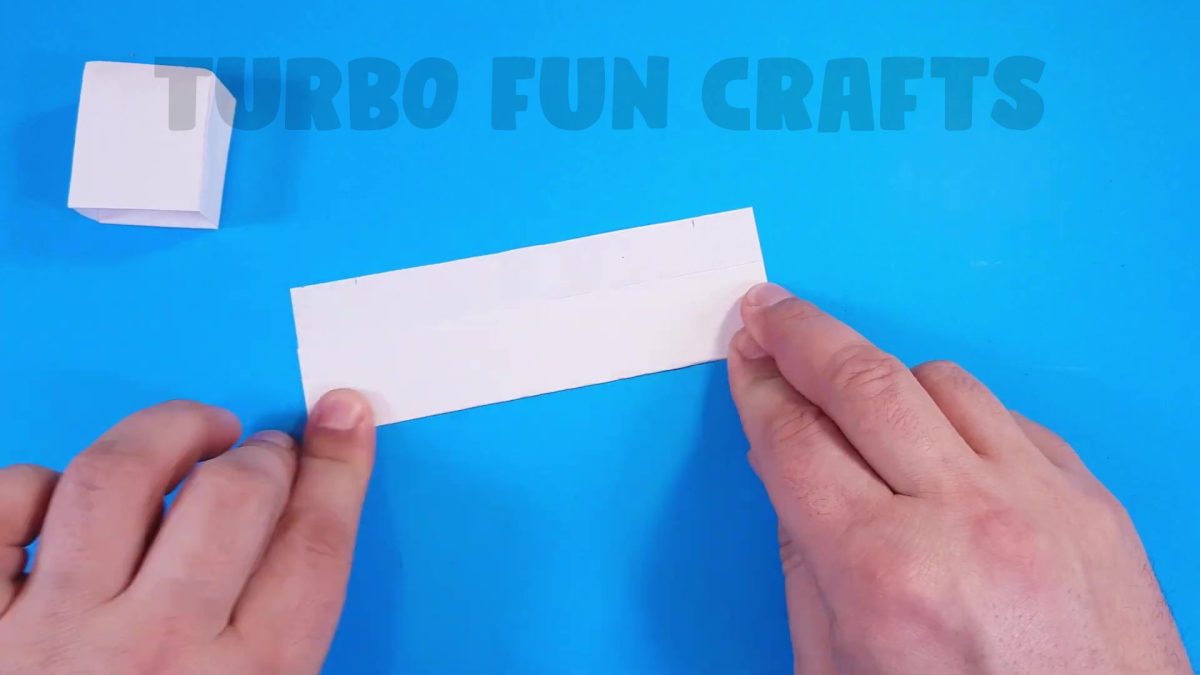
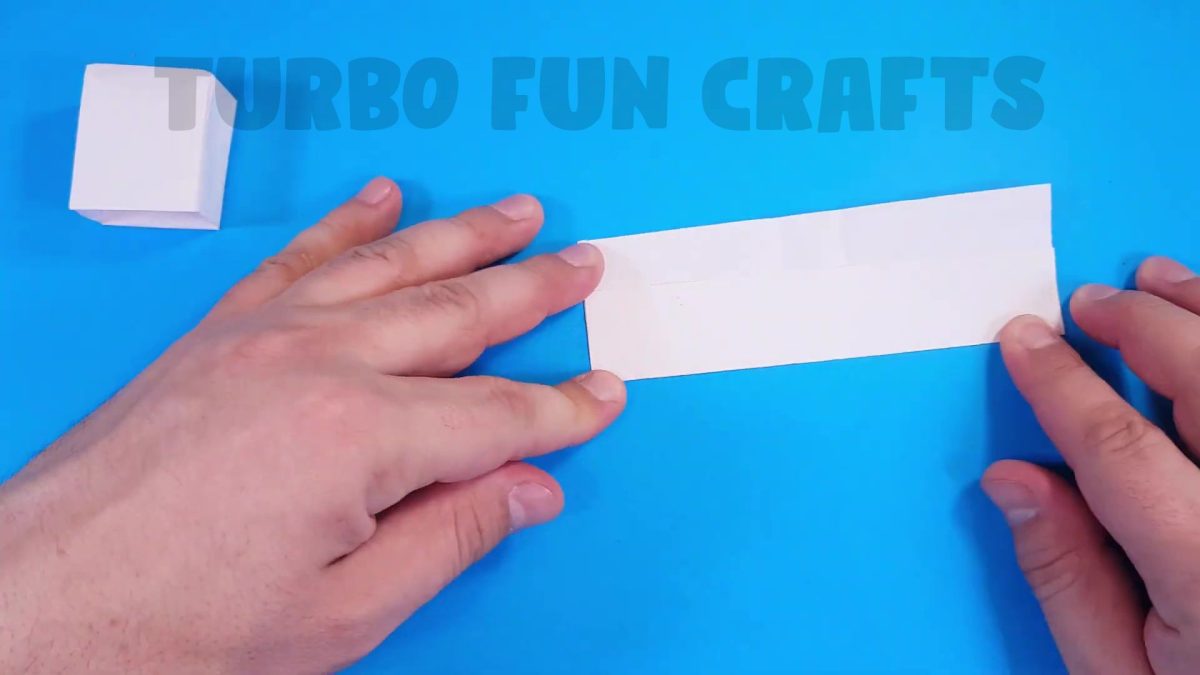
This is how it should look like
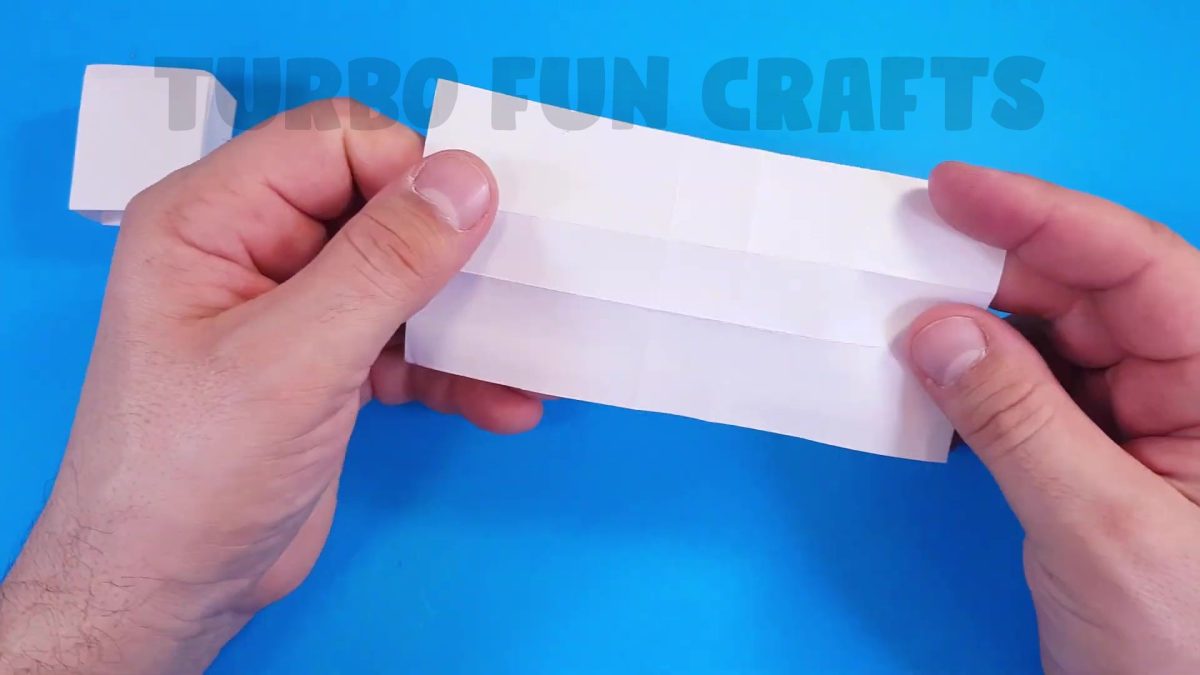
Keep folding the edges of the sheet in the same way as the previous one
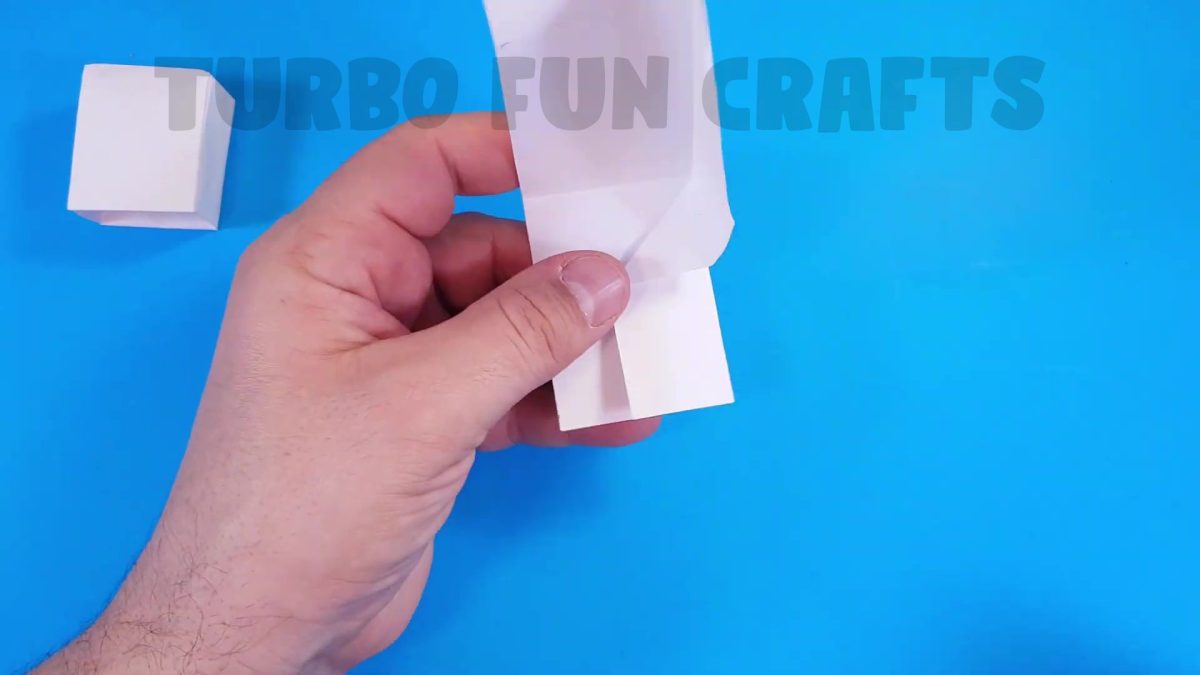
Trim the edge of the paper in the same way as shown earlier
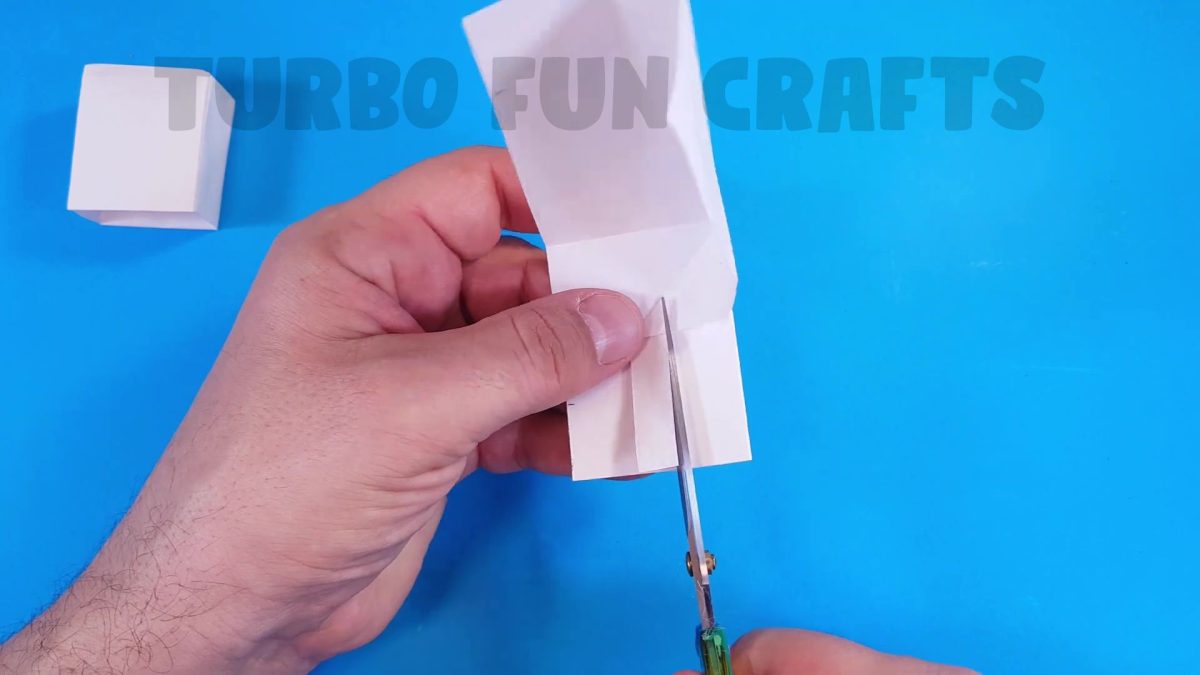
Keep folding the edges of the sheet in the same way as the previous one
This is how it should look like
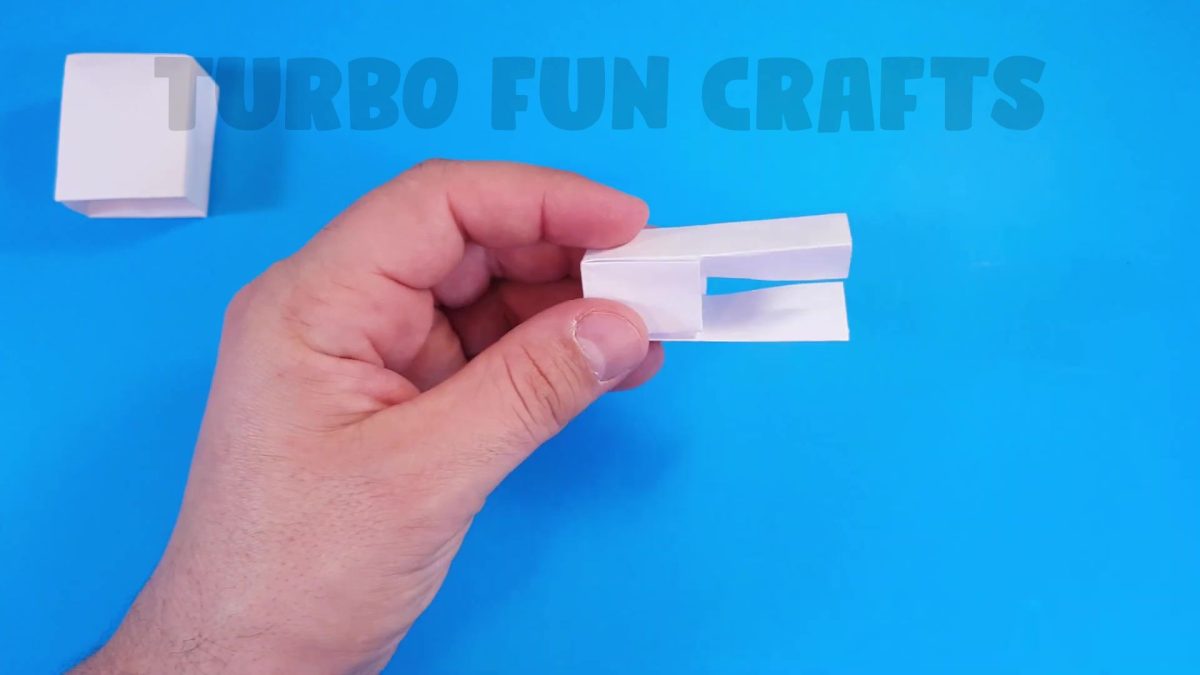
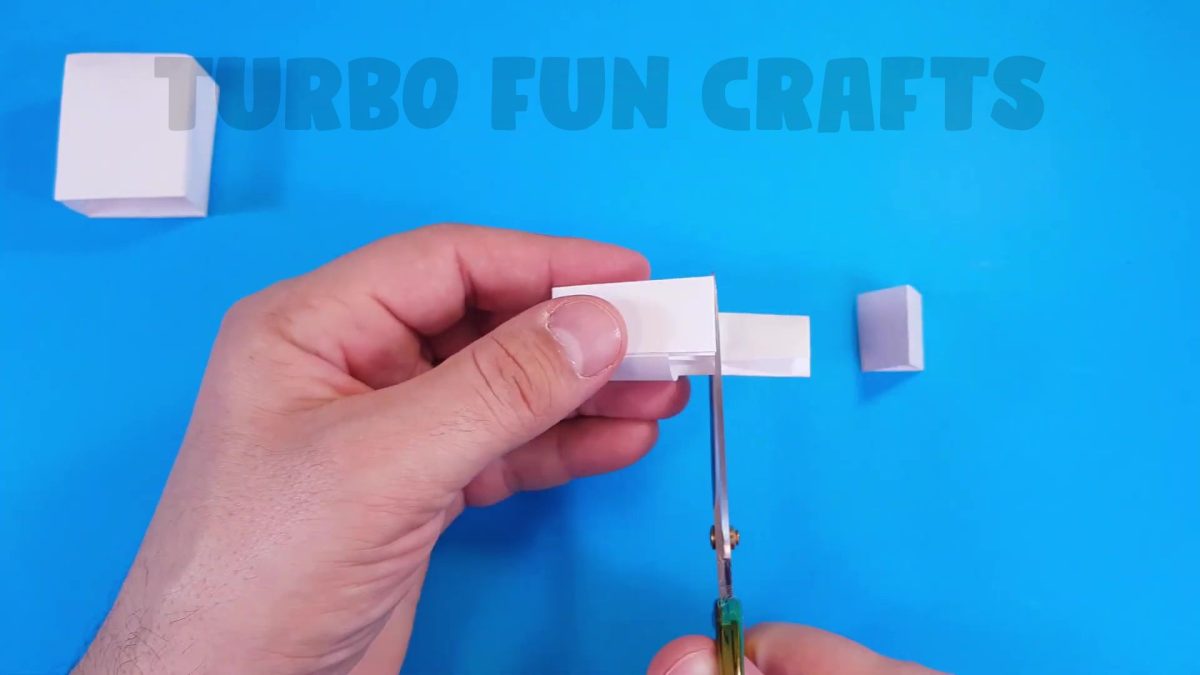
Trim the edges of the paper in the same way

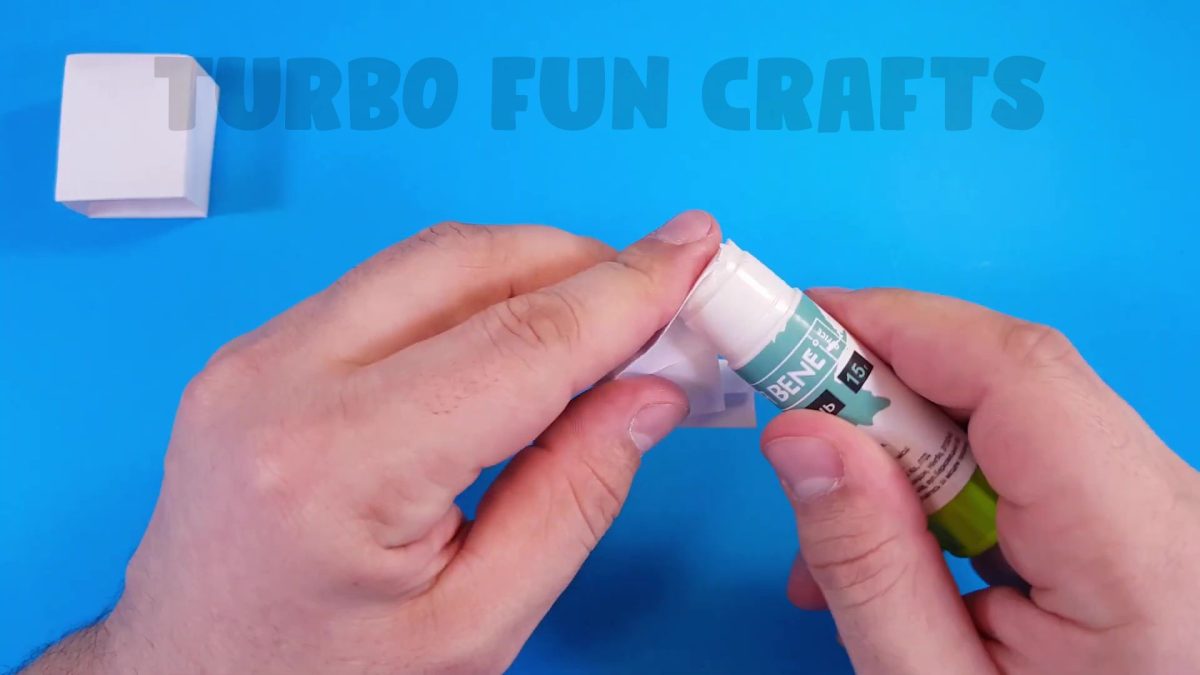
Apply glue to the edges of the paper
Fold the edges of the sheet inward
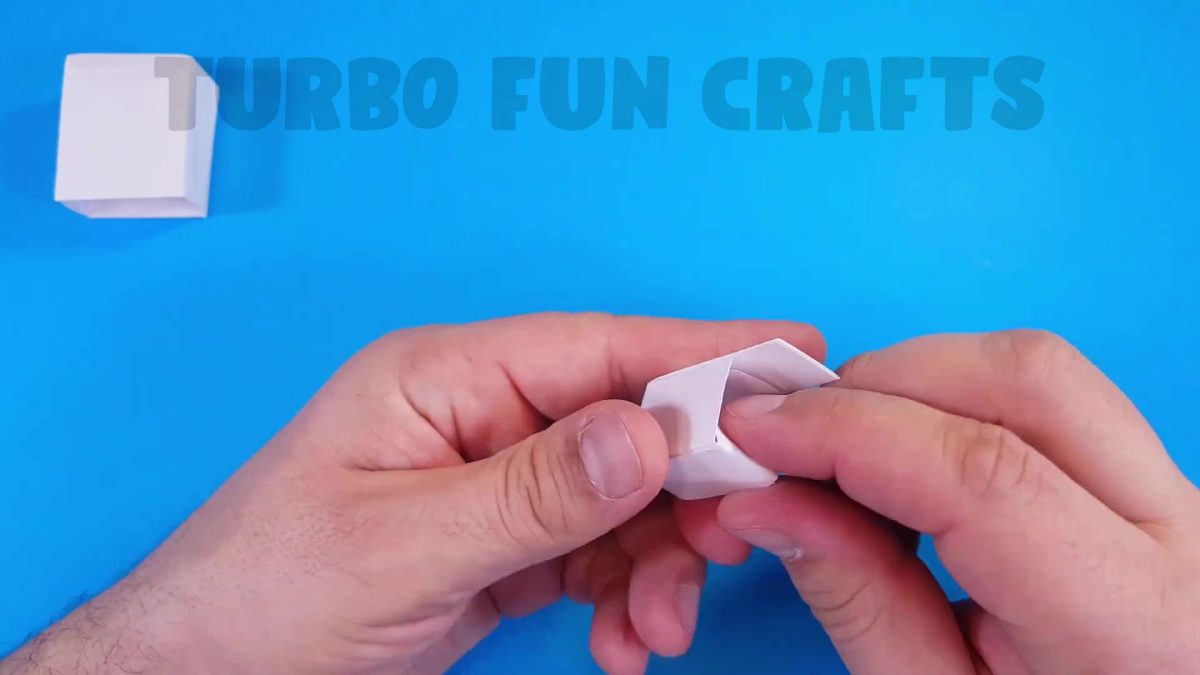
This is how it should look like
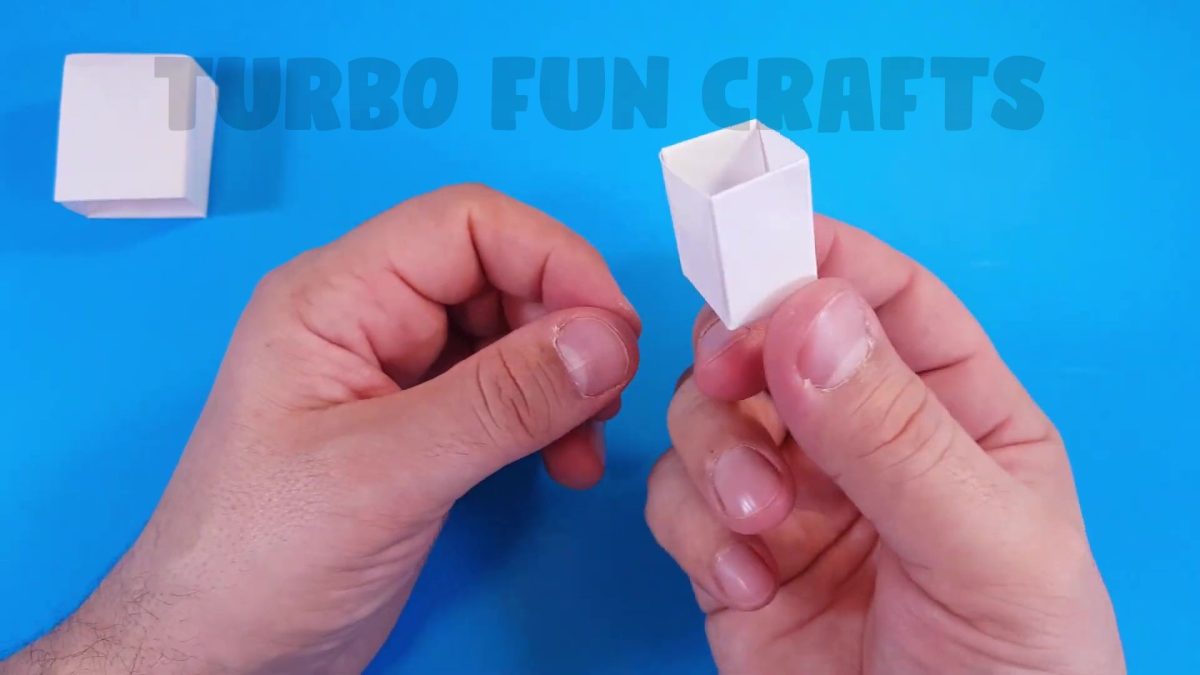
STEP 5 of how to make Bumblebee Transformer from Paper
Try to insert the folded boxes into each other
Make sure that they fit easily into one another
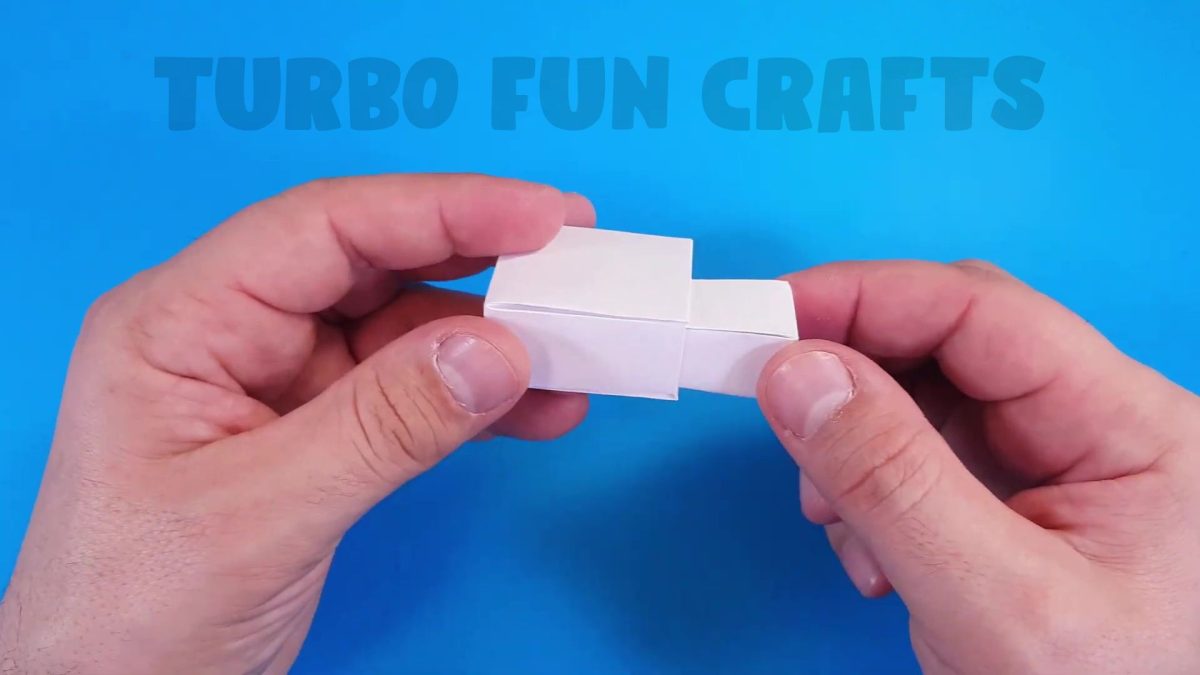
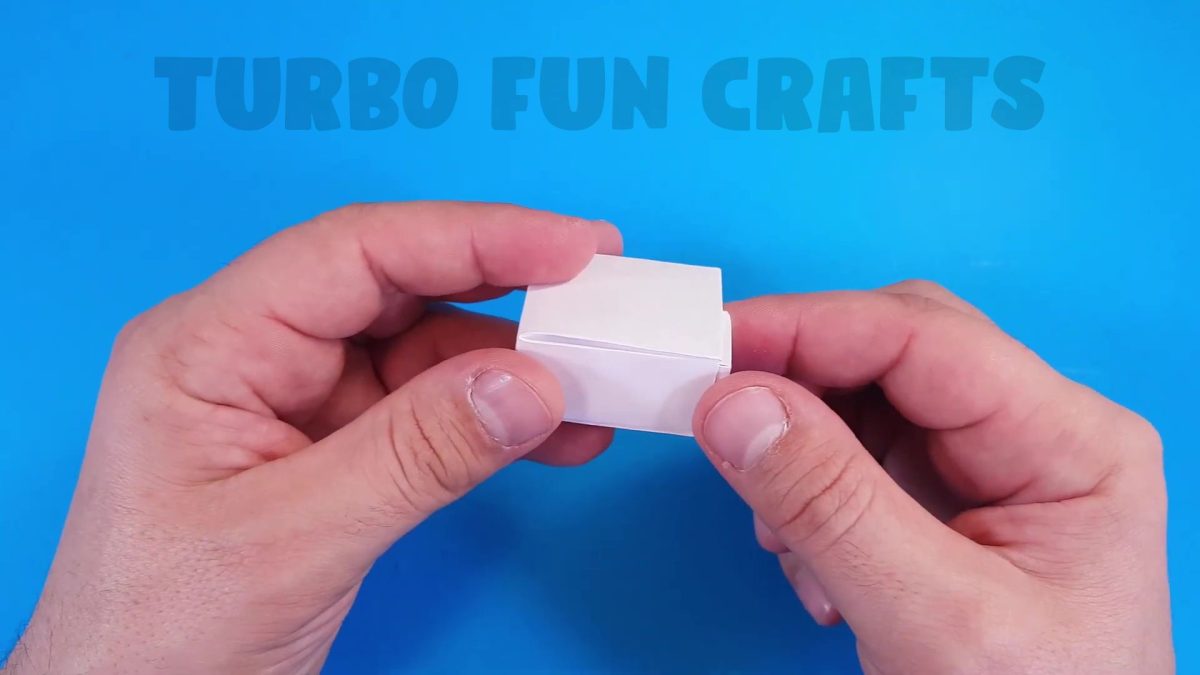
Take a paper sheet measuring 19 by 7.5 cm and fold it in the same way as the previous one
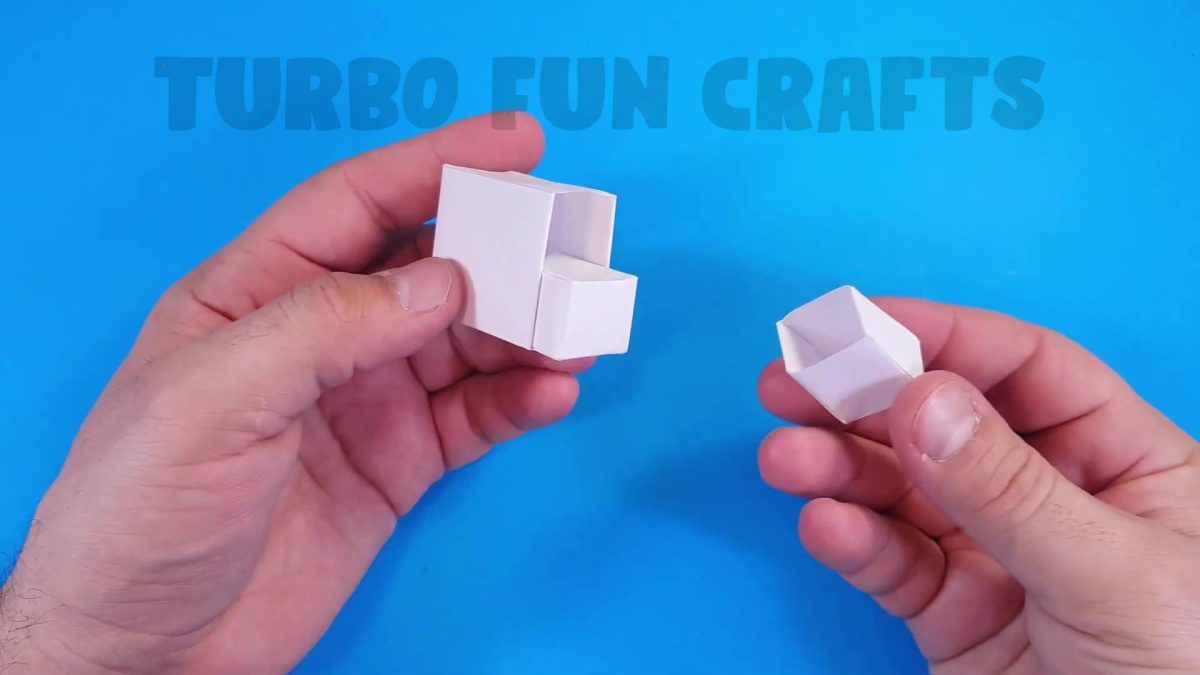
Make sure that both paper parts fit freely inside the box
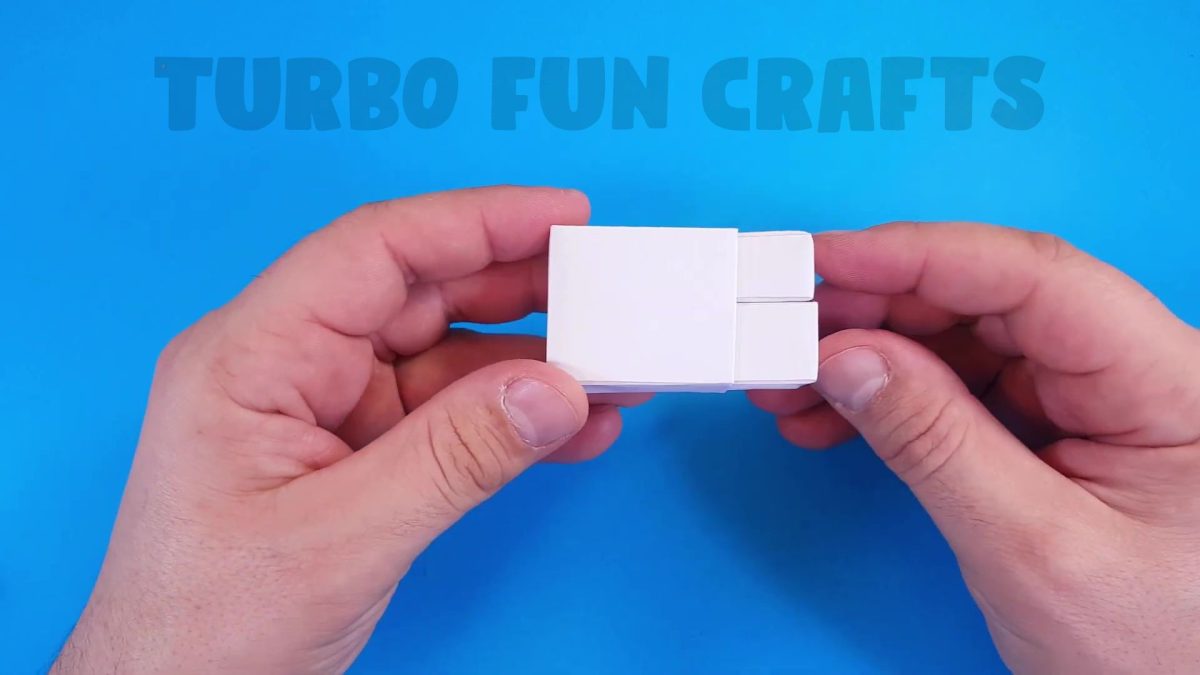
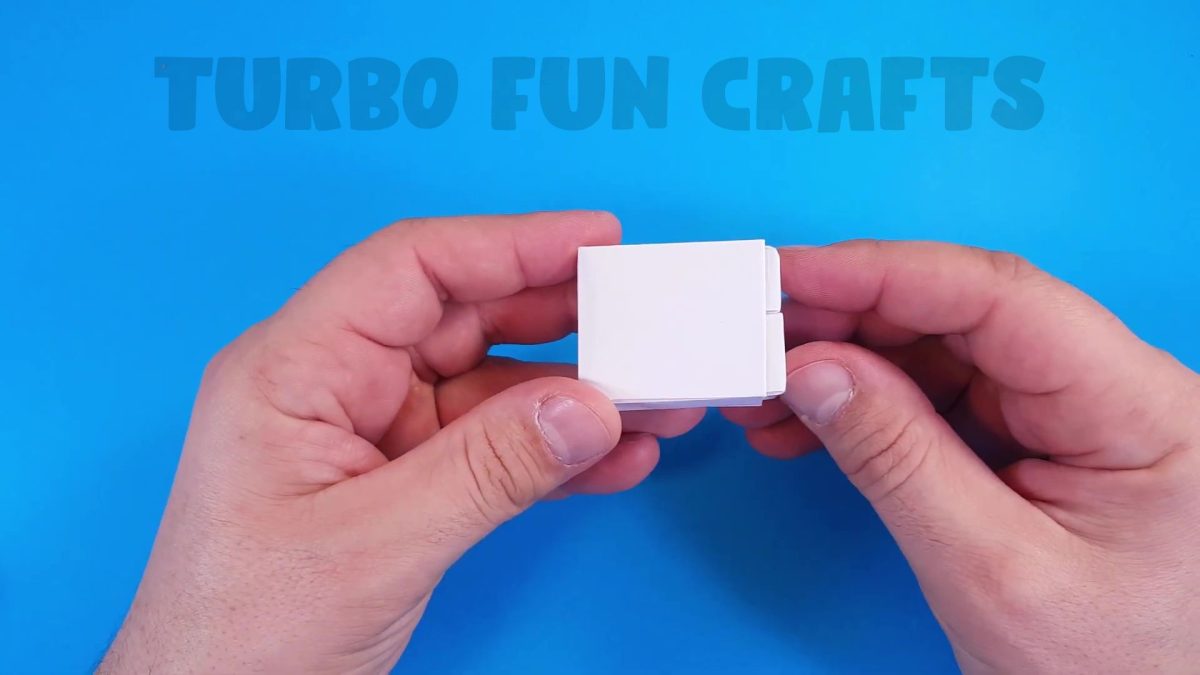
Make marks using a pencil as shown in the images below
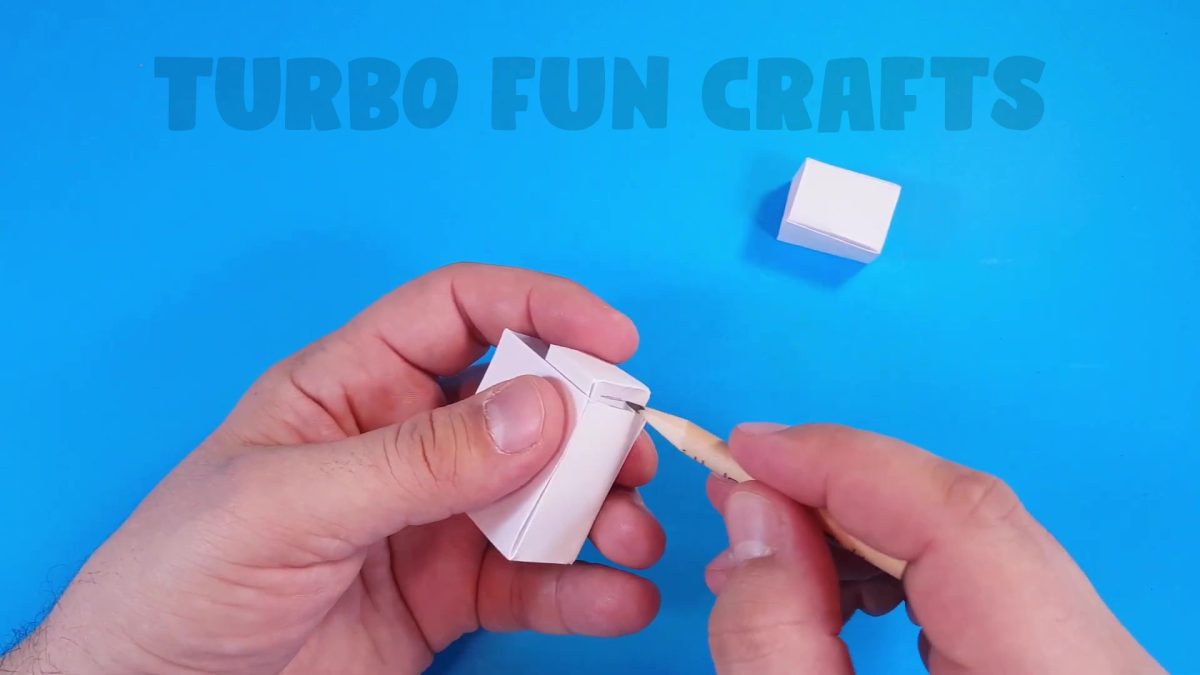
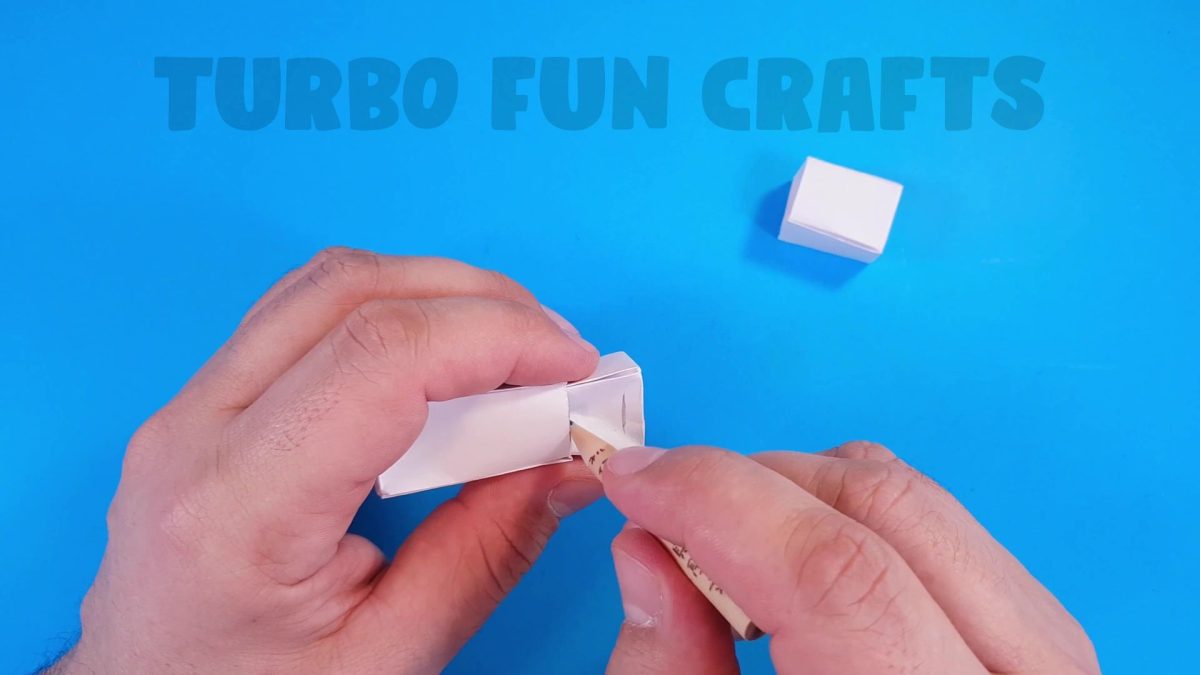
This is how it should look like
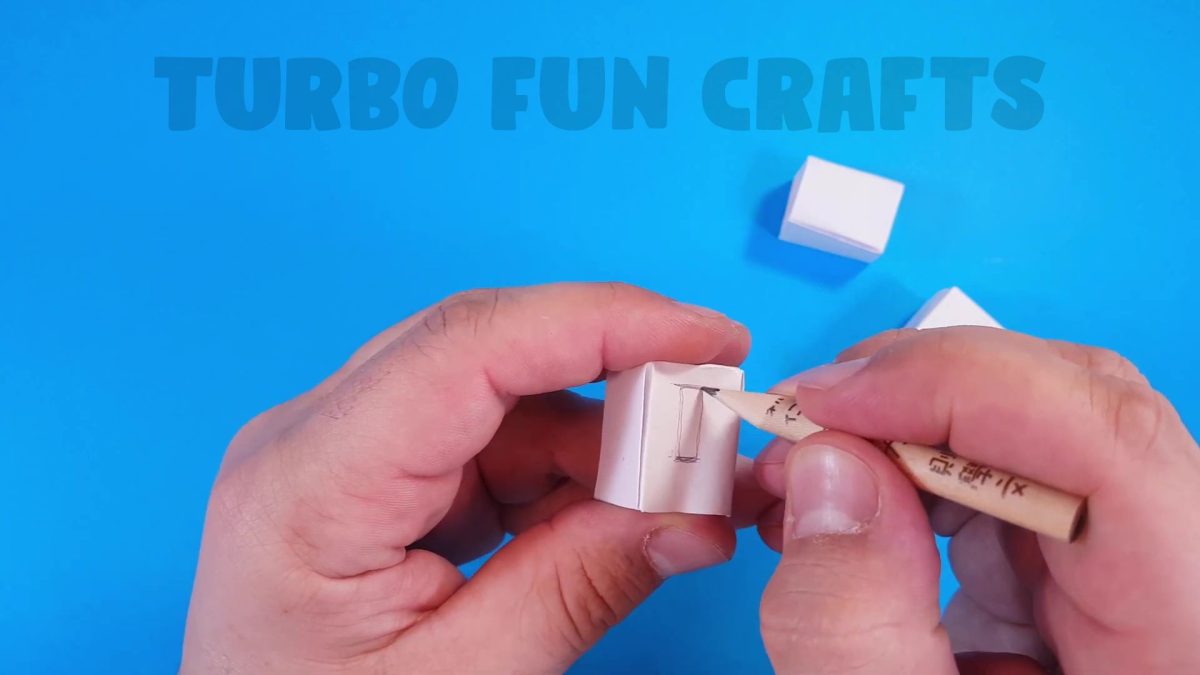
Cut out the holes in the shape of a rectangle according to the marks you just made
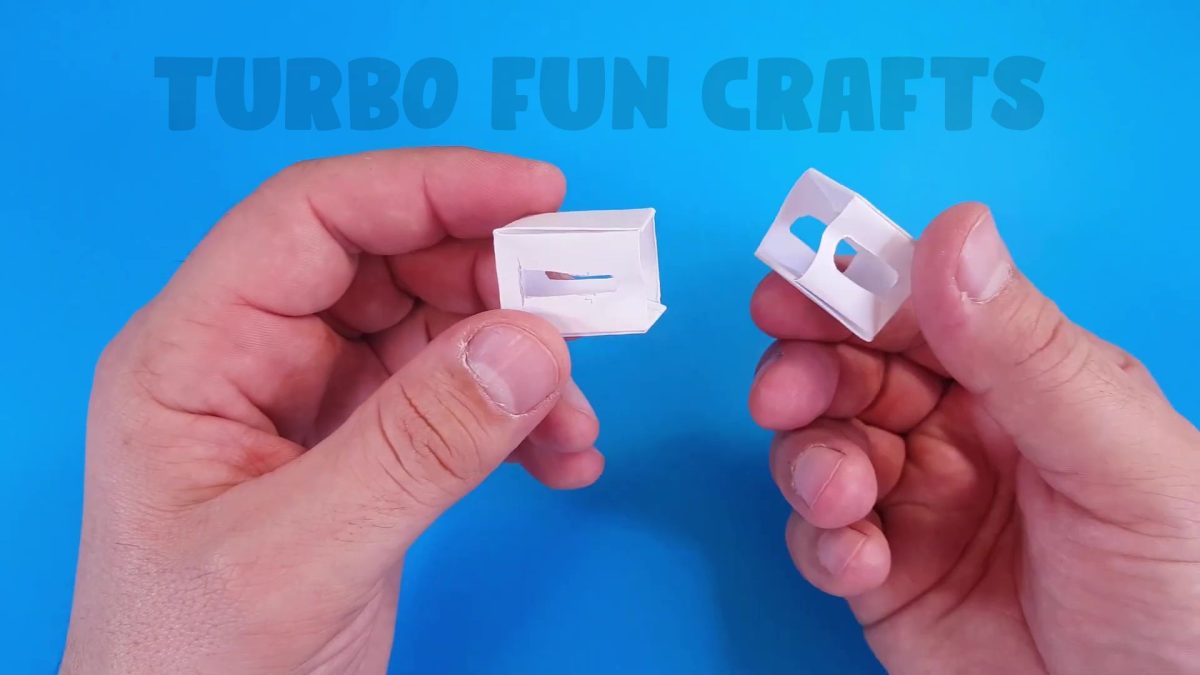
The cutouts should be done on both sides of the boxes
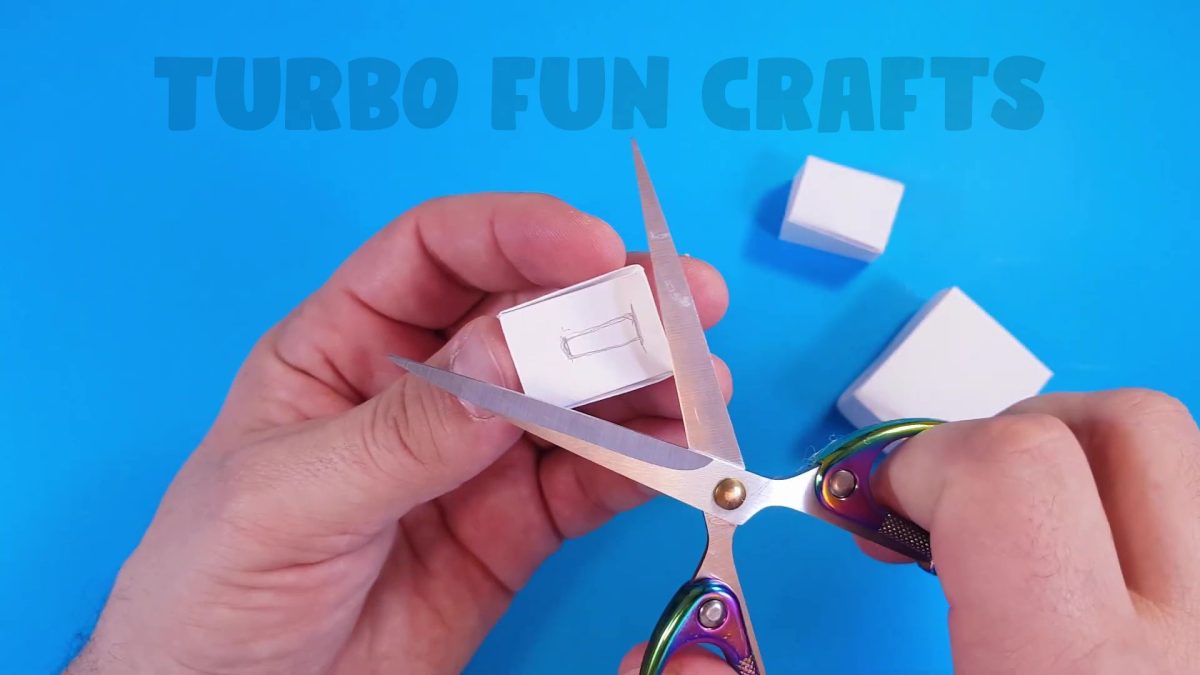
This is how it should look like
Take a paper sheet measuring 19 by 7.5 cm and fold it in the same way as the previous one
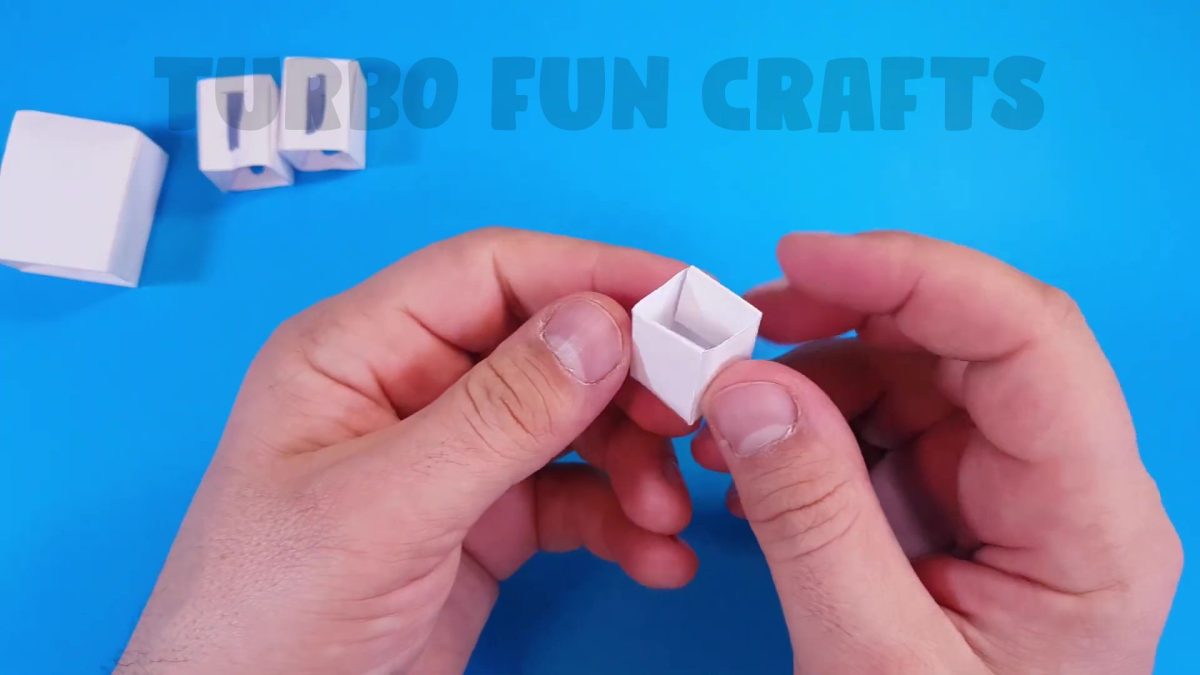
Place the just folded paper part onto the larger box
This is shown in the image below

Make marks around the smaller box using a pencil
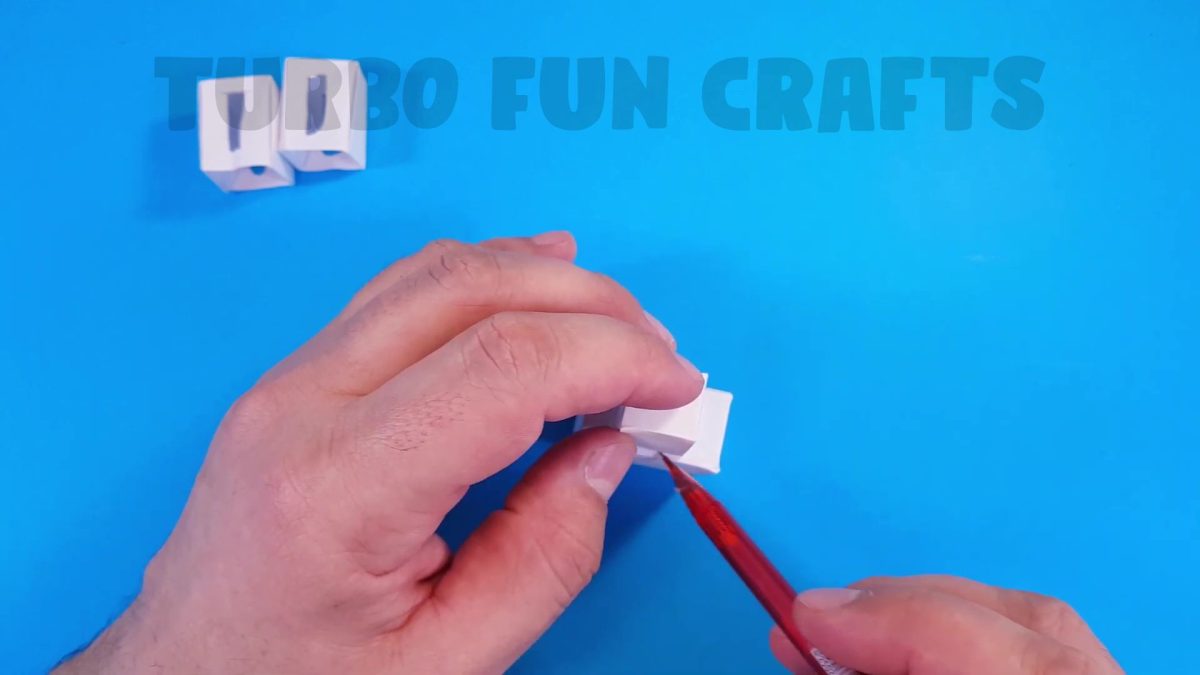
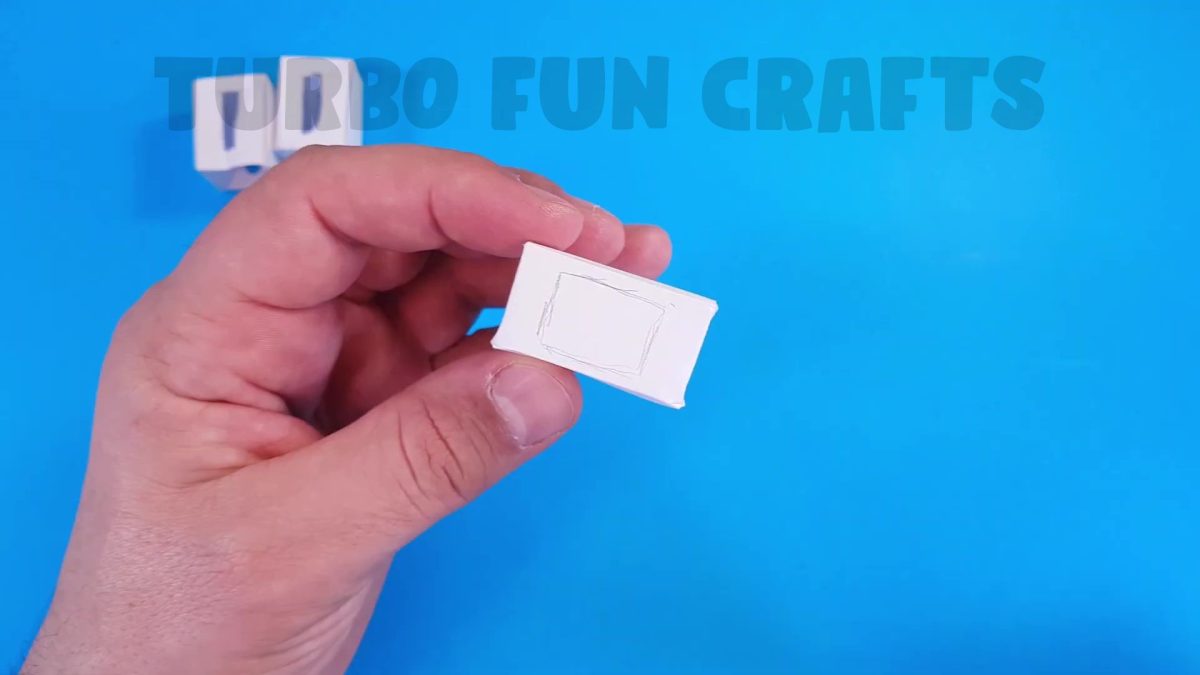
Cut out the hole along the just-made marks
This is how it should look like
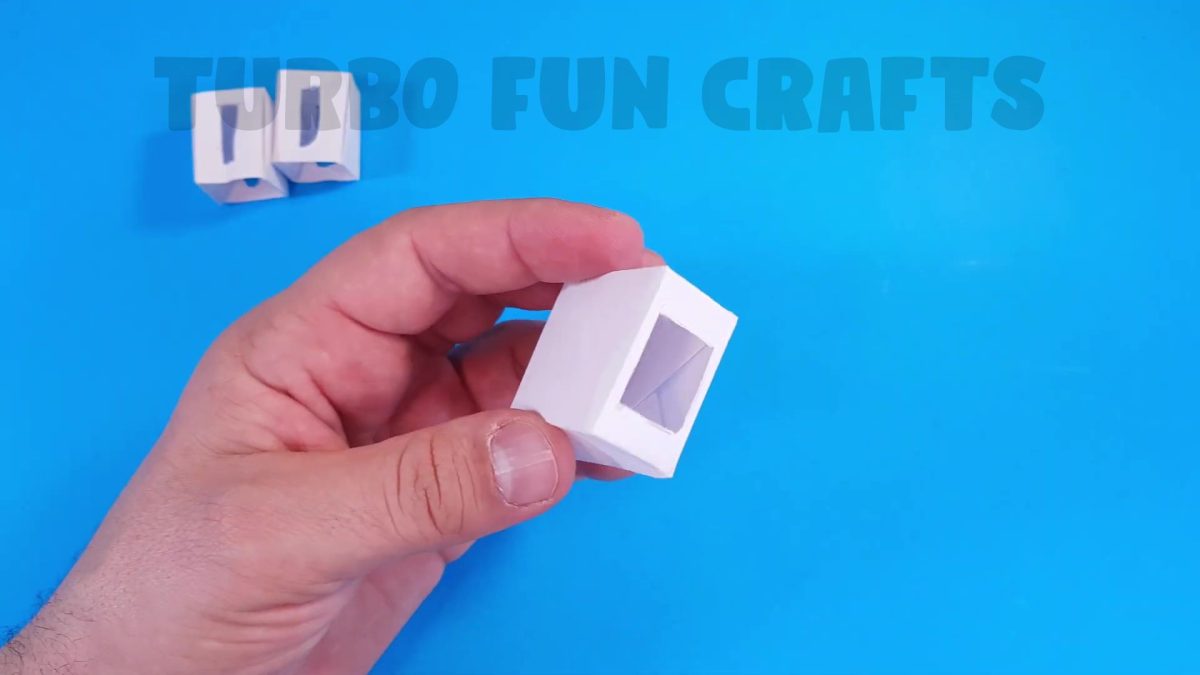
Insert the paper box into the just-made hole
Make marks using a pencil on the side of the smaller box
This is shown in the images below

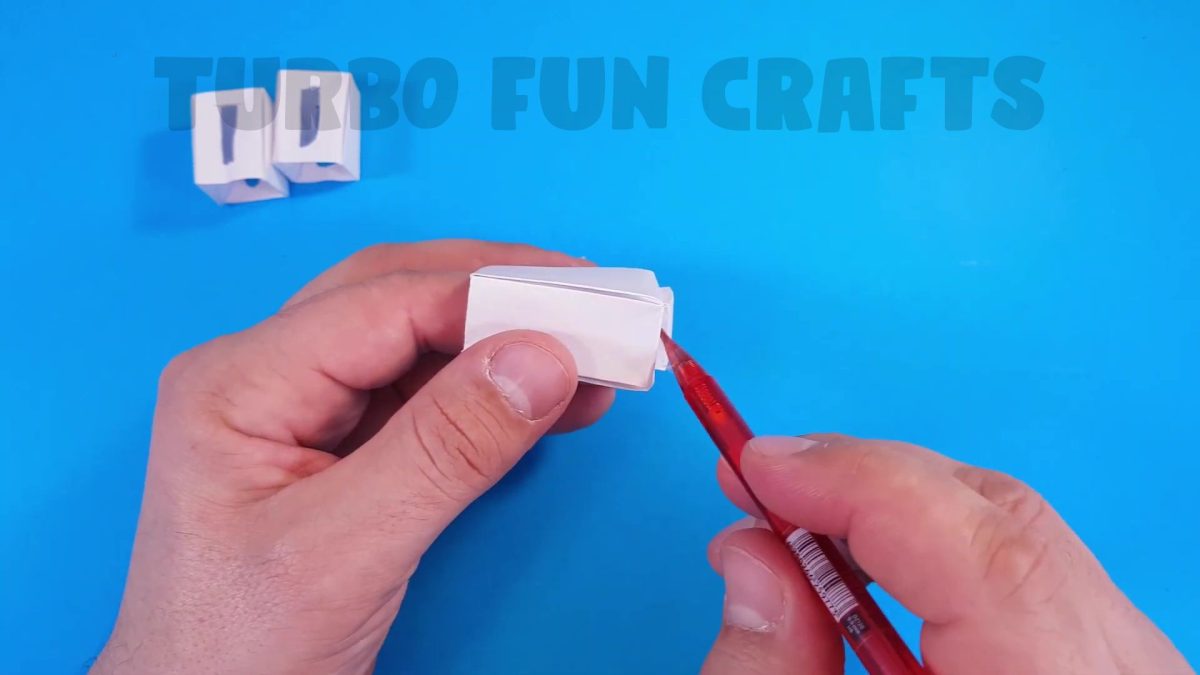
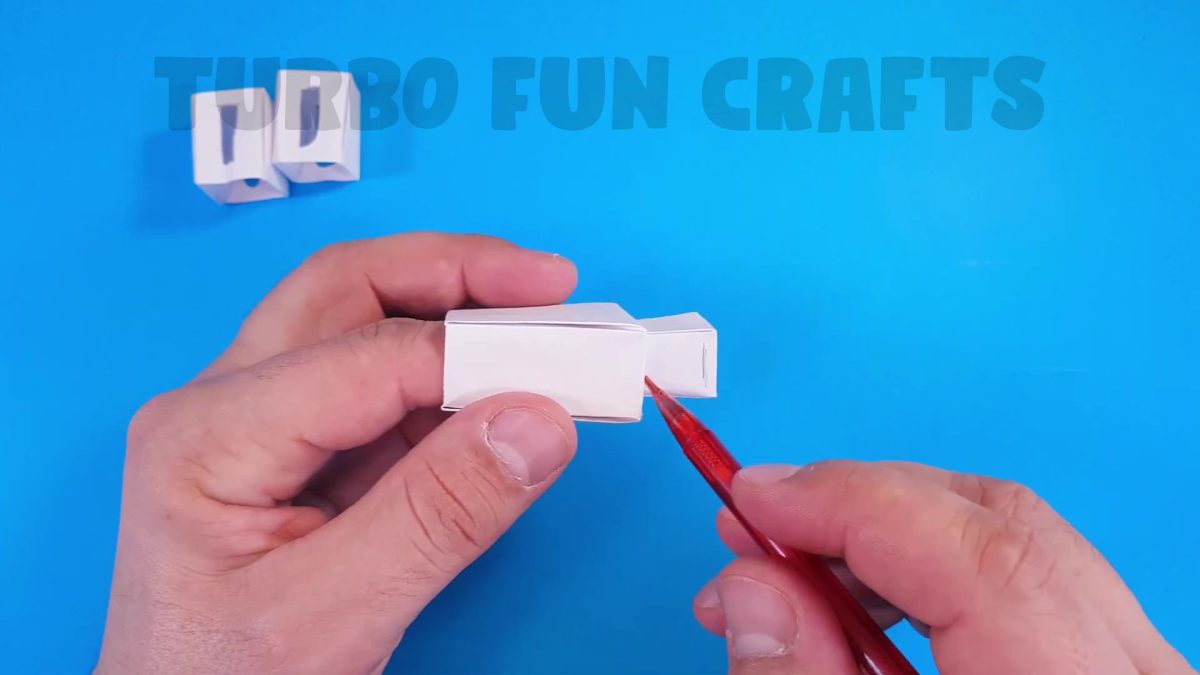
This is how it should look like
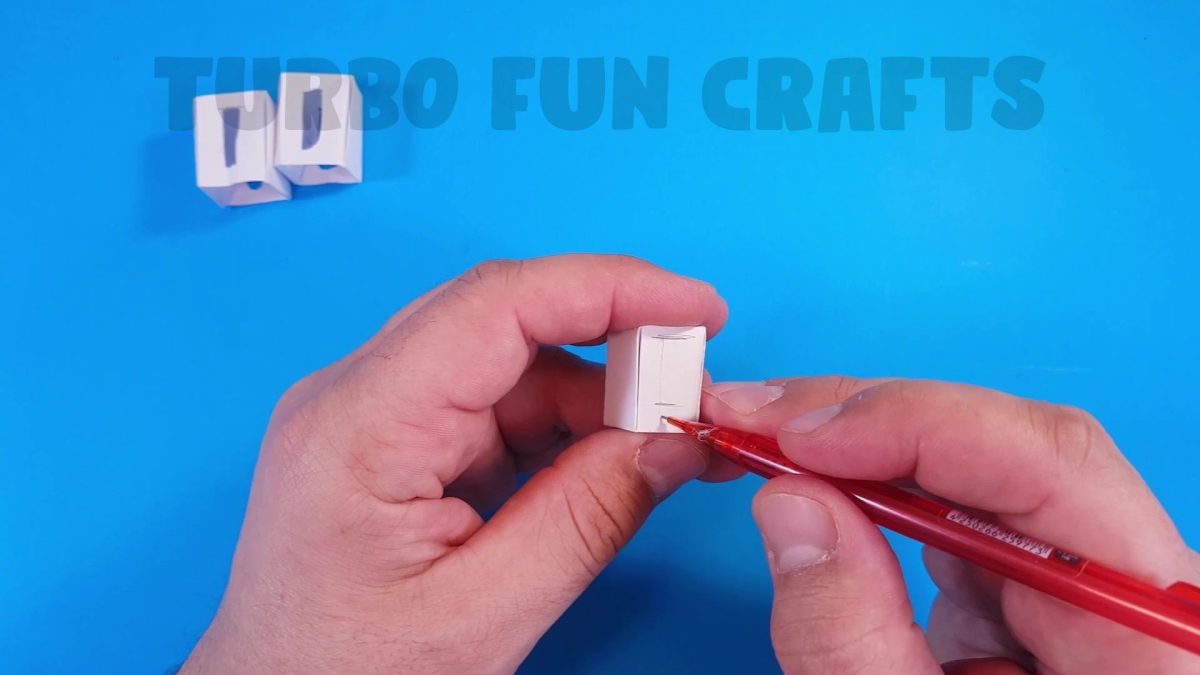
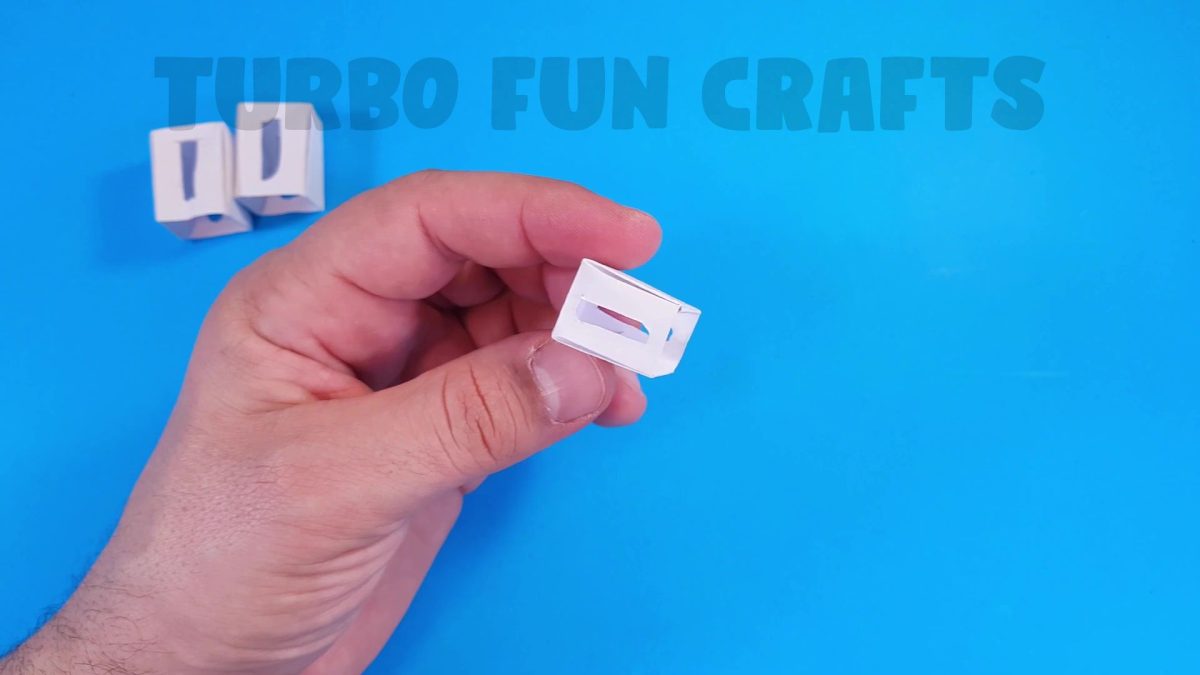
Cut out the holes in the shape of a rectangle according to the marks you just made
The cutouts should be done on both sides of the box
You may also like: How to make Paper Jumping Rabbit | Moving Paper Toy | Origami Jumping Rabbit | Easy Paper Crafts
STEP 6 of how to make Bumblebee Transformer from Paper
Take a paper sheet of any size and roll it into a tube
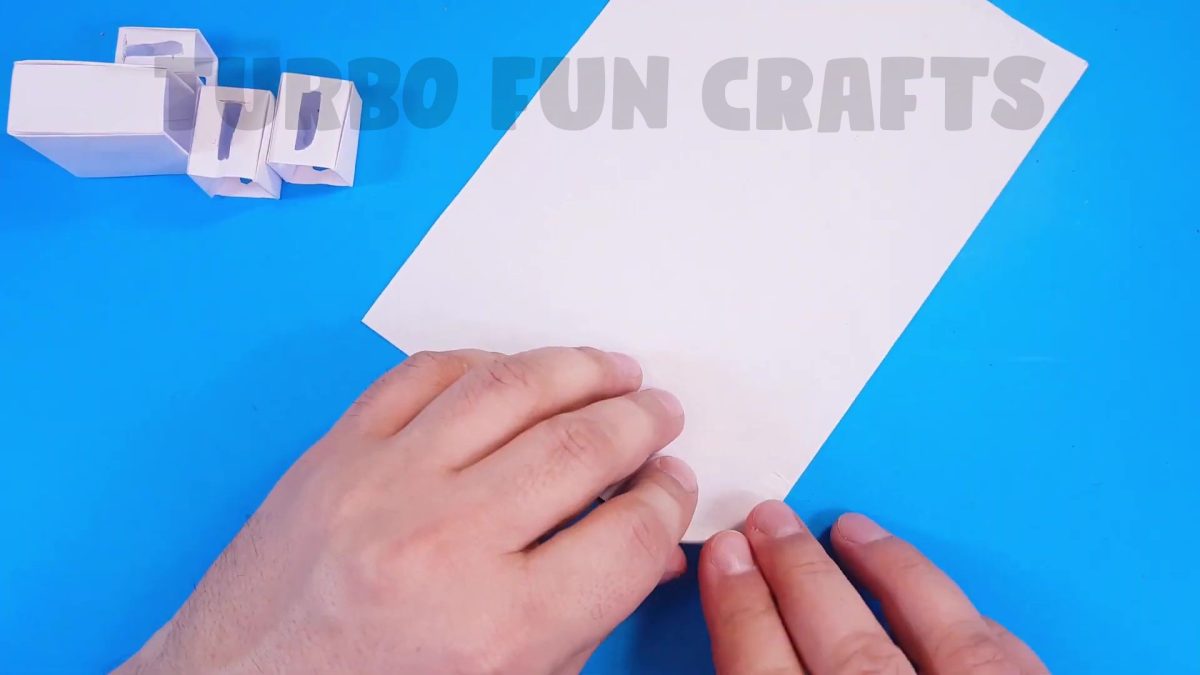
Fix the edge of the sheet using glue
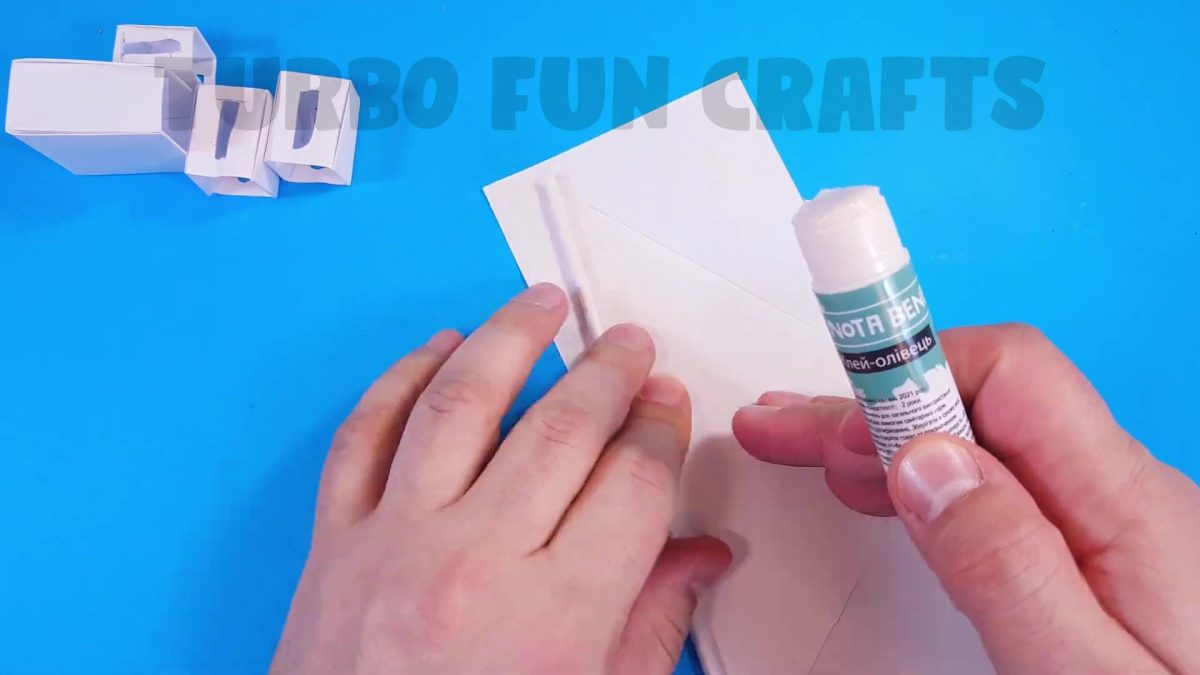
This is how it should look like
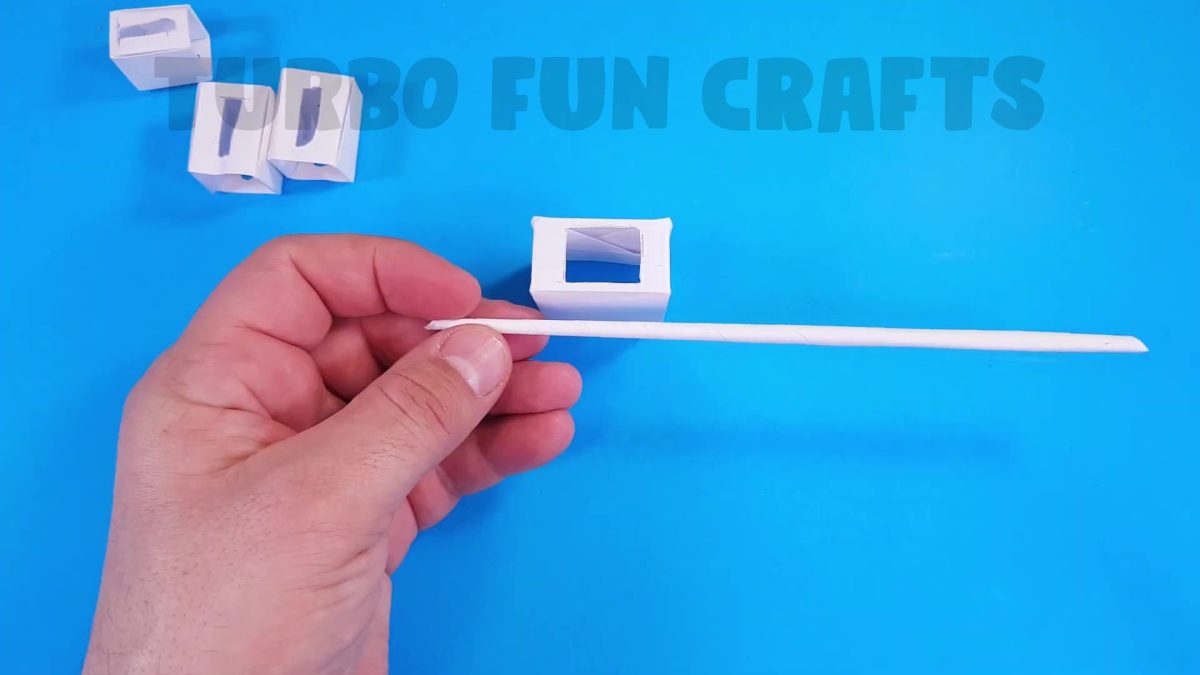
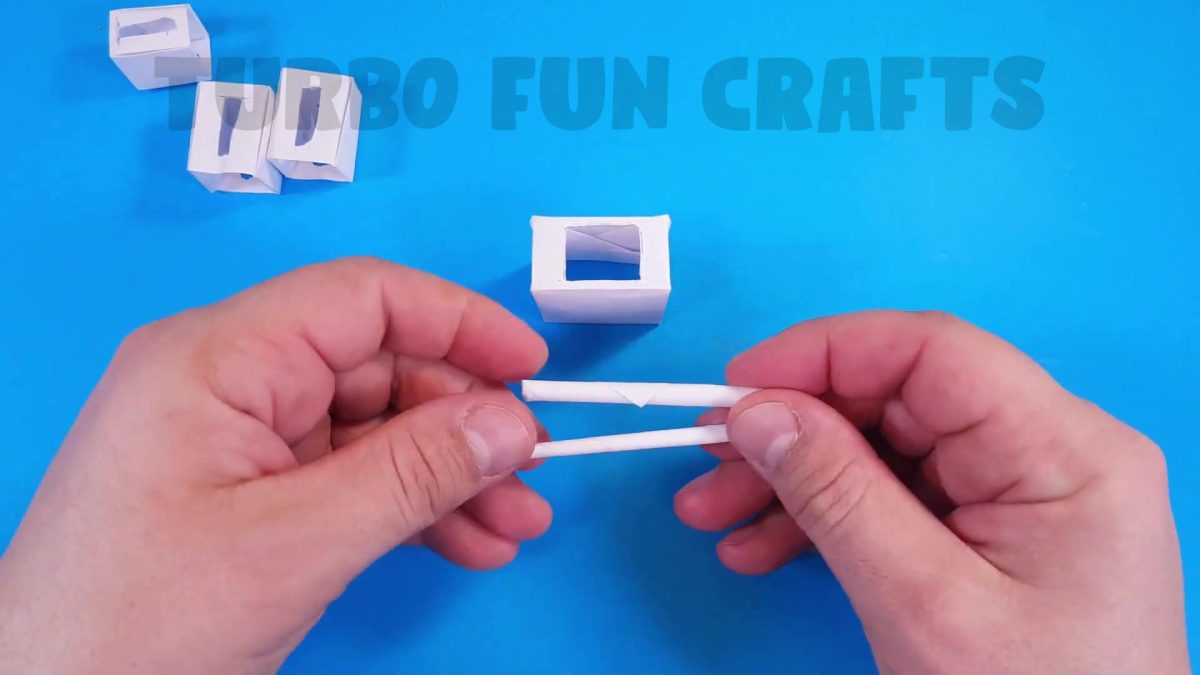
Cut the tube into two pieces about 5.5 cm long
Make holes on both sides of the large box as shown in the image below
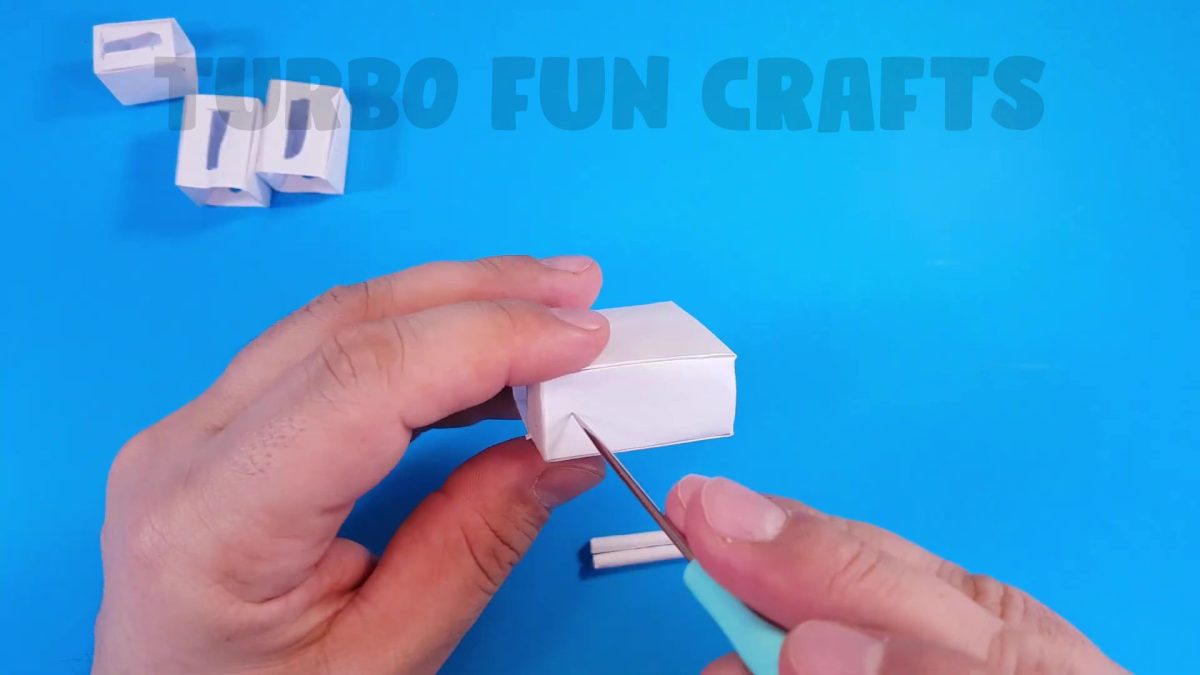
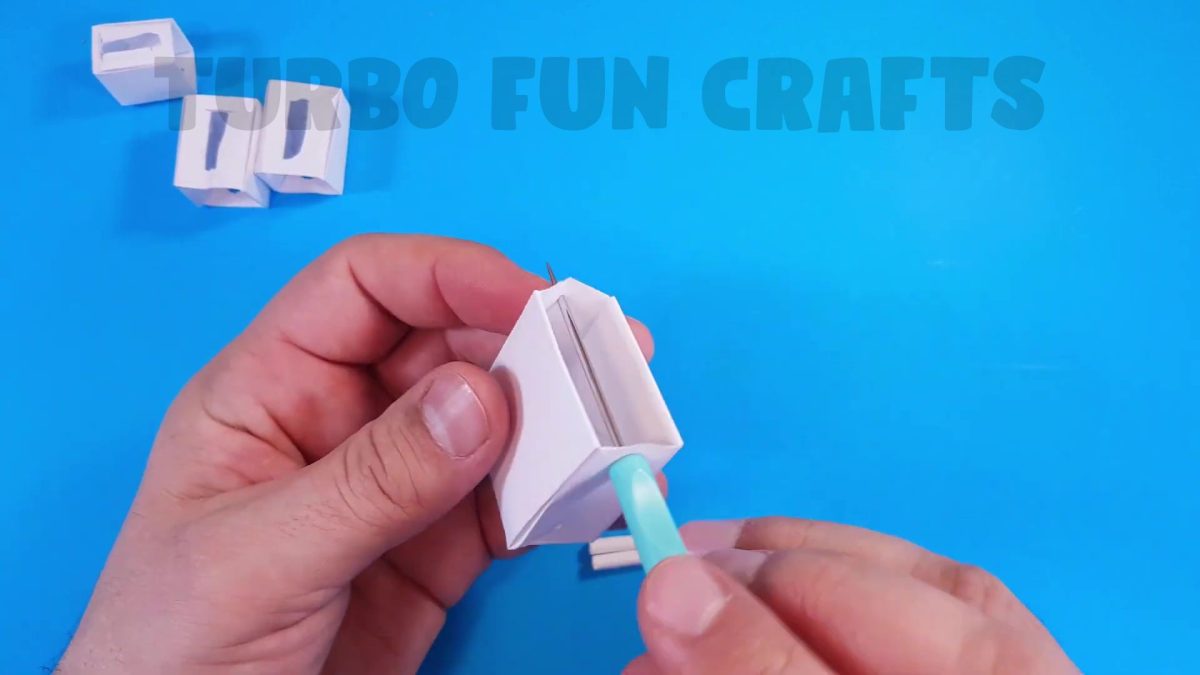
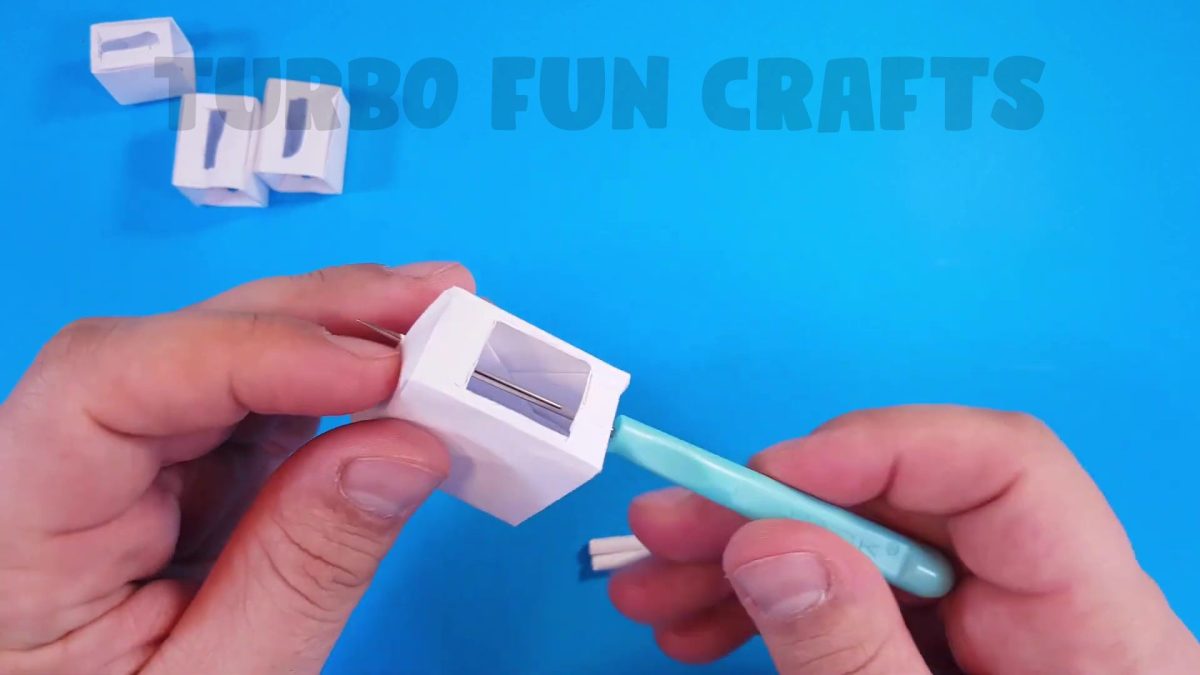
This is how it should look like
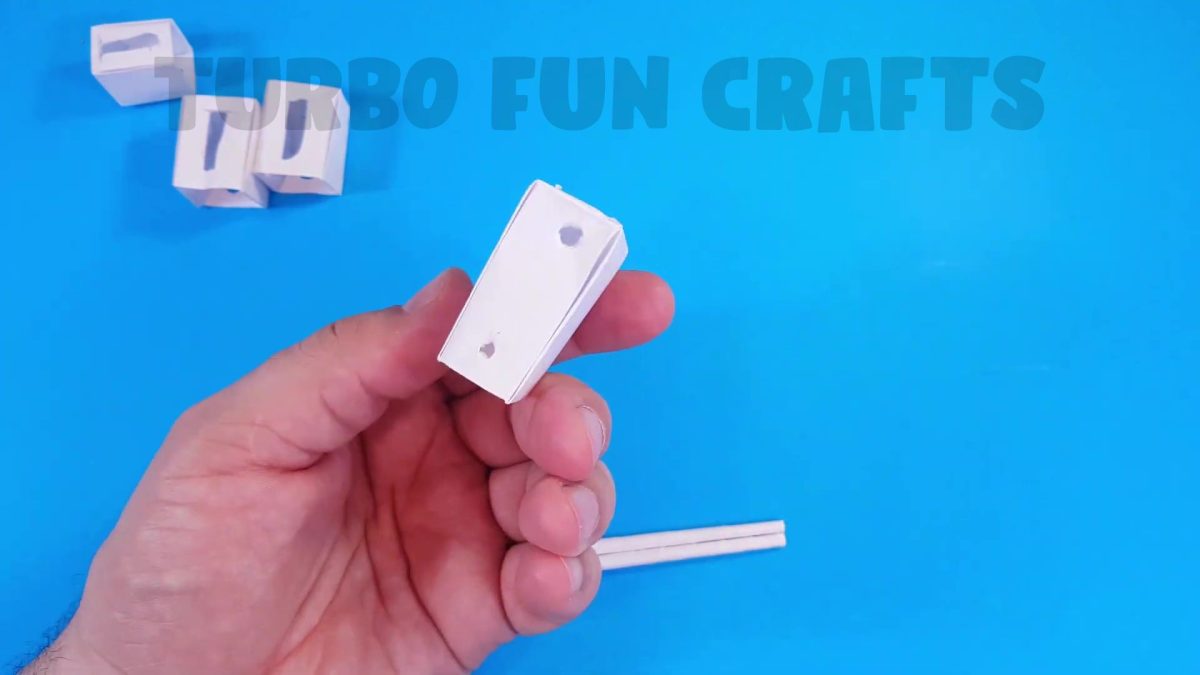
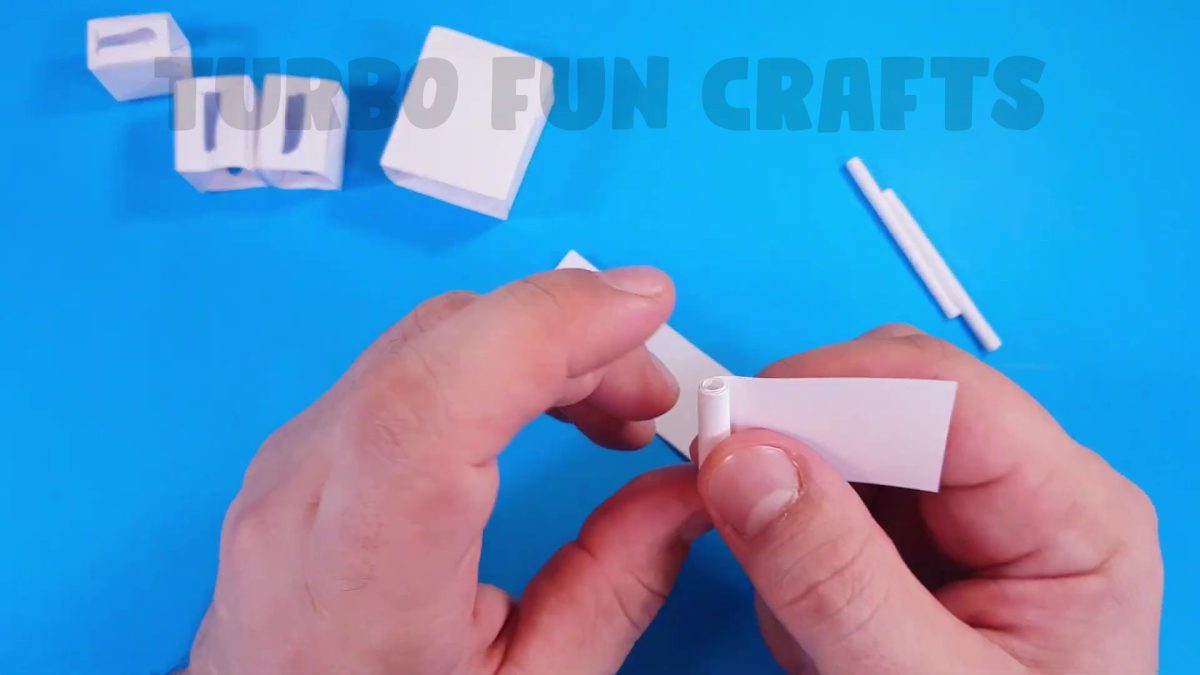
Cut out two paper strips, each approximately 3 cm wide
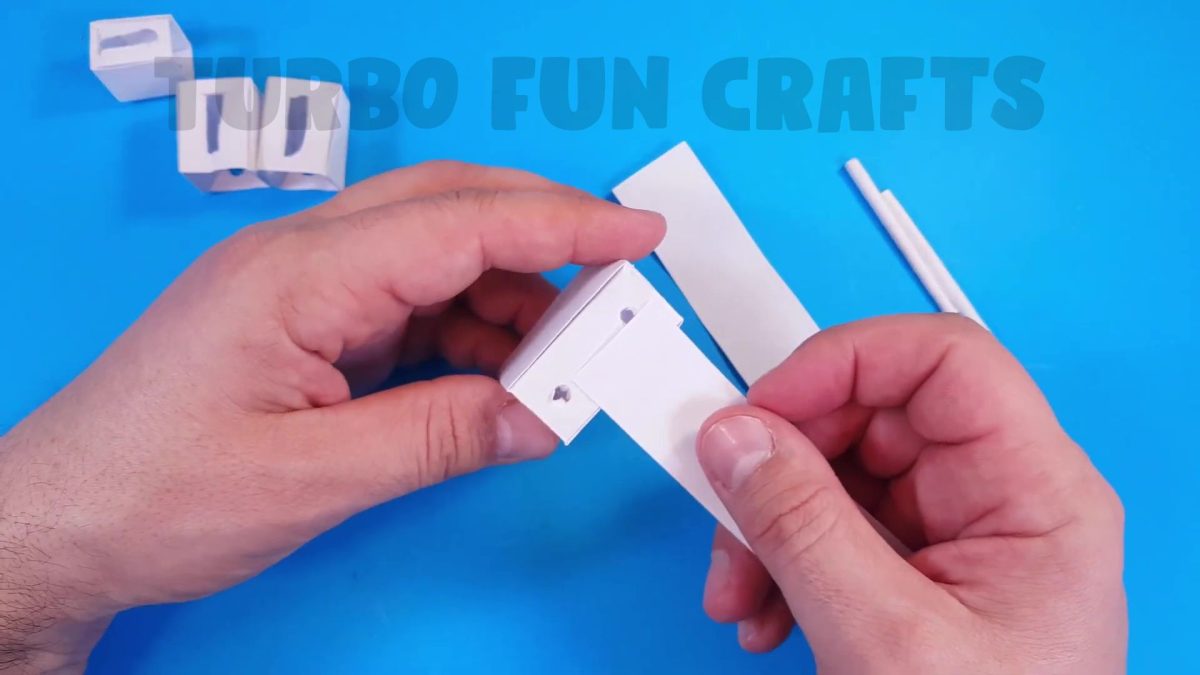
Roll them into tubes and secure the ends with glue
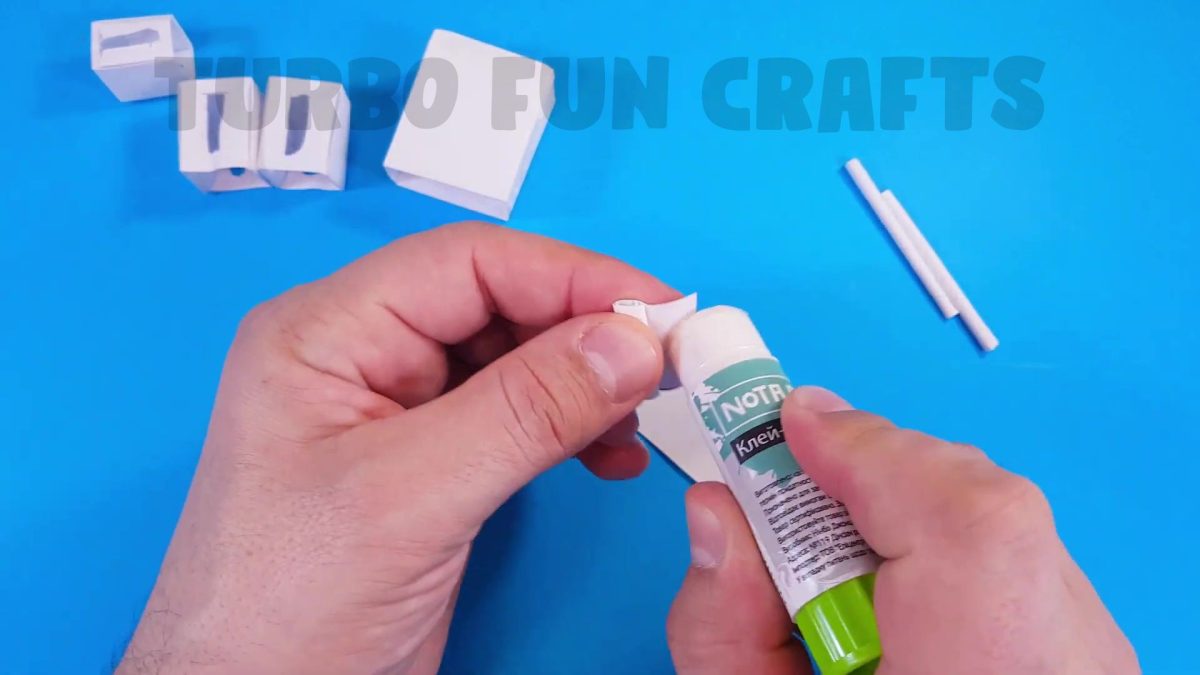
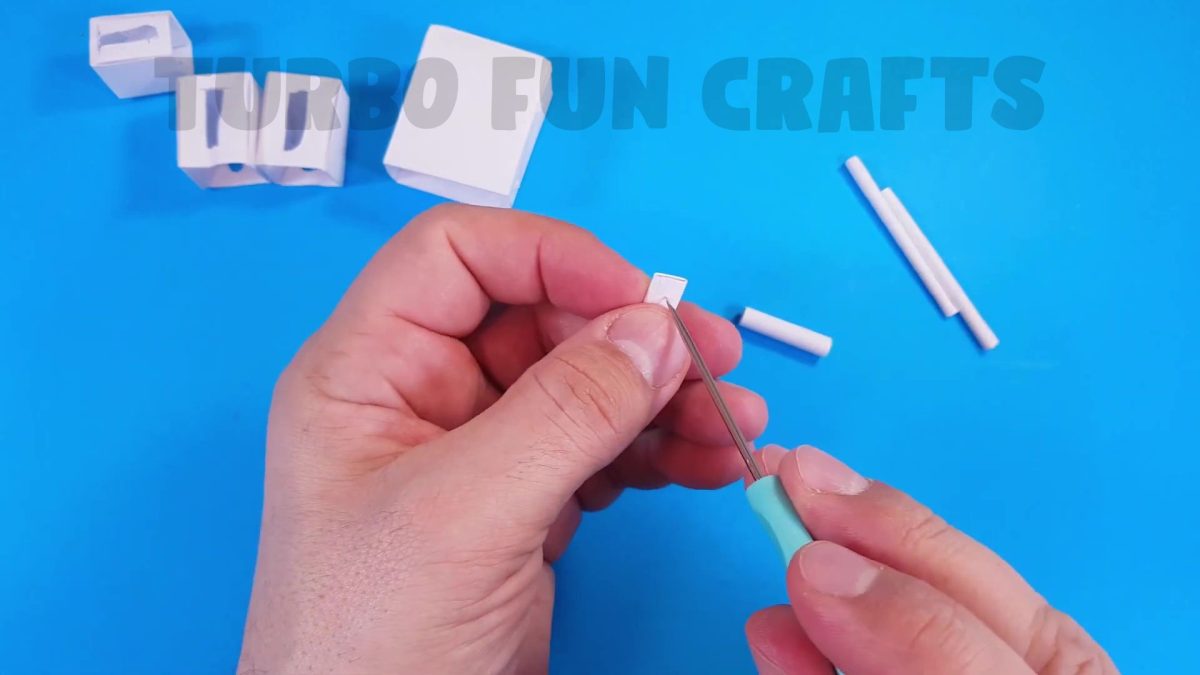
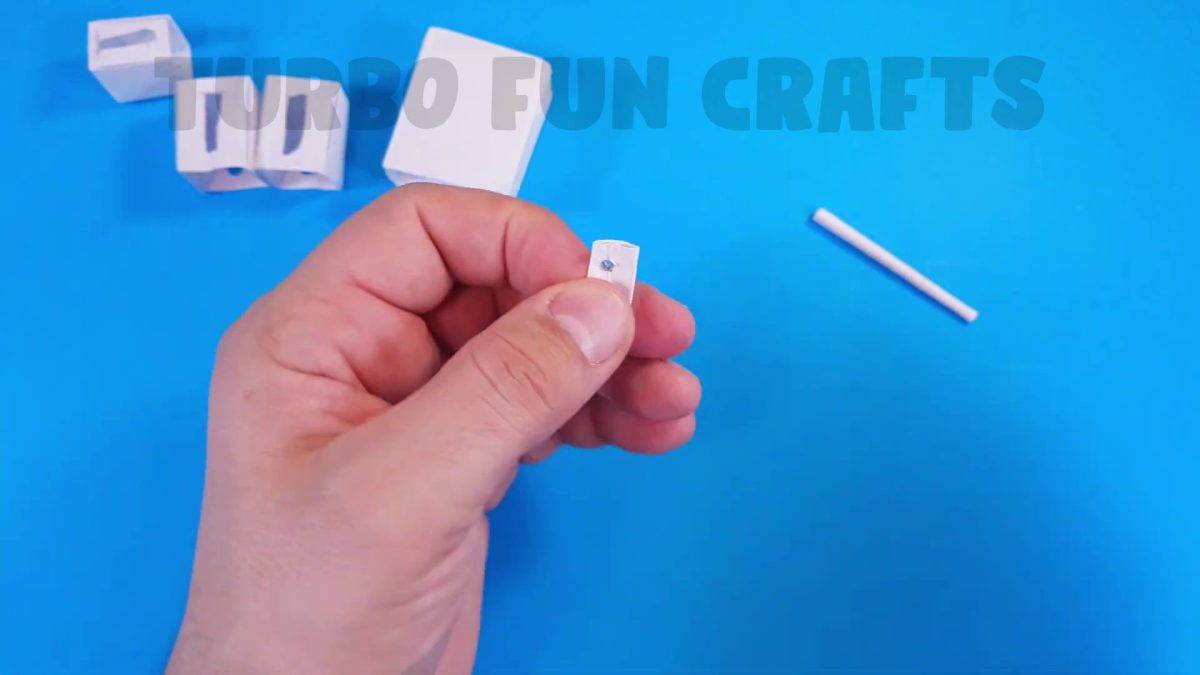
Make a hole in the end of each tube
This is shown in the images below
This is how it should look like
STEP 7 of how to make Bumblebee Transformer from Paper
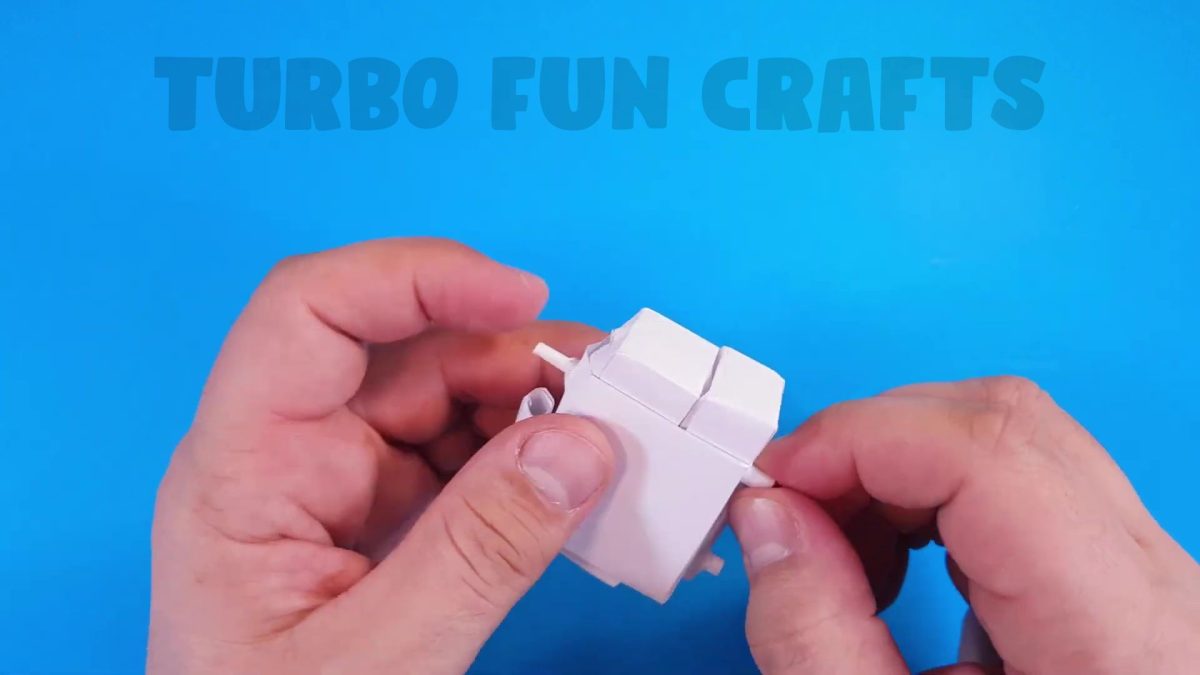
Connect the previously folded paper parts to each other
This is shown in the images below
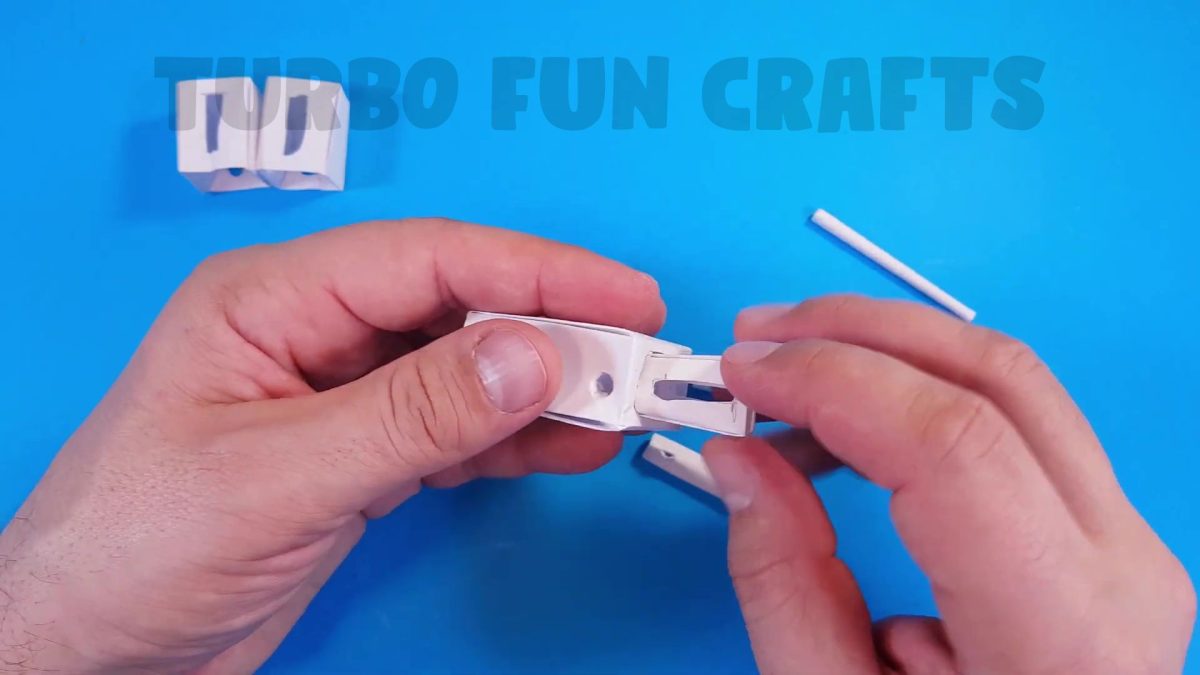

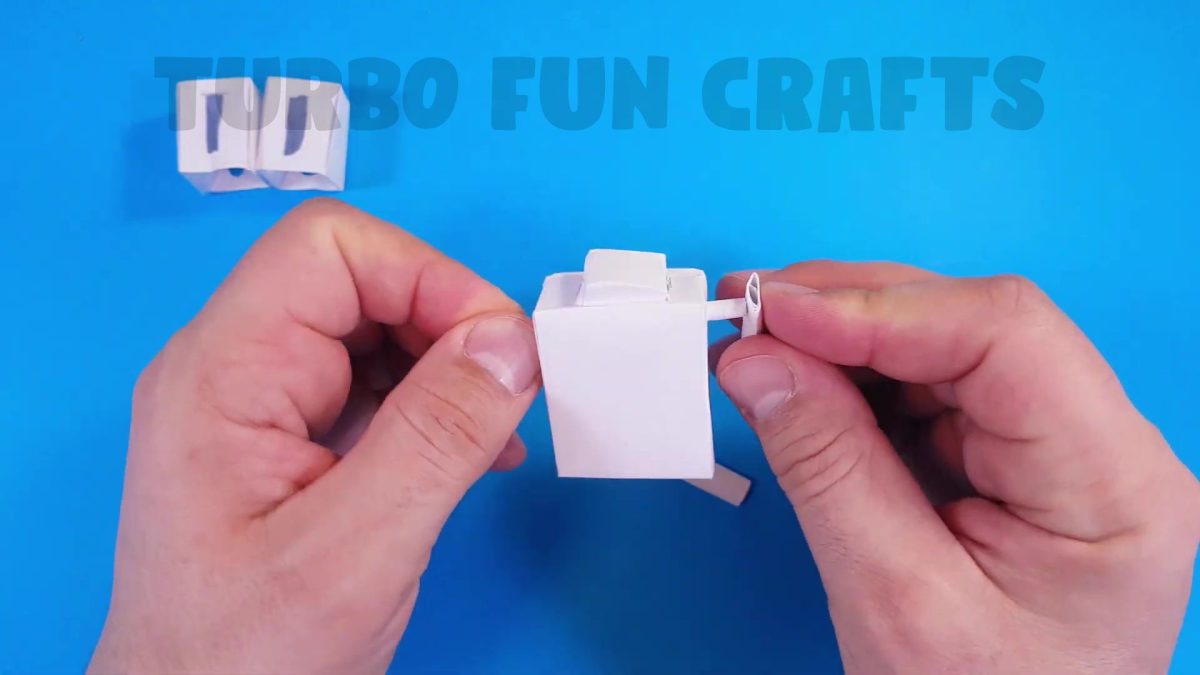
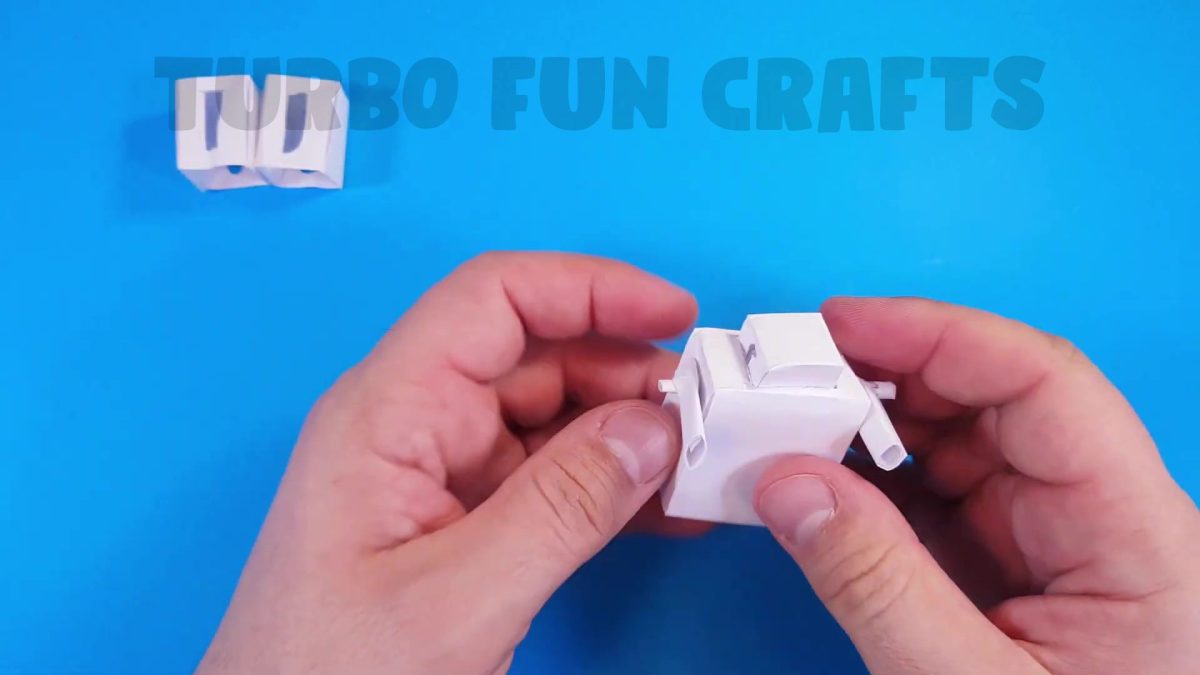
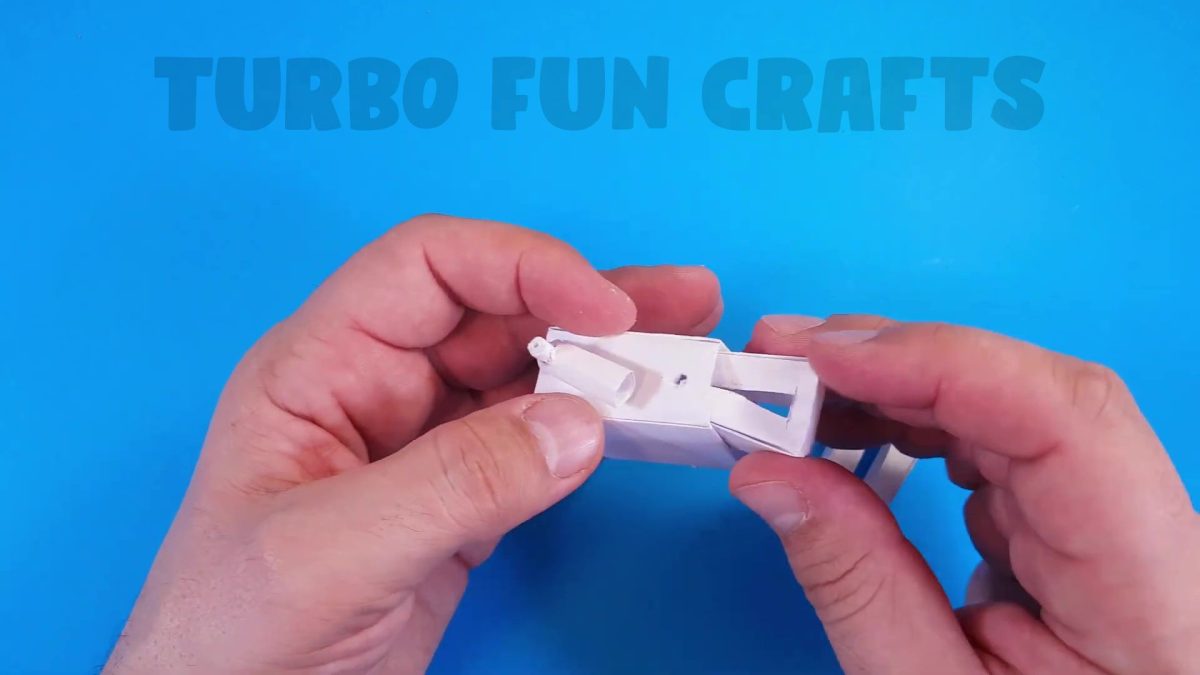
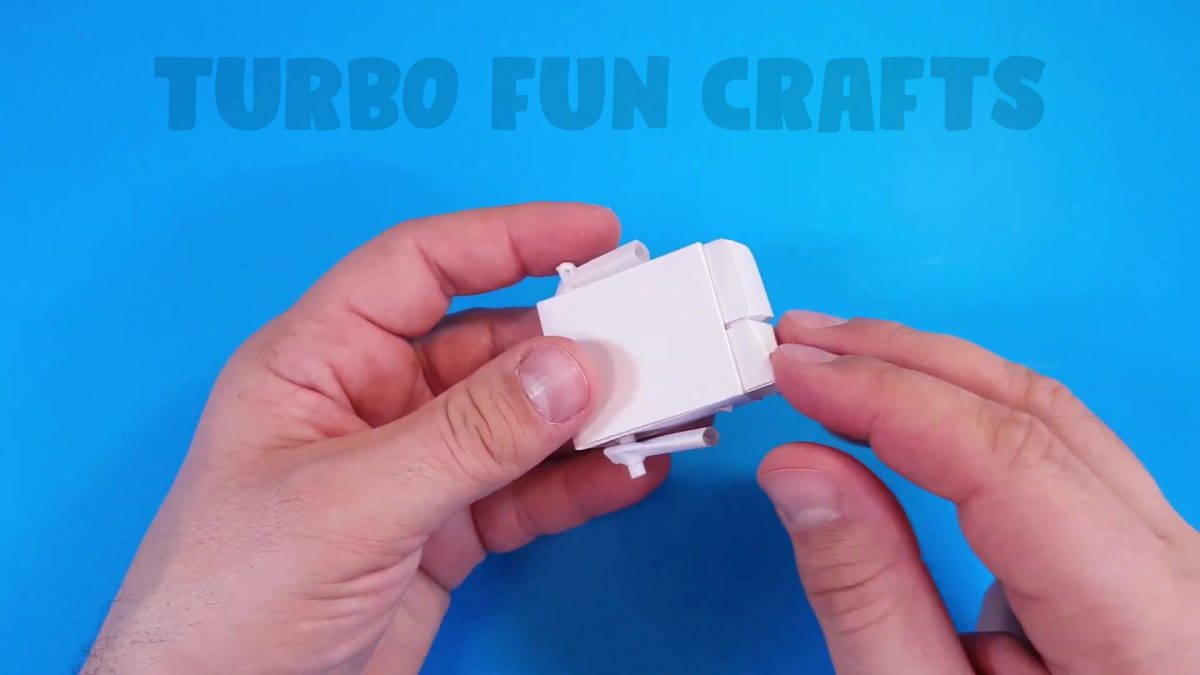
This is how it should look like
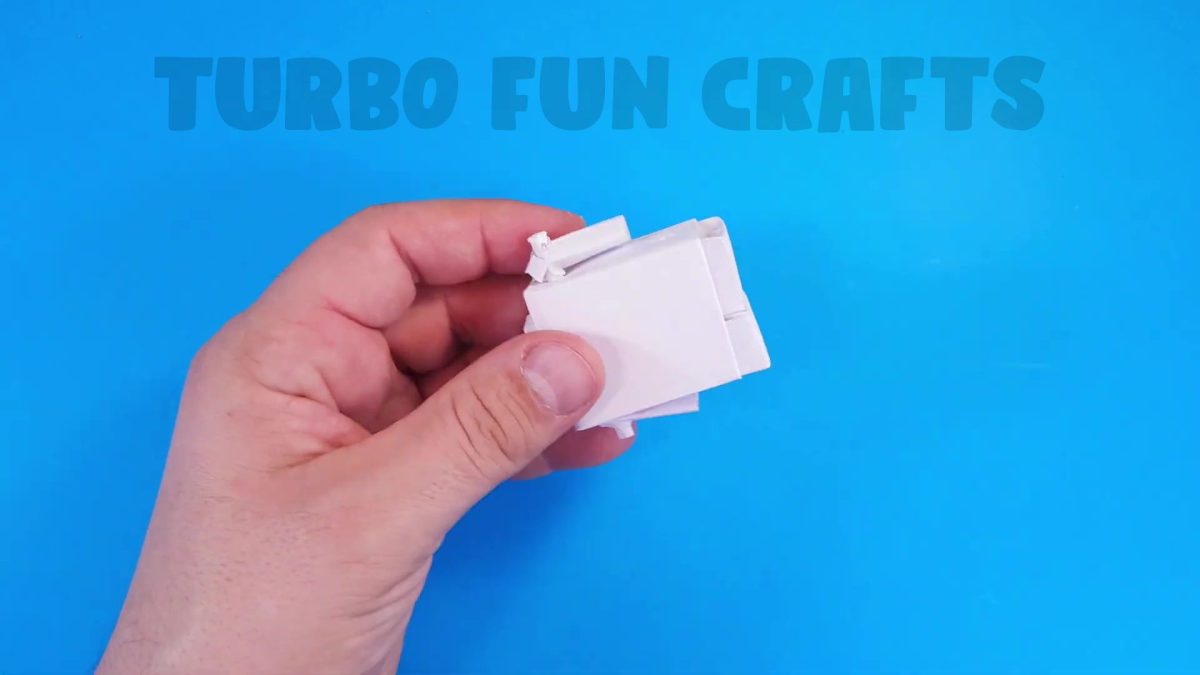
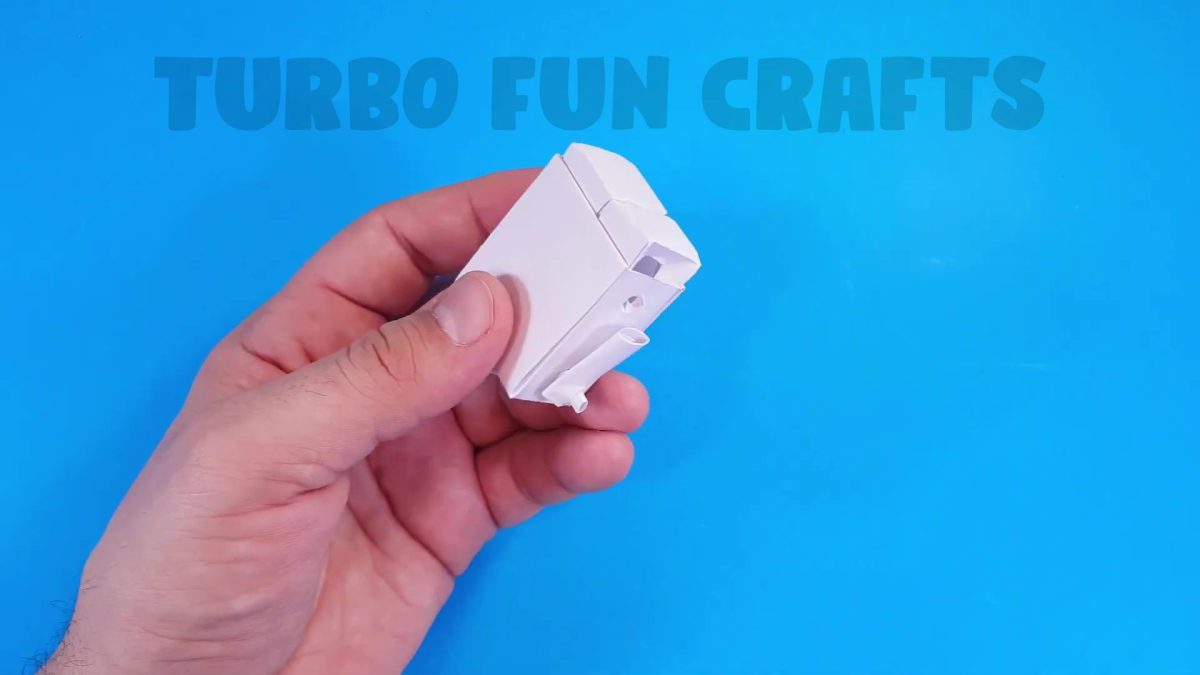
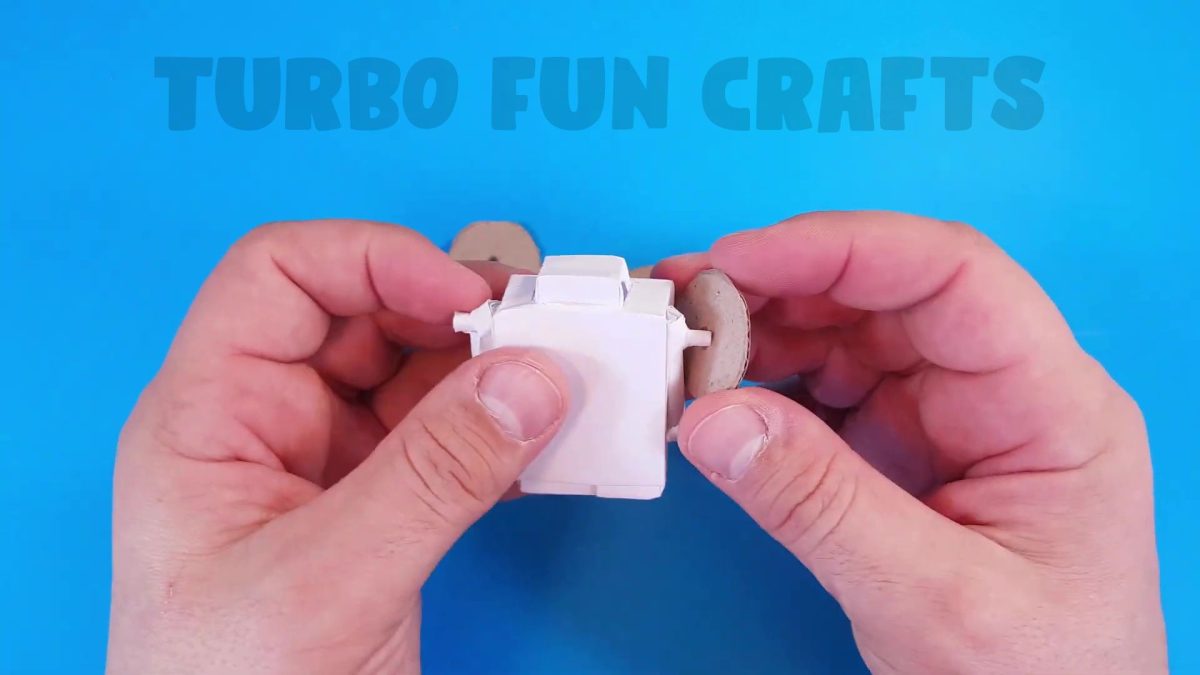
Insert the paper tube into the holes as shown in the images below
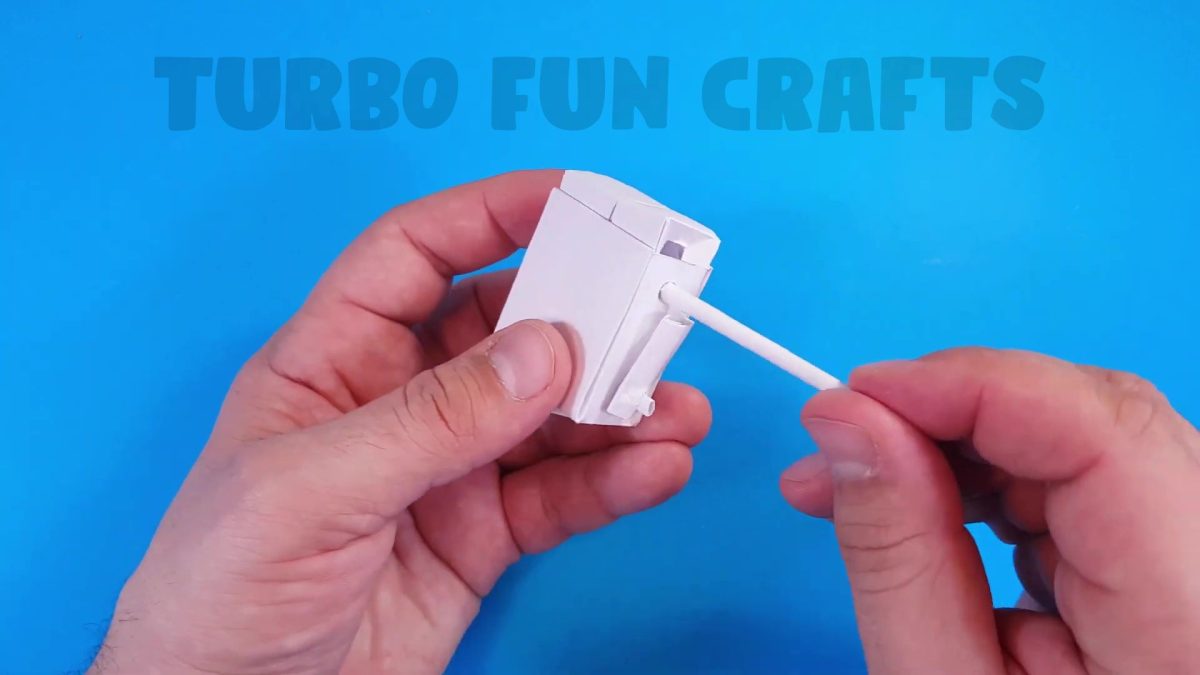
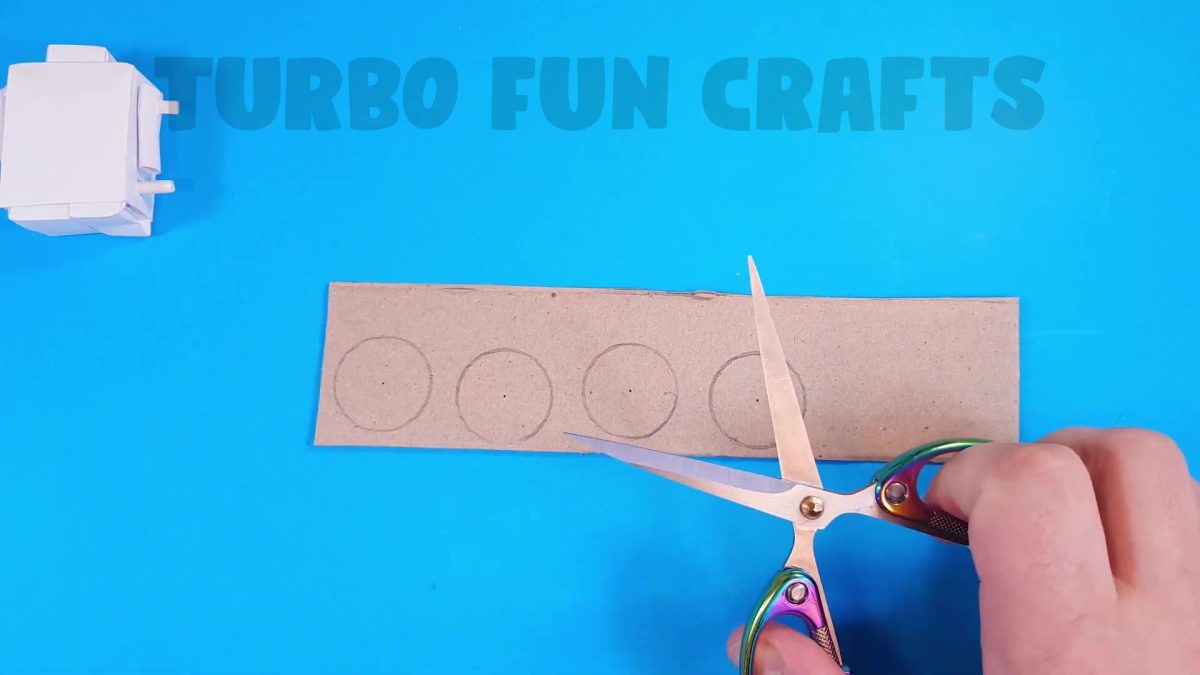
Cut out four circles from cardboard
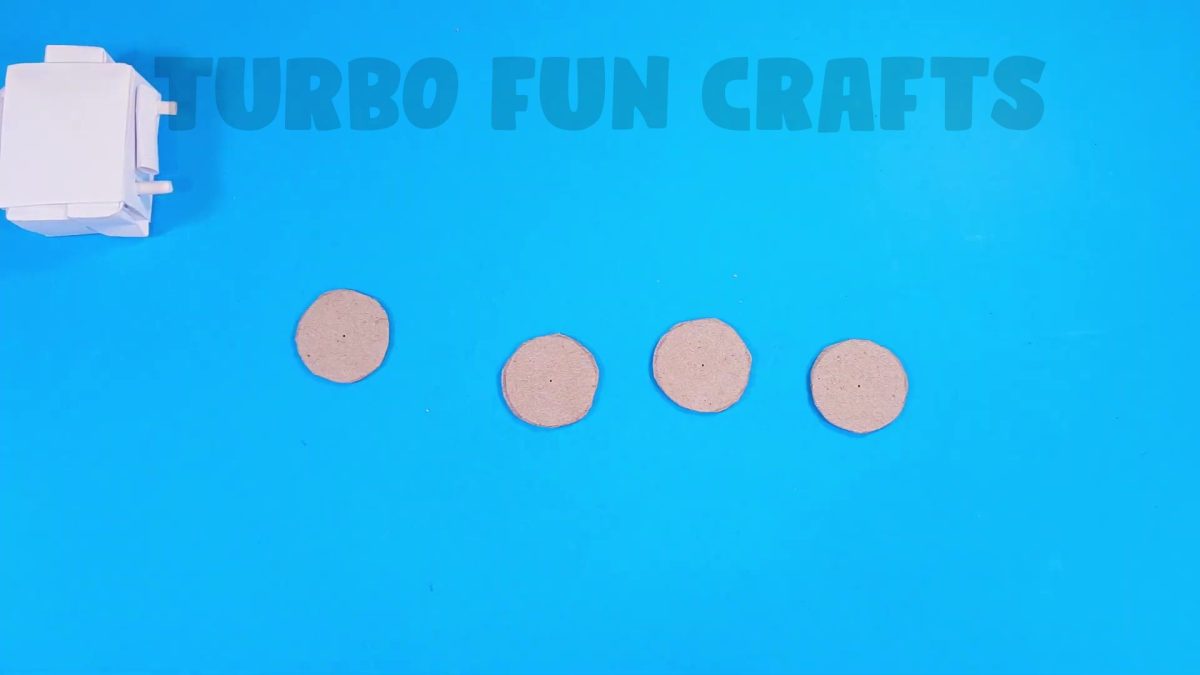
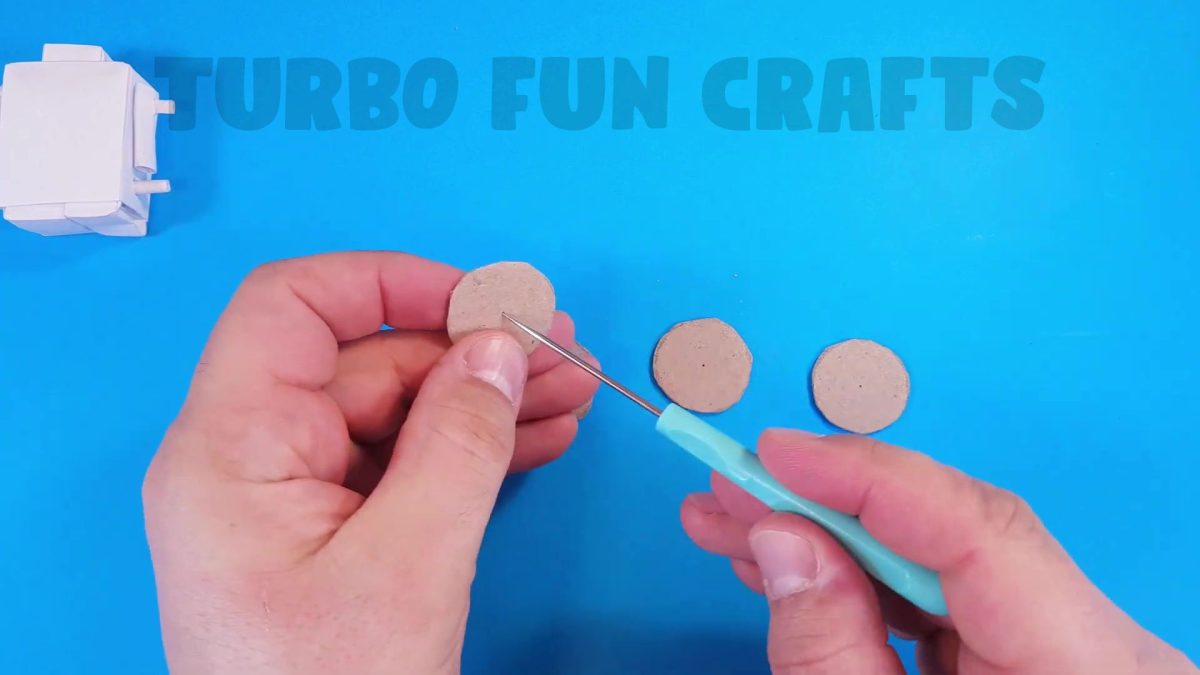
Make holes in the center of each circle
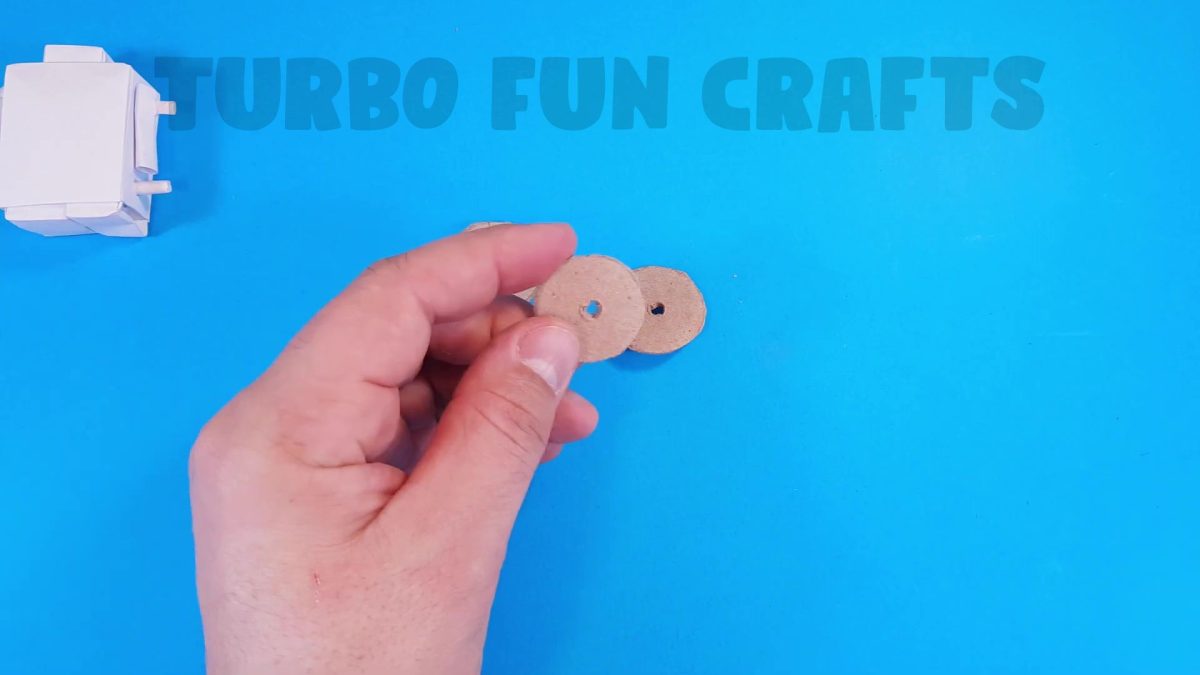
Attach the just-cut circles to the ends of the paper tubes
This is shown in the images below
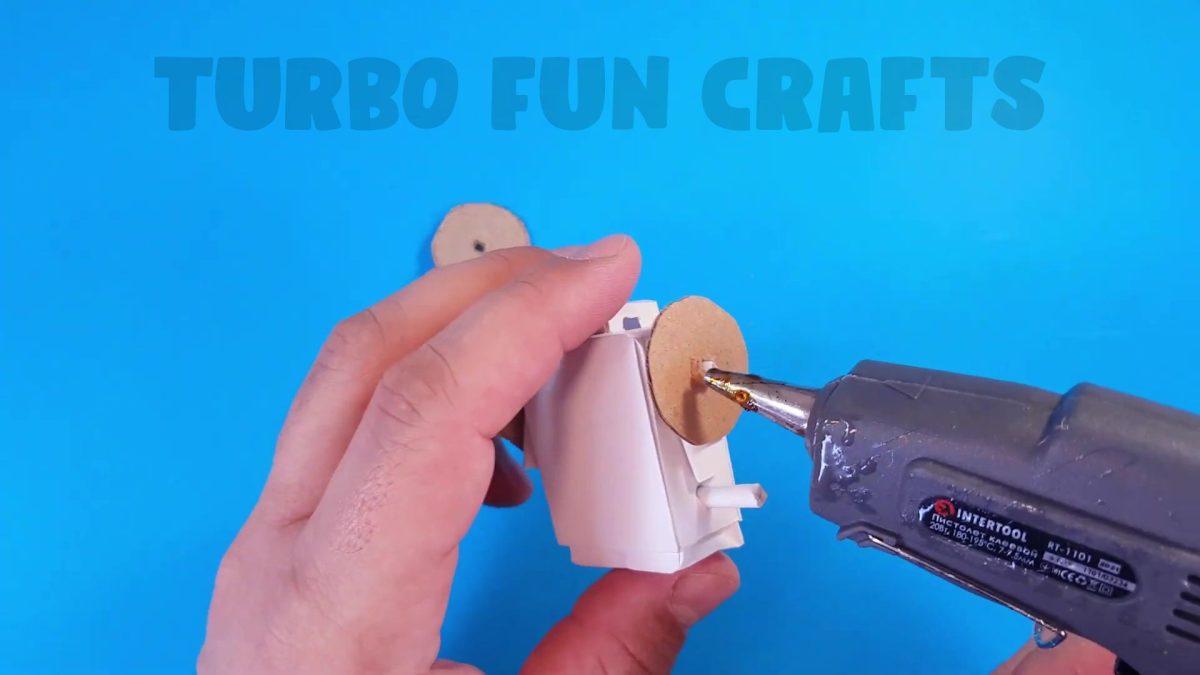
Apply glue to the place where the cardboard circle joins with the paper tube
We recommend using a glue gun for this
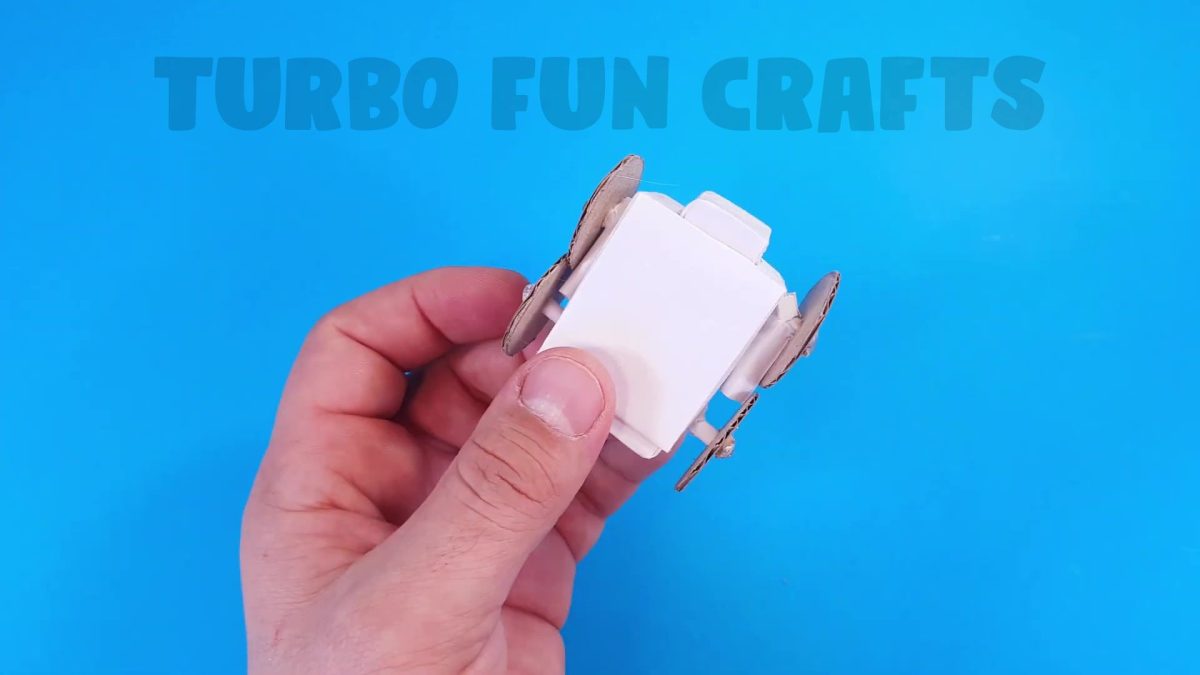
This is how it should look like
STEP 8 of how to make Bumblebee Transformer from Paper
Make a mark in the specified location using a pencil
This is shown in the picture below
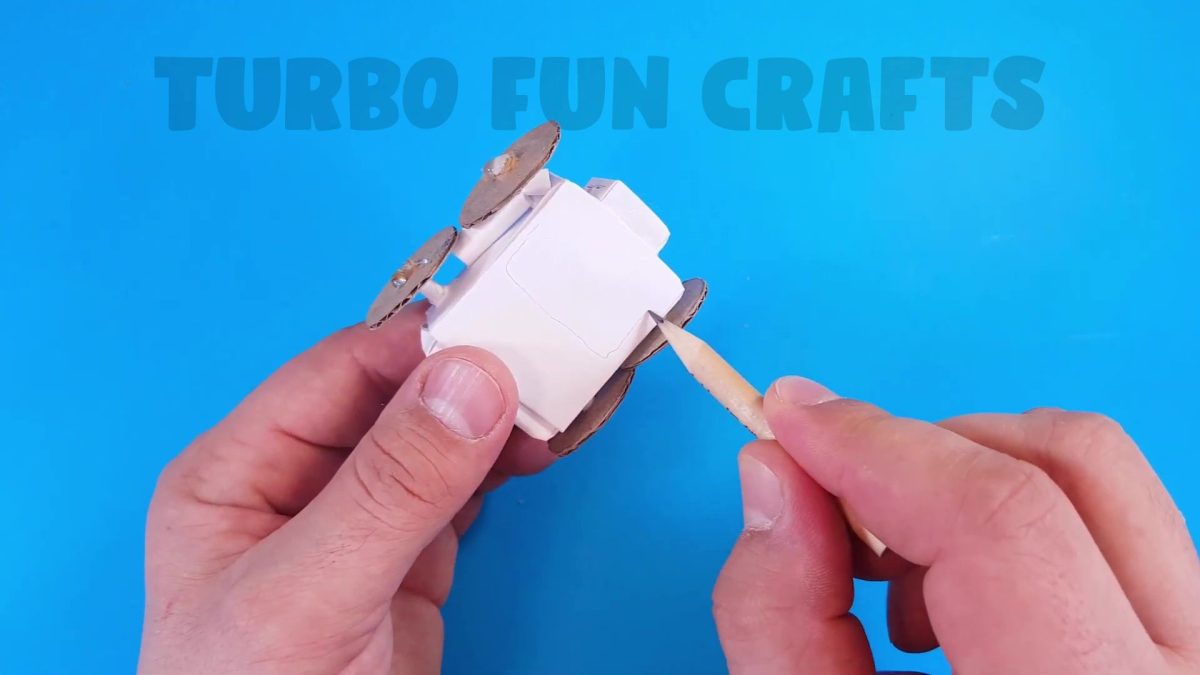
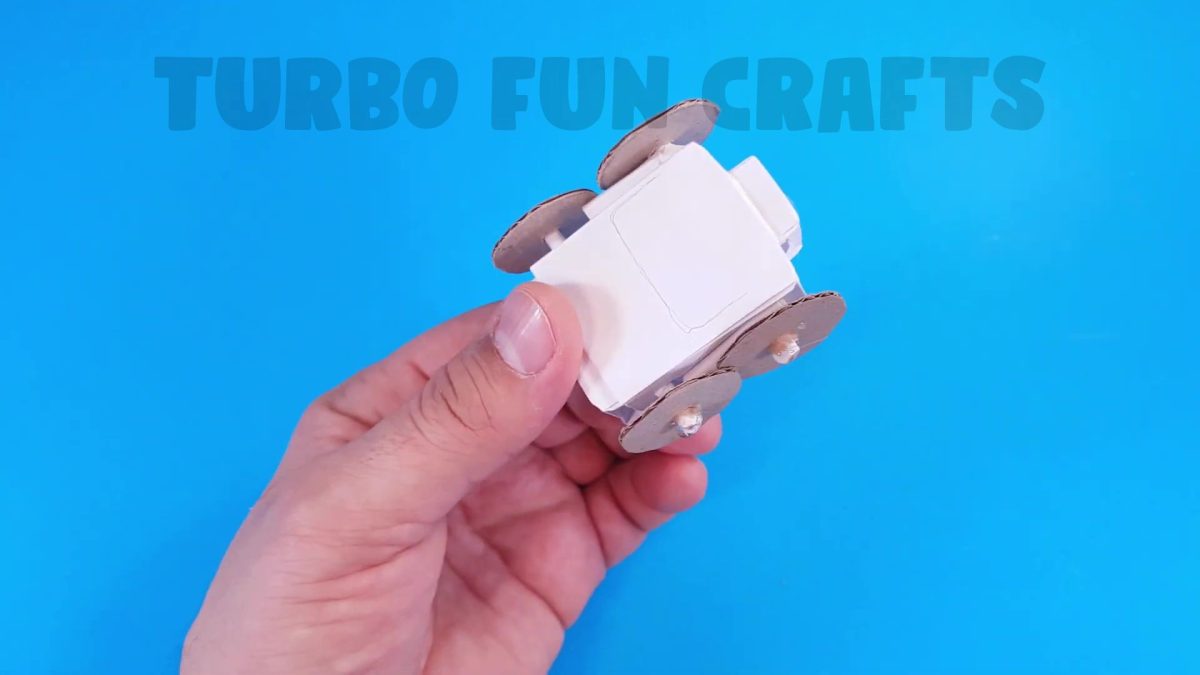
Make the cut with scissors
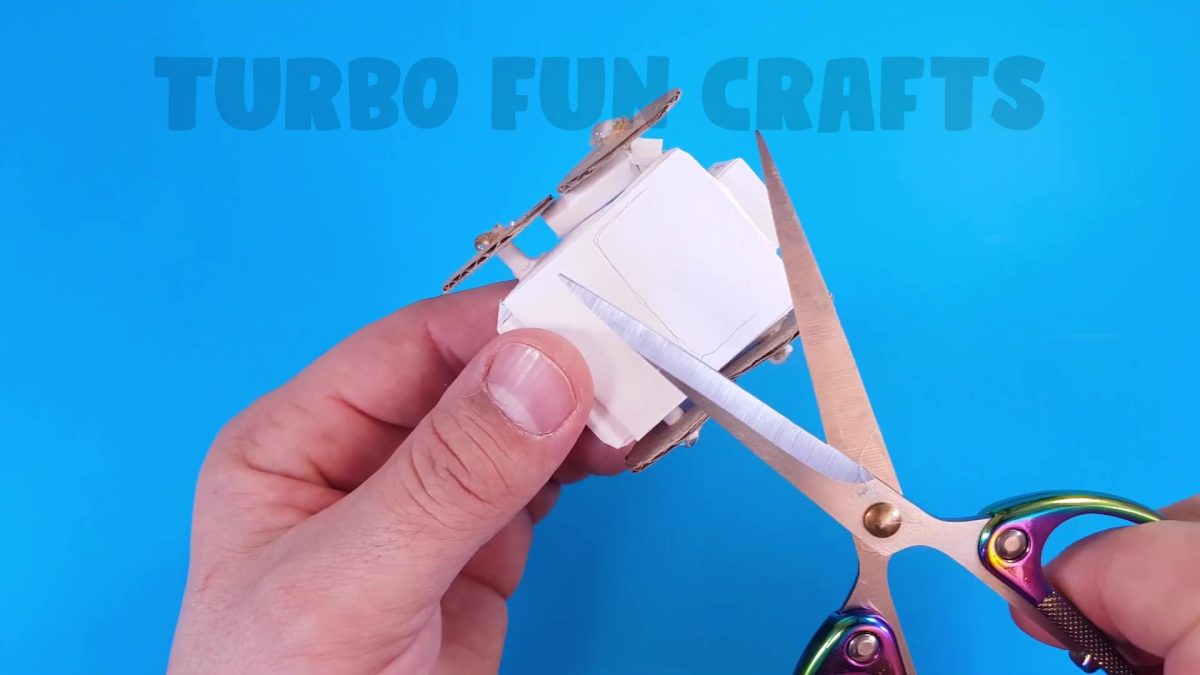
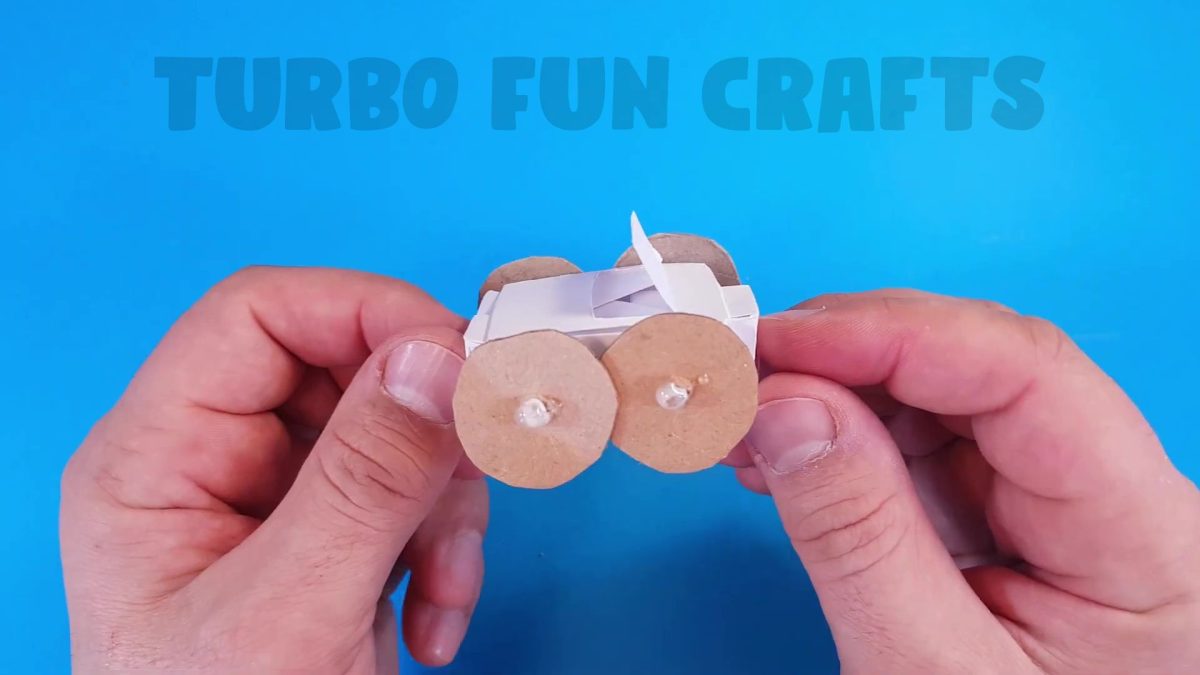
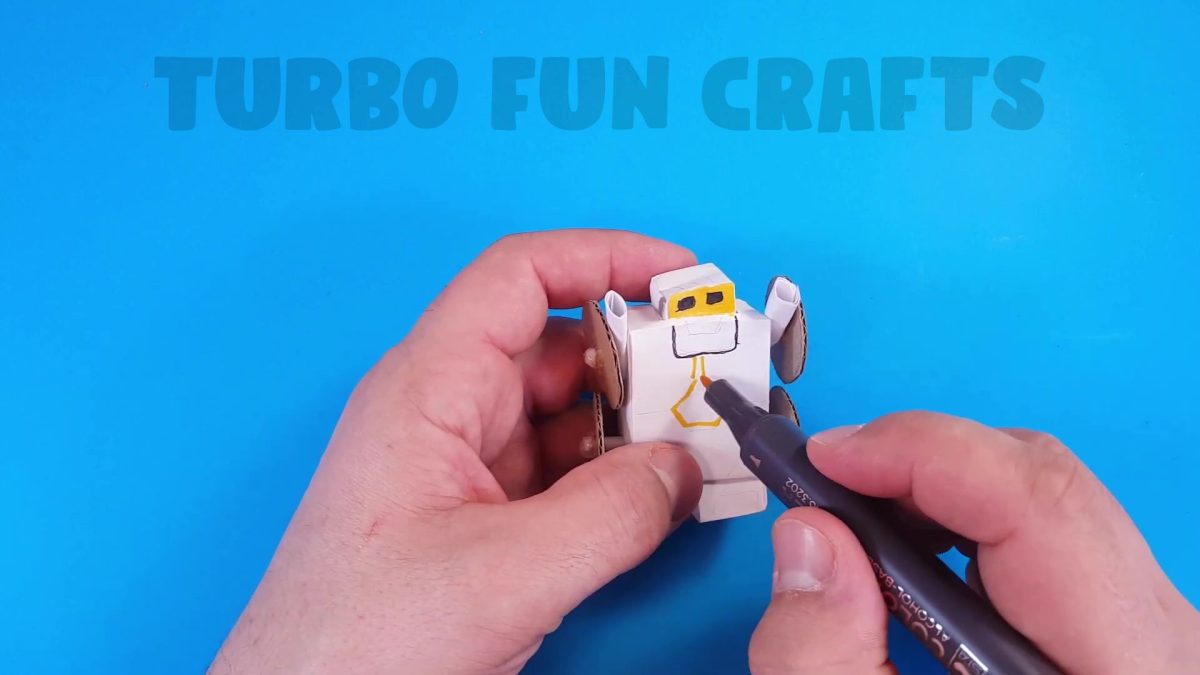
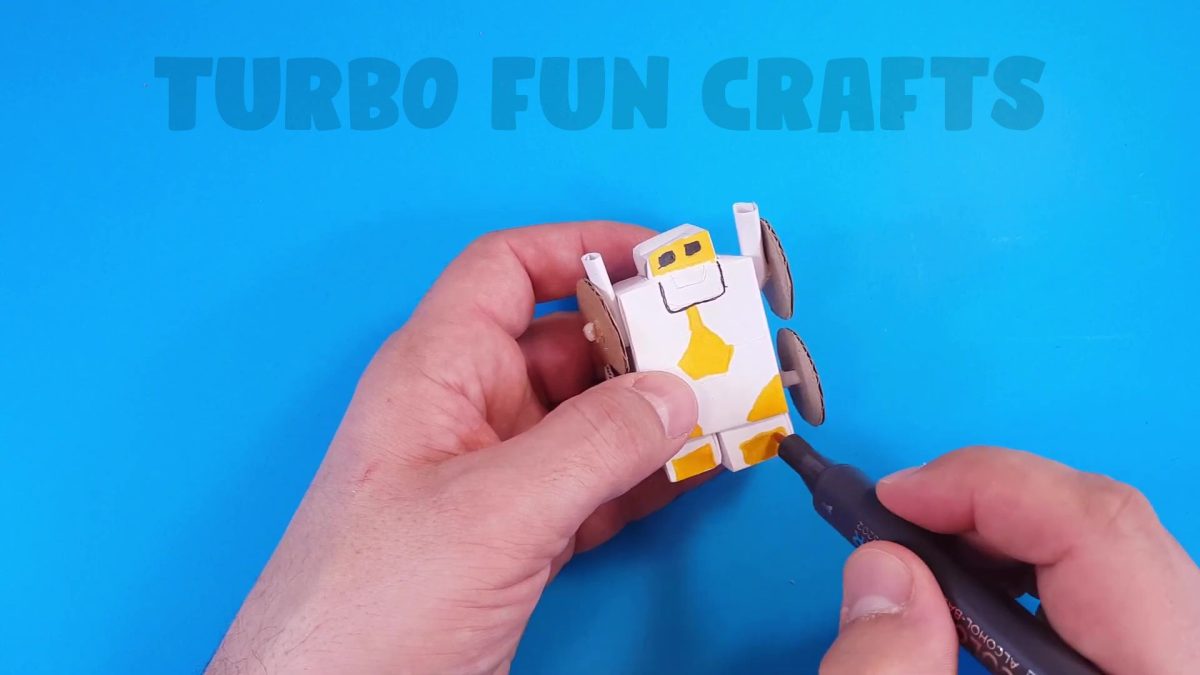
Now, it’s time to add the finishing touches to the Bumblebee!
You may do it as you wish or use our decorating option!

GREAT JOB! 🙂
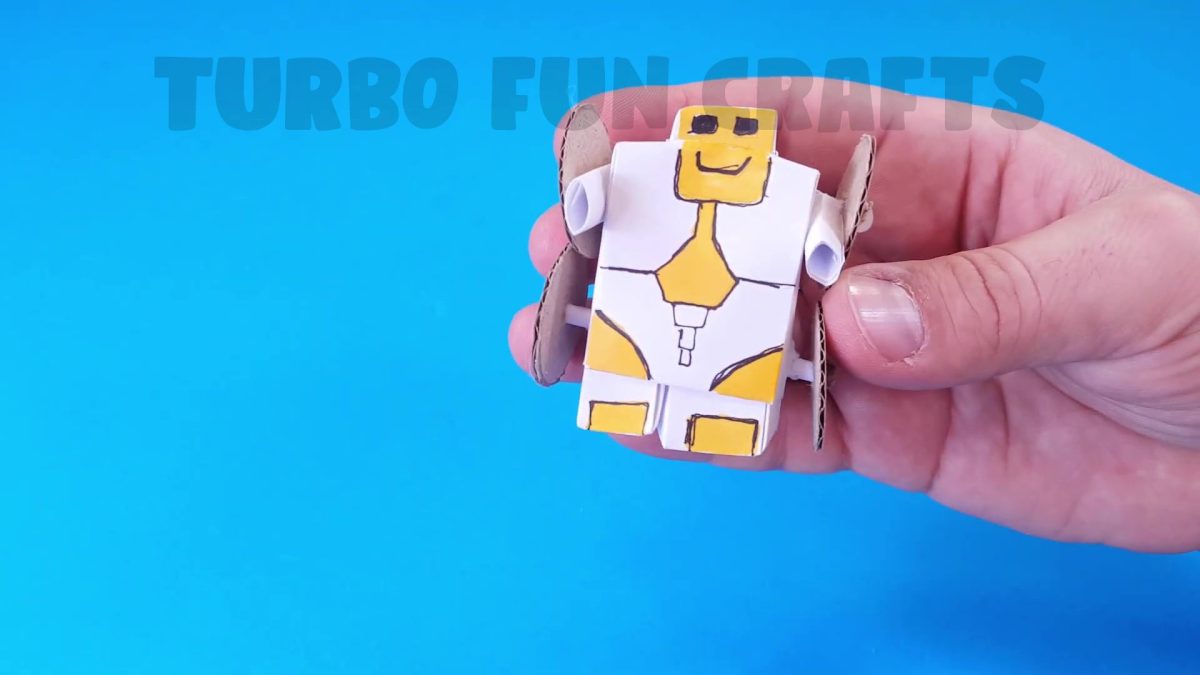
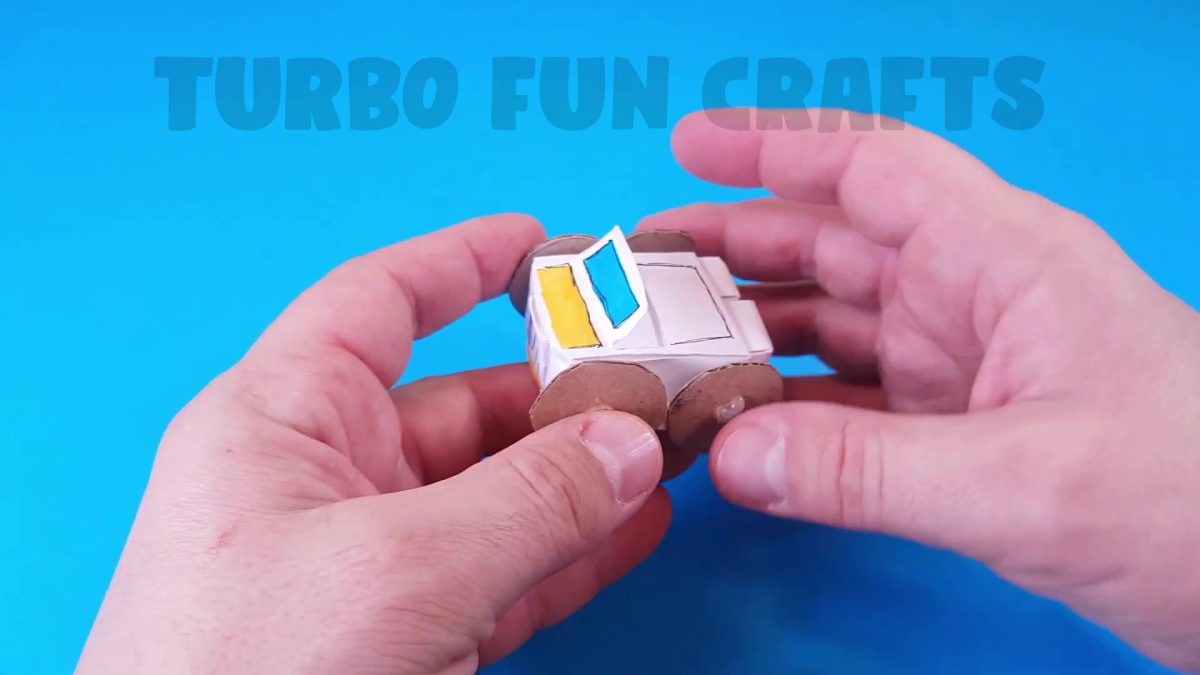
You have successfully created Bumblebee Transformer from Paper!
You may also like other PARER CRAFTS from our collection 🙂
Feel free to decorate it further with any other embellishments to make it even more impressive!

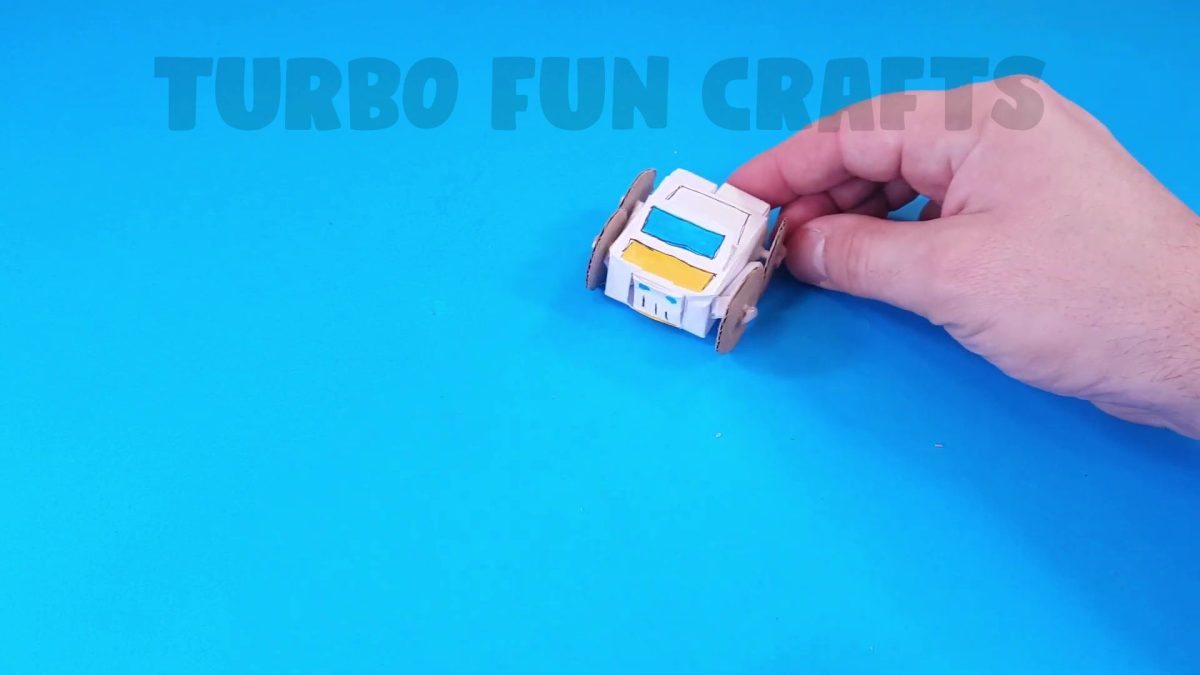
Now, you might be wondering, why choose a paper version of Bumblebee when you can have a shiny, metal one? Well, my friend, let me tell you why! First of all, it’s a fantastic way to showcase your DIY skills and impress your friends. Plus, it’s a cost-effective alternative that won’t break the bank. Who needs expensive action figures when you can make your own?
As you start assembling the different parts, you’ll witness the magic of transformation happening right before your eyes. It’s like watching a caterpillar turn into a beautiful butterfly, only cooler because it’s Bumblebee!
If you experienced difficulties with some steps, you can watch the video instruction on how to make Bumblebee Transformer from paper
Please scroll down for the video tutorial 🙂
Moreover, making a Bumblebee Transformer from paper is a fantastic way to combine your love for Transformers with your passion for crafts. It’s an opportunity to challenge yourself creatively, improve your skills, and create a tangible piece of art that represents your admiration for this iconic character.
In conclusion, once you’ve completed your Paper Bumblebee Transformer, it’s time to proudly display it for all to see. Find the perfect spot on your shelf or desk where it can shine and remind you of the incredible transformation you achieved. Take a step back and admire your handiwork – you’ve just become a paper crafting superstar!
Now that you’ve experienced the joy of creating your very own Paper Bumblebee Transformer, why not share the fun with others? Host a crafting party with your friends or family and introduce them to the world of paper crafts. Who knows, you might inspire someone to discover their hidden talent for transforming paper into incredible works of art.
So, my fellow Transformers enthusiasts, don’t underestimate the power of paper when it comes to bringing your favorite Autobots to life. With the Paper Bumblebee Transformer, you can unleash your creativity, save some money, and have a blast in the process. Get ready to embark on a crafting adventure like no other – it’s time to transform your life with paper!
You can also watch a video tutorial of how to make Bumblebee Transformer from Paper


