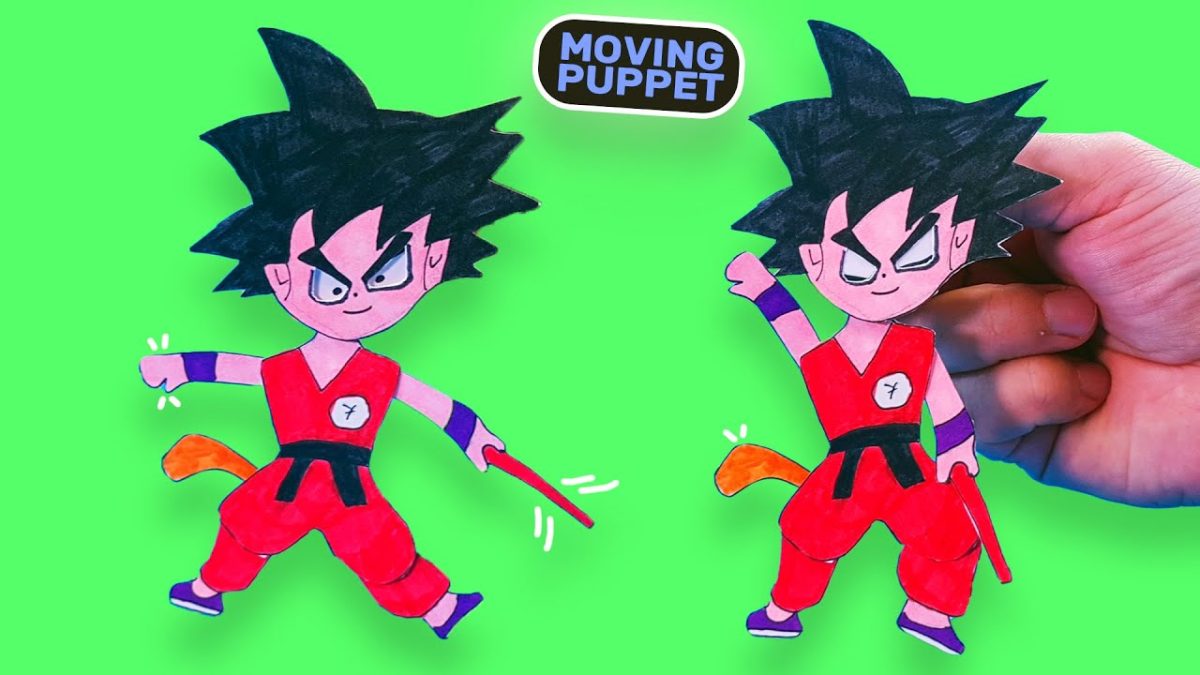
How to make Moving Paper Puppet | Easy Tutorial of making Living Puppets Out of Paper | Anime Paper Puppet | Easy Paper Crafts
Hello! 🙂 We invite you on an incredible journey into the realm of Living Puppets. In this step-by-step tutorial of how to make Moving Paper Puppet, we will explore the art of creating Living Puppets out of paper, unleashing your creativity through easy paper crafts.
Discover the fun and creativity of DIY paper craft projects by creating your own Anime Paper Puppet that looks as alive 🙂
Please scroll down for a step-by-step tutorial of how to make Moving Paper Puppet
Moreover, we have prepared Free PDF Template for you, which you can download by clicking on the button below 🙂
HERE IS THE TUTORIAL:
You will need the following materials:
- A4 white sheet of cardboard
- alcohol markers (choose colors as desired)
- scissors
- wire
- double-sided duct tape
- pencil
- awl
STEP 1 of how to make Moving Paper Puppet
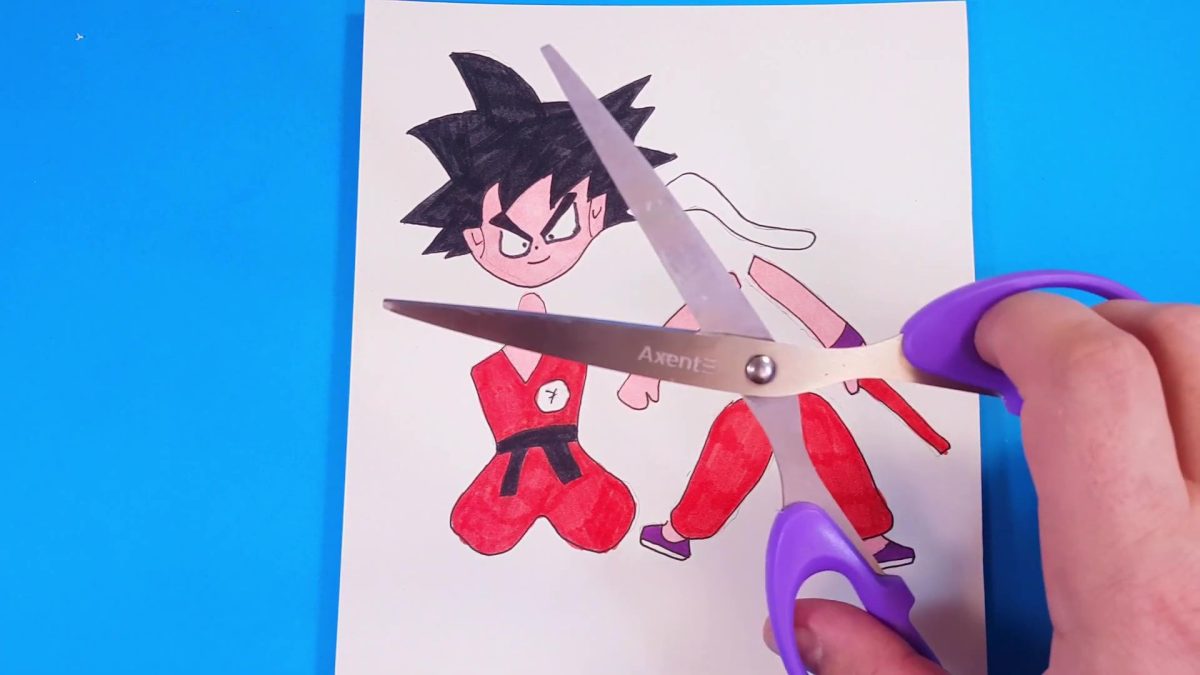
To make this paper craft, you will need an A4 white cardboard sheet.
You can either draw the figure of the puppet by yourself, as shown in the picture below, or use our Free PDF Template 🙂
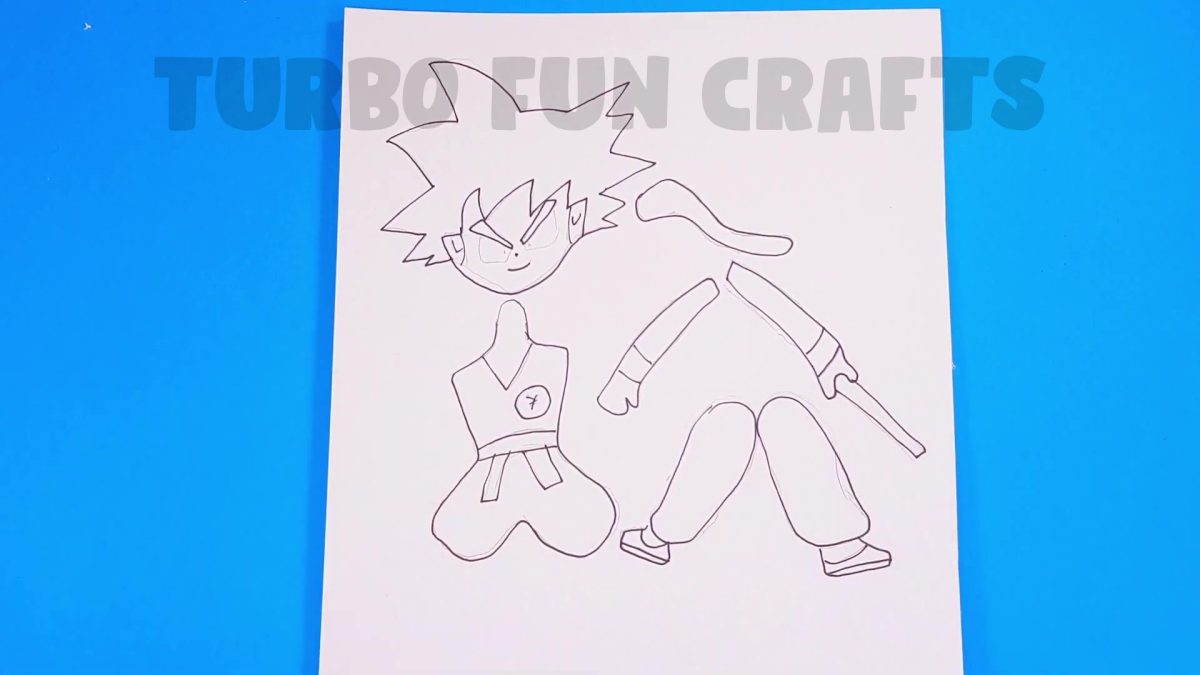
Use alcohol markers to color the puppet figure.
Choose the colors you like the most or use our color combination.
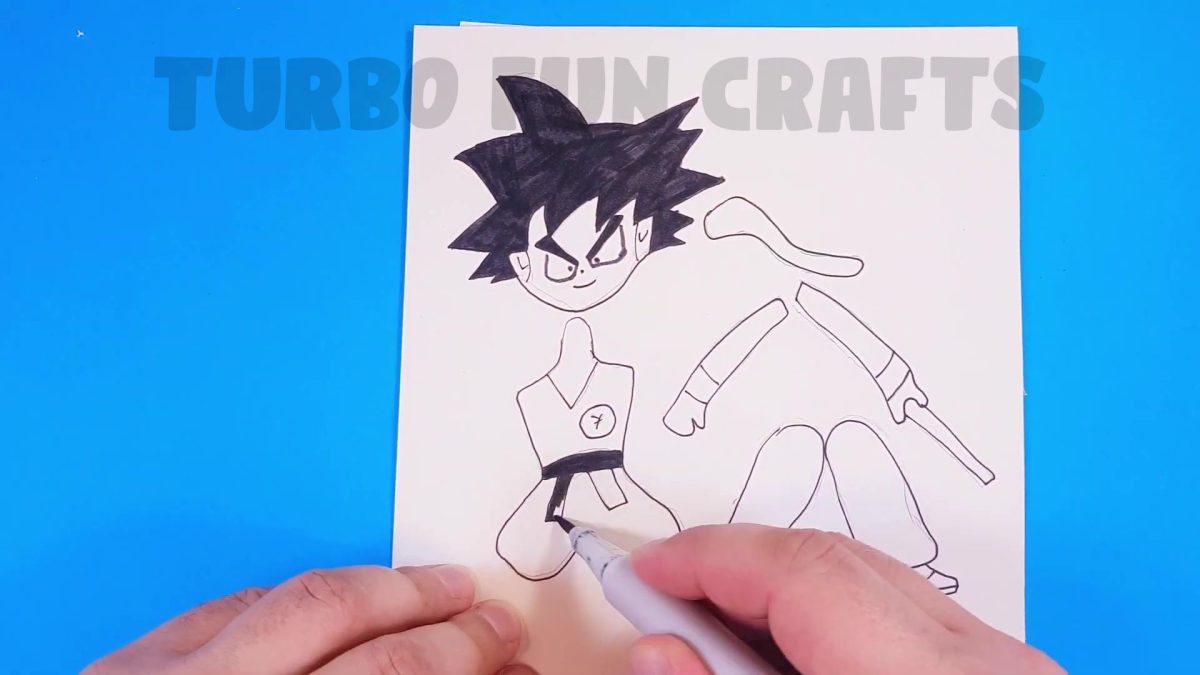
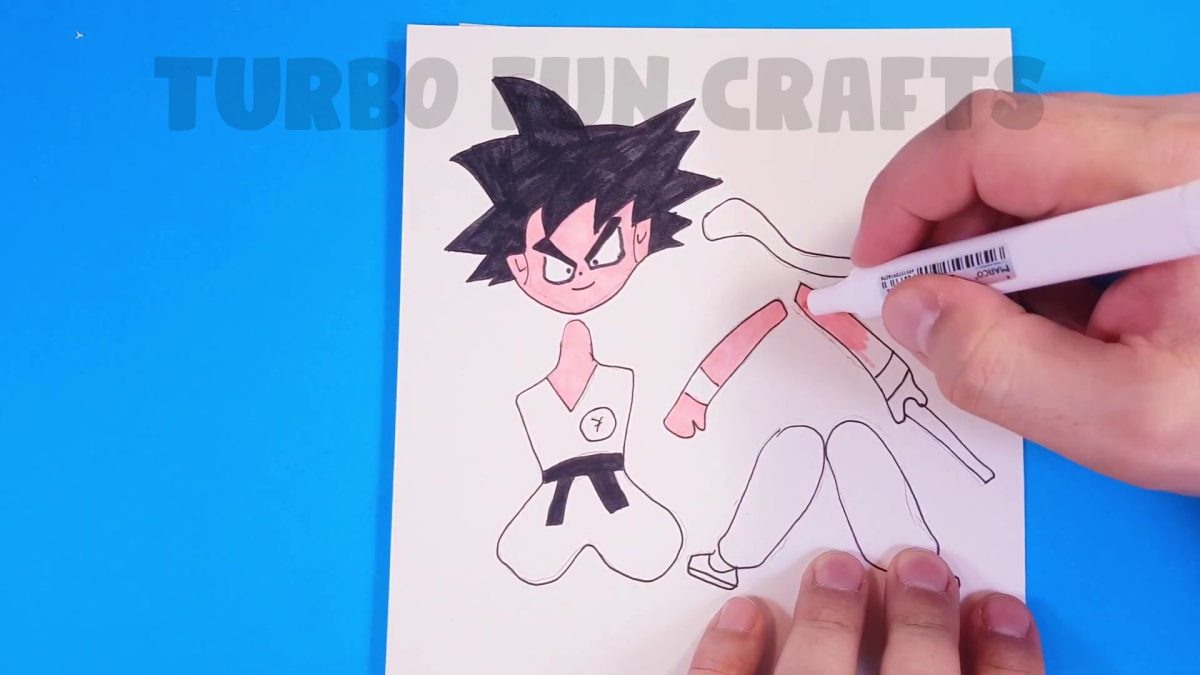
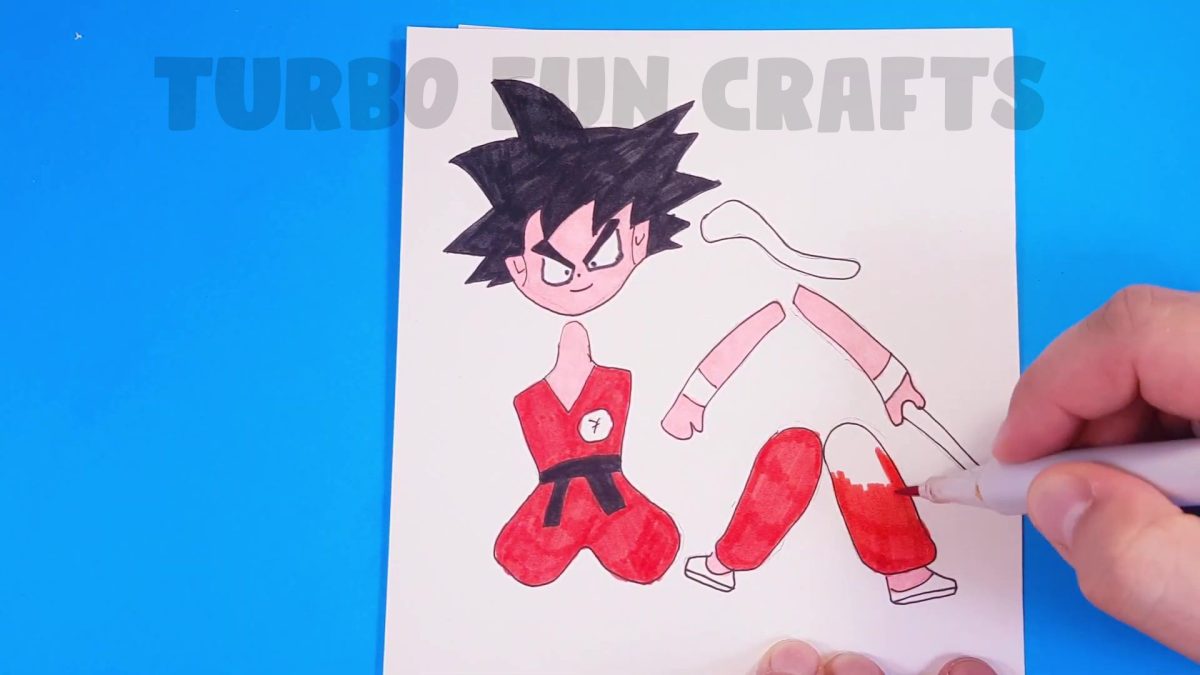
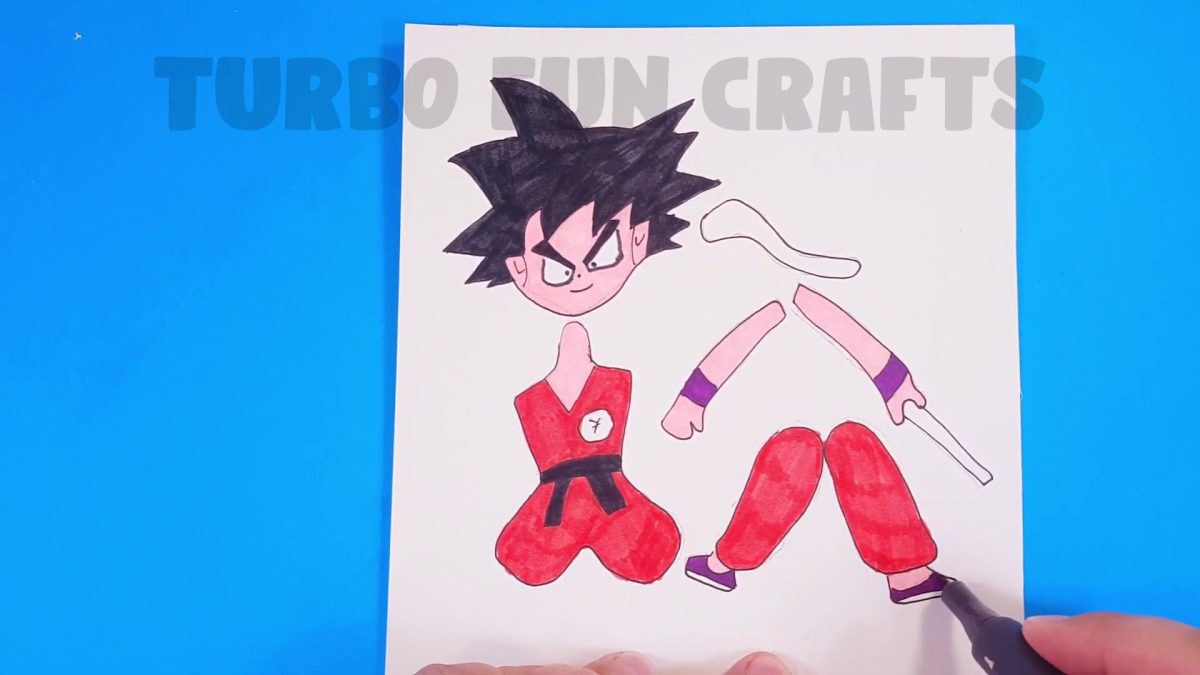
Cut out the puppet figure with scissors.

STEP 2 of how to make Moving Paper Puppet
Now you have to attach the legs to the body of the puppet.
This is how it should look like.

Flip the figure of puppet over and make a mark as shown in the image below.

Make a similar mark on the puppet’s body.

Take a piece of wire and attach it to the body of the puppet using double-sided duct tape.
This is shown in the picture below.


This is how it should look like.


Make a hole in the puppet’s leg.


Attach the leg to the puppet’s body.
Insert the end of the earlier attached piece of wire into the hole in the puppet’s leg.
This is shown in the images below.


Fold down the end of the wire.

This is how it should look like.

Make the same action with the second puppet’s leg.
Attach it to the puppet’s body in the same way.
Make sure that the parts are securely connected to each other and move freely.
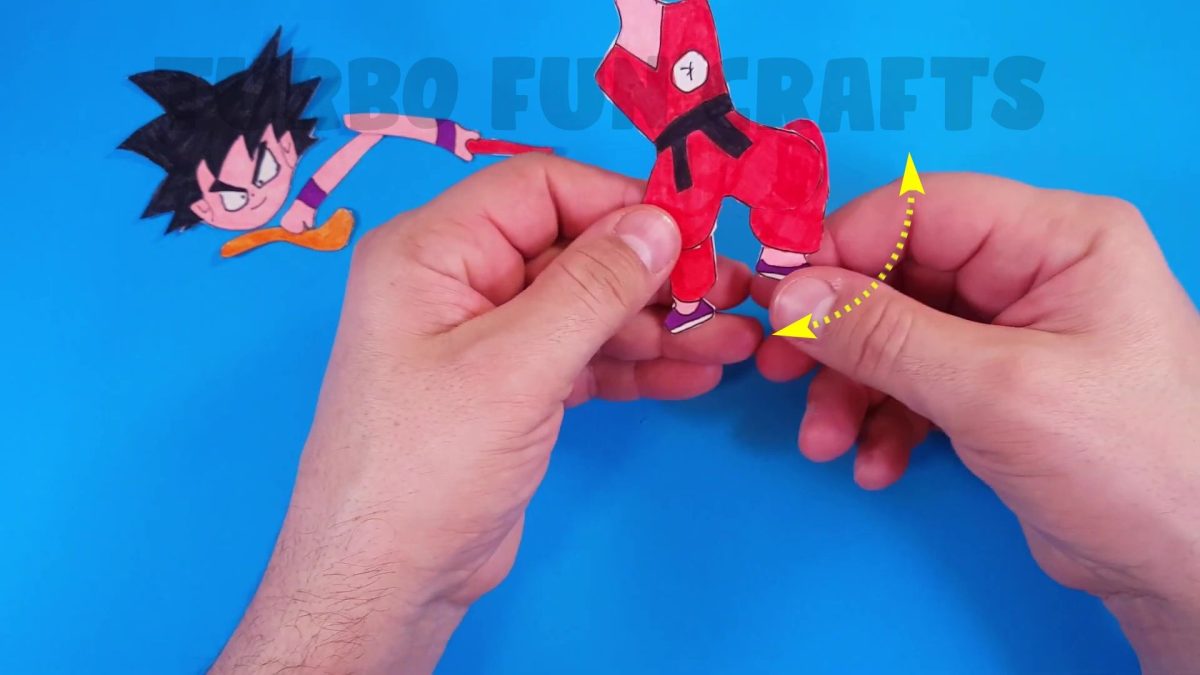
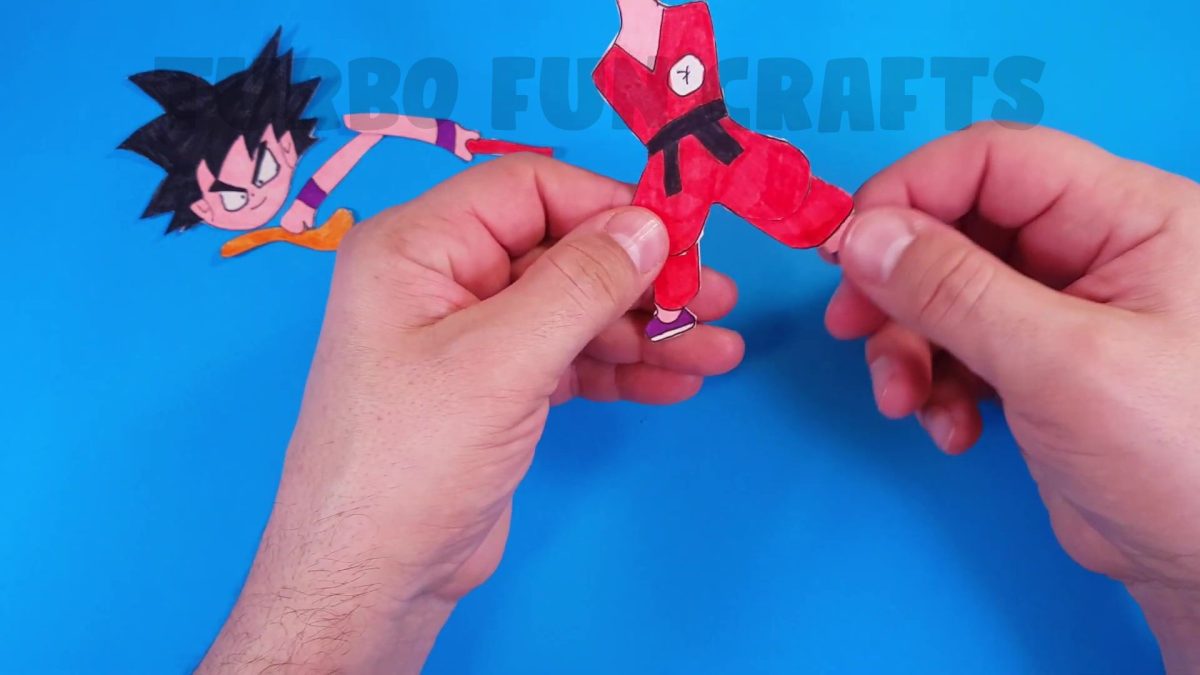
This is how it should look like.
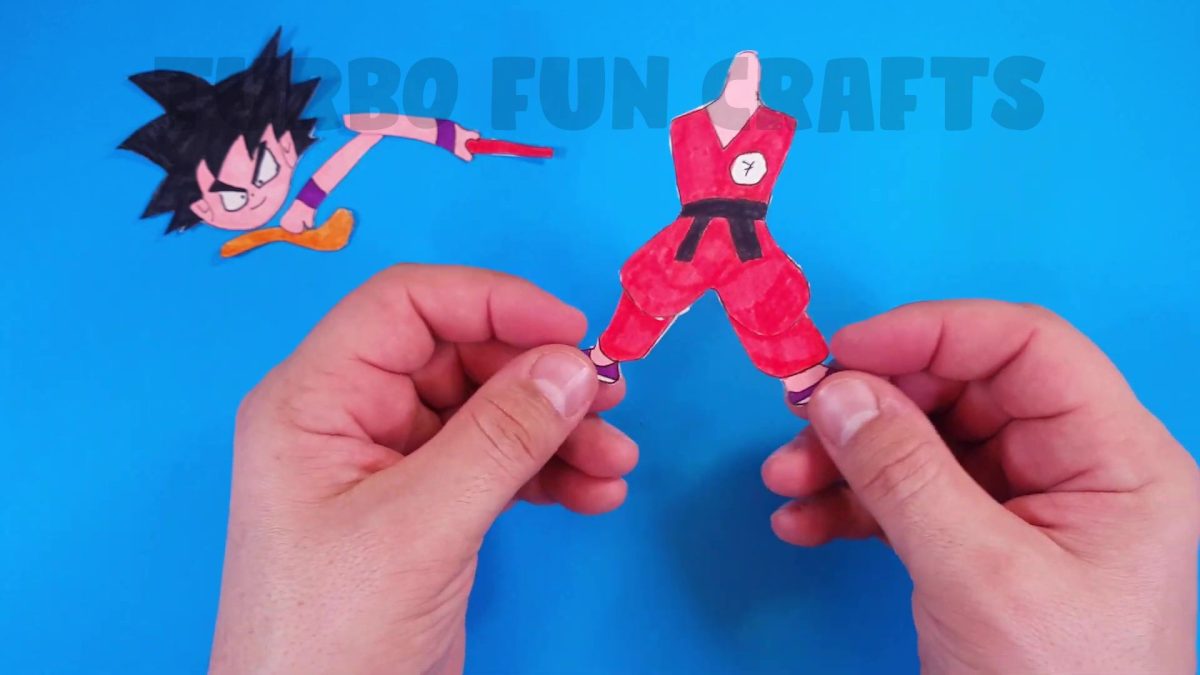
You may also like: How to Make EASY PAPER GAME at home in 5 Minutes | DIY Paper TOY for the Whole Family
STEP 3 of how to make Moving Paper Puppet
Attach the paper part to the puppet’s body as shown in the image below.
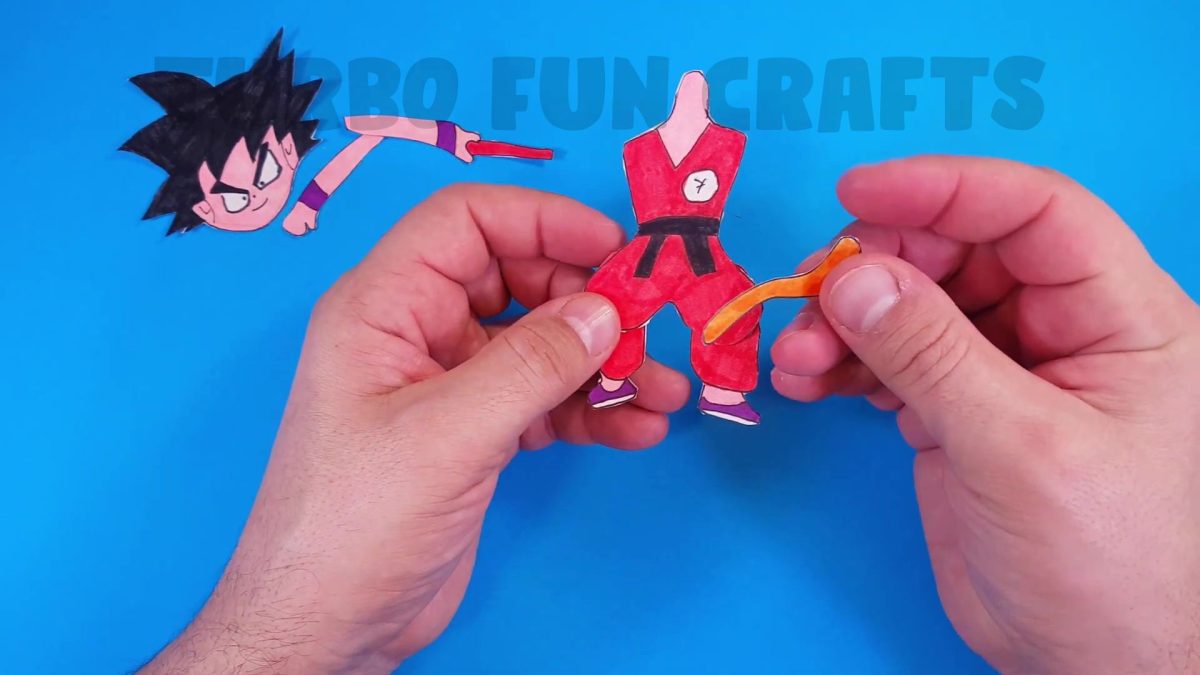

Make a mark as shown in the image below.

Take a piece of wire and attach it to the puppet’s leg using double-sided duct tape.
This is shown in the picture below.

Make the cut at the indicated place as shown in the image below.

This is how it should look like.

Attach the paper part to the puppet’s leg.
Insert the end of the earlier attached piece of wire into the hole in the paper part.
This is shown in the image below.

Make a mark in the indicated place as shown in the images below.


Attach a piece of wire at the place of the just-made mark with double-sided duct tape.
This is shown in the picture below.

Attach the previously prepared paper part to the puppet’s body.
This is shown in the picture below.

Fold down the ends of the wire.
This is how it should look like.

Make sure that the parts are moving freely and securely connected to each other.

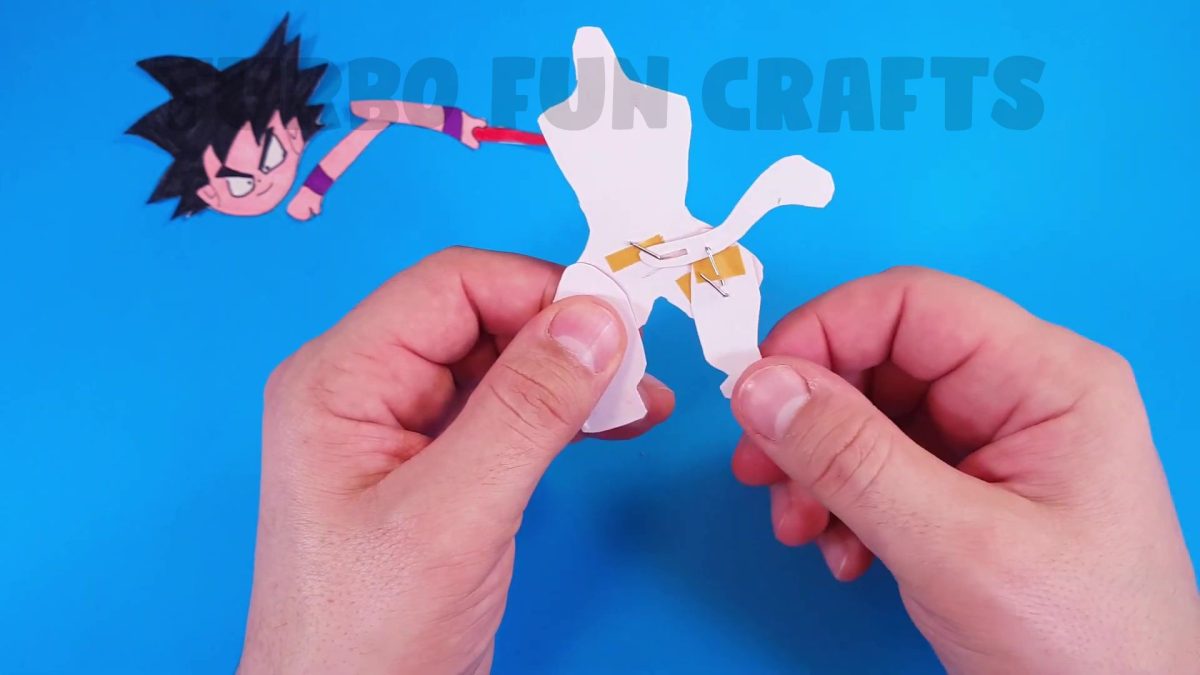
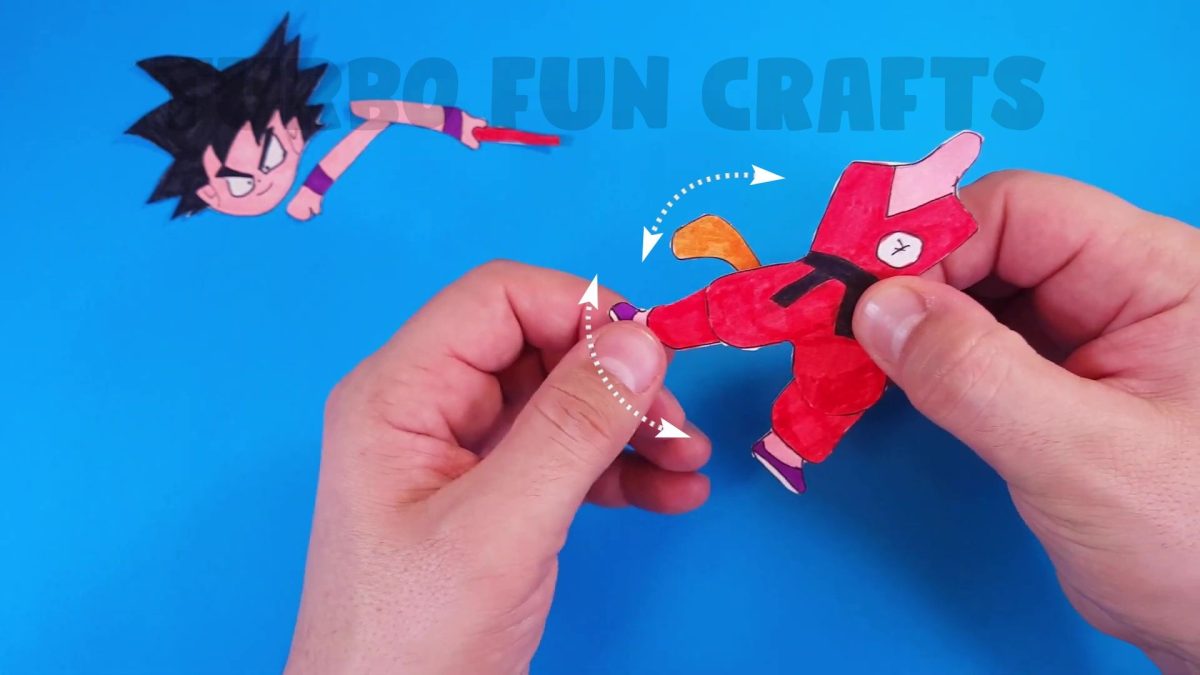
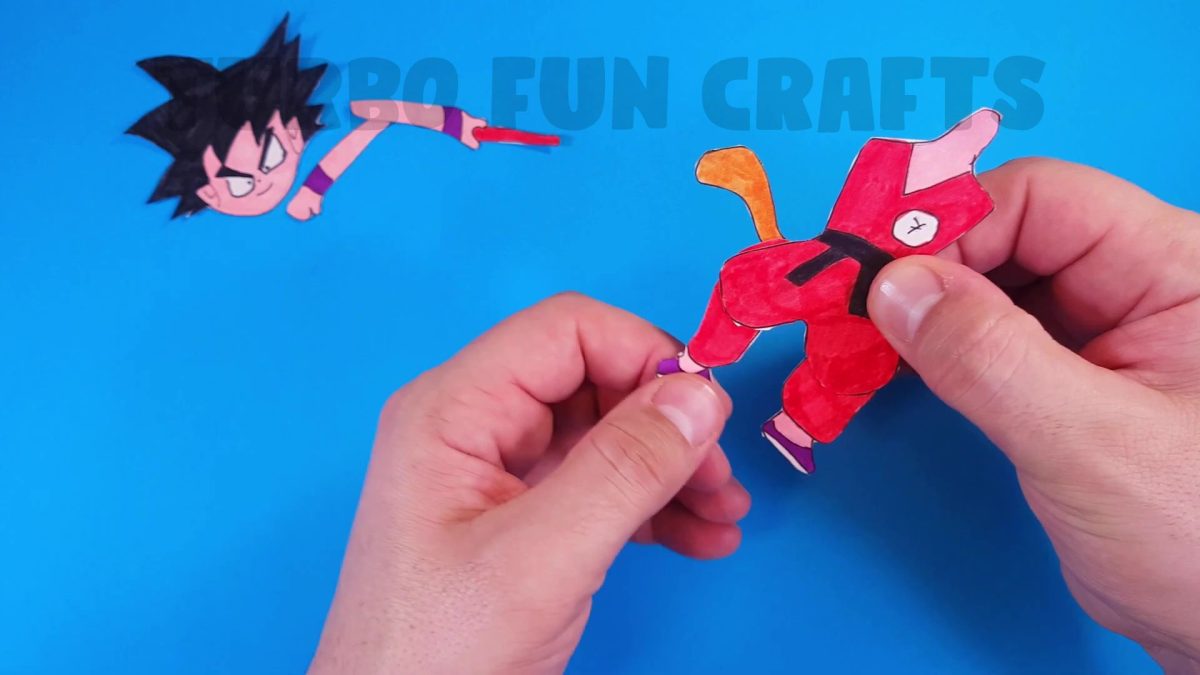
This is how it should look like.
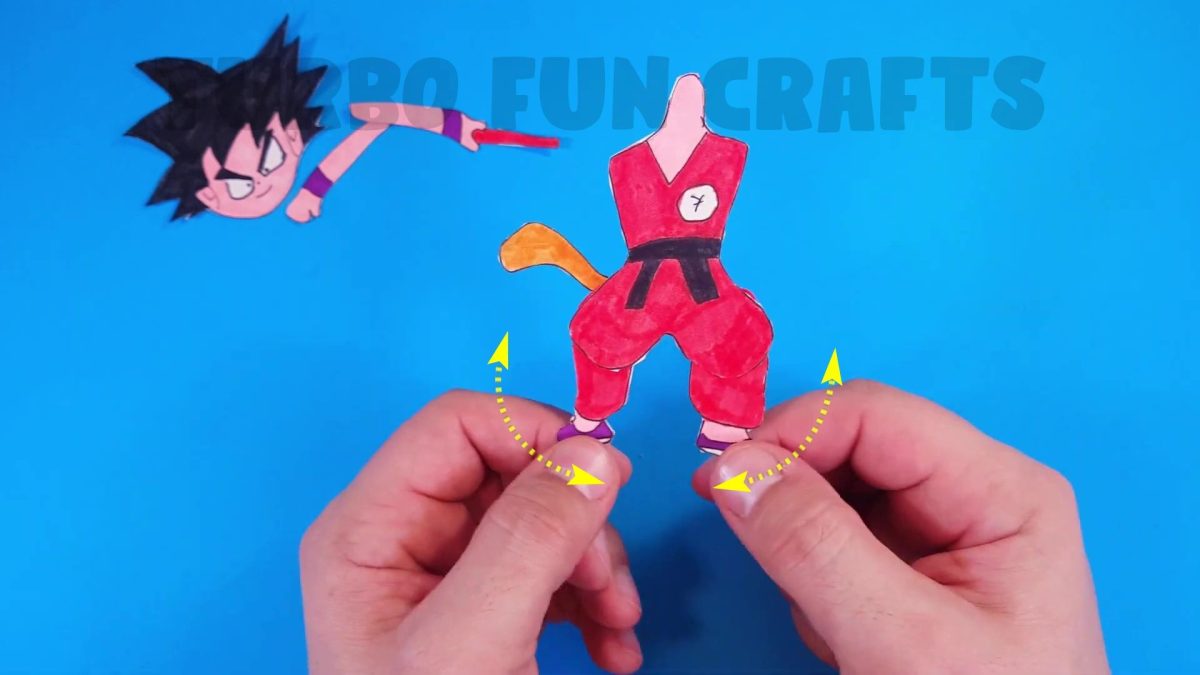
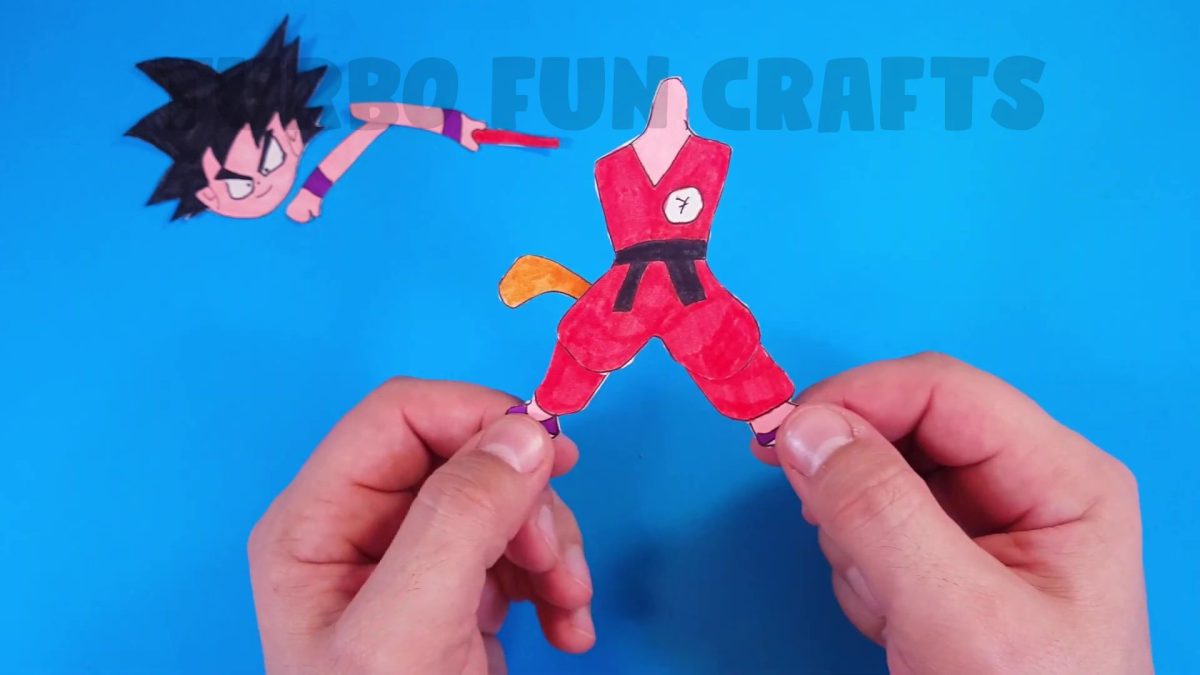
STEP 4 of how to make Moving Paper Puppet
In this step, you have to attach the arms to the puppet’s body.
This is how it should look like.
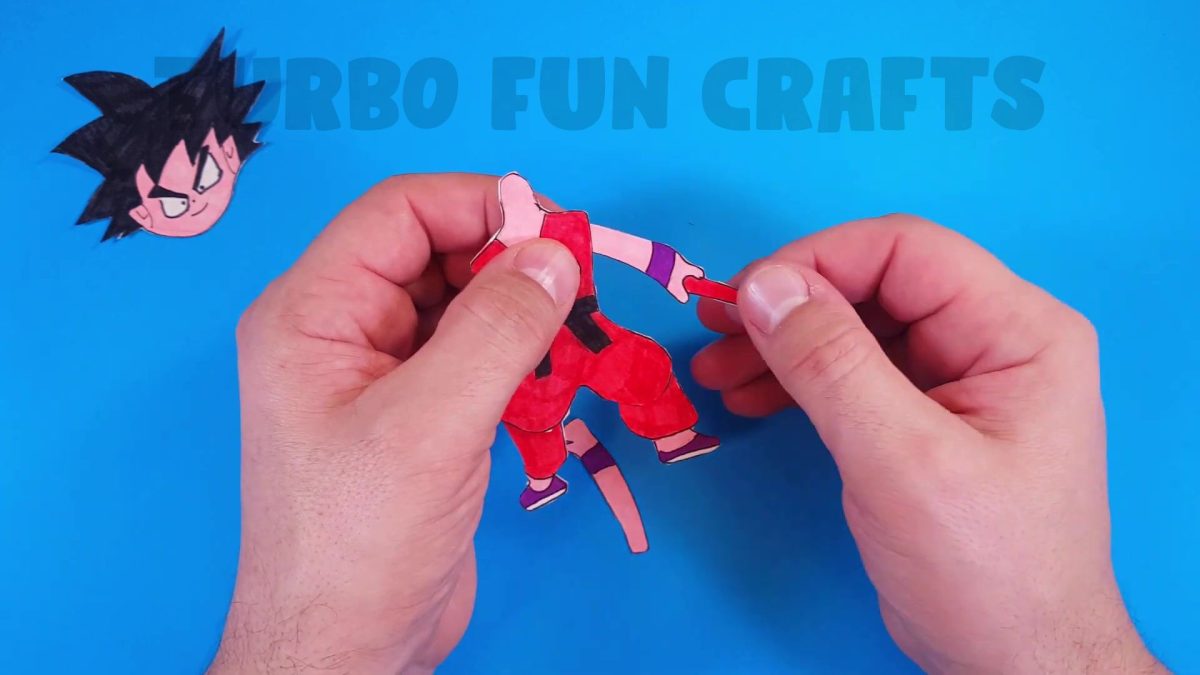
Take the first arm and make a mark on the reverse side of the puppet’s body at the indicated place.
This is shown in the image below.

Make the same action with the second puppet’s arm.
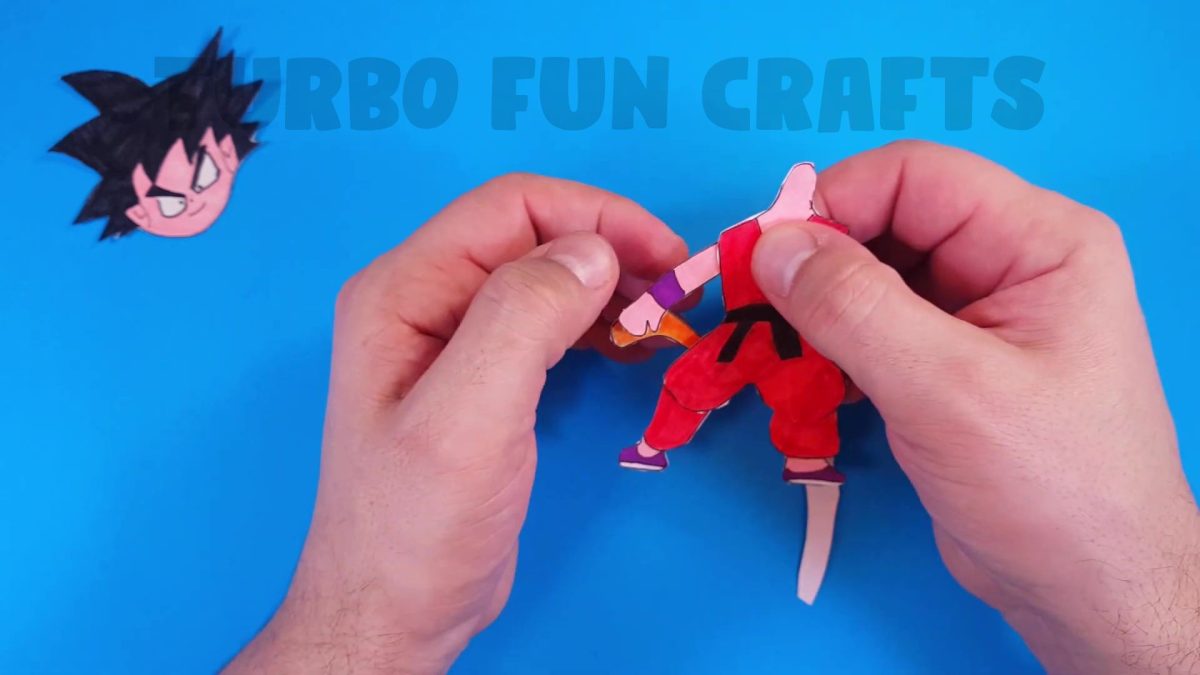

Attach the pieces of wire at the places of the just-made marks using double-sided tape.
This is how it should look like.

Attach the arms to the puppet’s body.
Make it in the same way as shown in the previous steps.


Fold down the ends of the wire in the same way as shown earlier.
This is how it should look like.

STEP 5 of how to make Moving Paper Puppet
Now you have to attach the head to the puppet’s body.
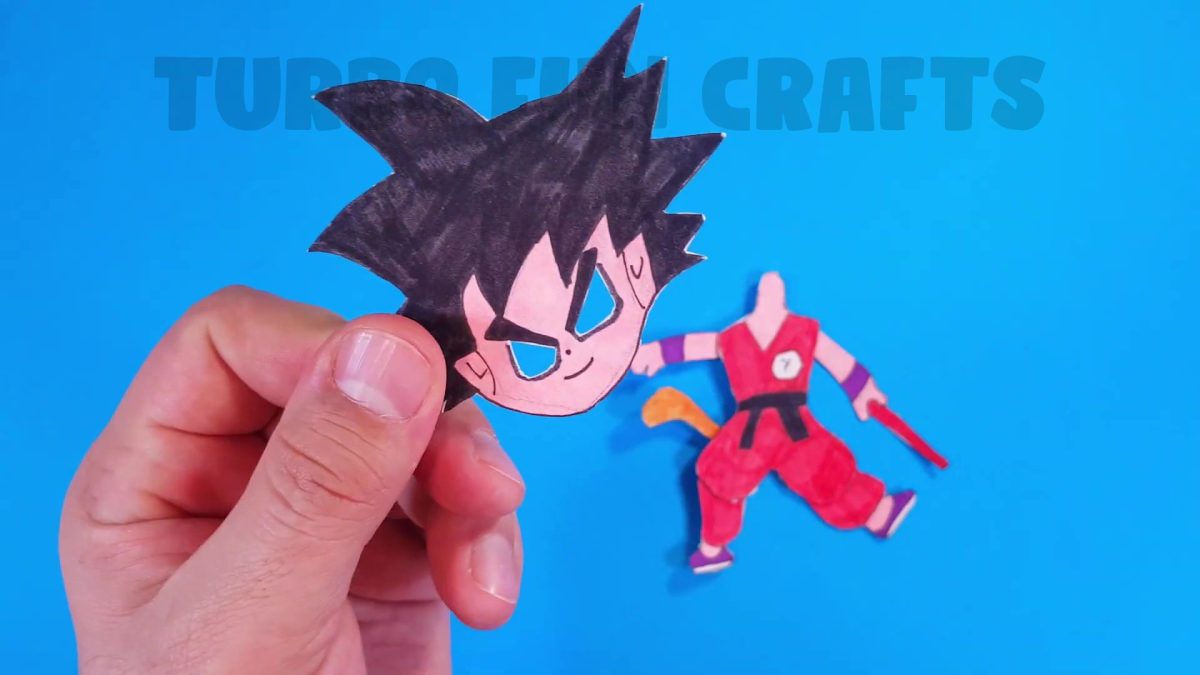
First of all, cut out the eyes.
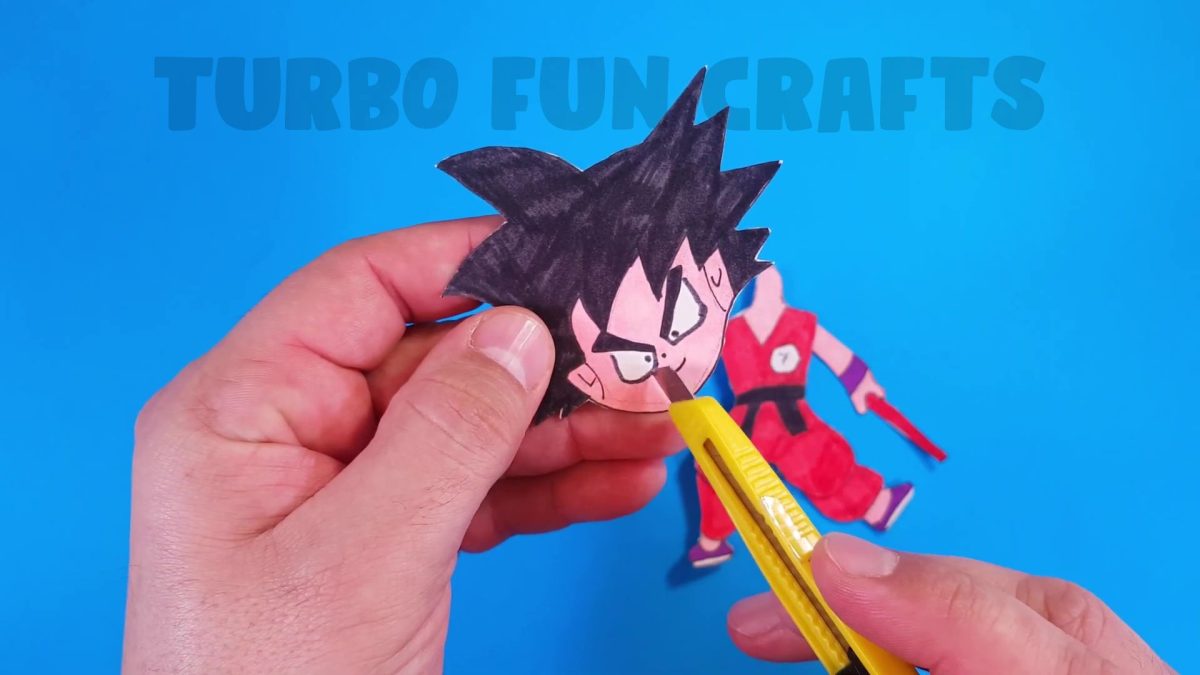
This is how it should look like.
Cut out the piece of cardboard in the specified shape shown in the image below.
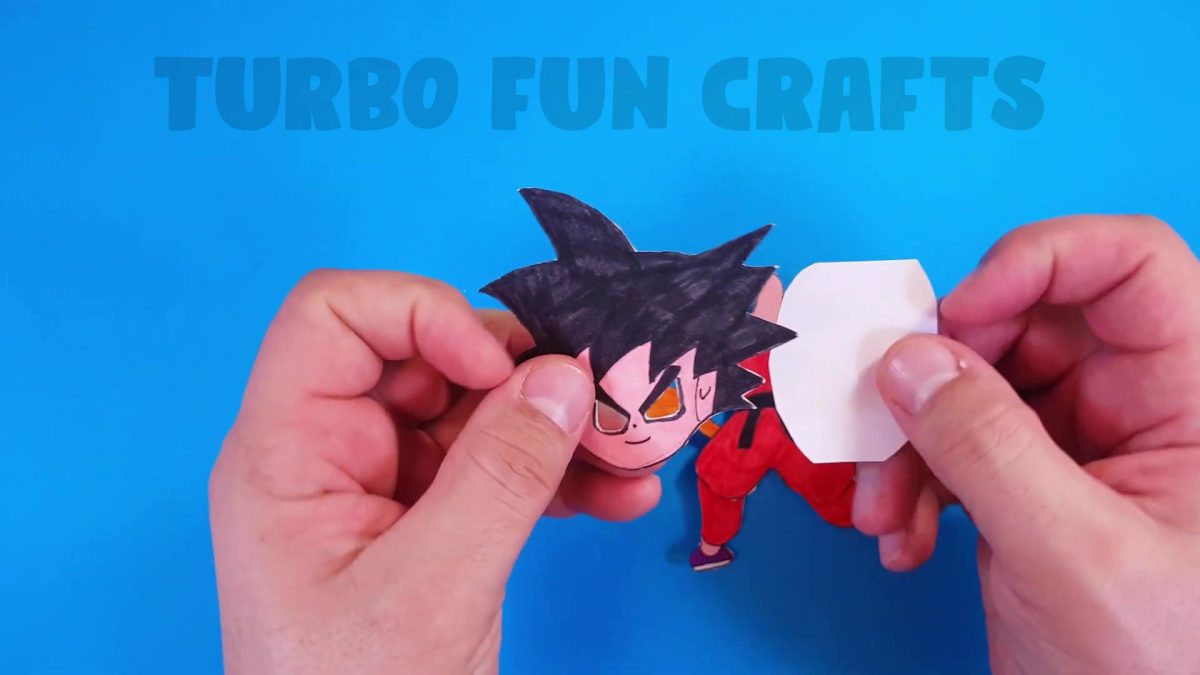
Tape the just-cut piece of cardboard to the back of the puppet’s head with double-sided duct tape.


Draw the puppet’s eyes using a permanent marker.
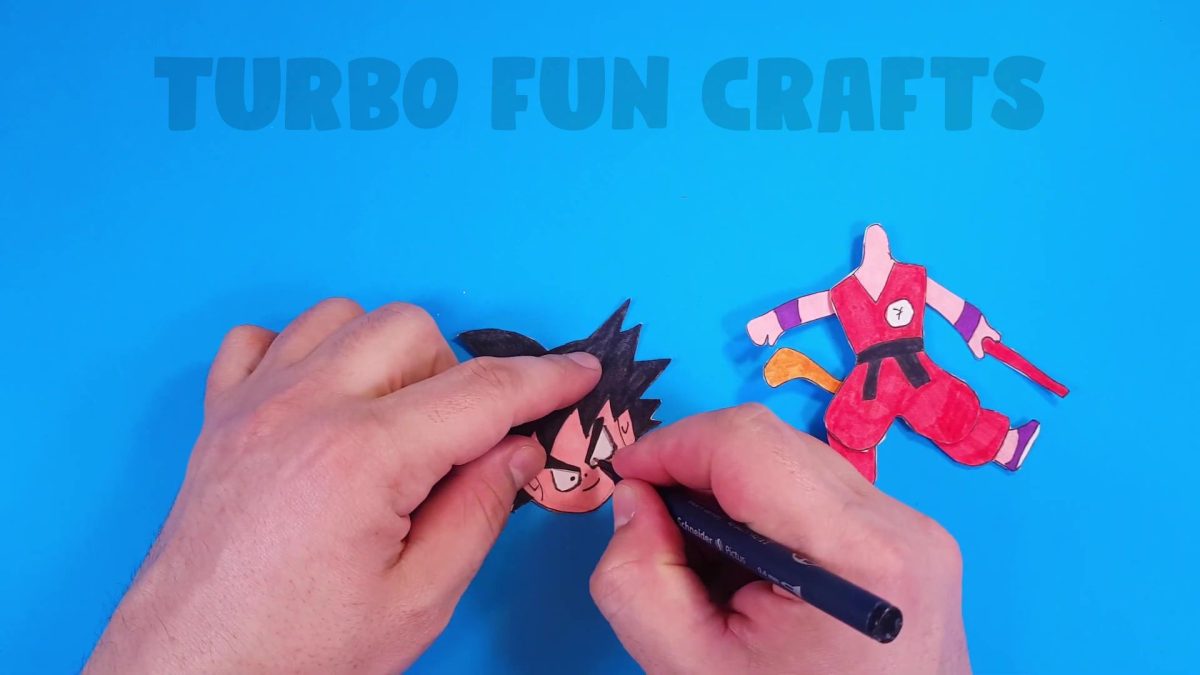
This is how it should look like.


Make marks at the indicated places in the just-attached cardboard piece using a pencil.


Make cuts along the marks you have made.

This is how it should look like.

Cut out a piece of cardboard in the specified shape.

Place the cardboard piece you have just cut out in the specified location, as shown in the image below.


Make marks at the indicated places as shown in the image below.

This is how it should look like.

Attach the pieces of wire at the places of the just-made marks using double-sided tape.
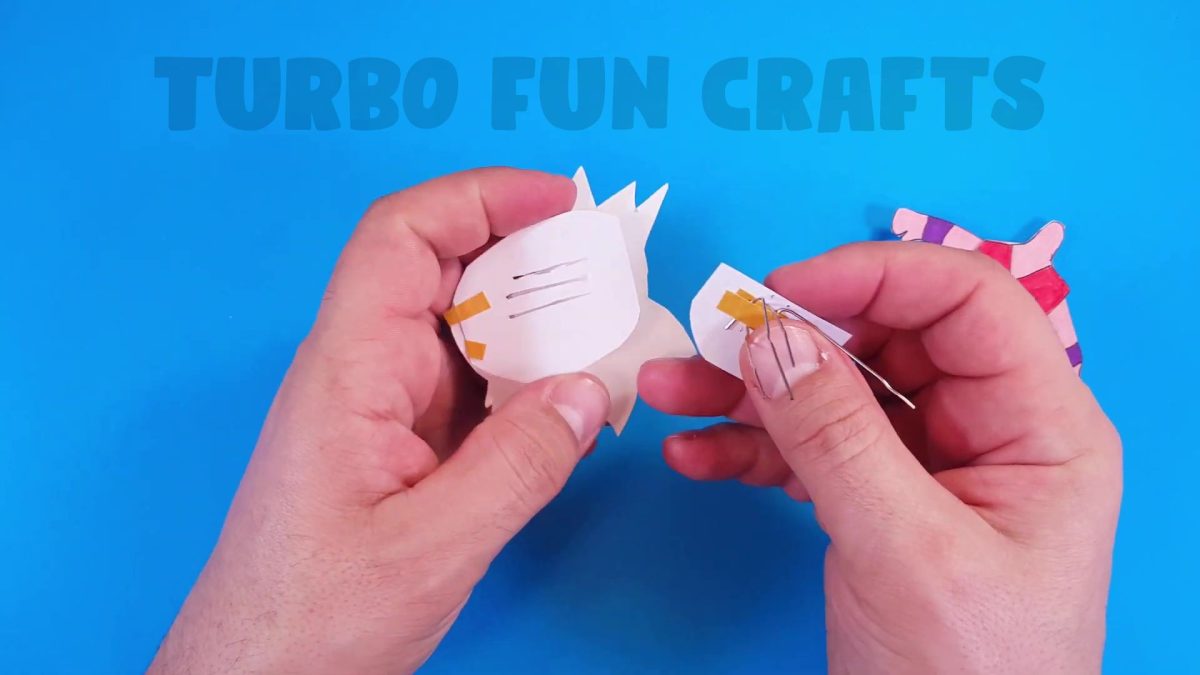
Attach the just-made cardboard piece to the puppet’s head.
Insert the ends of the wire pieces into the previously prepared cutouts.
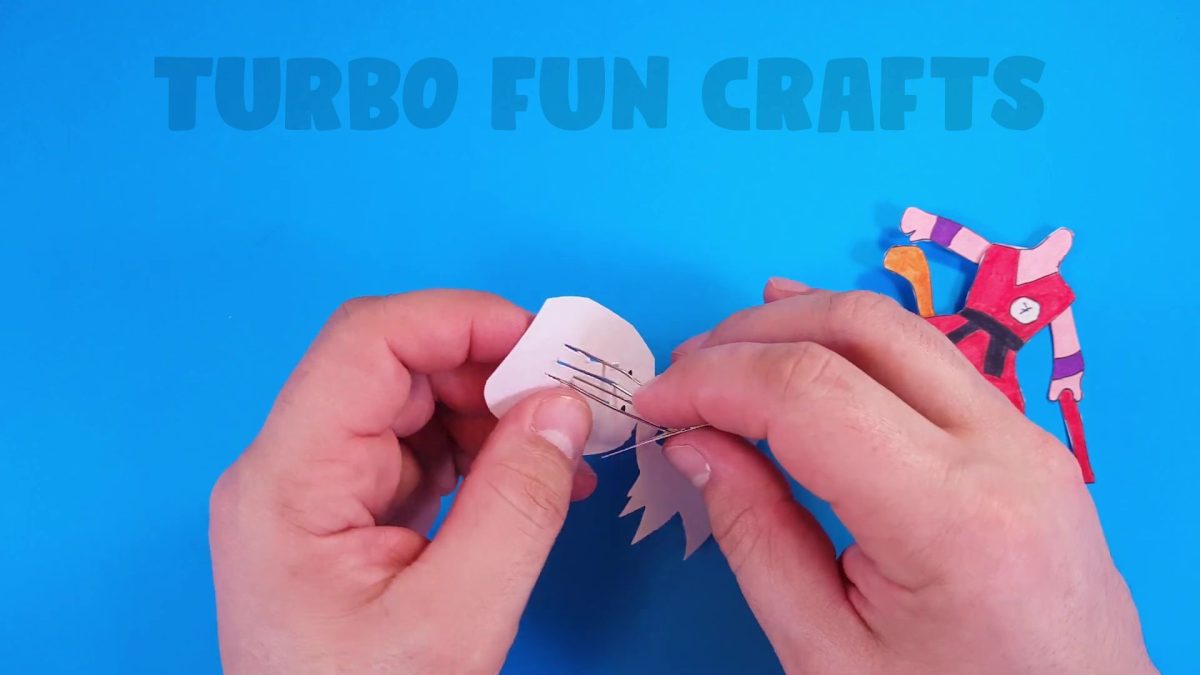
This is how it should look like.

Fix the construction using two pieces of double-sided duct tape.
This is how it should look like.
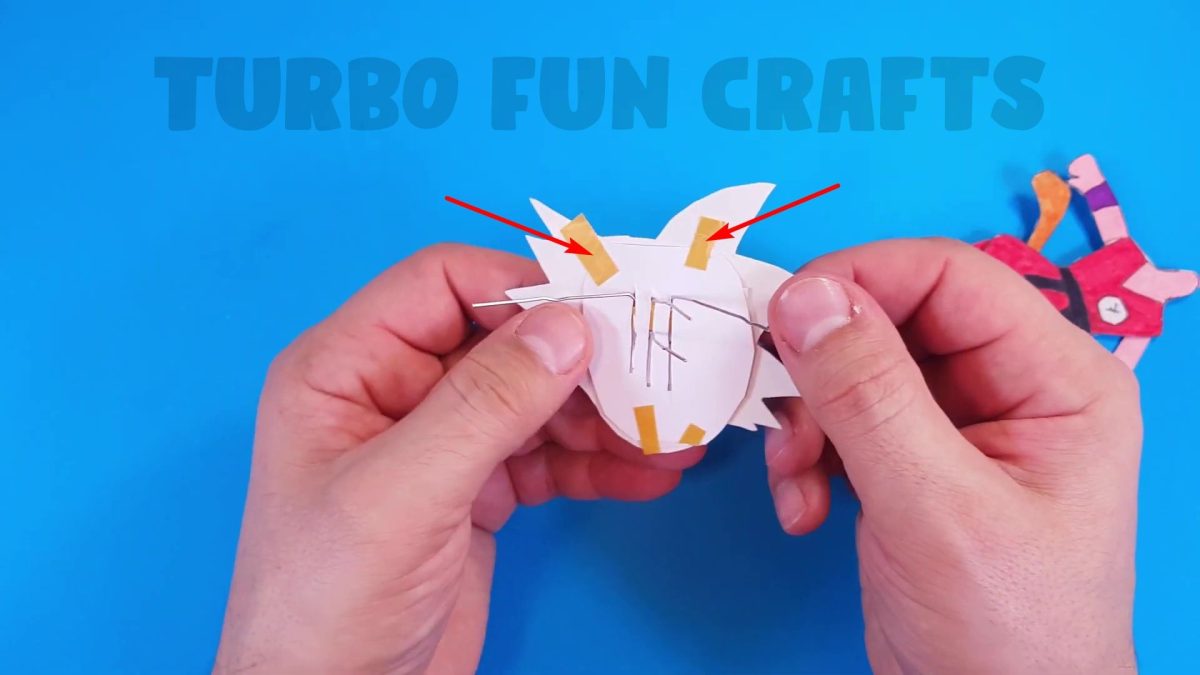
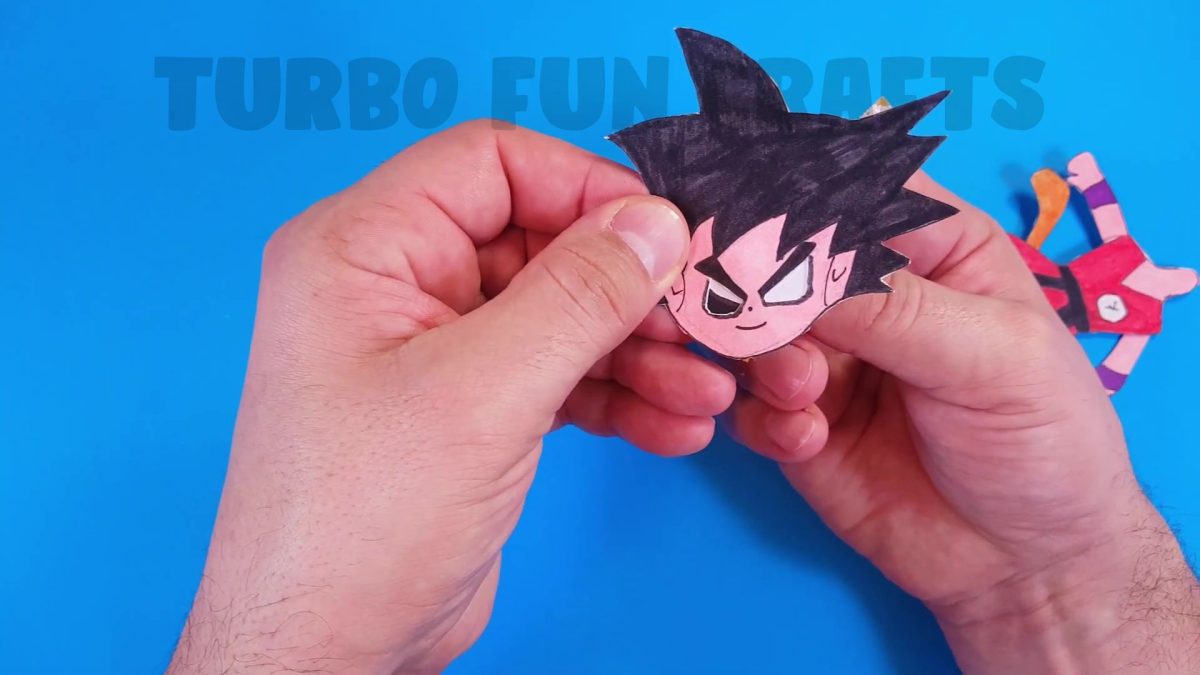
Now you can control the puppet’s eyes.
Move the ends of the wire up and down to open and close the puppet’s eyes.

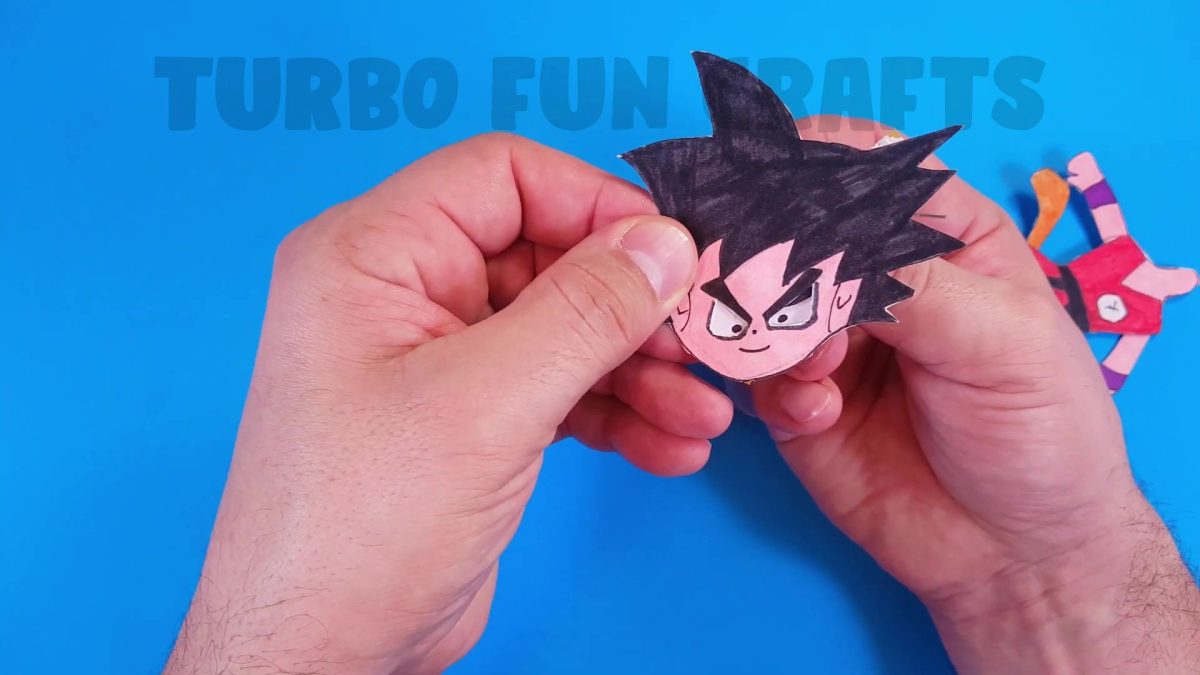
STEP 6 of how to make Moving Paper Puppet
Attach one more piece of wire to the back of the puppet’s head at the specified location using double-sided duct tape.
Please note that the piece of wire should be attached at the bottom of the puppet’s head.
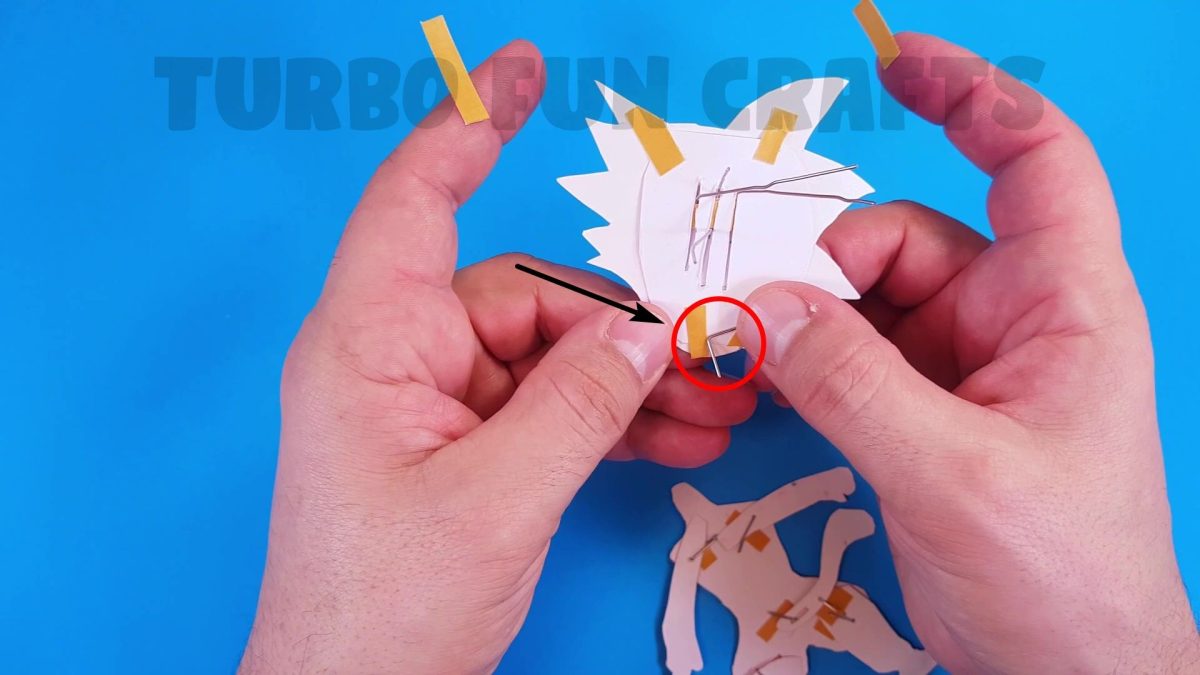
This is how it should look like.
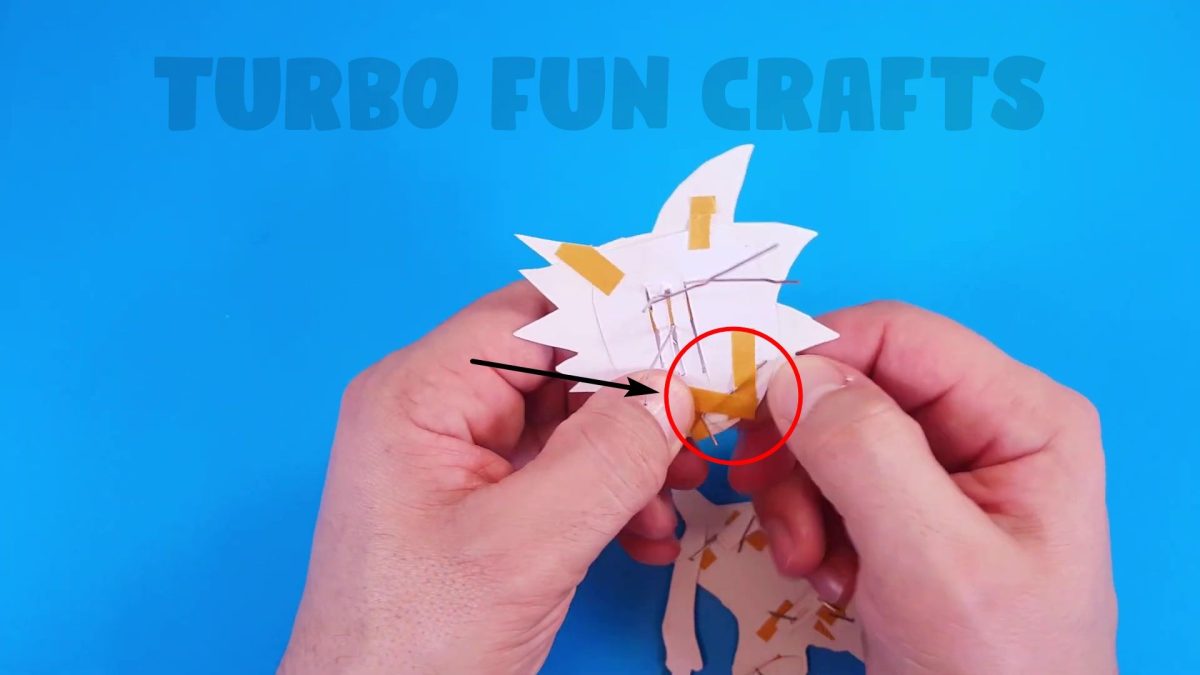
Make a hole in the puppet’s body at the indicated place.
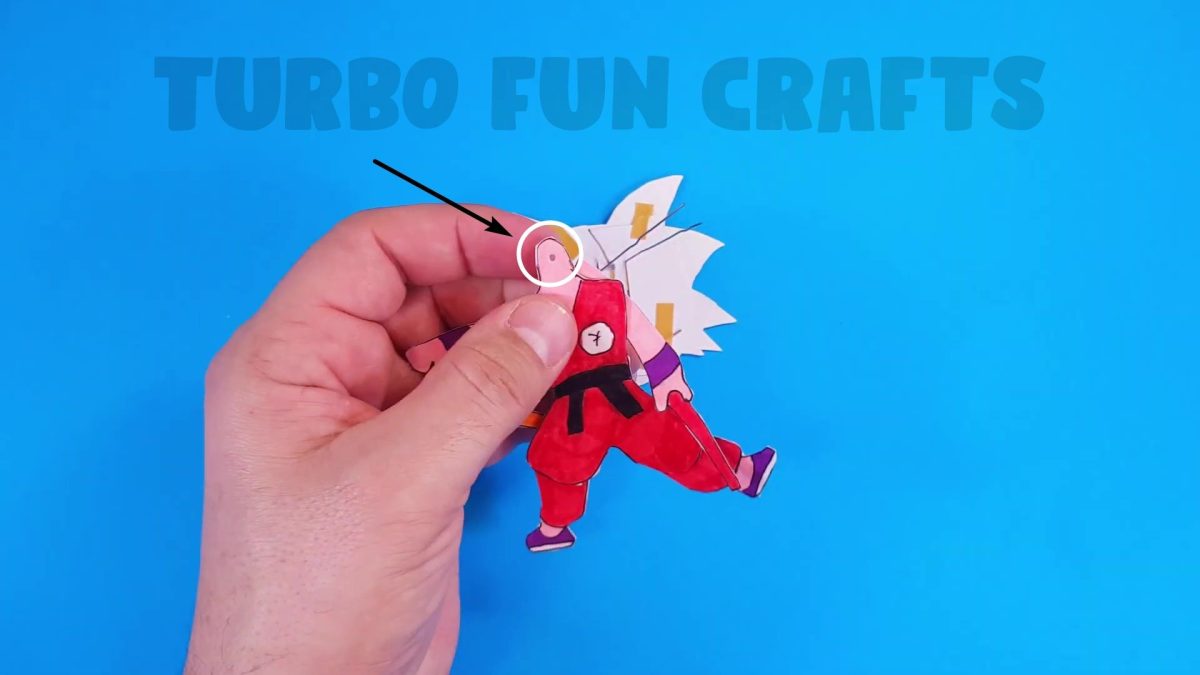
Attach the puppet head to the body.
Insert the end of the wire you have attached to the head into the hole you just made in the body, and fold down the end of the wire.
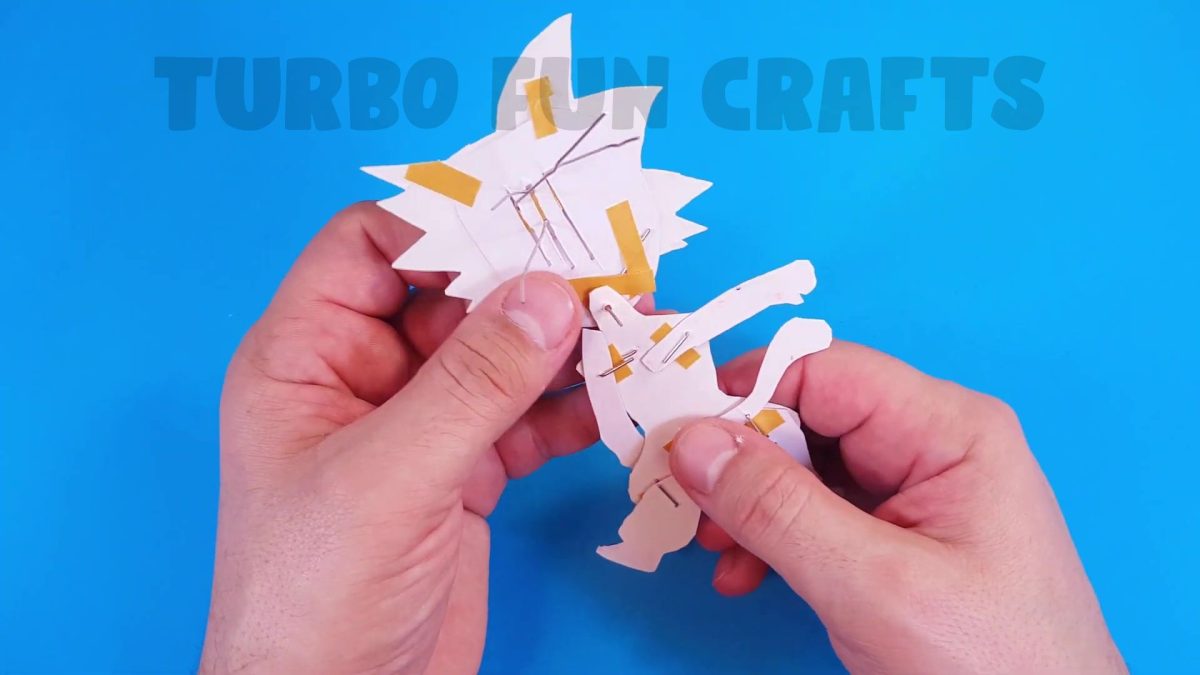
WELL DONE! 🙂
The Moving Paper Puppet is now ready!
You may also like other PARER CRAFTS from our collection 🙂
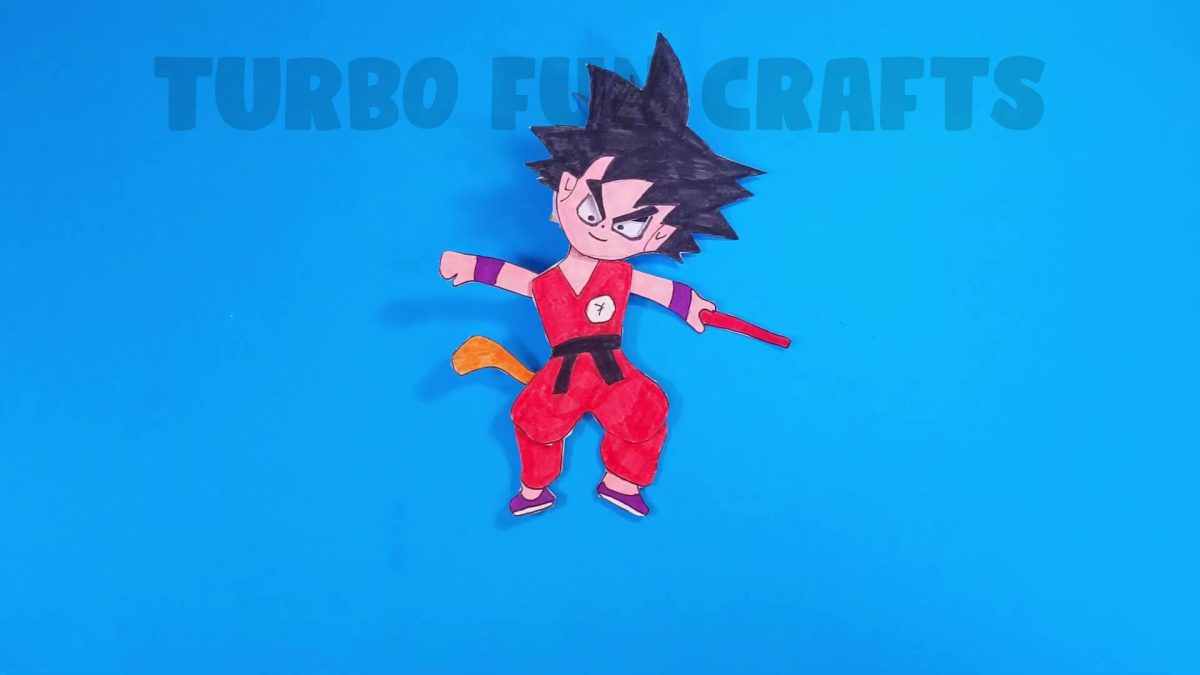
Impress your friends and enjoy hours of fun with this Living Paper Puppet!
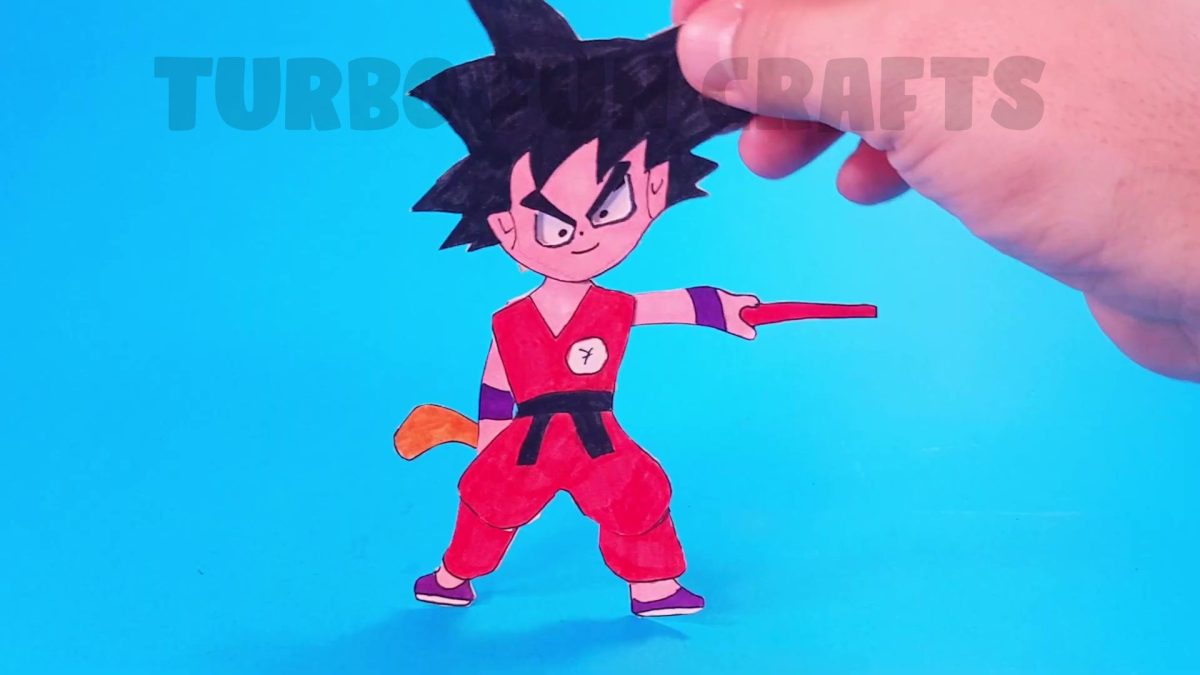
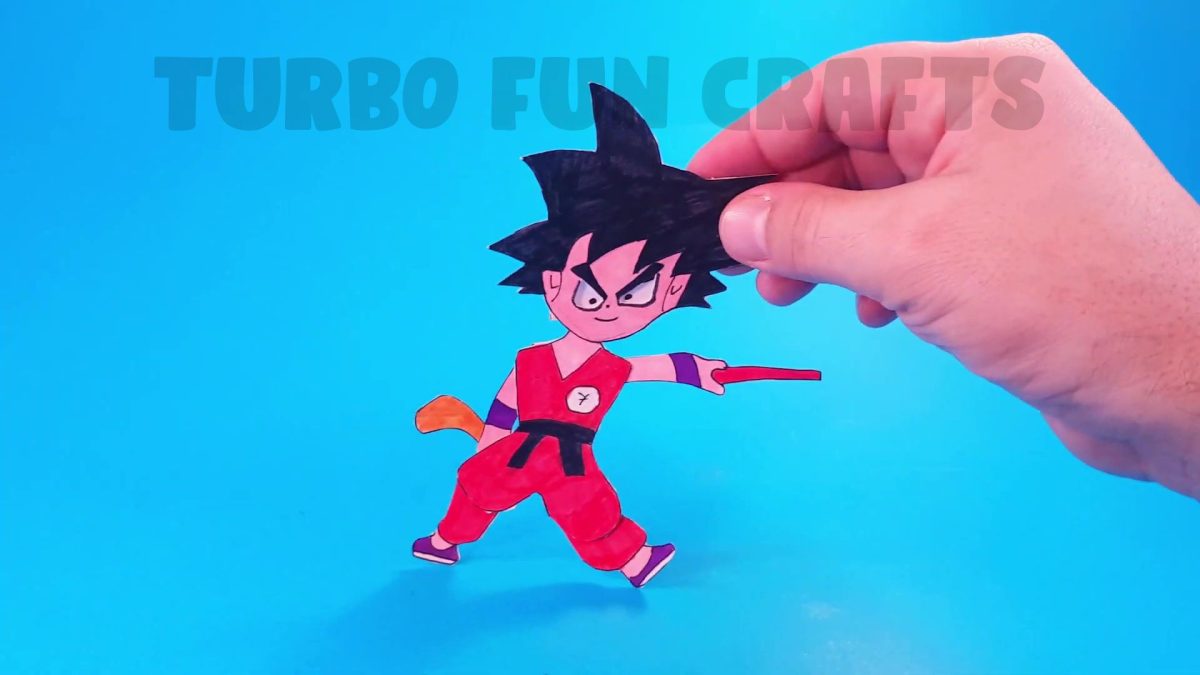

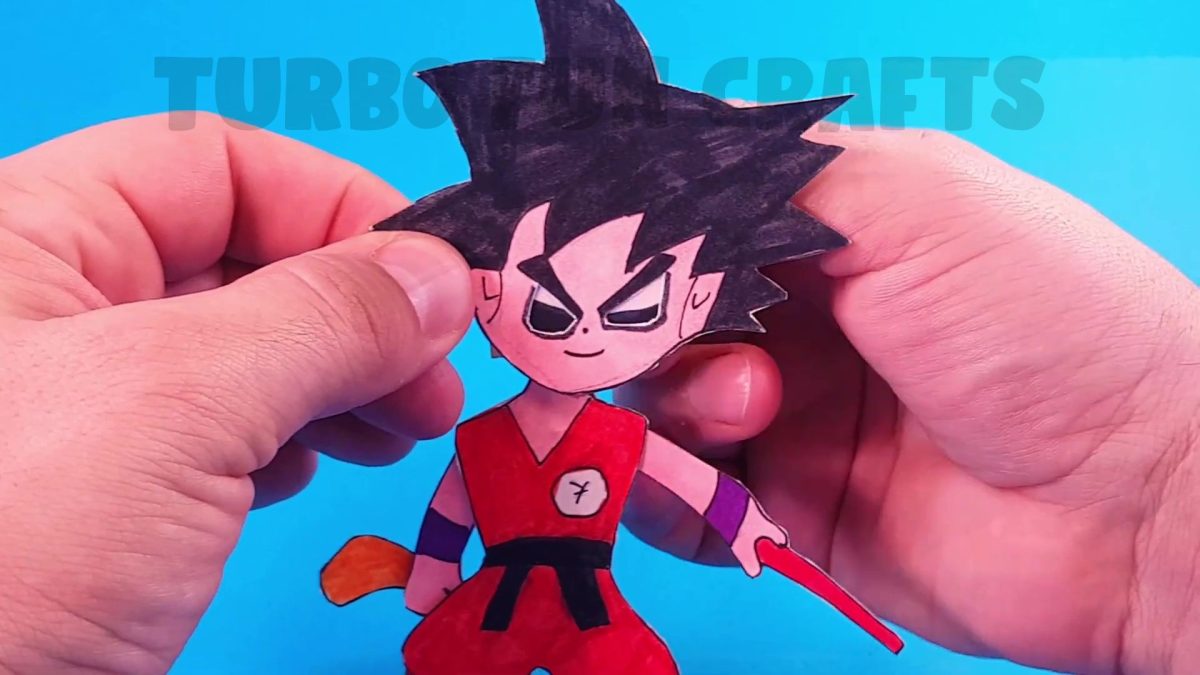
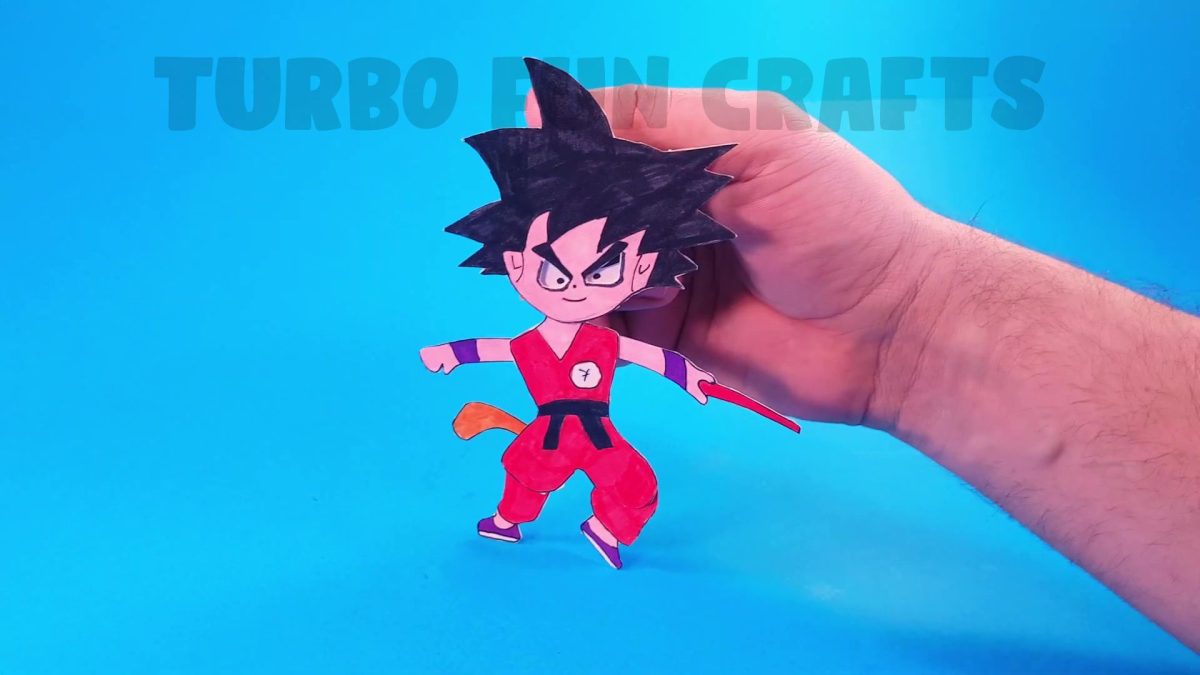
With just a few simple materials, you can create a wide range of unique and personalized paper puppets. Let your imagination run wild as you design characters, craft intricate details, and bring them to life with your artistic touch.
Discover the joy of captivating your audience with the expressive movements of your paper puppets. As you animate these enchanting creations, you’ll be able to captivate and entertain both young and old.
Moreover, one of the best things about making moving paper puppets is that it’s an affordable craft. You don’t need expensive materials or tools to get started, making it accessible to everyone who wants to explore their creative side.
Making paper puppets can be a fantastic bonding activity for families and friends. Collaborate with loved ones to design and create unique puppets, fostering teamwork and creating lasting memories.
In conclusion, get ready to embark on an enchanting adventure with the art of making moving paper puppets. With their expressive movements, affordability, endless customization options, and educational benefits, these paper crafts are a perfect way to channel your creativity and captivate your audience. So, gather your materials, let your imagination soar, and create your very own living puppets out of paper.


