How to make Paper Finger Gun | Mini Gun that shoots Paper Bullets | Best office Paper Nerf Gun | Creative Paper Crafts
Dear friends! 🙂 Welcome to the world of Creative Paper Crafts! In this article, we’ll share with you a fun and quirky DIY Project on how to make a Paper Finger Gun that will surely bring a smile to your face 🙂
Unleash your inner artist with this detailed step-by-step tutorial on how to make a Finger Mini Gun that shoots paper bullets and serves as the ultimate office-friendly Nerf Gun alternative.
This Easy Paper Craft is bound to captivate your imagination and spark your creativity. It’s perfect for office battles, stress-relief breaks, or simply adding a touch of playfulness to your workspace 🙂
Please scroll down for a step-by-step tutorial on how to make a Paper Finger Gun

HERE IS THE TUTORIAL:
Materials You’ll Need:
- A4 sheet of white paper
- 5 sheets of paper in different colors
- double-sided duct tape
- rubber band
- scissors
- utility knife
- glue gun
STEP 1 of how to make Paper Finger Gun
Take an A4 white paper sheet.

Glue the strip of double-sided duct tape to the top edge of the sheet.

Remove the protective paper layer from the duct tape.

Roll a paper sheet into a tube and secure the edge of the paper with the double-sided duct tape glued earlier.

This is how it should look like.

Take a piece of paper measuring 4 by 20 cm.

Glue a piece of double-sided duct tape to the edge of the sheet.
This is shown in the images below.

Remove the protective paper layer from the duct tape.

Roll the piece of paper into a tube.
You may use a wooden stick for convenience.


Secure the edge of the paper with the double-sided duct tape glued earlier.
This is how it should look like.

Take a piece of paper measuring 3 by 20 cm.

Glue a strip of double-sided duct tape to the edge of the paper piece.

Remove the protective paper layer from the duct tape.

Roll the paper piece into a tube.
Use the previously prepared paper tube for this purpose.
This is shown in the images below.


This is how it should look like.


You may also like other PARER CRAFTS from our collection 🙂
STEP 2 of how to make Paper Finger Gun
Take a paper piece measuring 3 by 29 cm.

Glue a piece of double-sided duct tape to the edge of the paper.

Remove the protective paper layer from the duct tape.

Roll the paper strip into a tube the size of your index finger.
This is how it should look like.

Secure the edge of the paper with the double-sided duct tape glued earlier.

Make sure the tube is the right size for your finger and the finger bends easily.

Take a paper piece measuring 3 by 29 cm.

Do the same actions with the paper piece.
Roll the paper strip into a tube the size of your index finger.
This is shown in the images below.


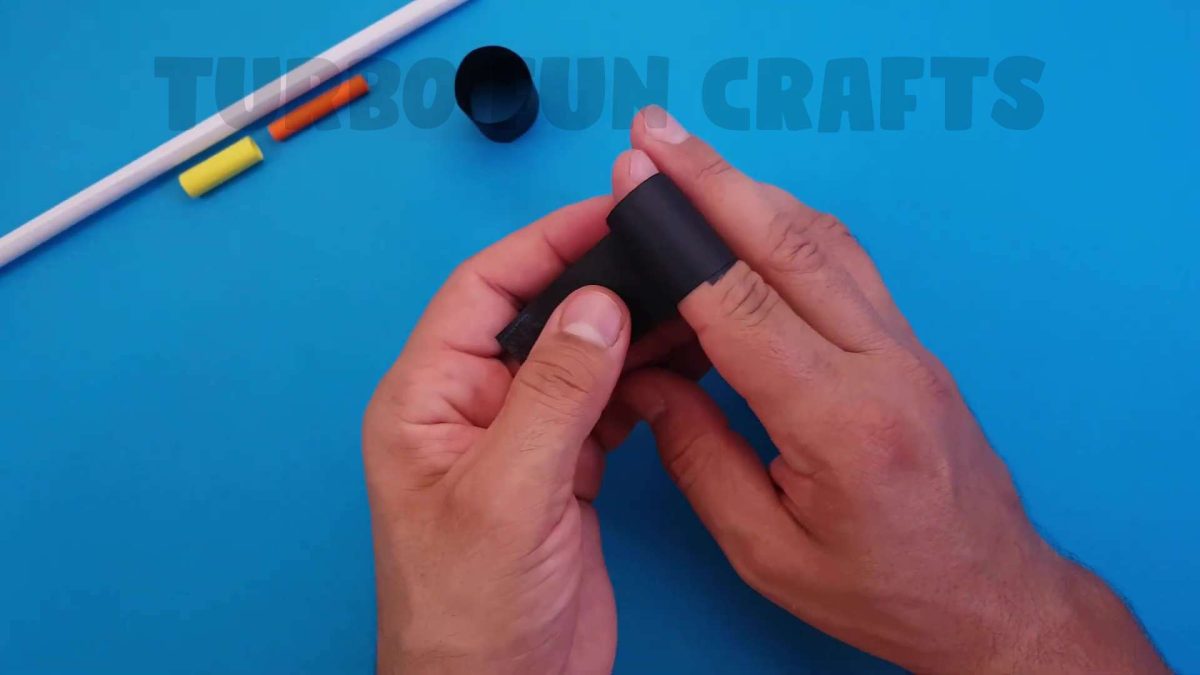
Secure the edge of the paper with the double-sided duct tape glued earlier.

Make sure the tube is the right size for your finger.
This is how it should look like.

You may also like: How to make Paper Mini Gun | Easy Paper Gun that shoots Paper Bullets | DIY Paper Nerf Gun
STEP 3 of how to make Paper Finger Gun
Take a paper piece measuring 10 by 10 cm.

Fold the paper in half and meet the right edge with the left edge.


Unfold the paper and place it as shown in the image below.

Fold the bottom edge and meet it with the middle of the sheet.
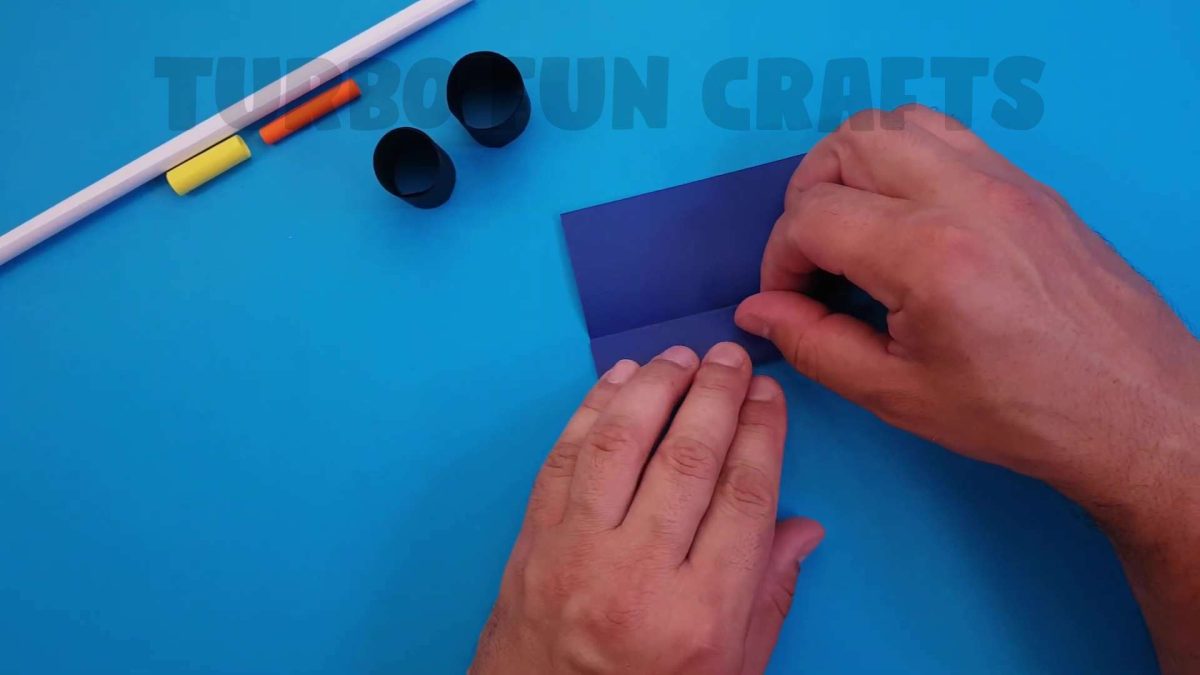
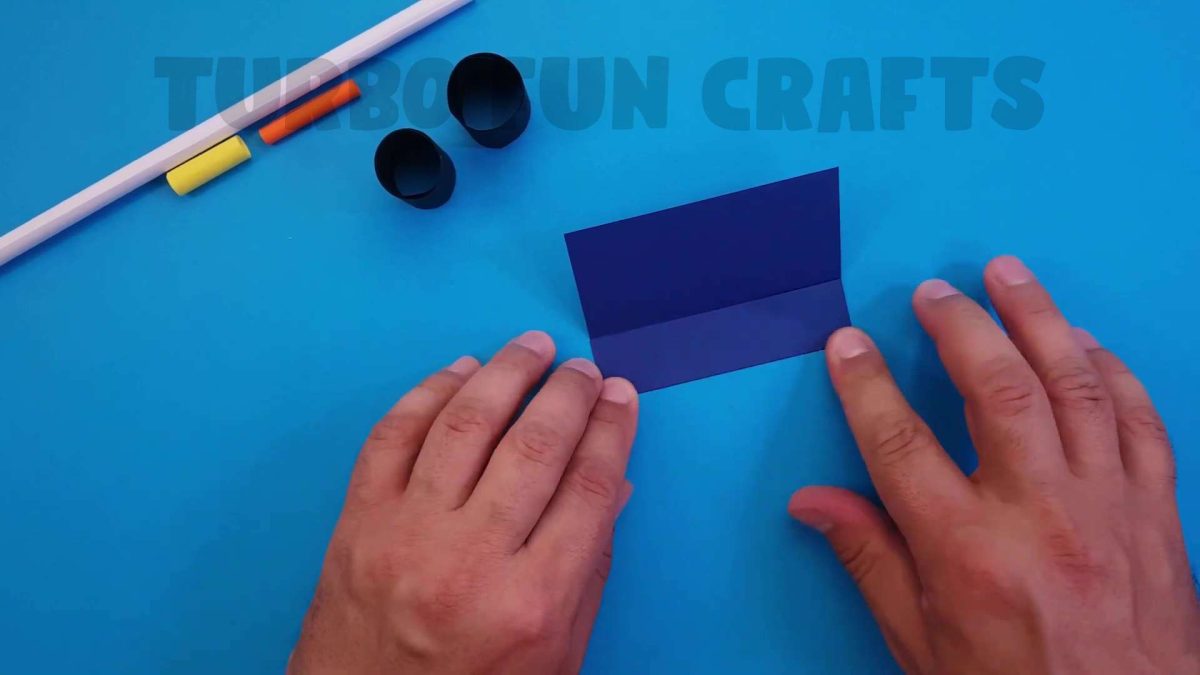
Rotate the sheet by 180 degrees and make the same action with another edge.
Fold it in the same way.
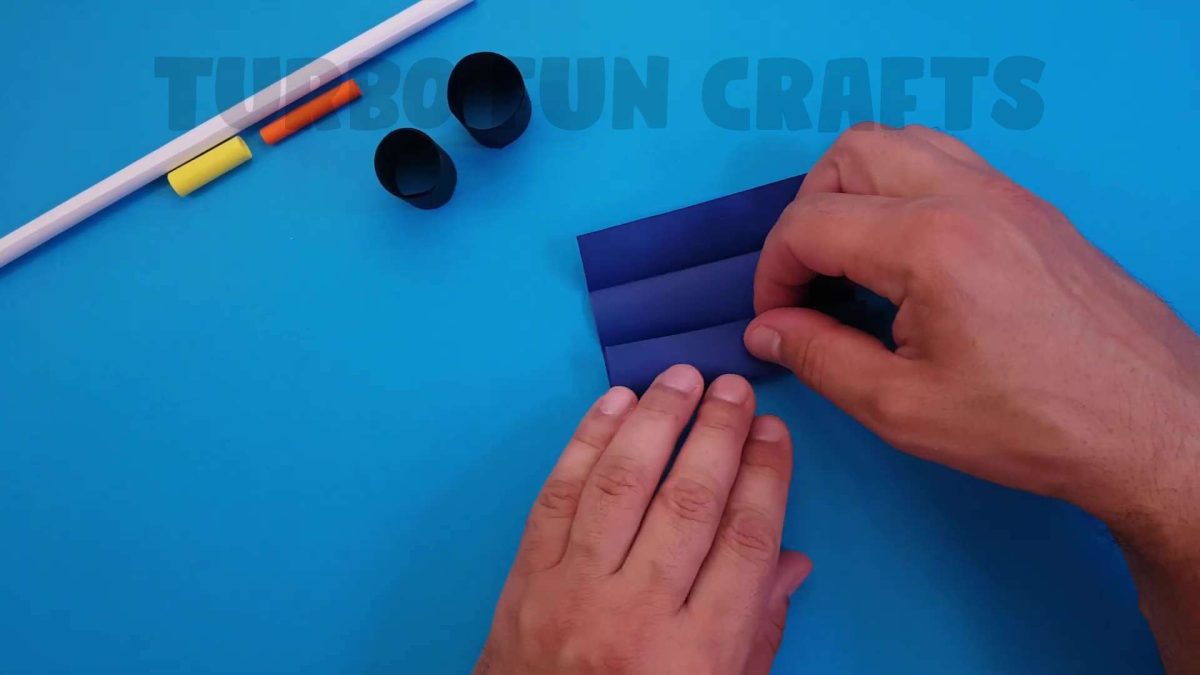

Fold the bottom edge one more time and meet it with the middle of the sheet.
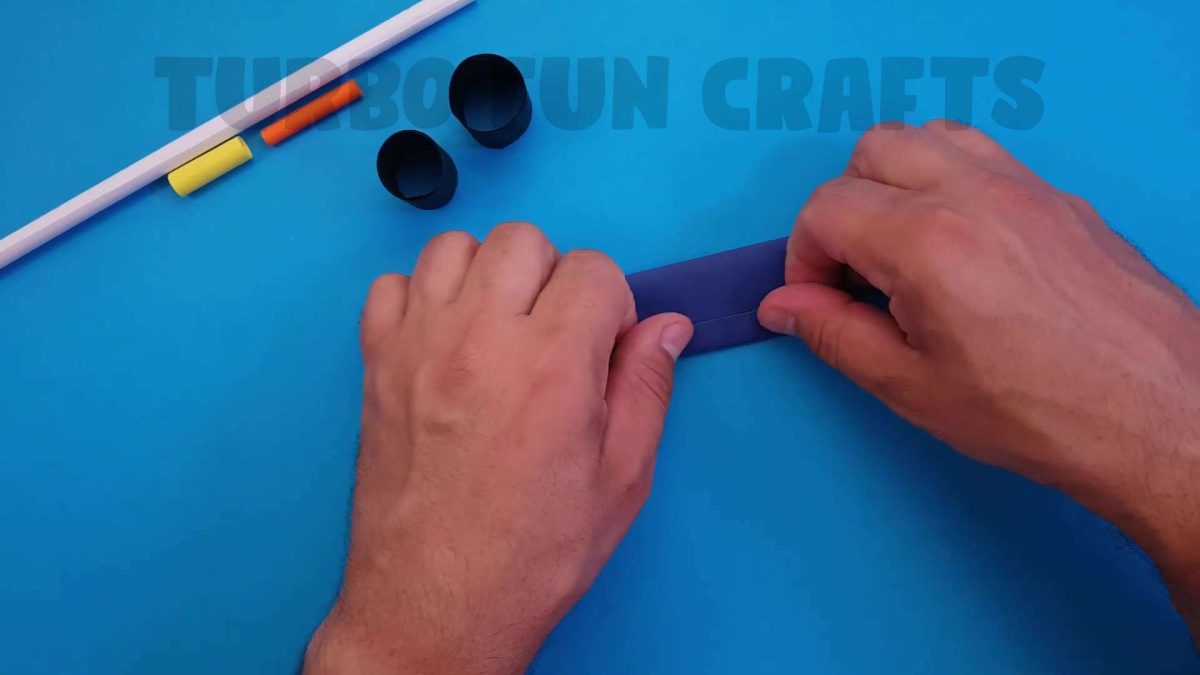
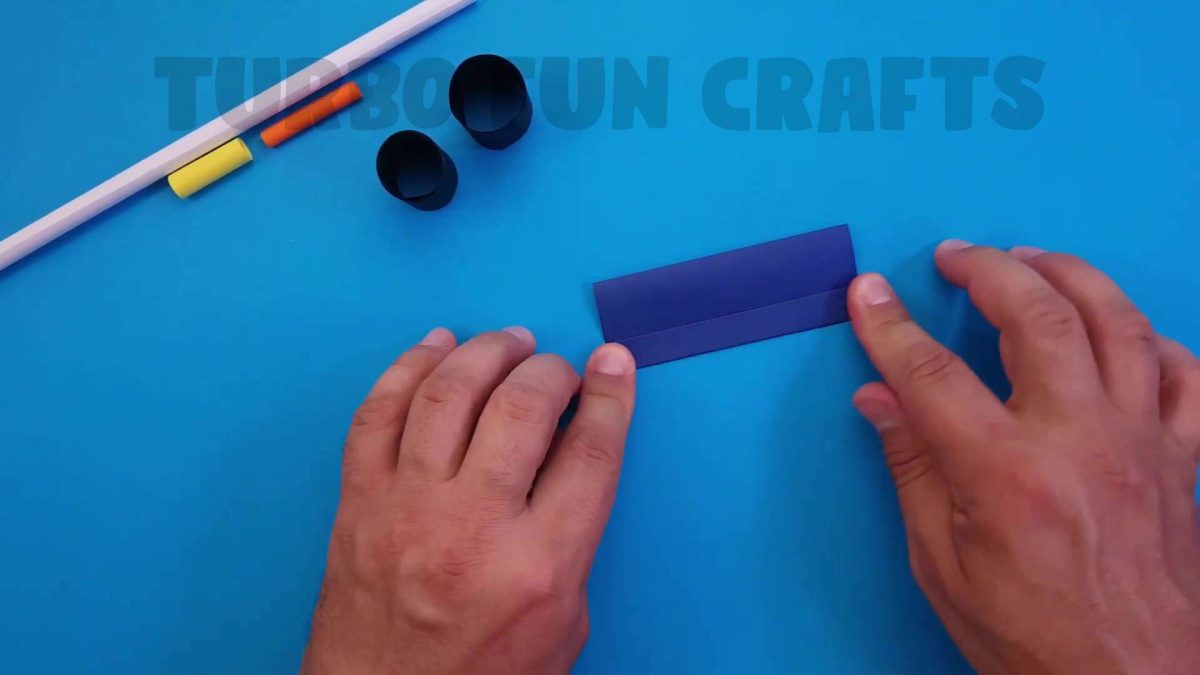
Rotate the paper by 180 degrees and make the same action with another edge.
Fold it in the same way.
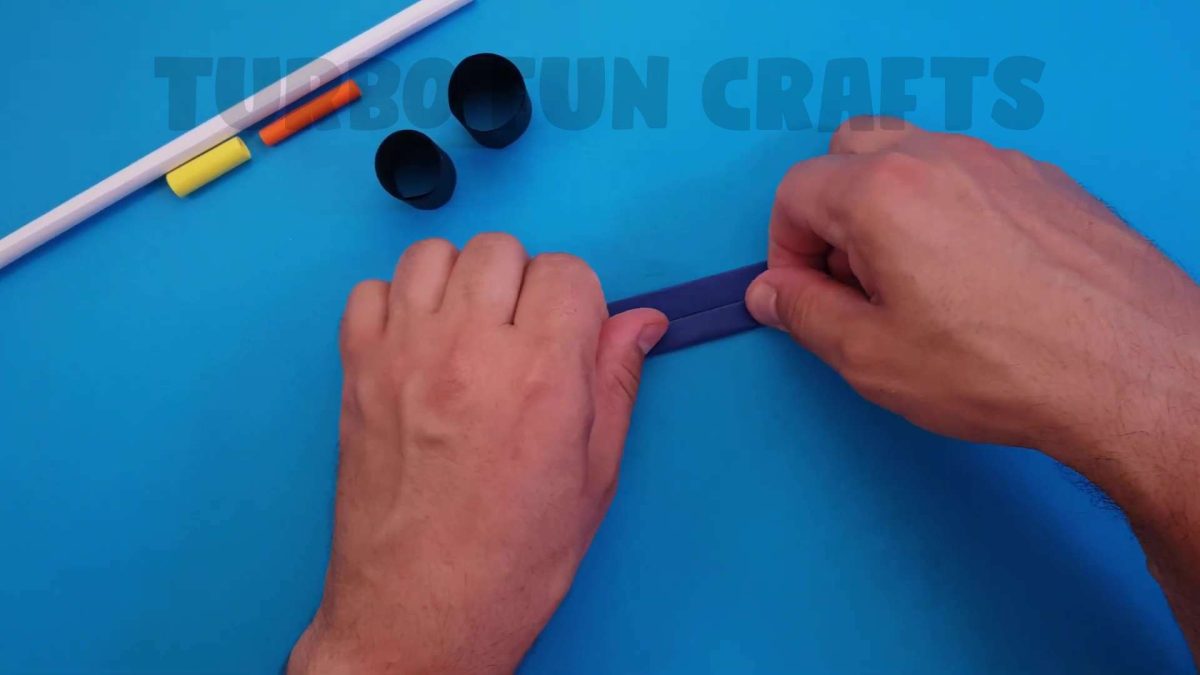
This is how it should look like.

Fold the paper in half and meet the bottom edge with the top edge.
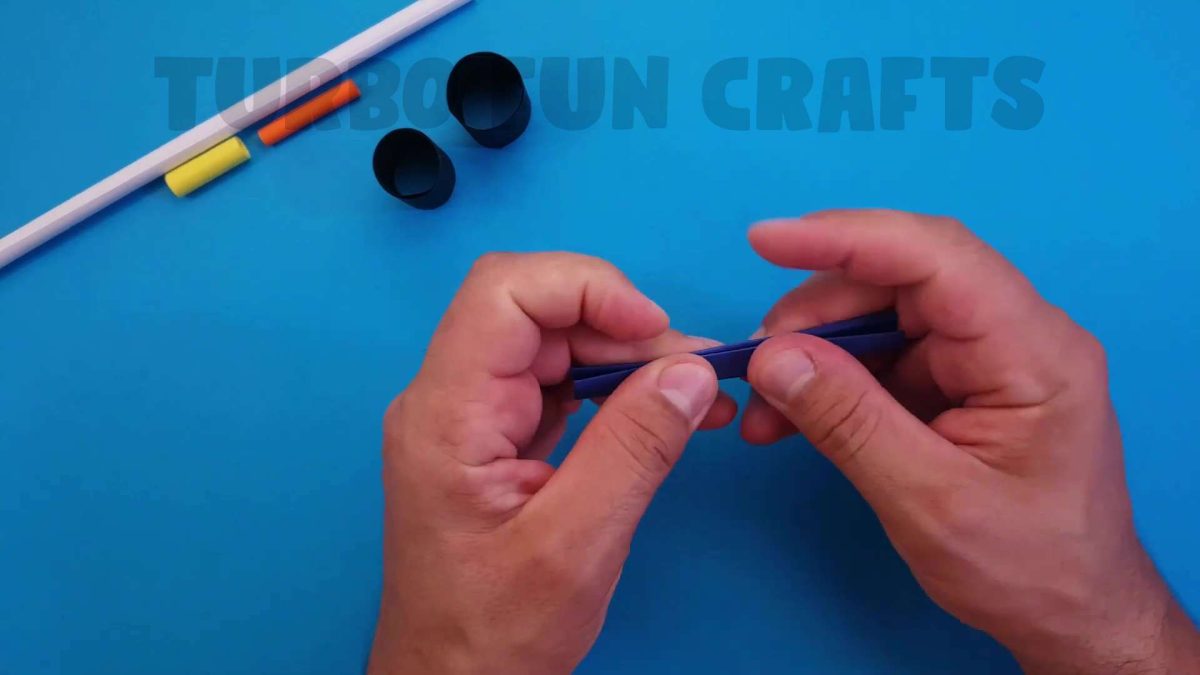
Take a strip of double-sided duct tape and glue it to the bottom half of the paper.

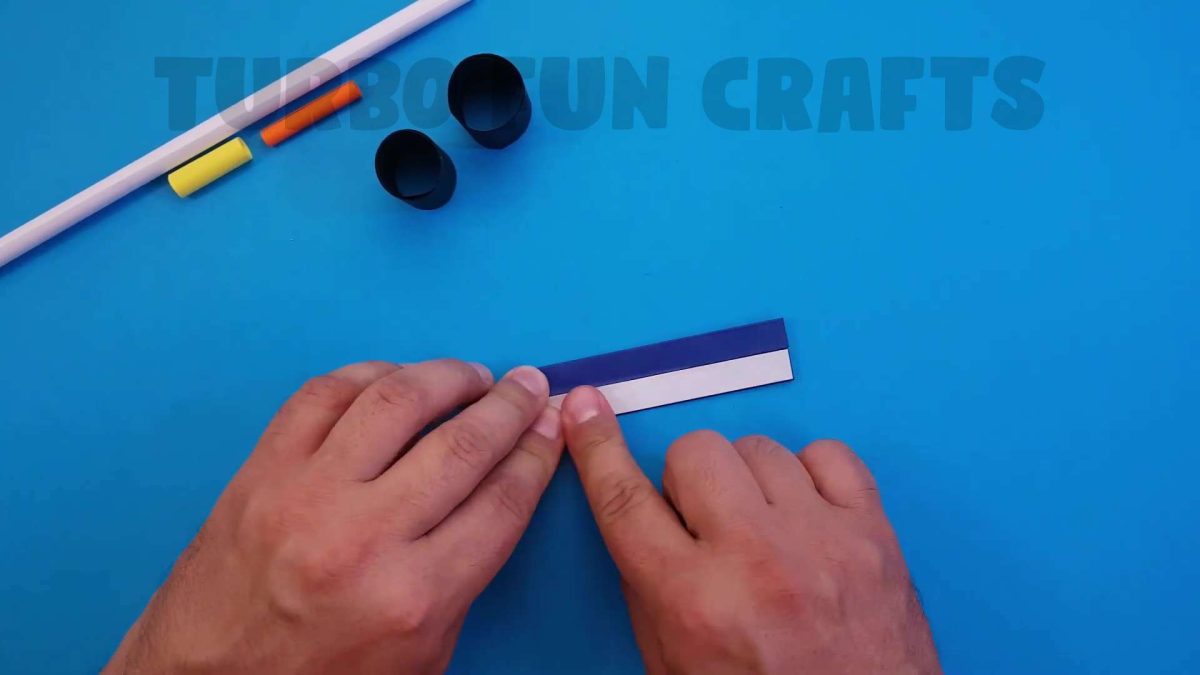
Remove the protective layer from the tape and glue the edges of the paper to each other.

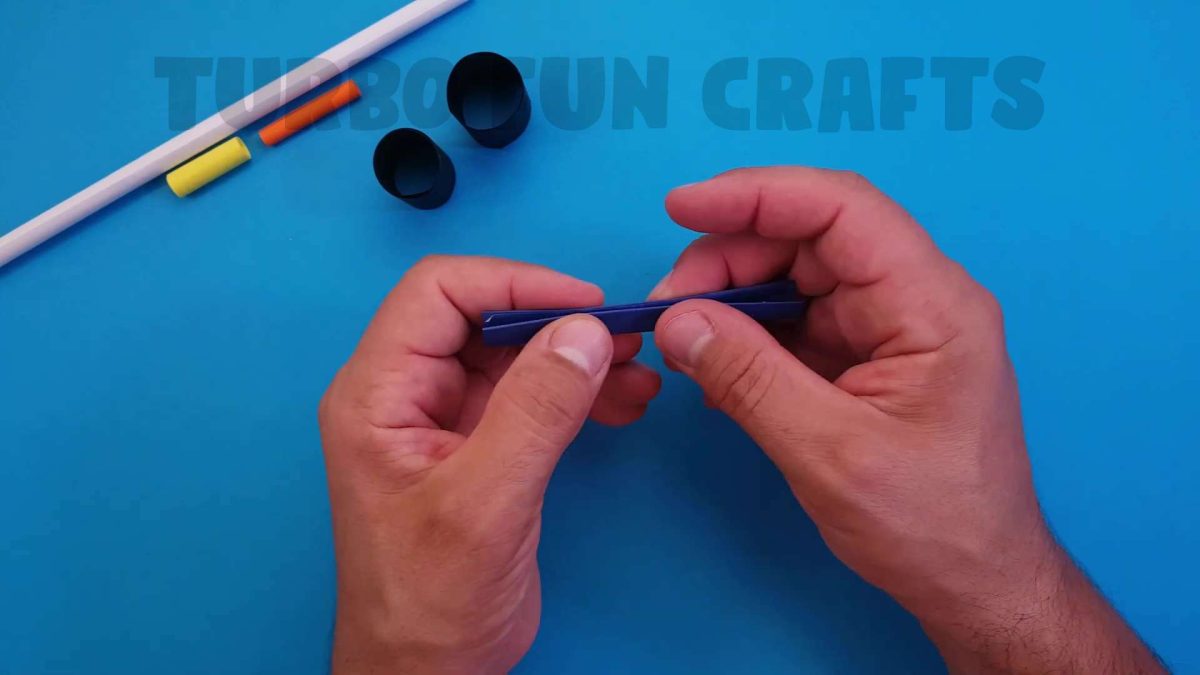
This is how it should look like.
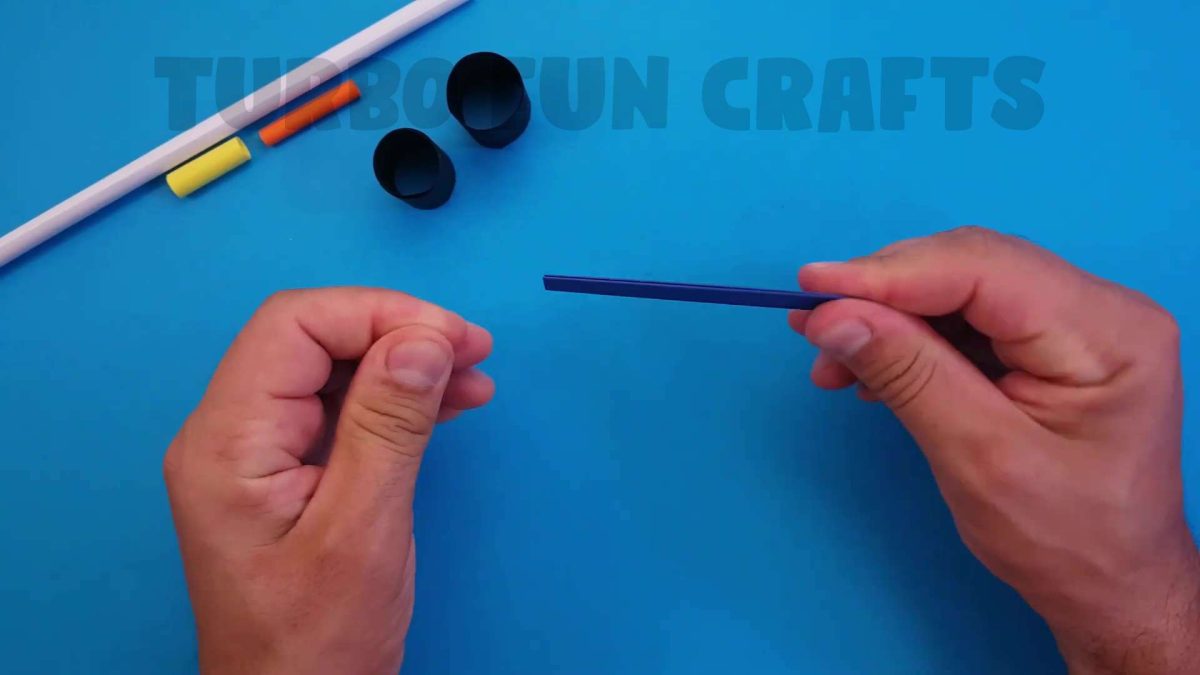
You may also like: How to make Paper Mini Football | Easy Paper Crafts | Moving Paper Toys in 3 Minutes | Antistress Origami Toy
STEP 4 of how to make Paper Finger Gun
Make cuts at the indicated places as shown in the images below.
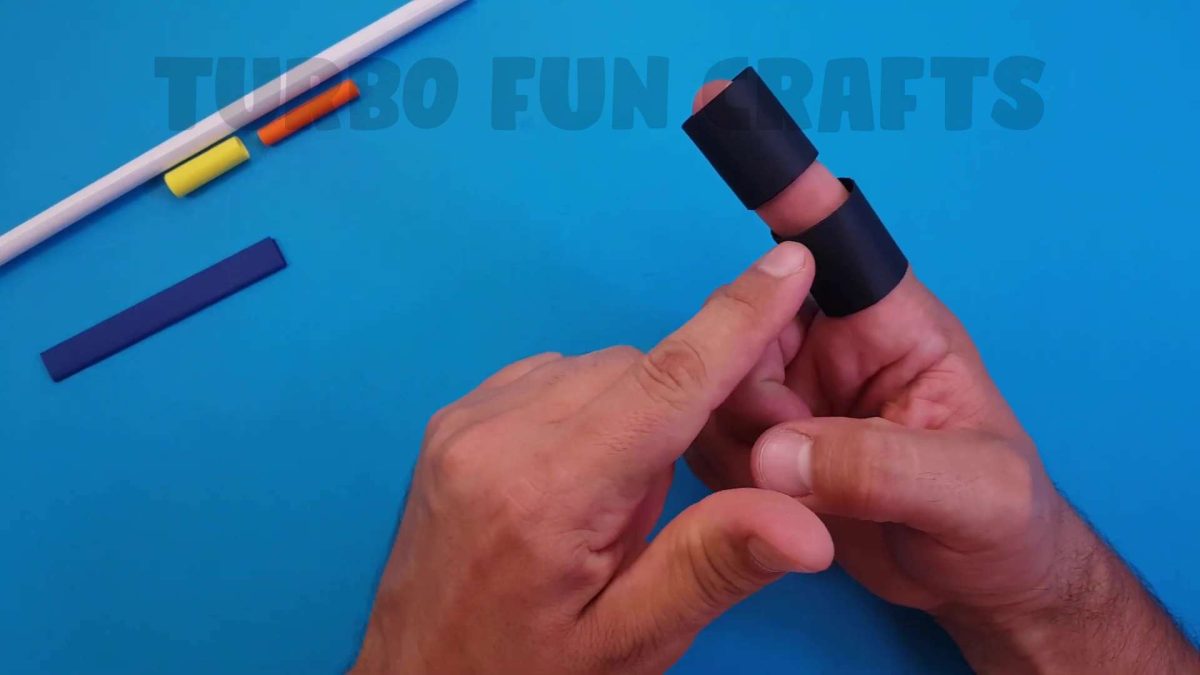
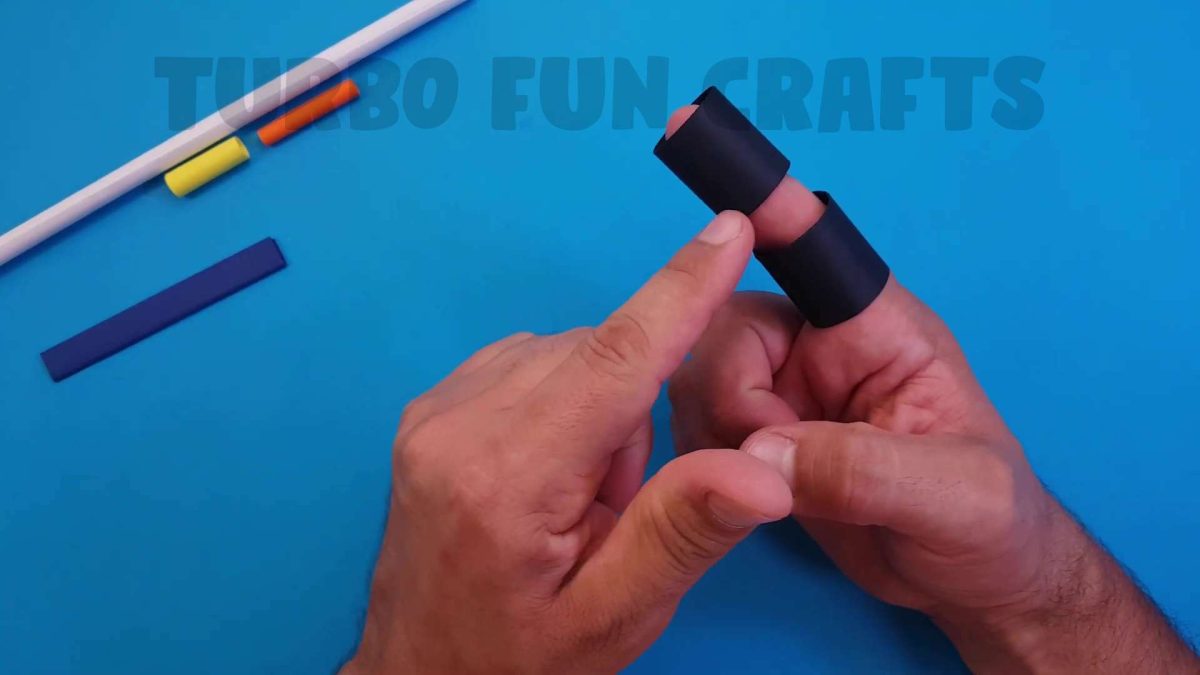
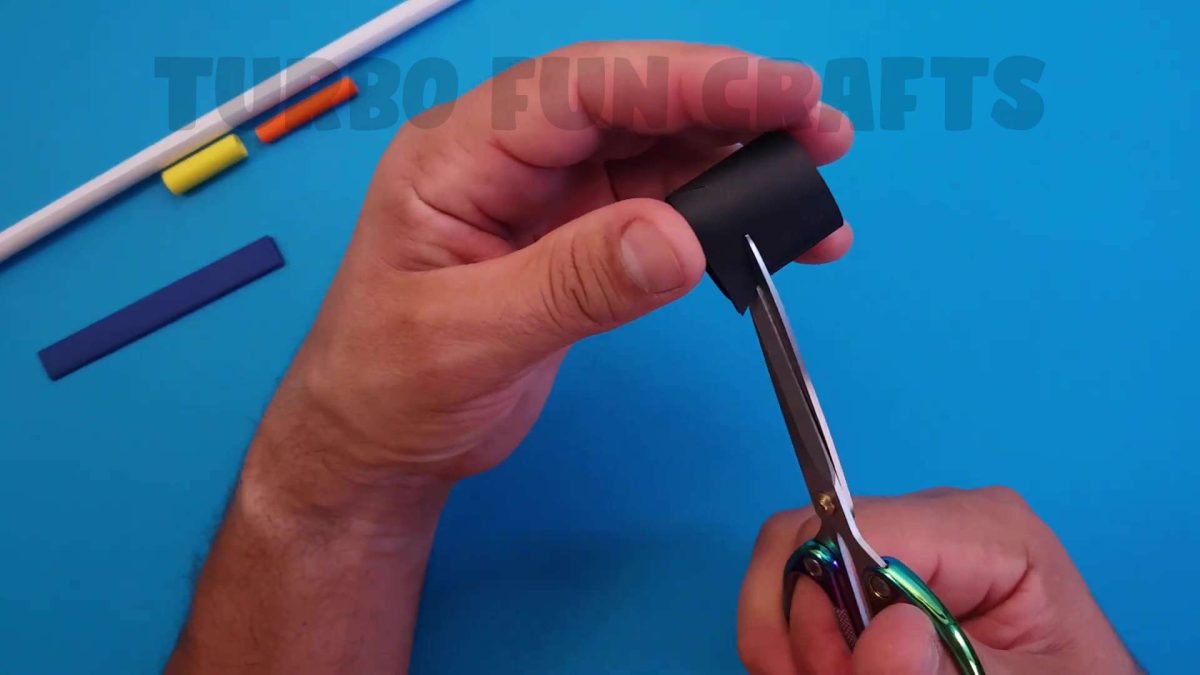
This is how it should look like.
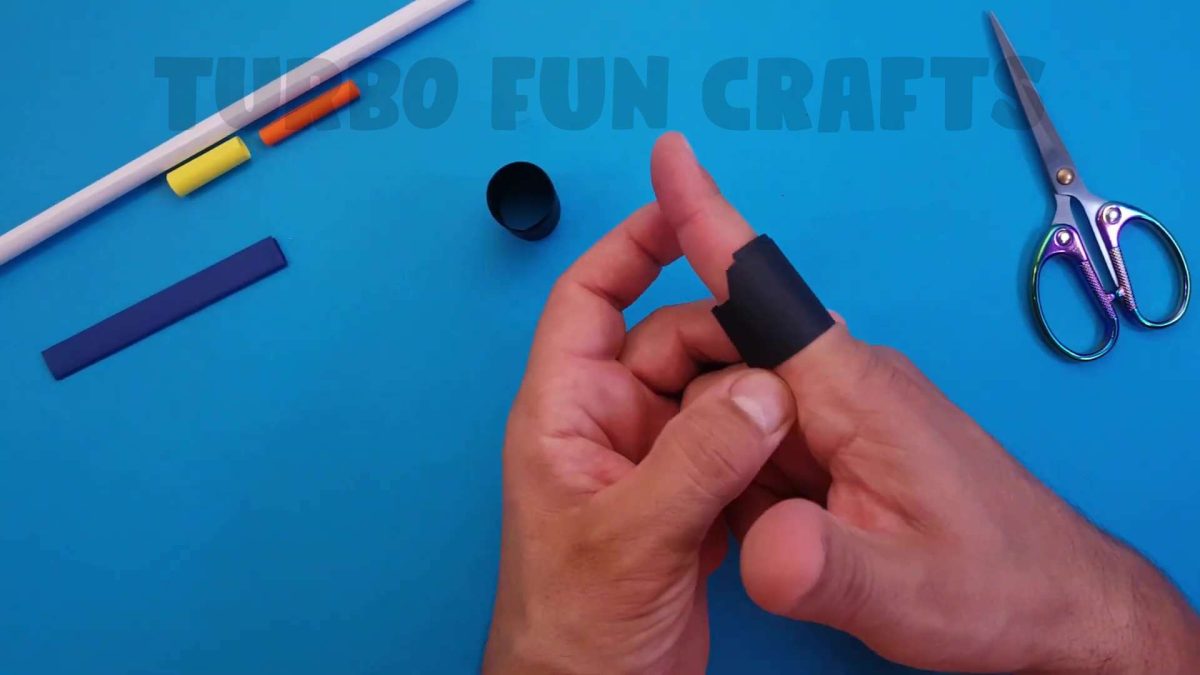
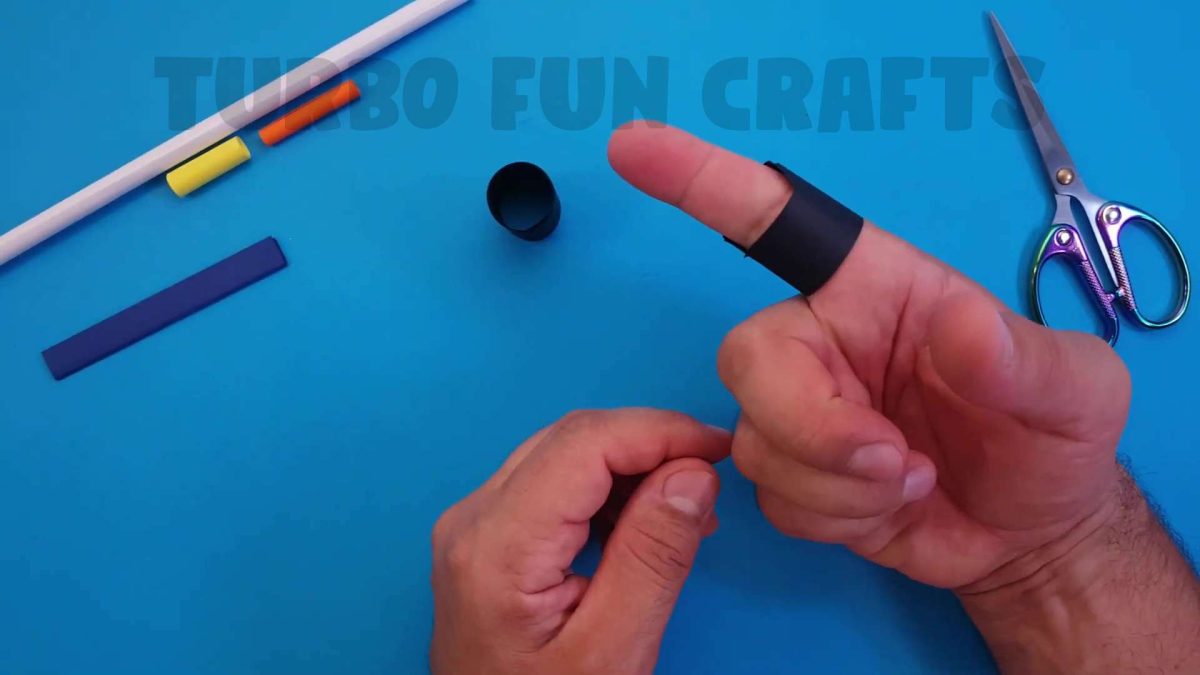
Repeat the same action with another tube.
Make a cut in the same way.

This is how it should look like.
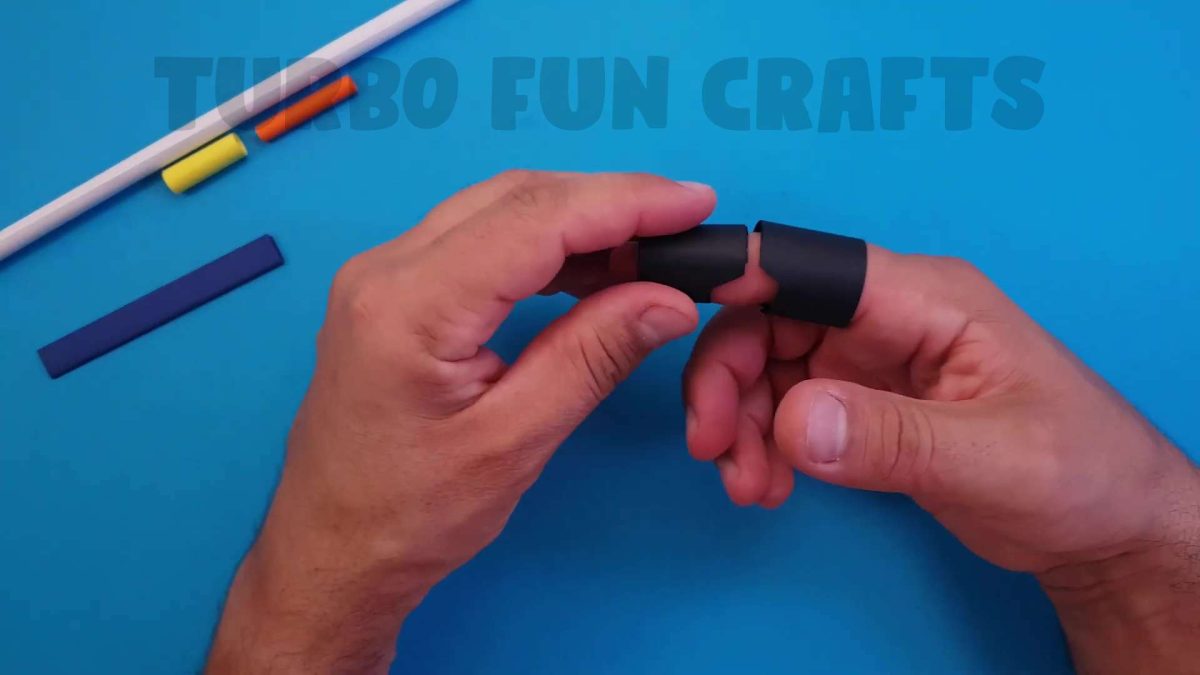
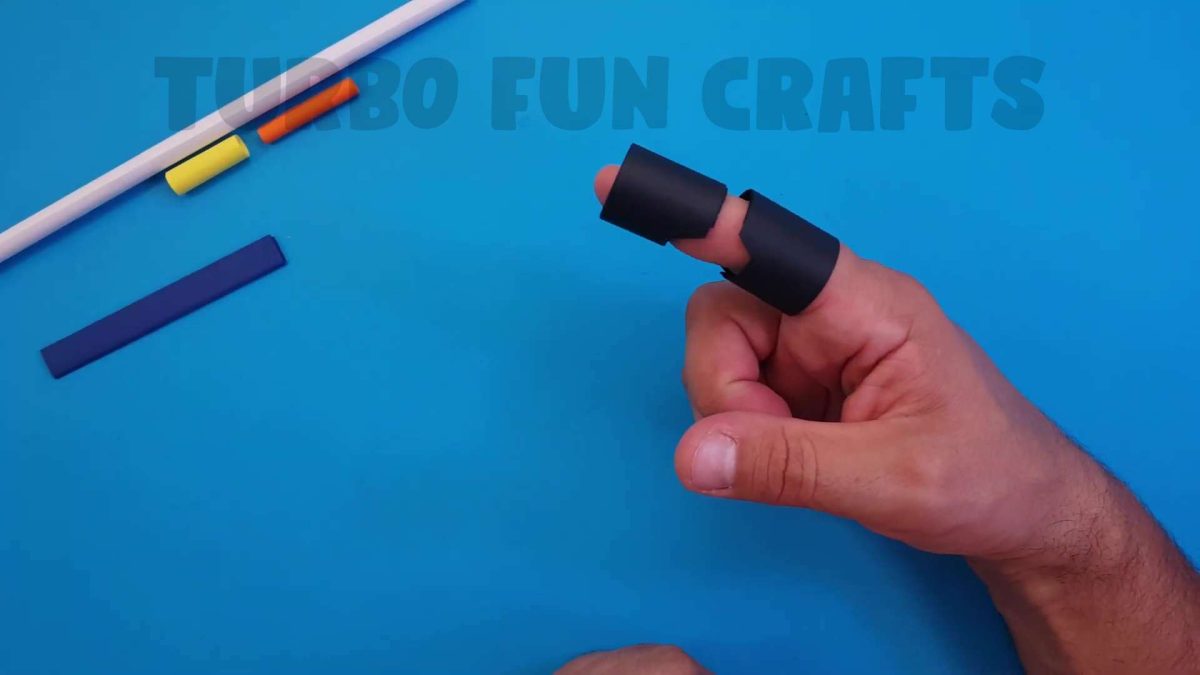
Apply glue to the paper tube prepared earlier.
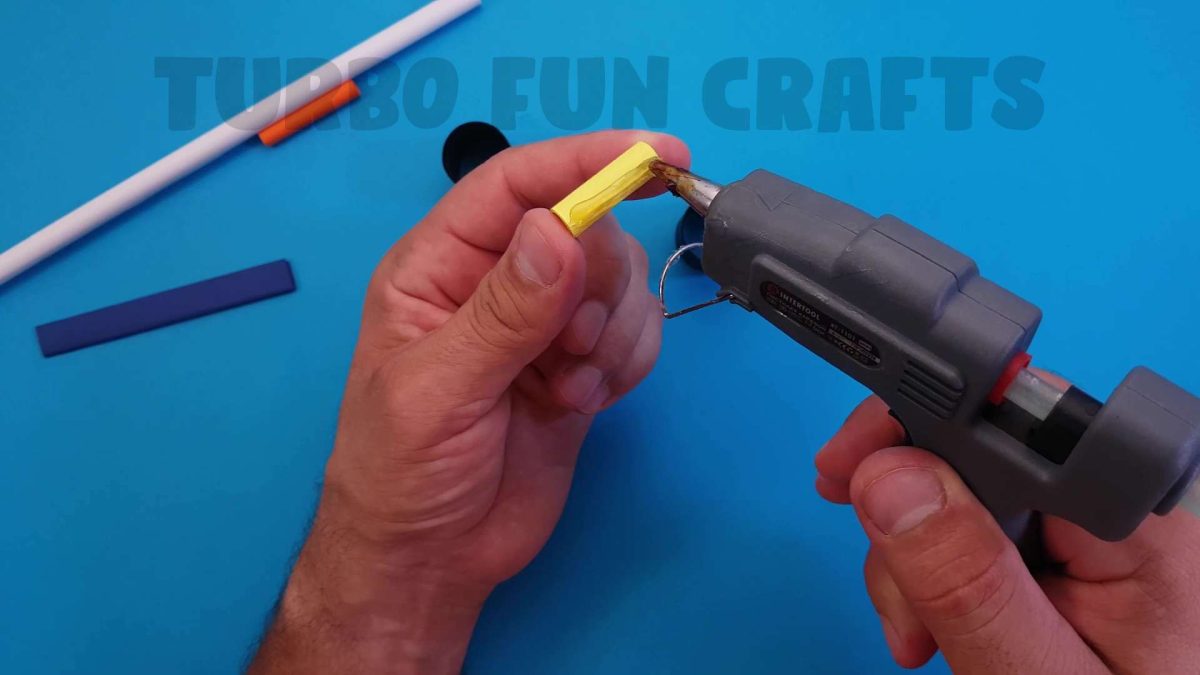
Glue the paper tubes to each other.
This is shown in the image below.
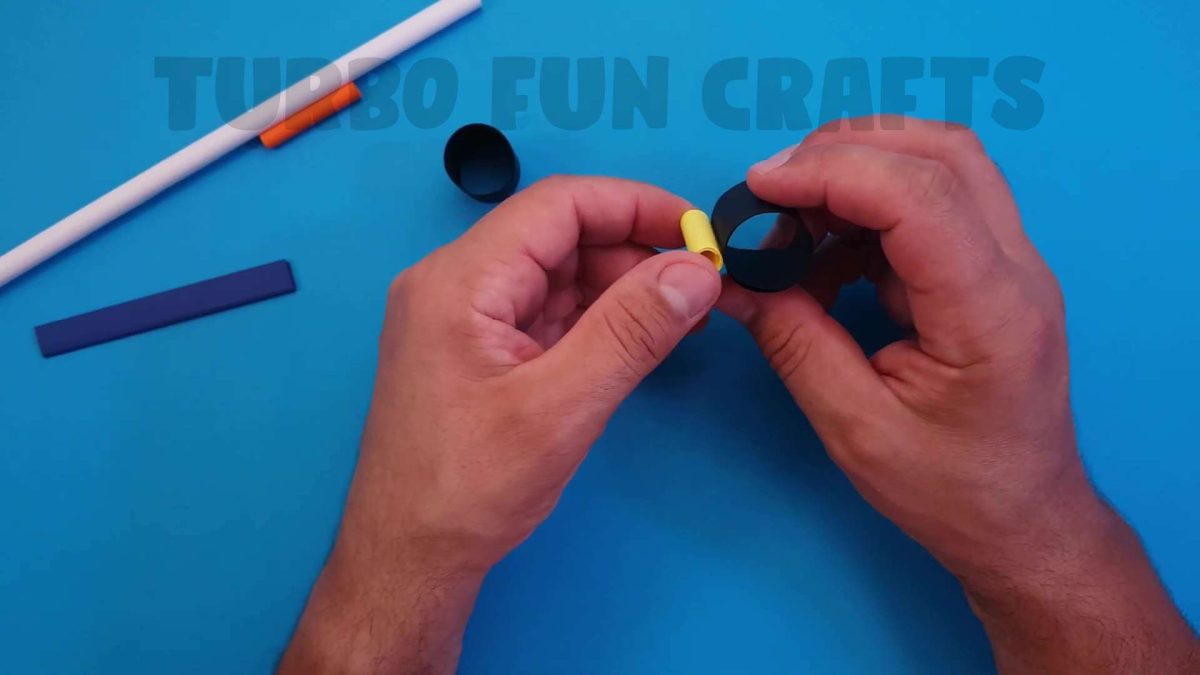
This is how it should look like.
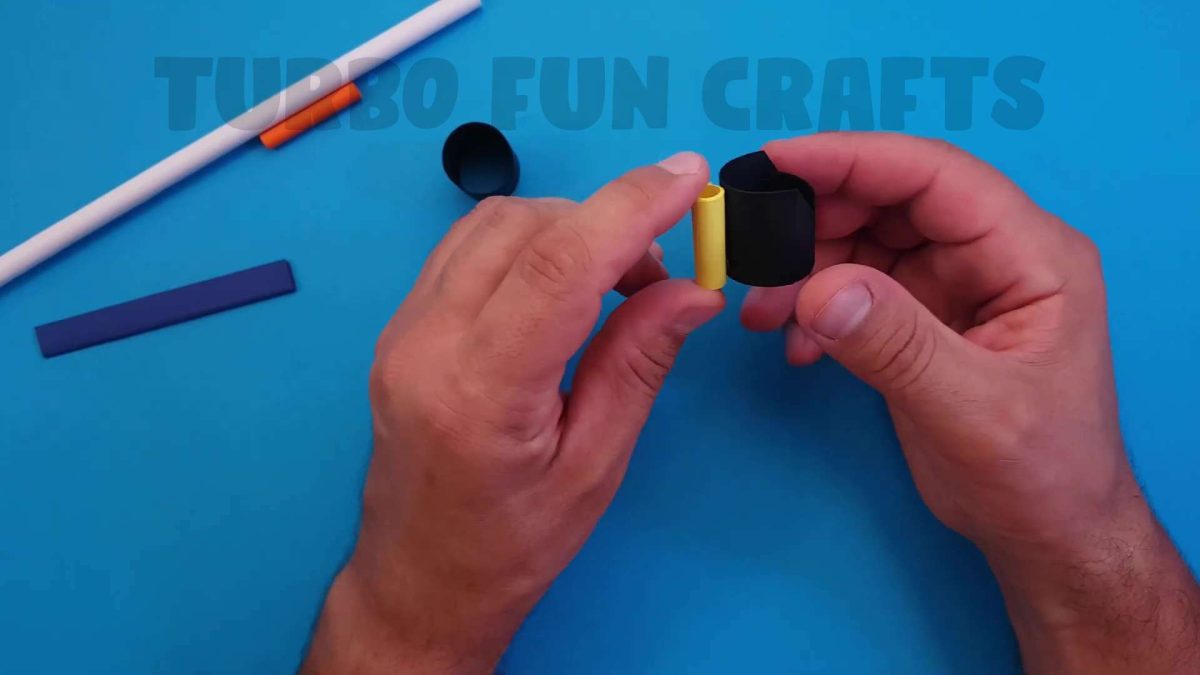
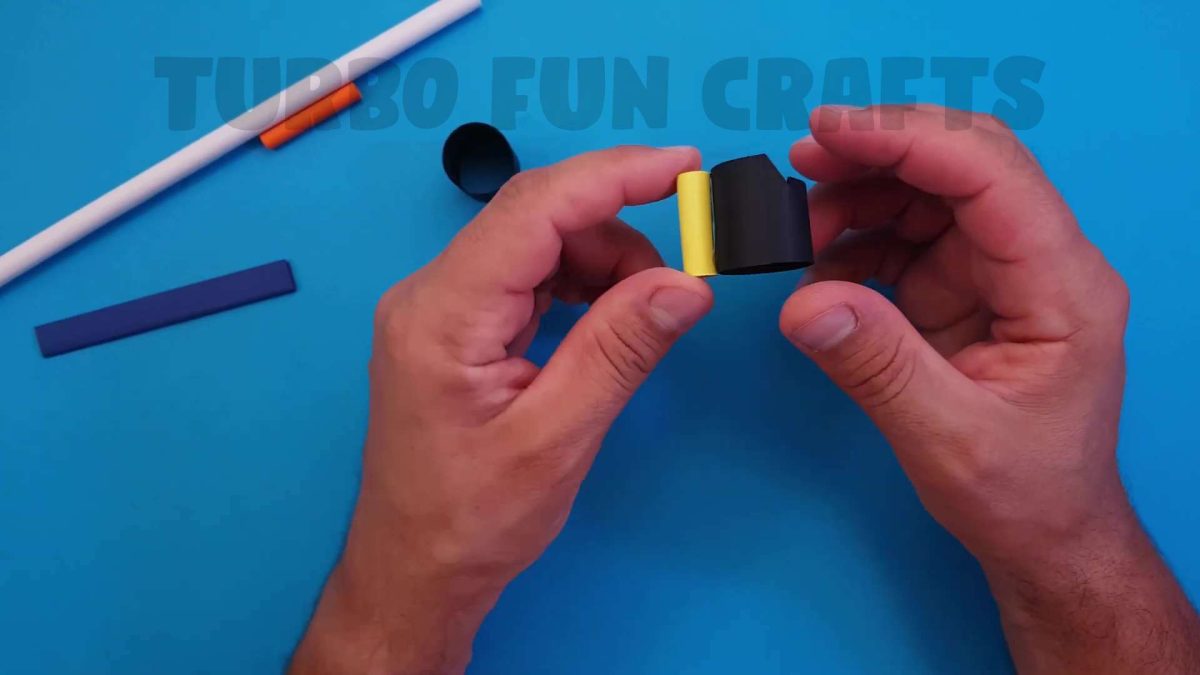
Take the paper tube prepared earlier.
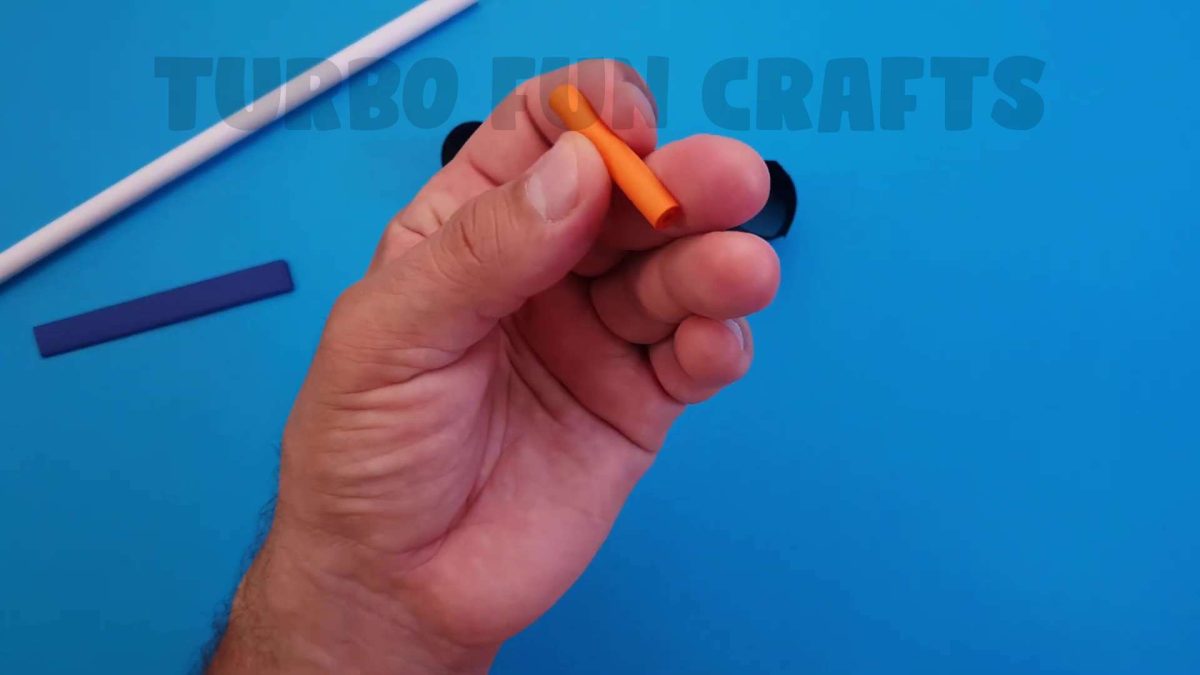
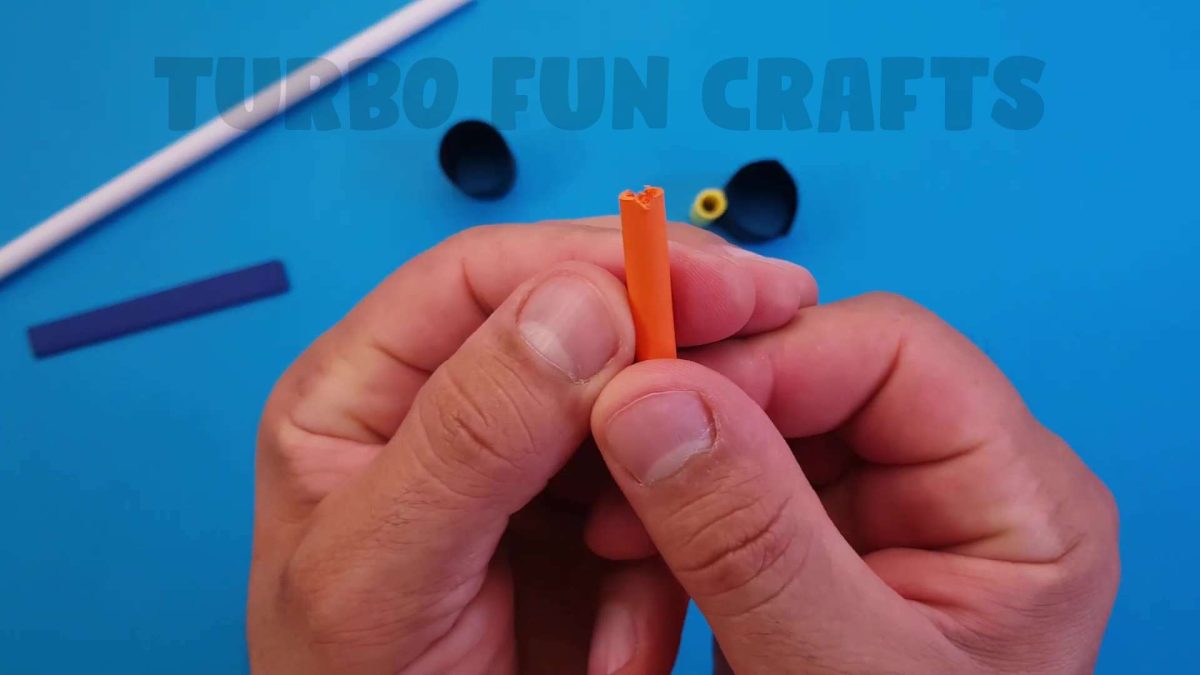
Cut a groove in the end of the tube.

This is how it should look like.
You may also like: How to make Origami Ben 10 Watch | Ben 10 Omniverse Omnitrix from Paper | DIY Paper Gaming Watch | Creative Origami Toys
STEP 5 of how to make Paper Finger Gun
Now, you will need a rubber band.

Apply glue in the groove and glue the rubber band into it.
This is shown in the images below.
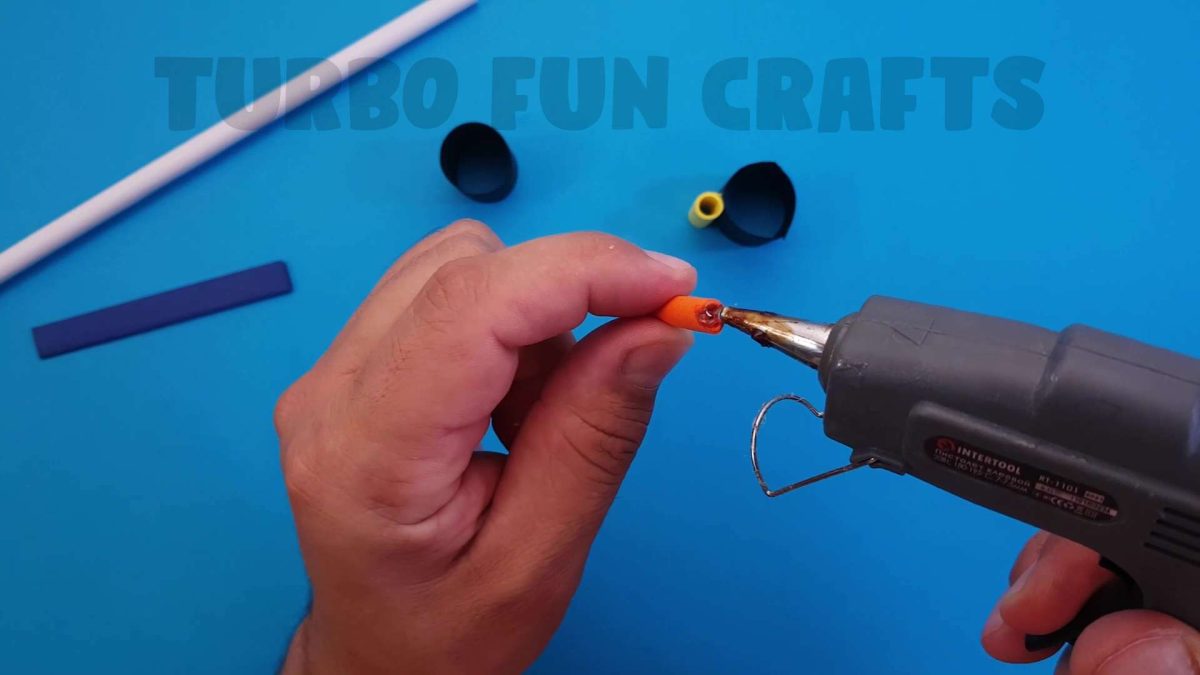

This is how it should look like.
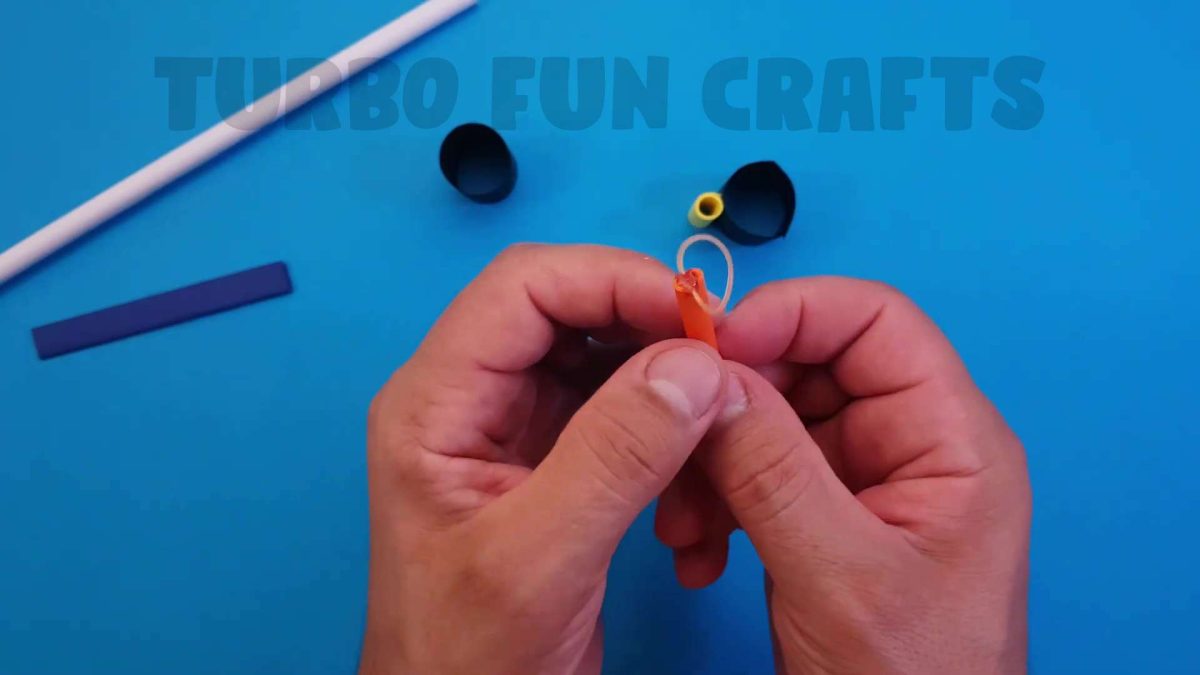
Insert the paper tubes one into the other as shown in the images below.
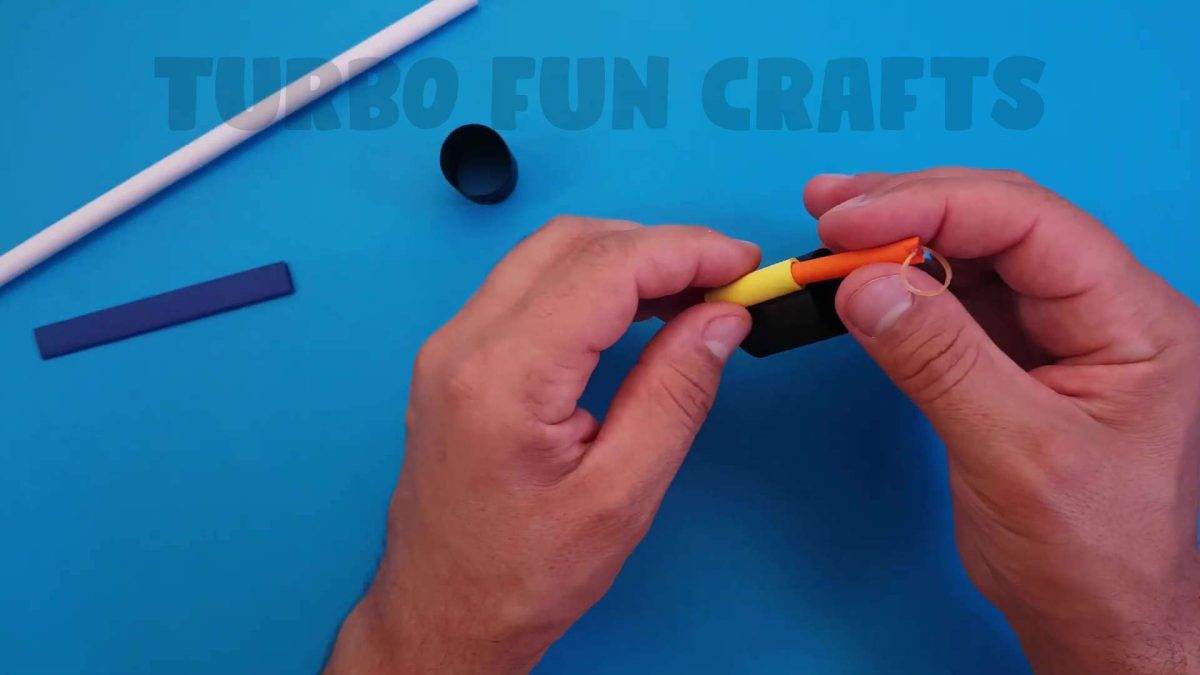
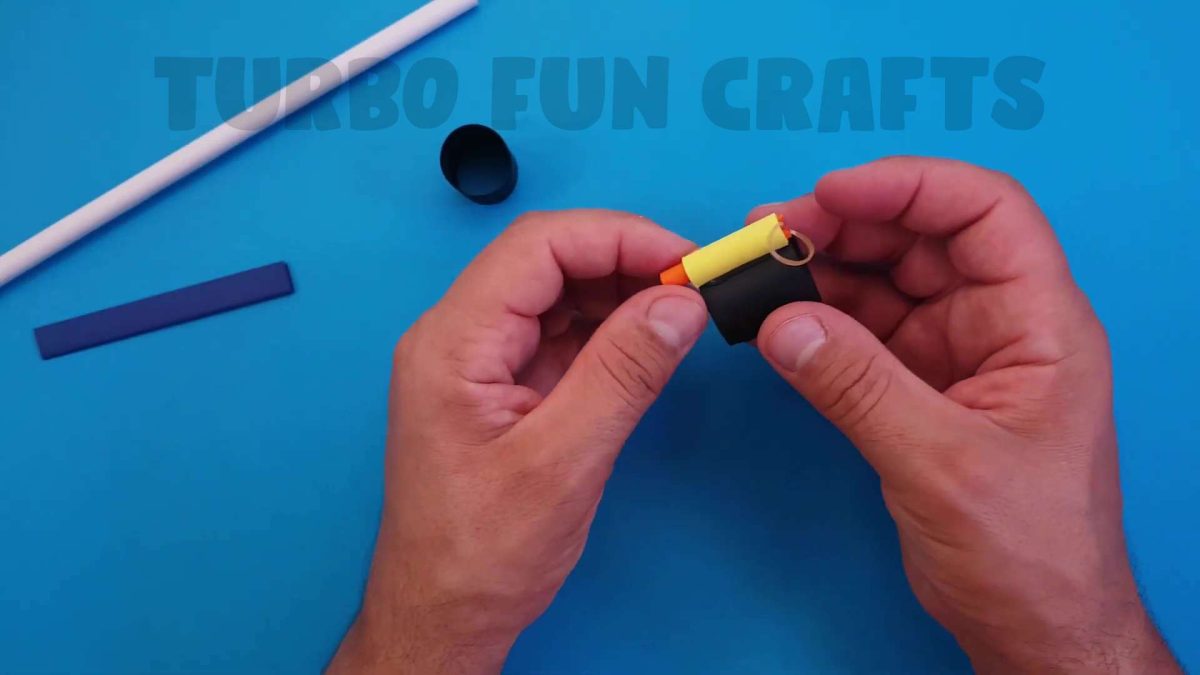
Attach the two paper pieces to each other as shown in the picture below.
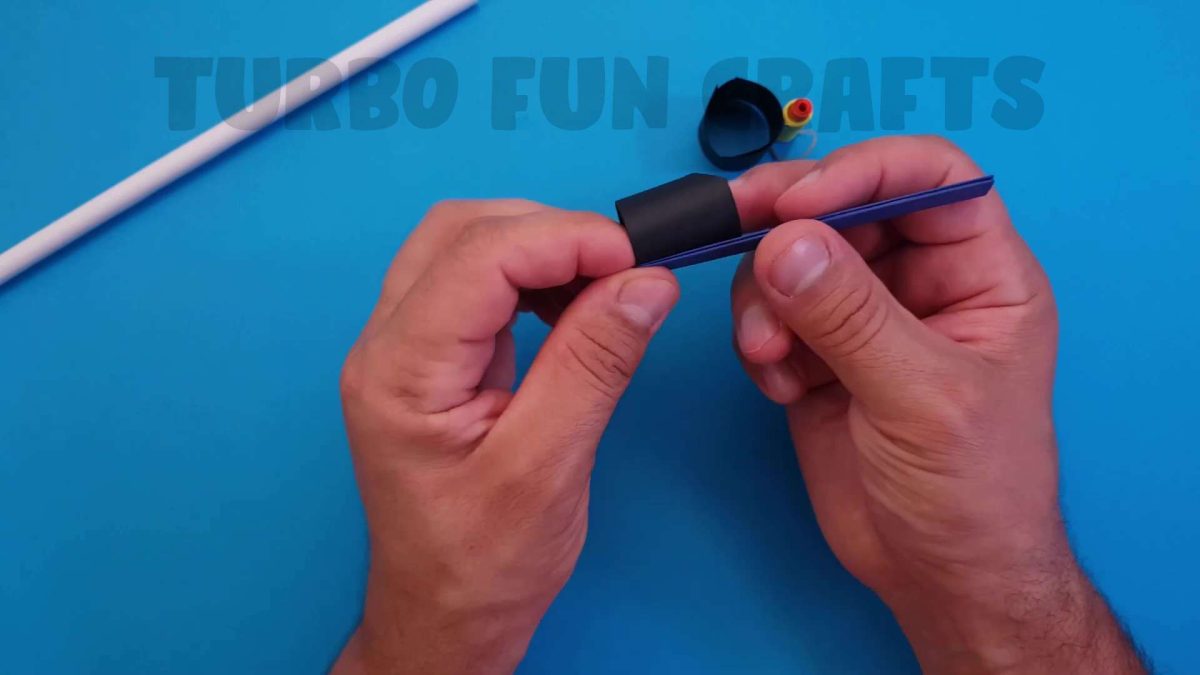
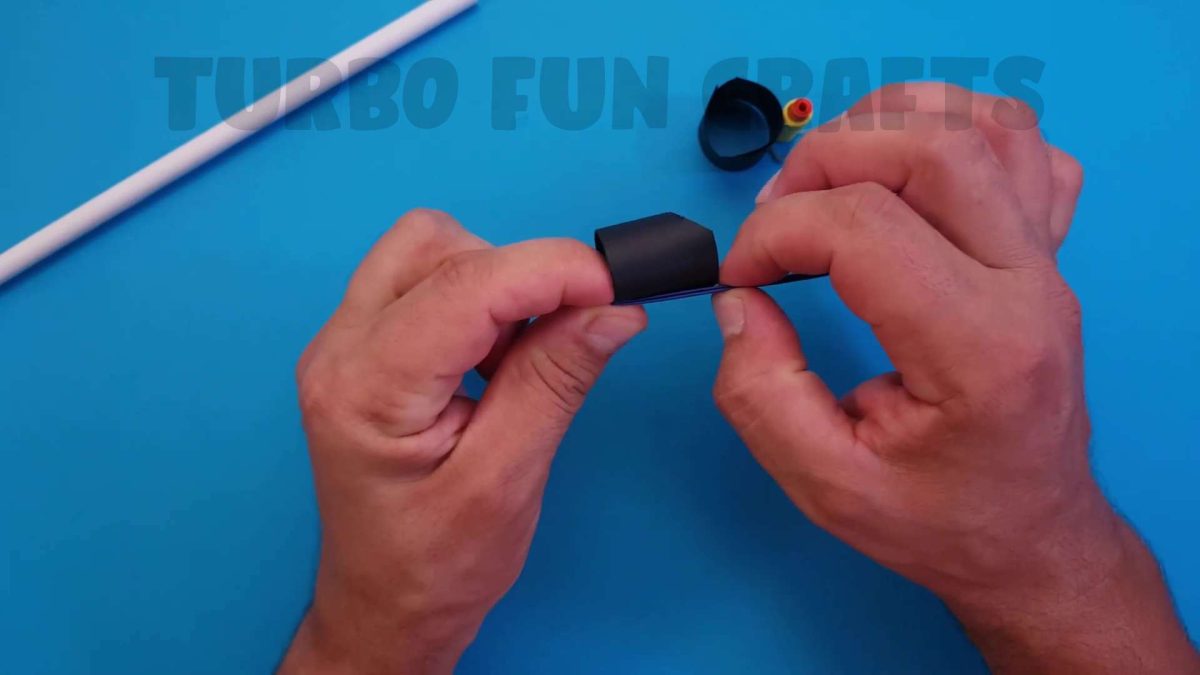
Fold the paper strip as shown in the images below.
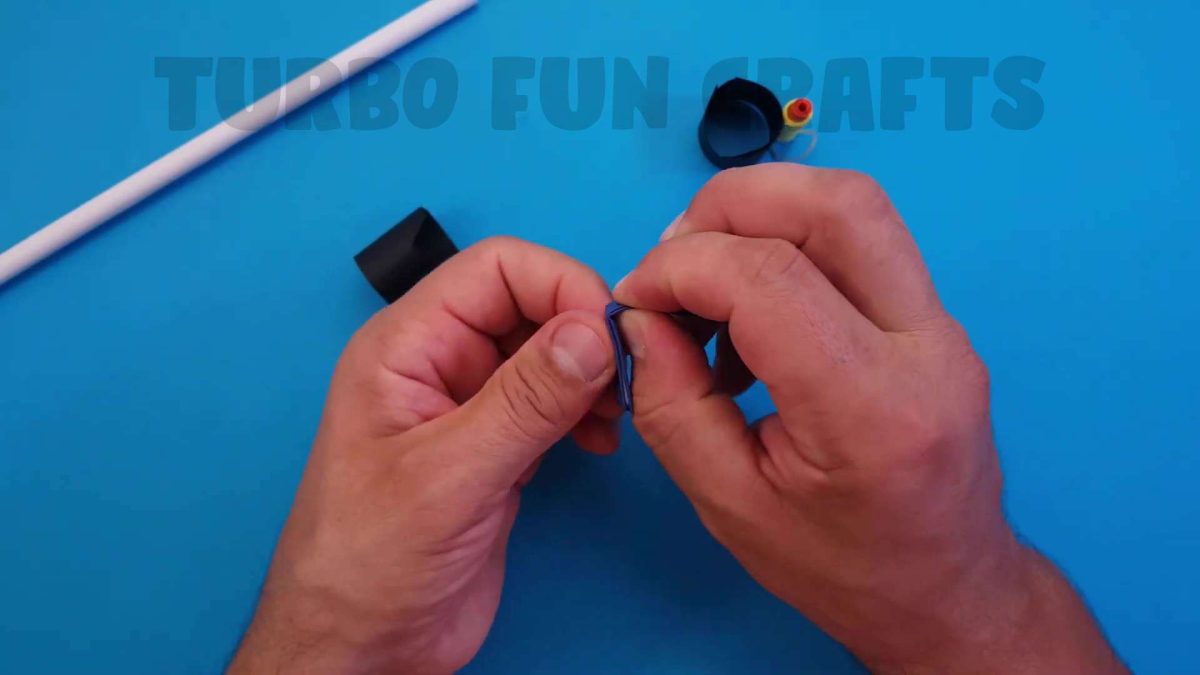
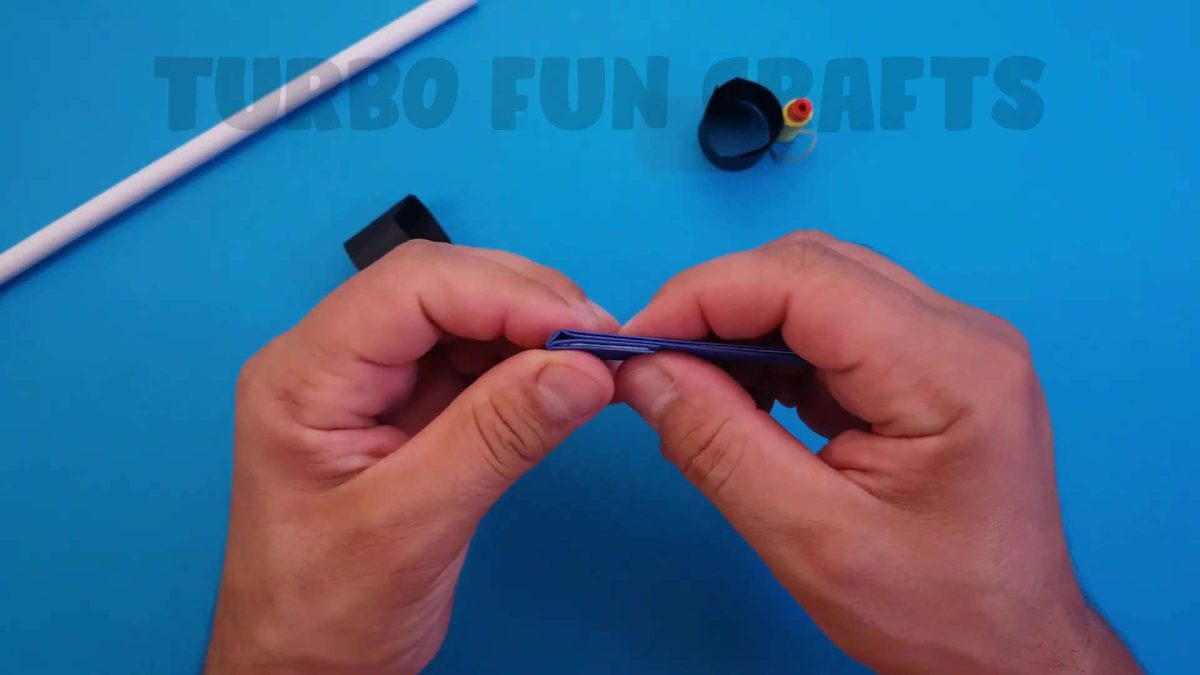
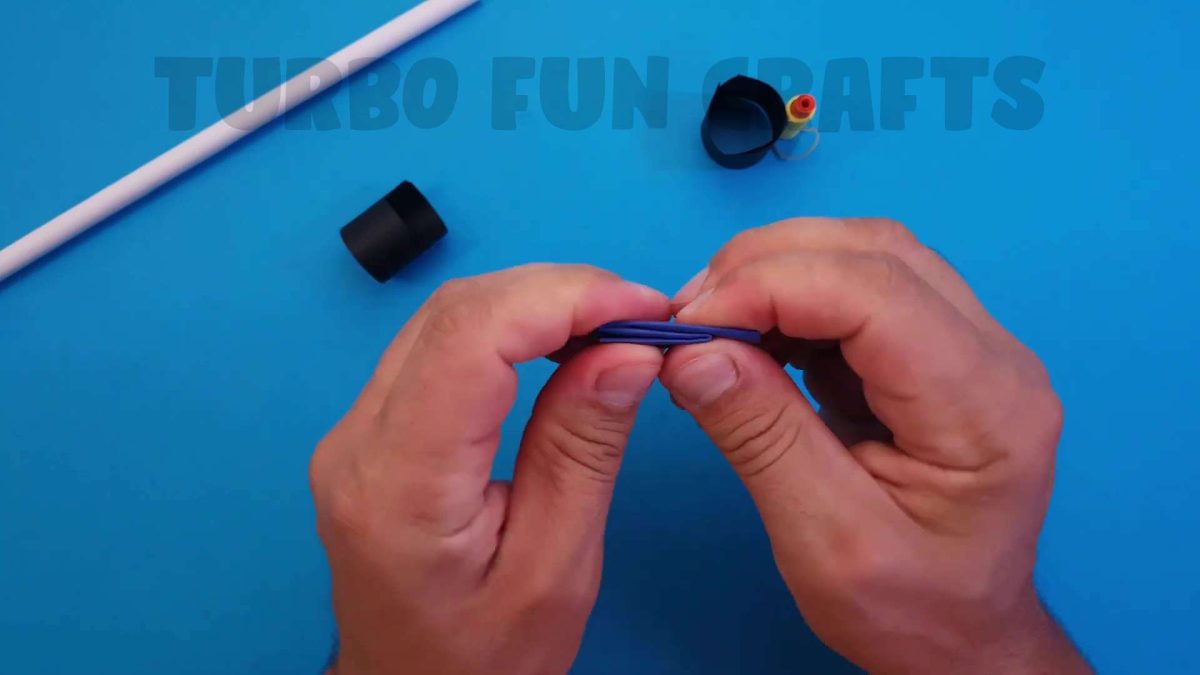
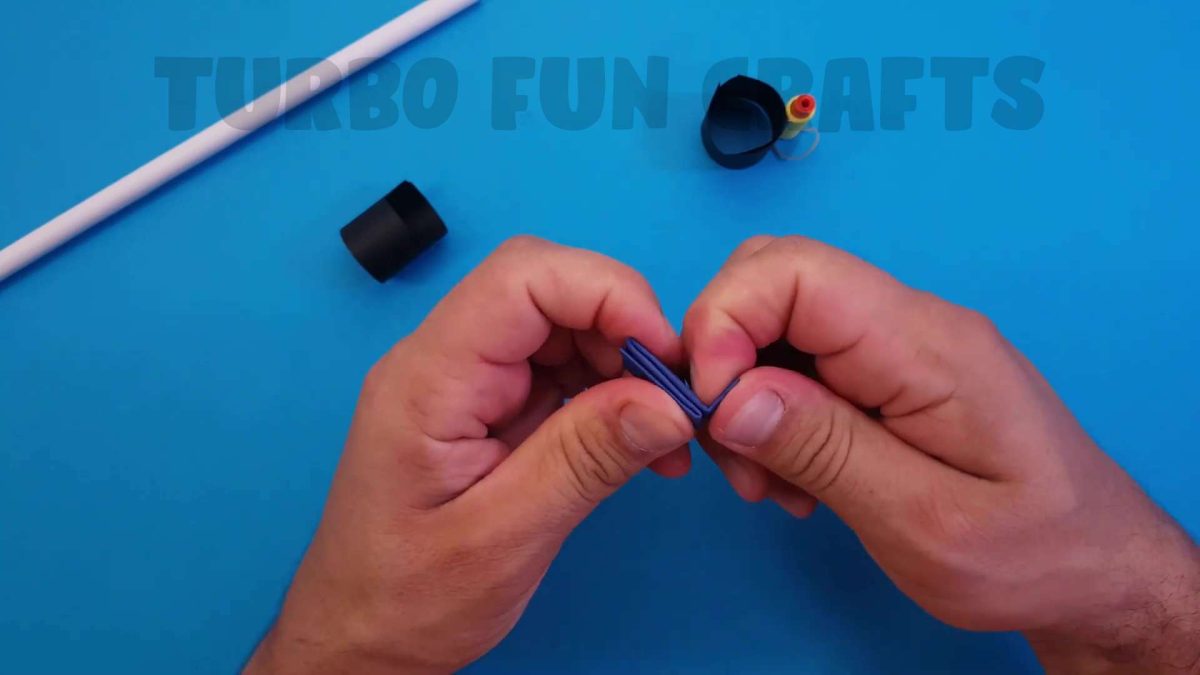
Place the two paper parts on top of each other and check that the paper strip is folded correctly.
This is how it should look like.
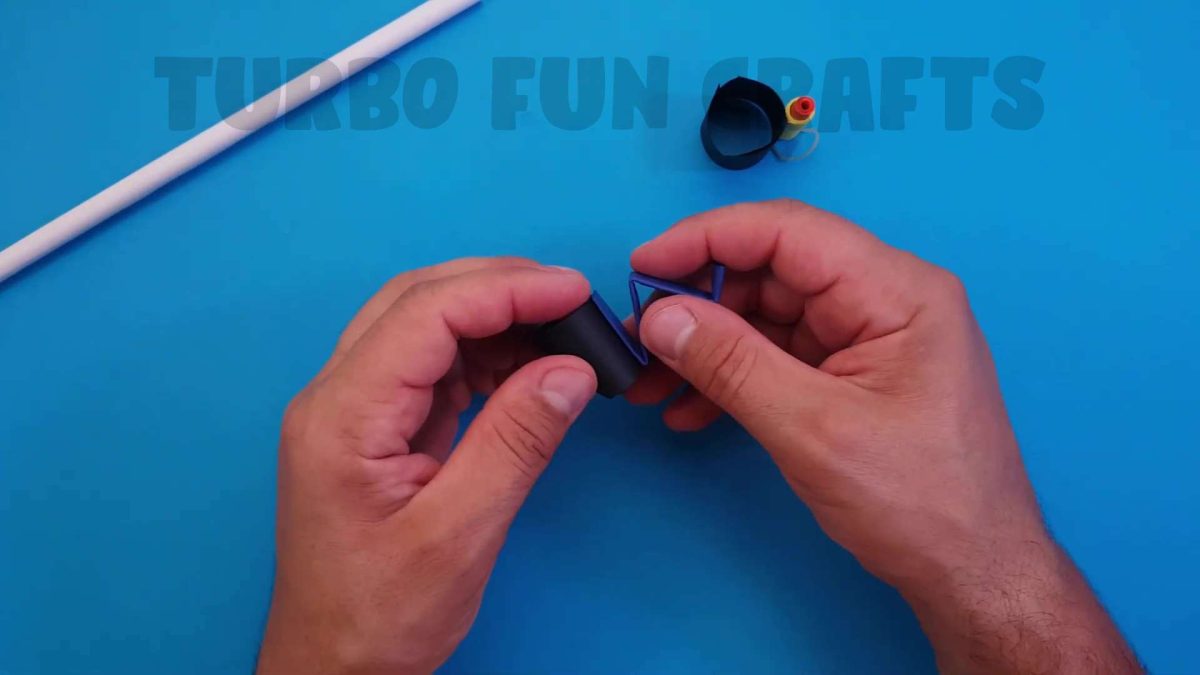
Apply glue to the just-folded strip in the specified location.
This is shown in the image below.

Glue the edges of the strip.

Apply glue to the just-folded strip in the specified location one more time.
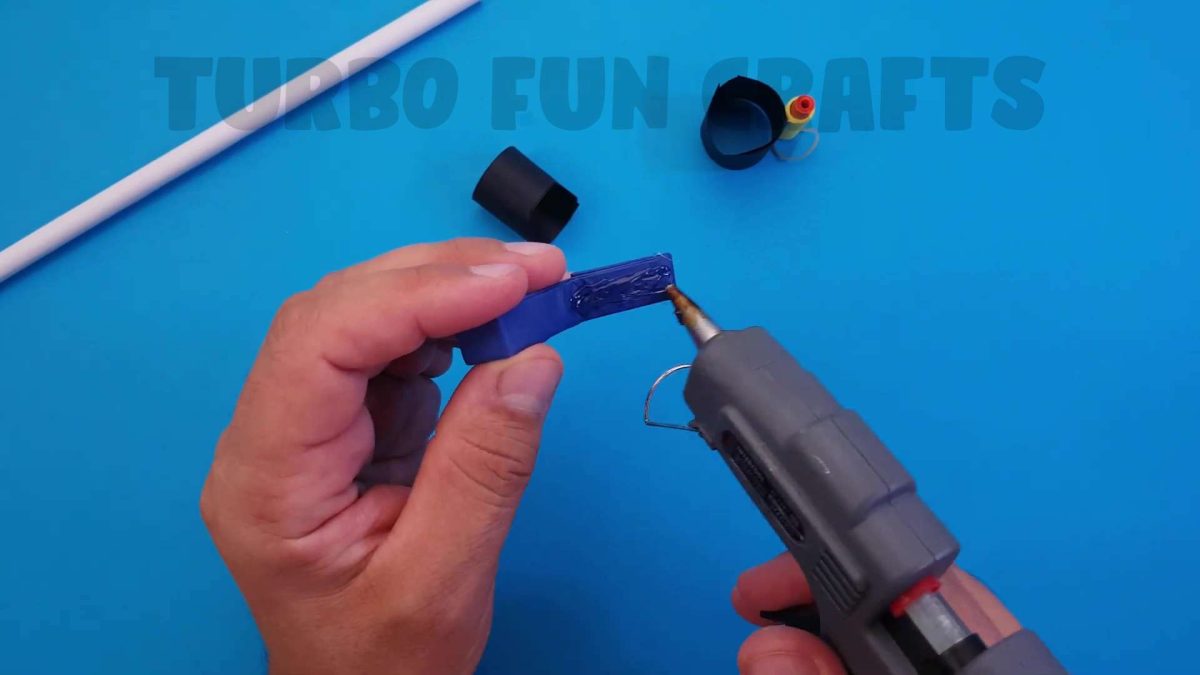
Glue the edges of the strip.
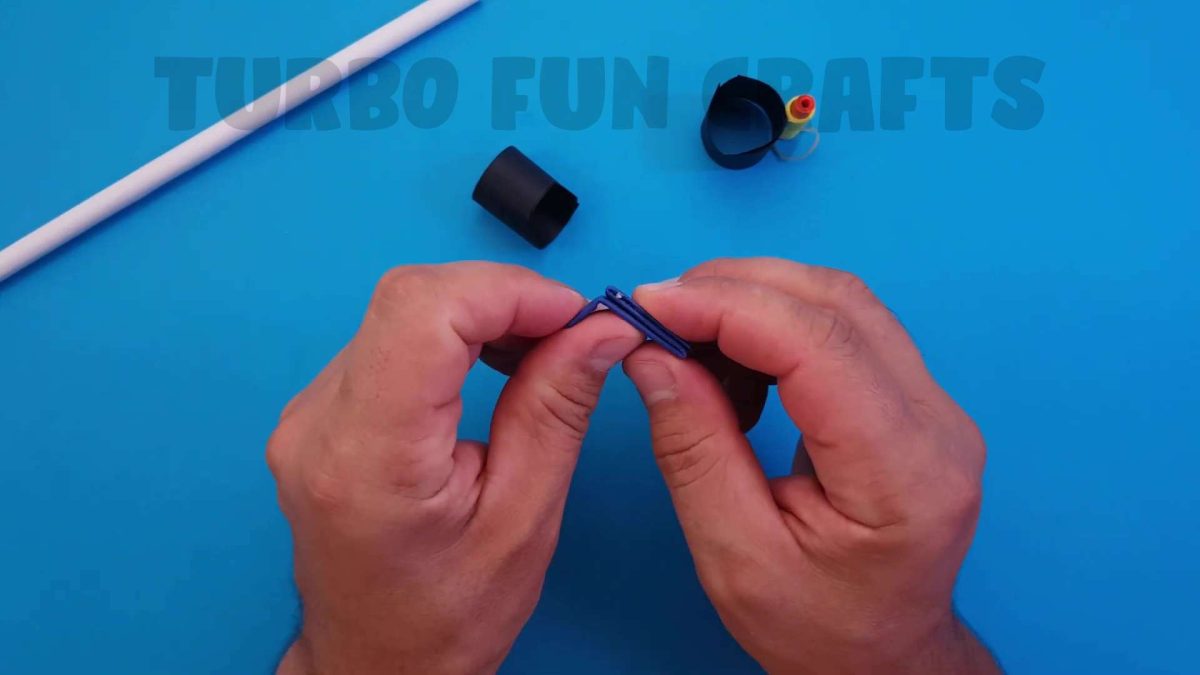
Make a paper tube and glue it to the just-glued paper strip.
This is shown in the images below.
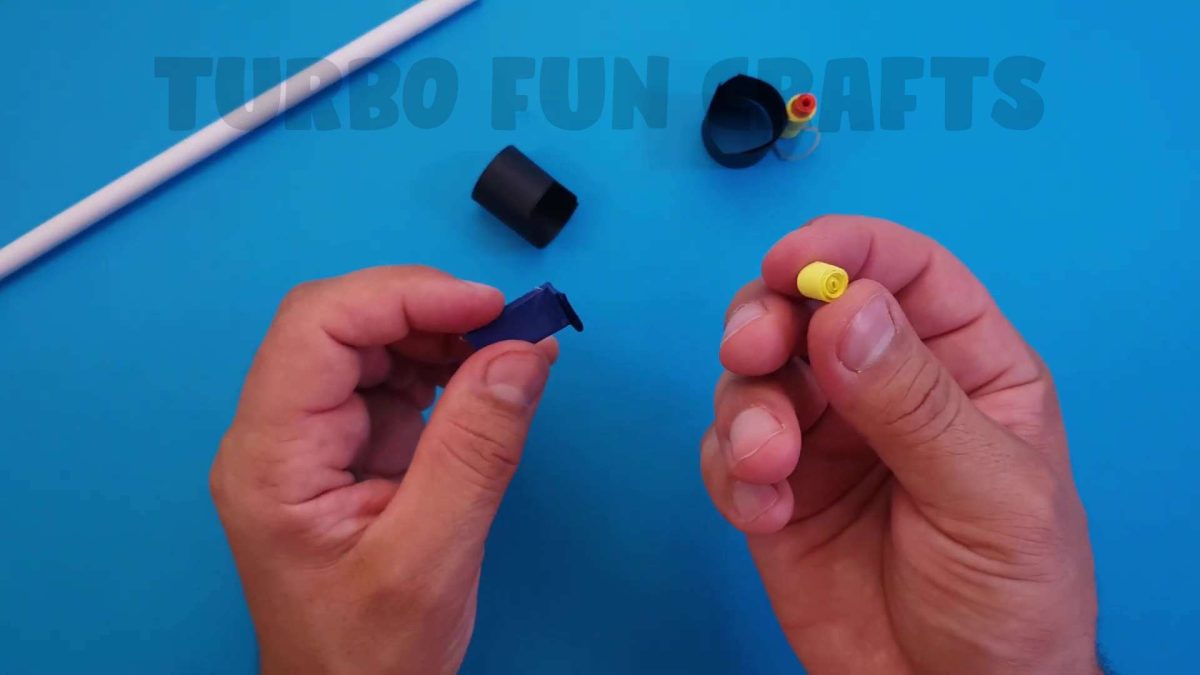
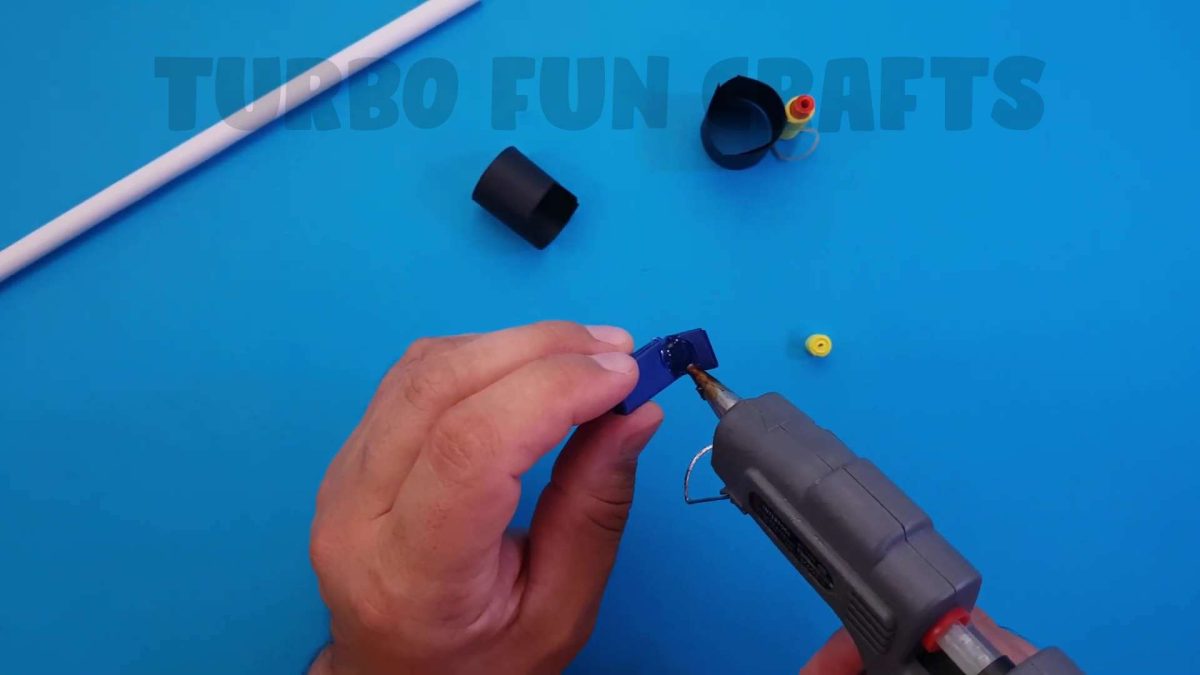
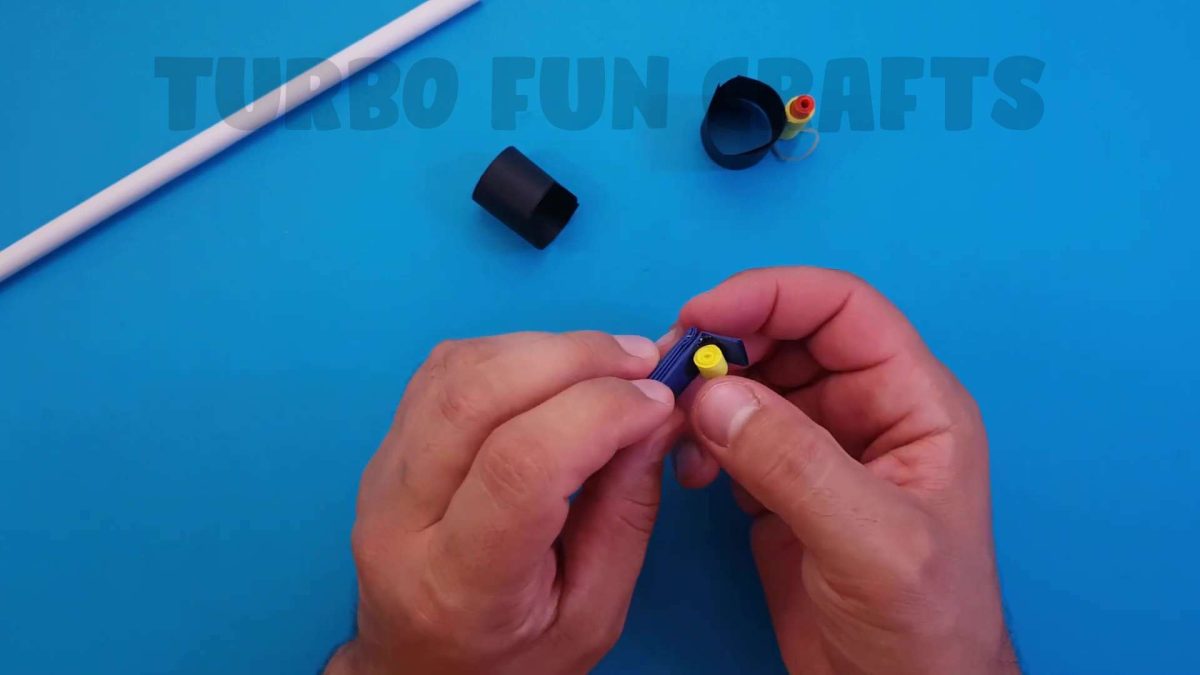
Apply glue in the indicated place on the paper strip.

Glue the two paper parts together as shown in the images below.
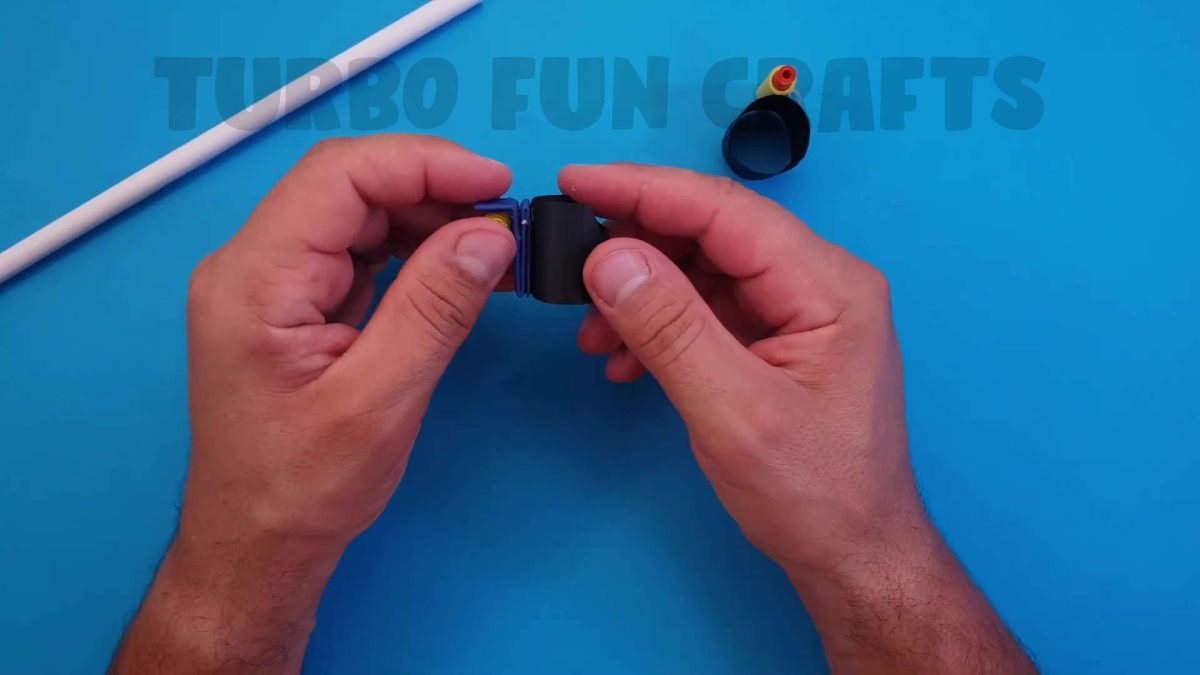
This is how it should look like.
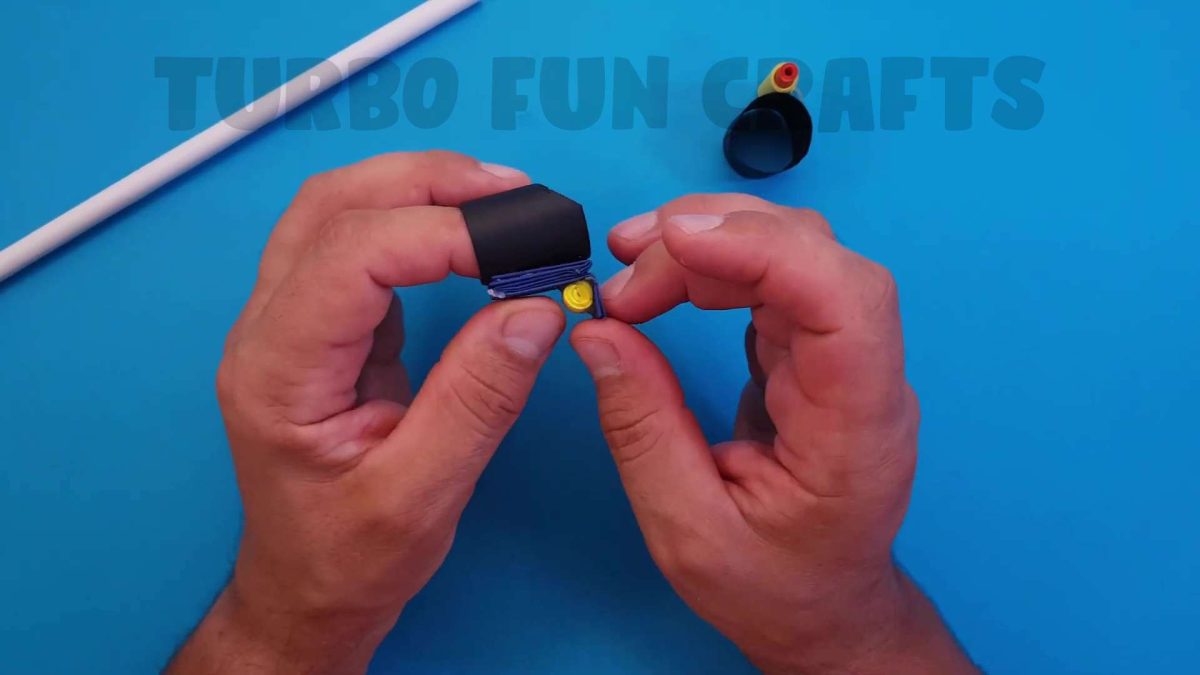
STEP 6 of how to make Paper Finger Gun
Take an earlier prepared paper tube and give it a flat shape.

This is how it should look like.
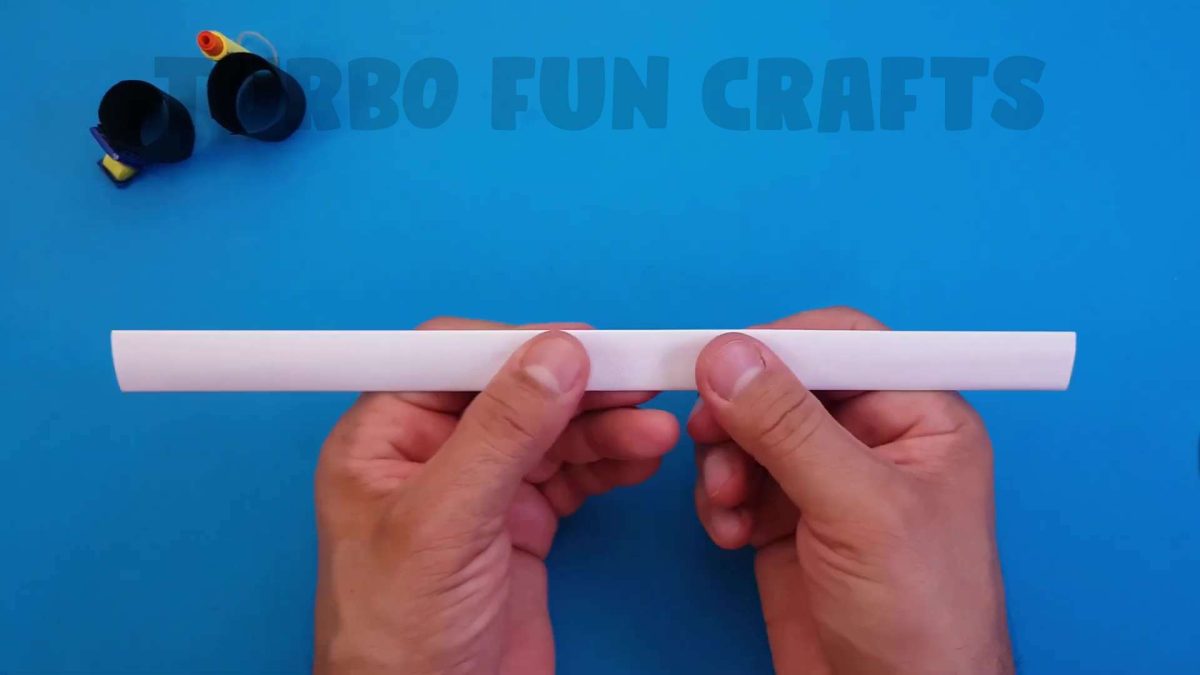
Place the paper parts together and cut according to size.
Please note that you need to cut three equal pieces of paper.
This is shown in the images below.
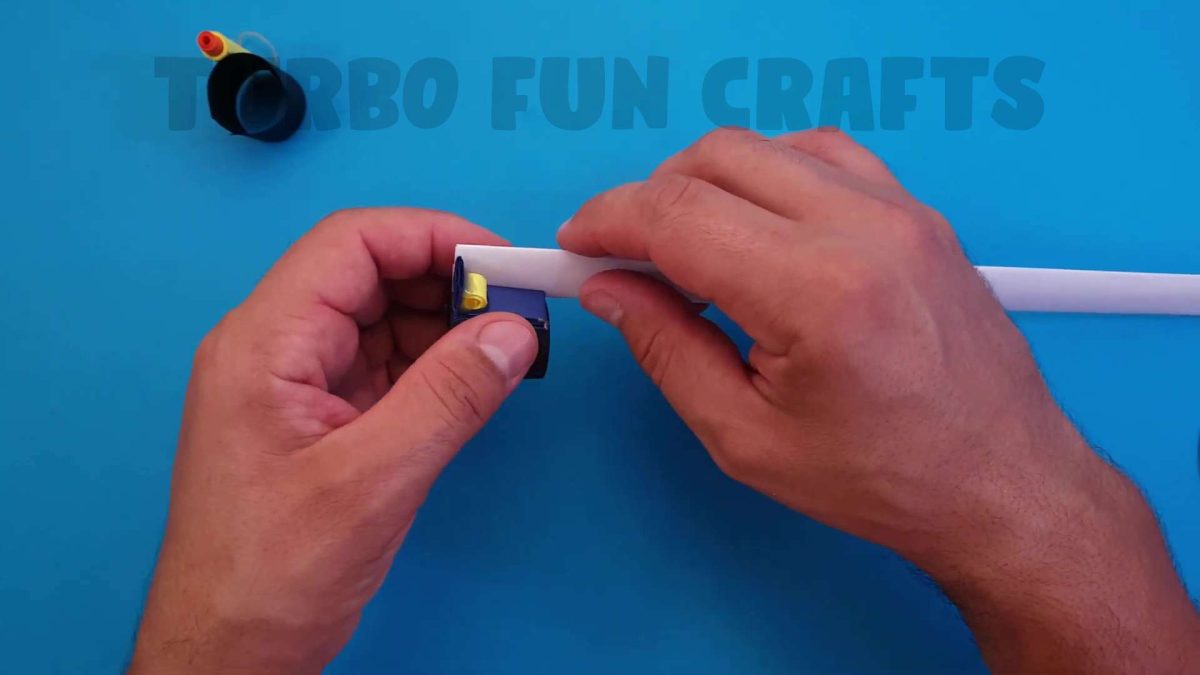
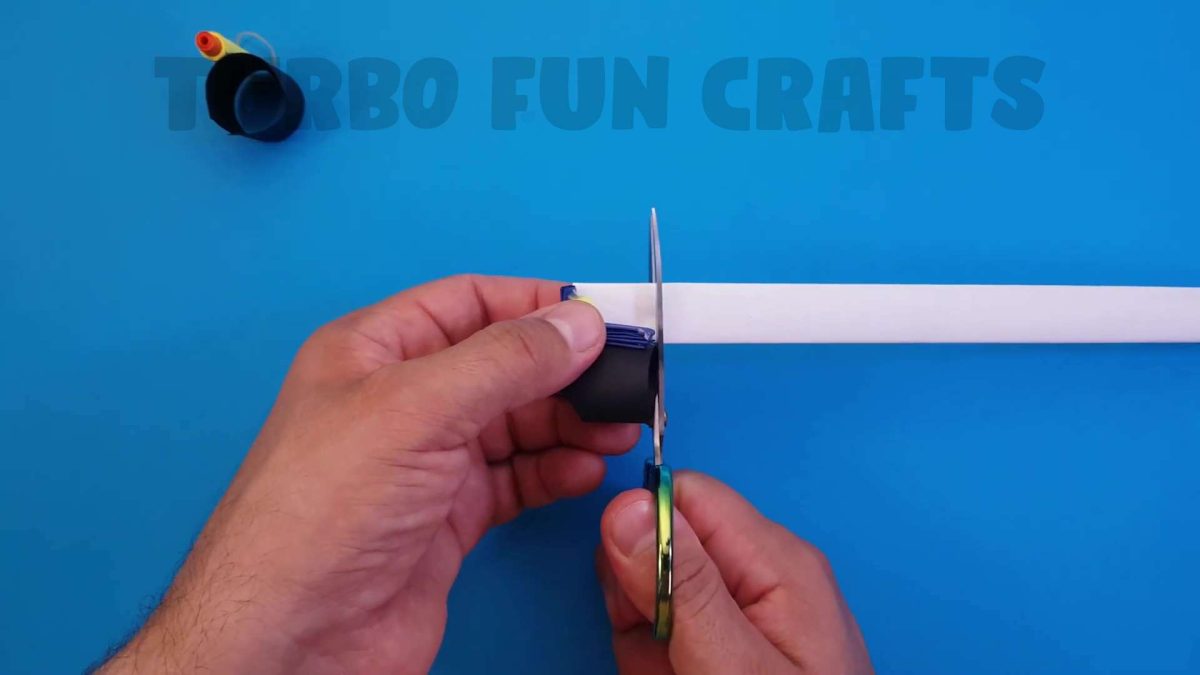
Apply glue in the specified place as shown in the image below.
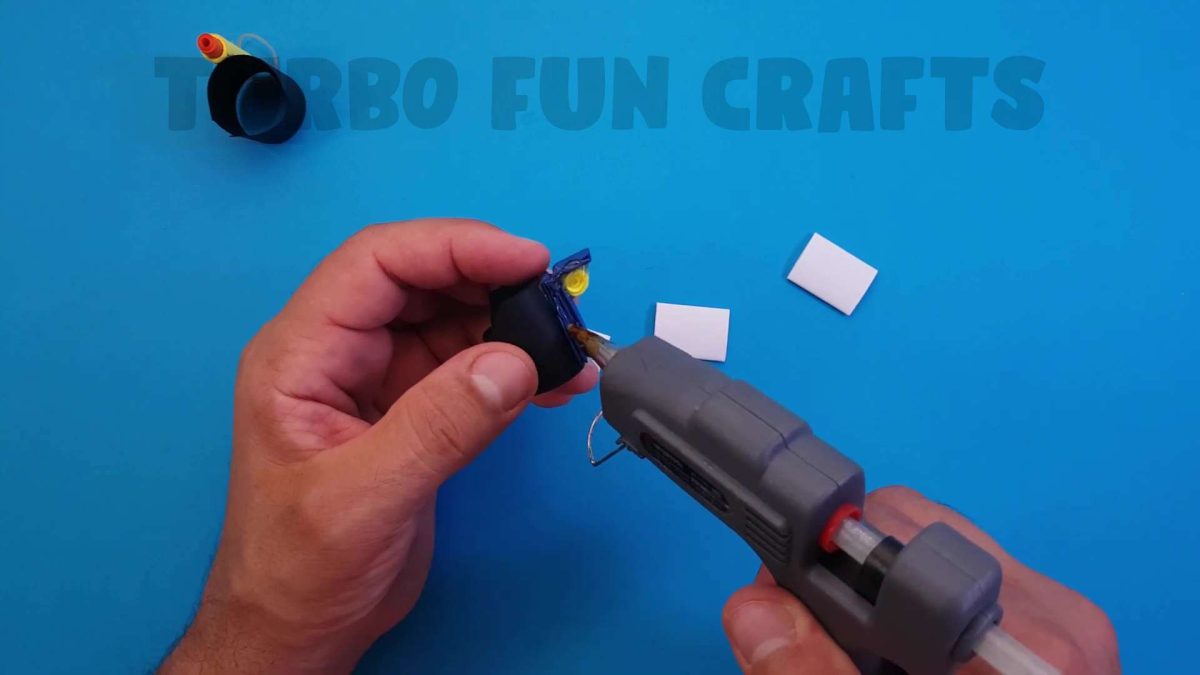
Glue the just-cut paper pieces.
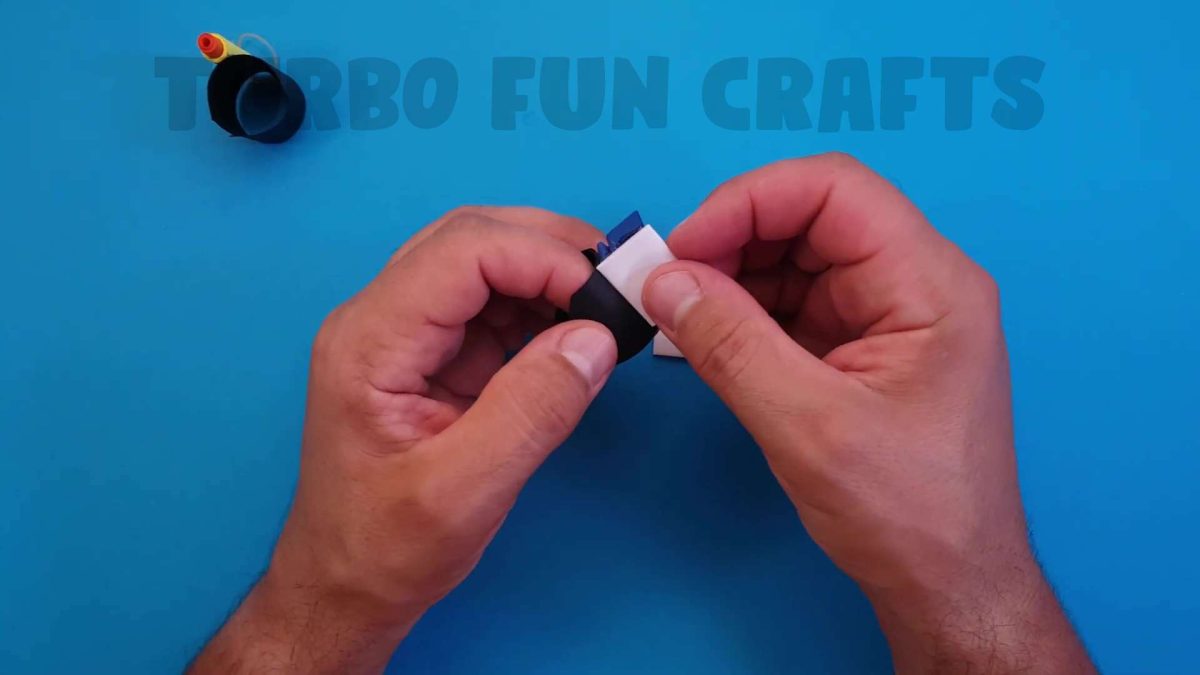
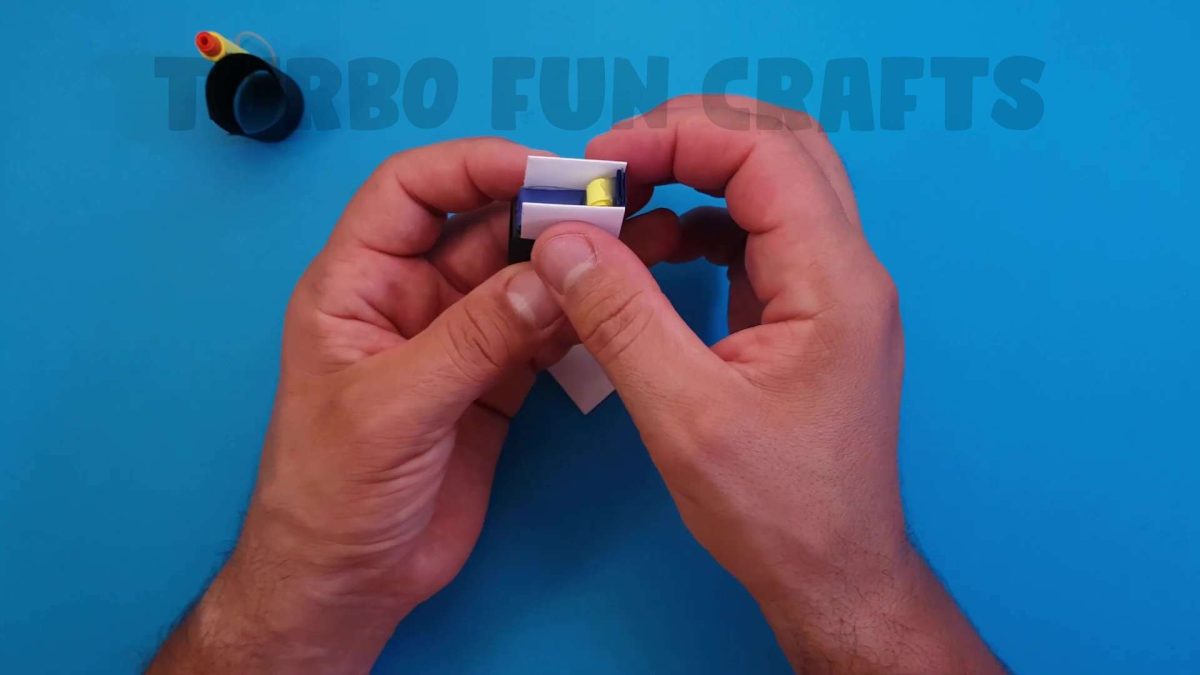

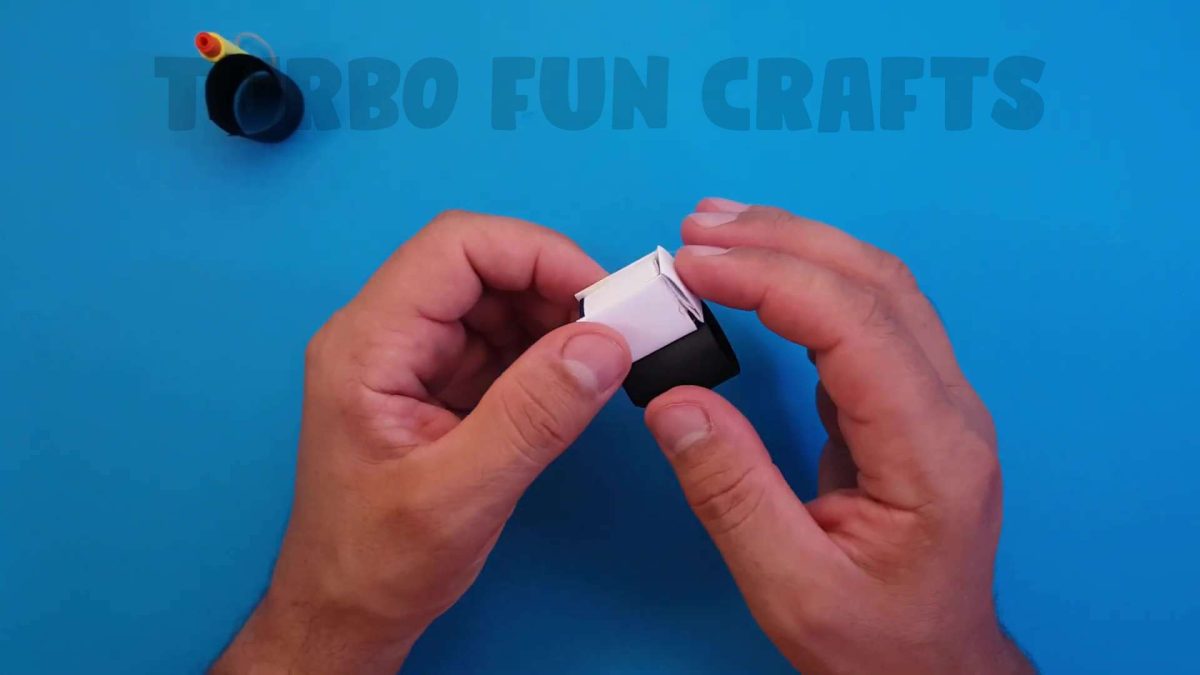
This is how it should look like.
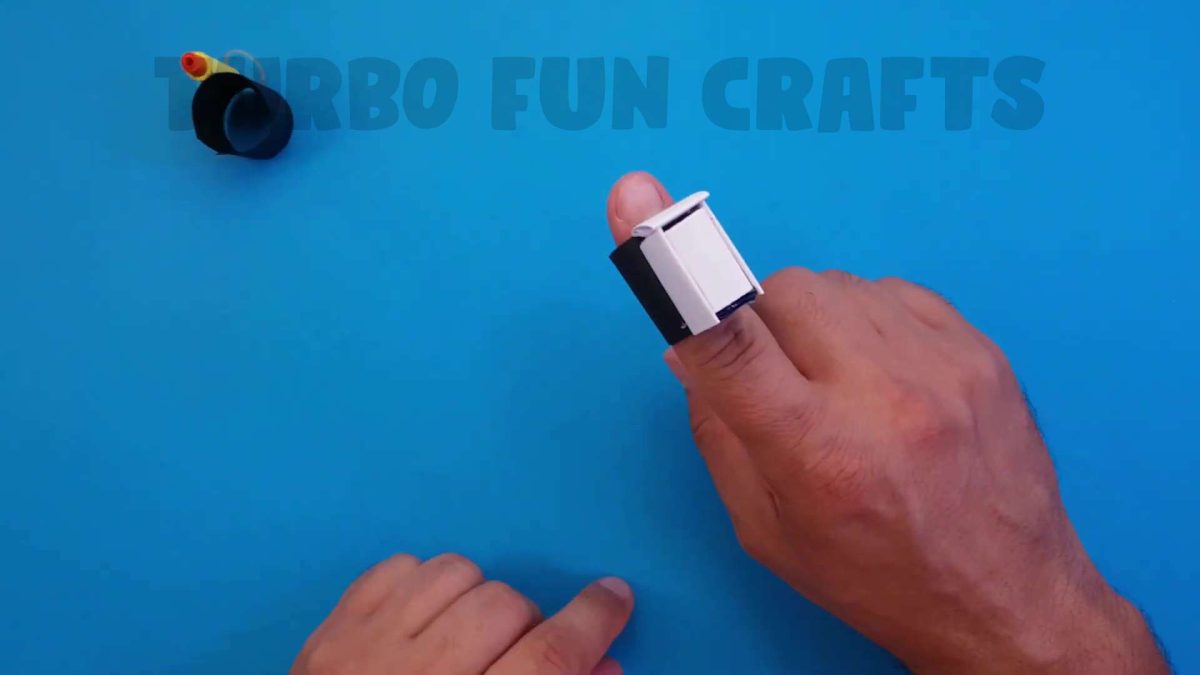
Attach the paper parts to each other as shown in the picture below.
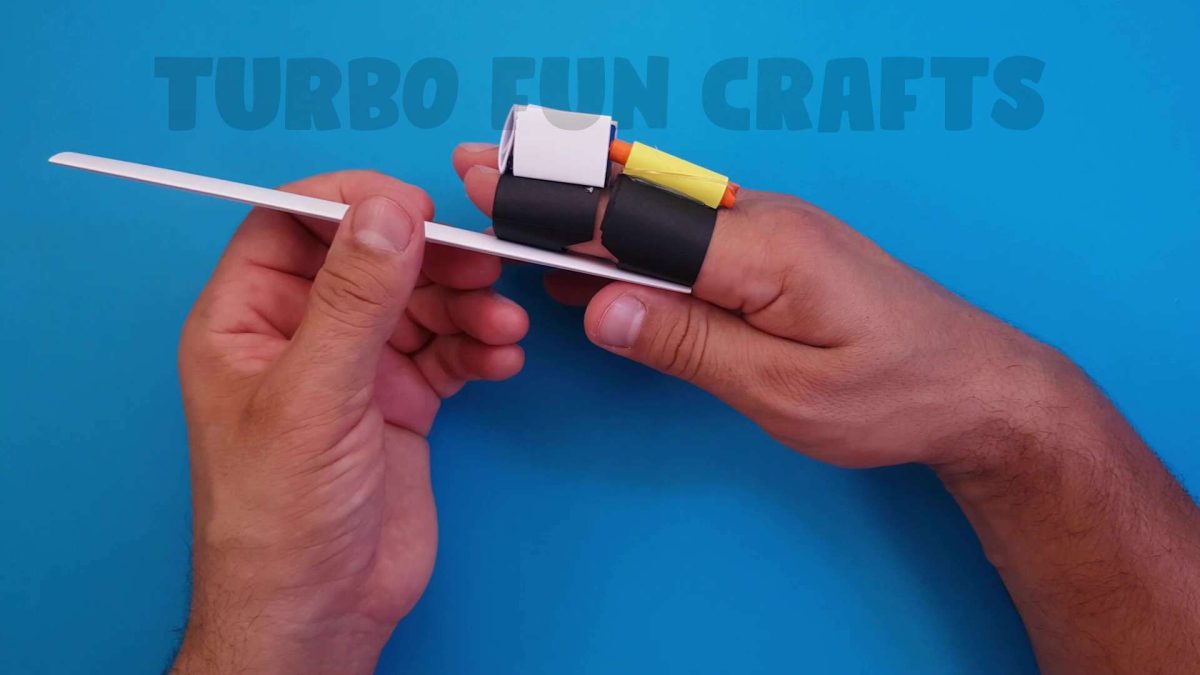
Determine the required length and cut the paper strip to the correct size.
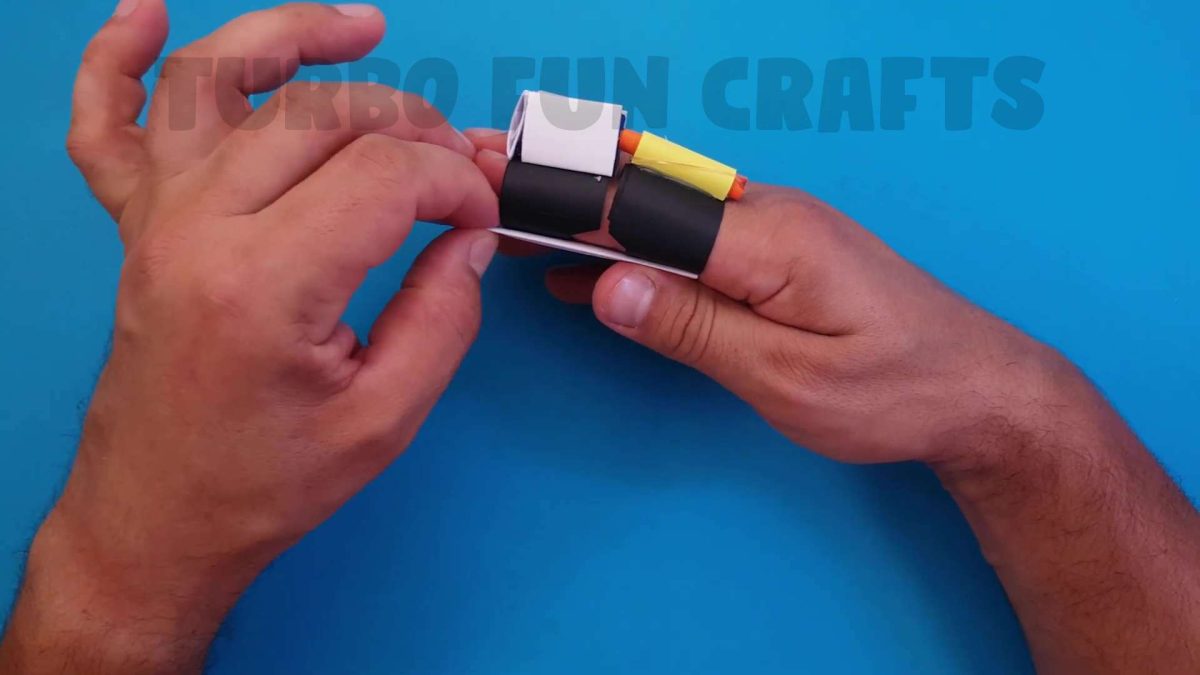
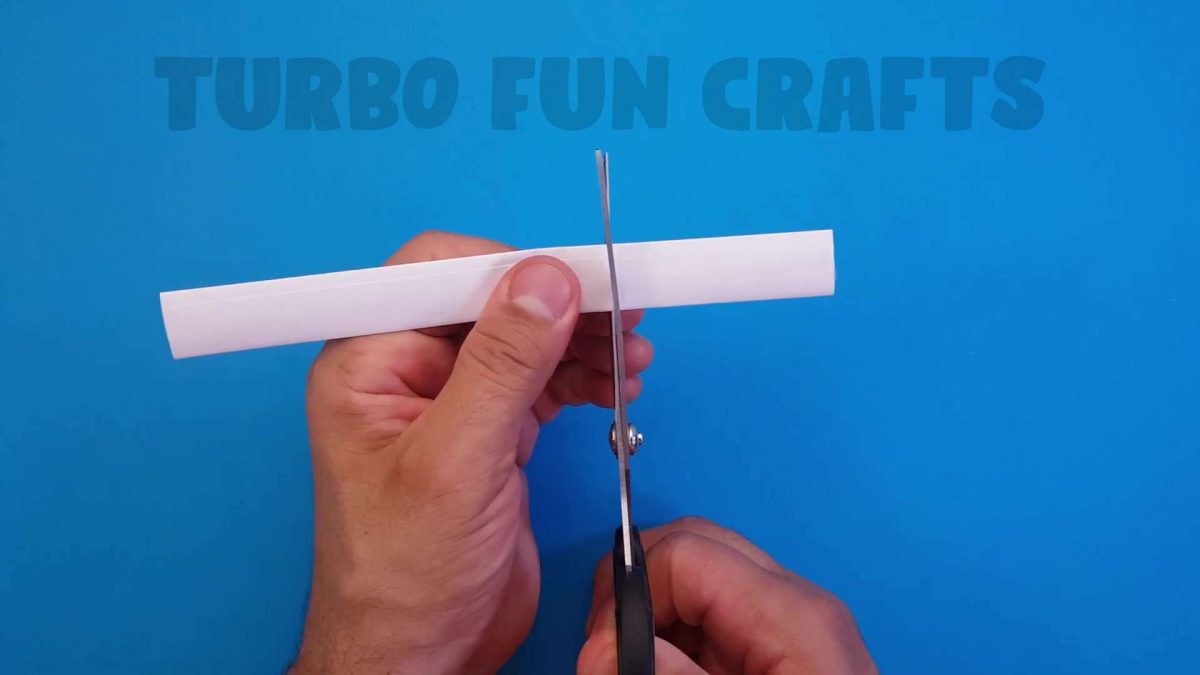
Fold the just-cut paper piece in half and apply glue in the specified location.
This is shown in the image below.
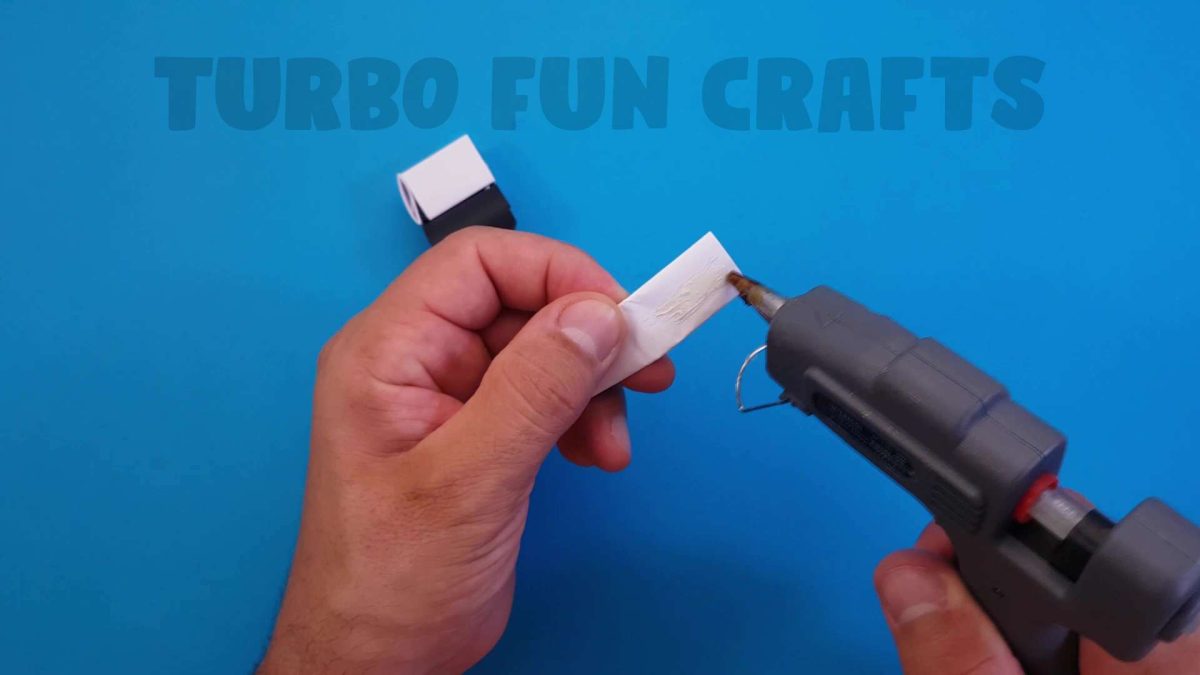
Glue the paper parts together as shown in the image below.
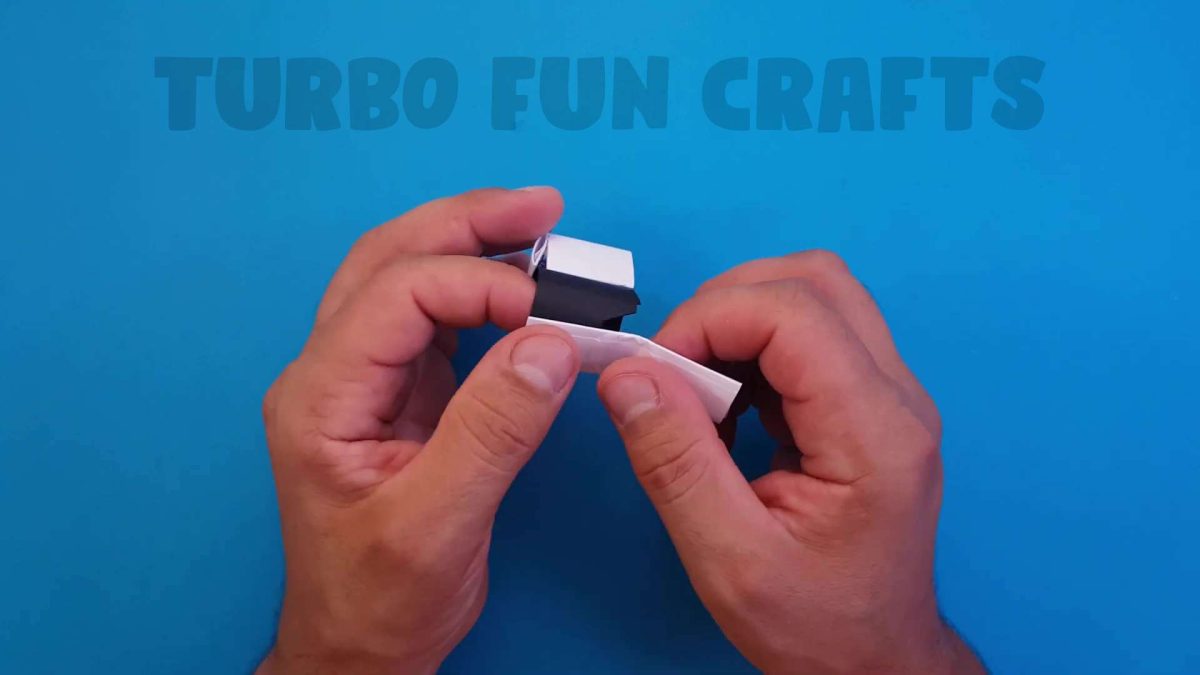
This is how it should look like.

Apply glue in the specified location.
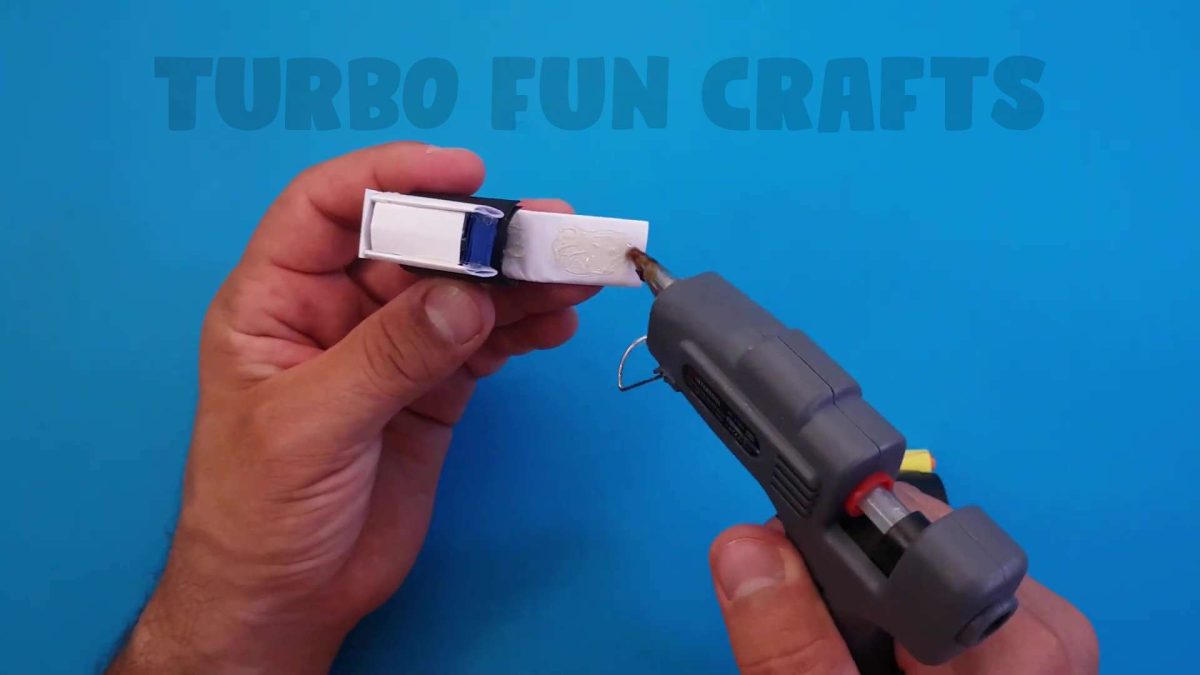
Glue the paper parts together as shown in the image below.
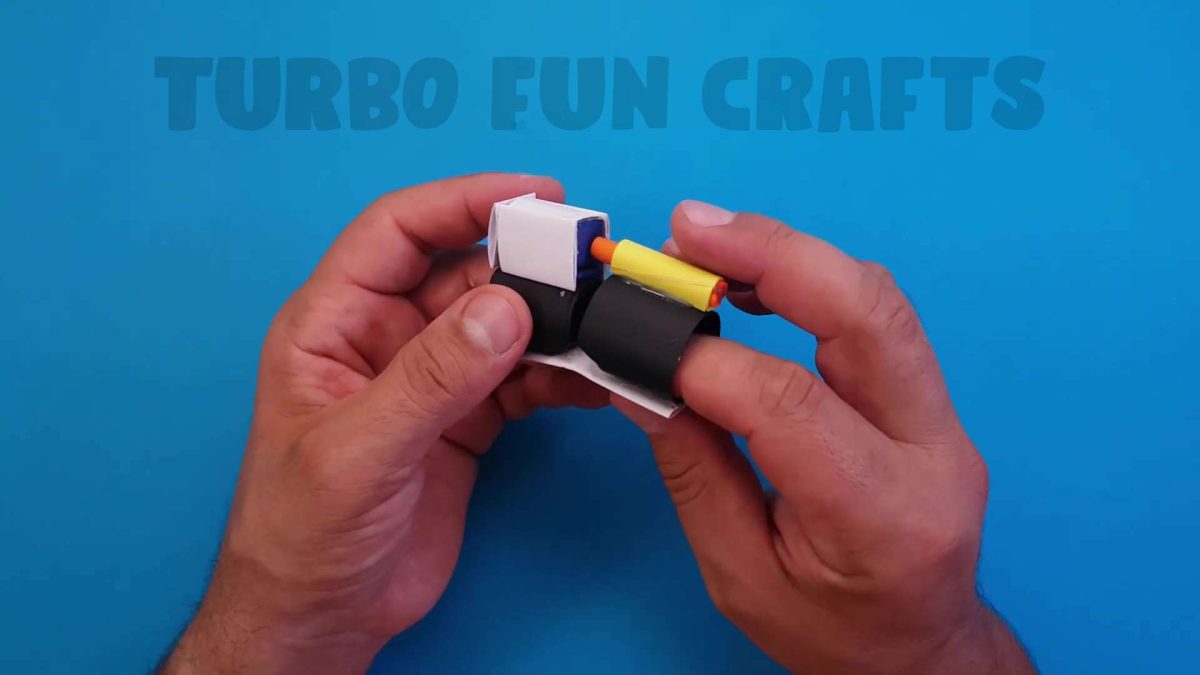
This is how it should look like.
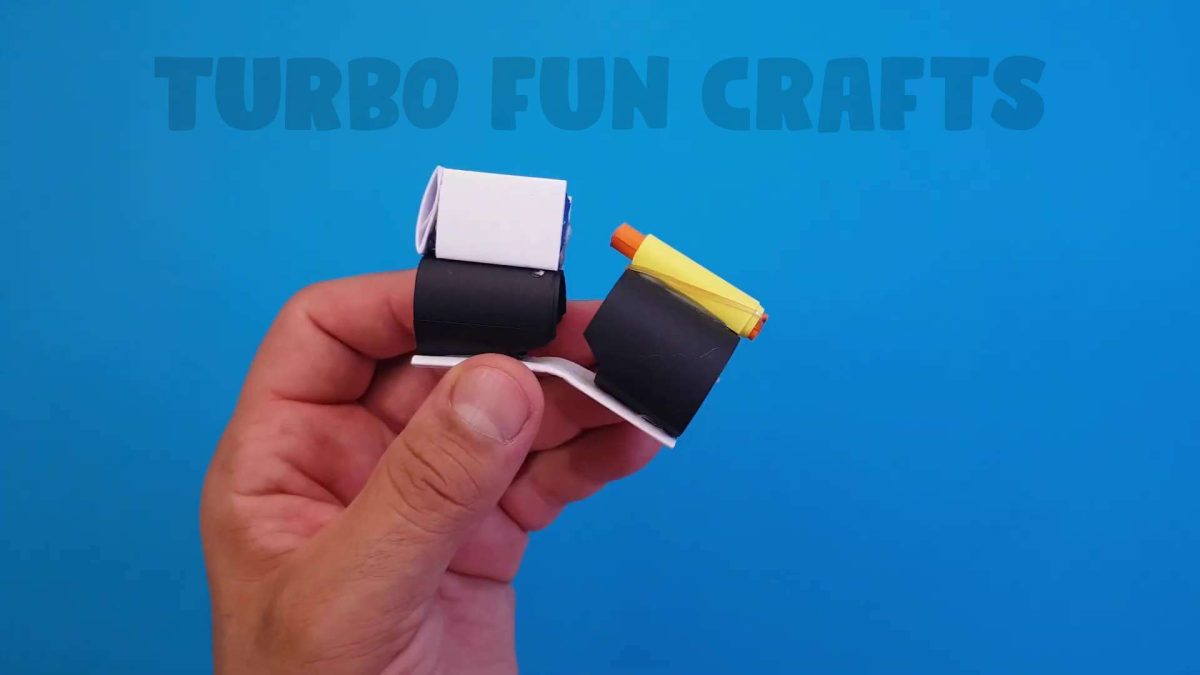
WELL DONE!
You have successfully created the Paper Finger Gun! 🙂
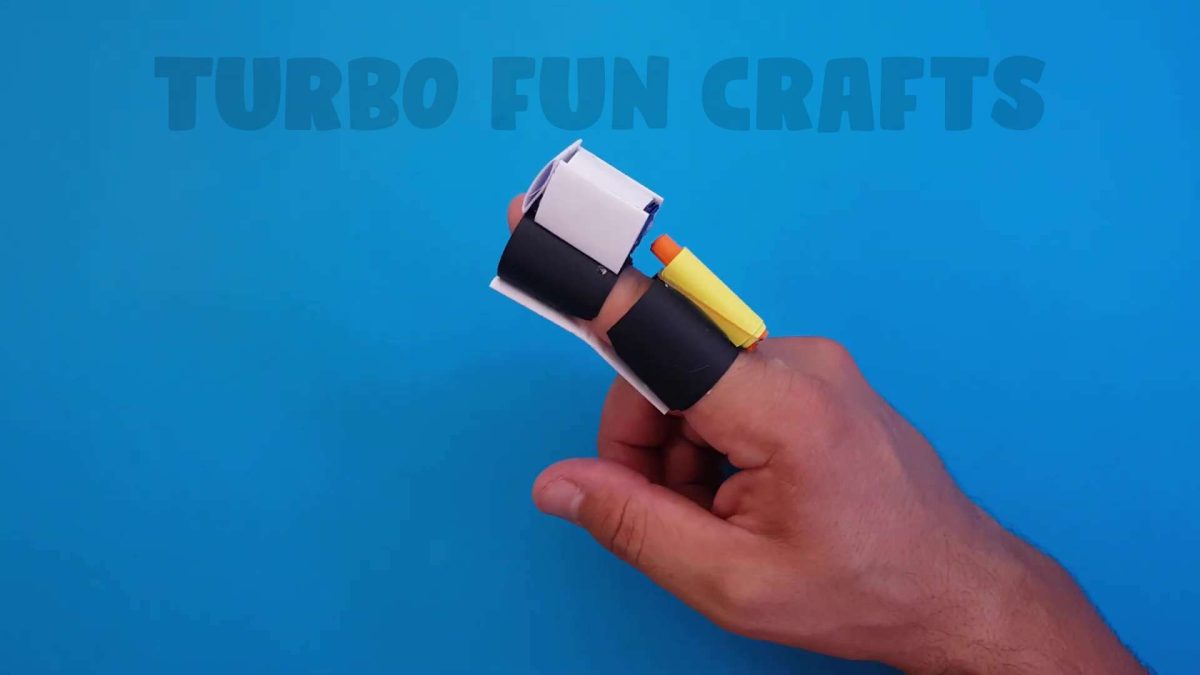
Load the bullet and take a shot!
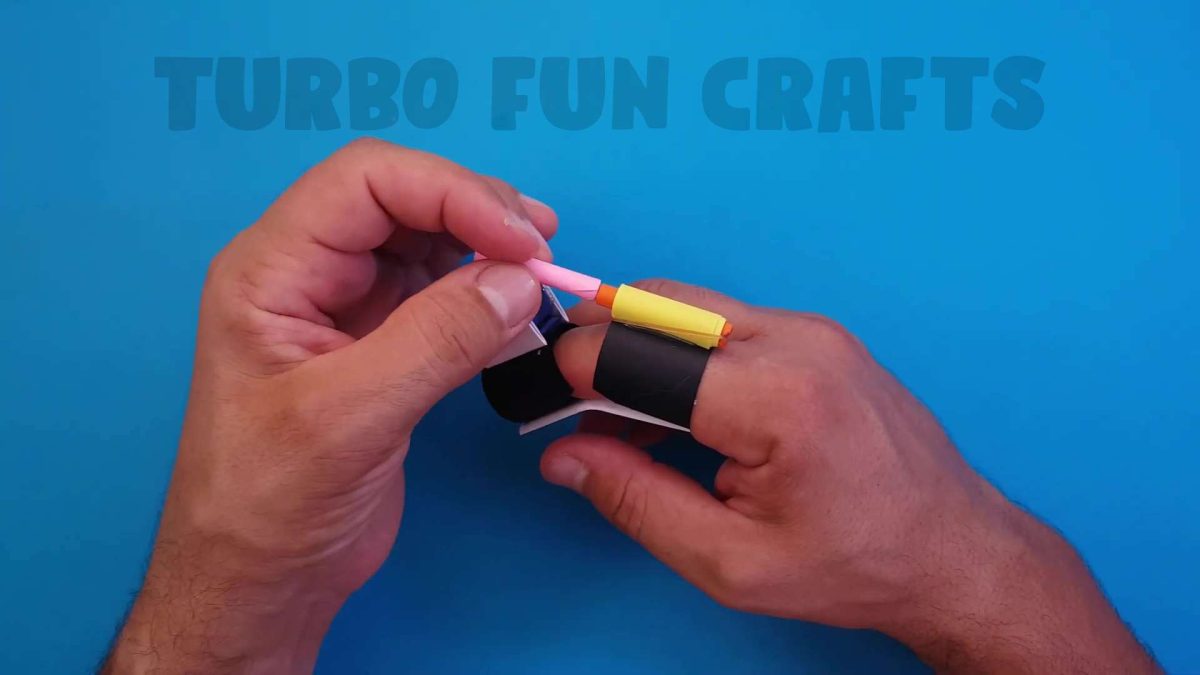
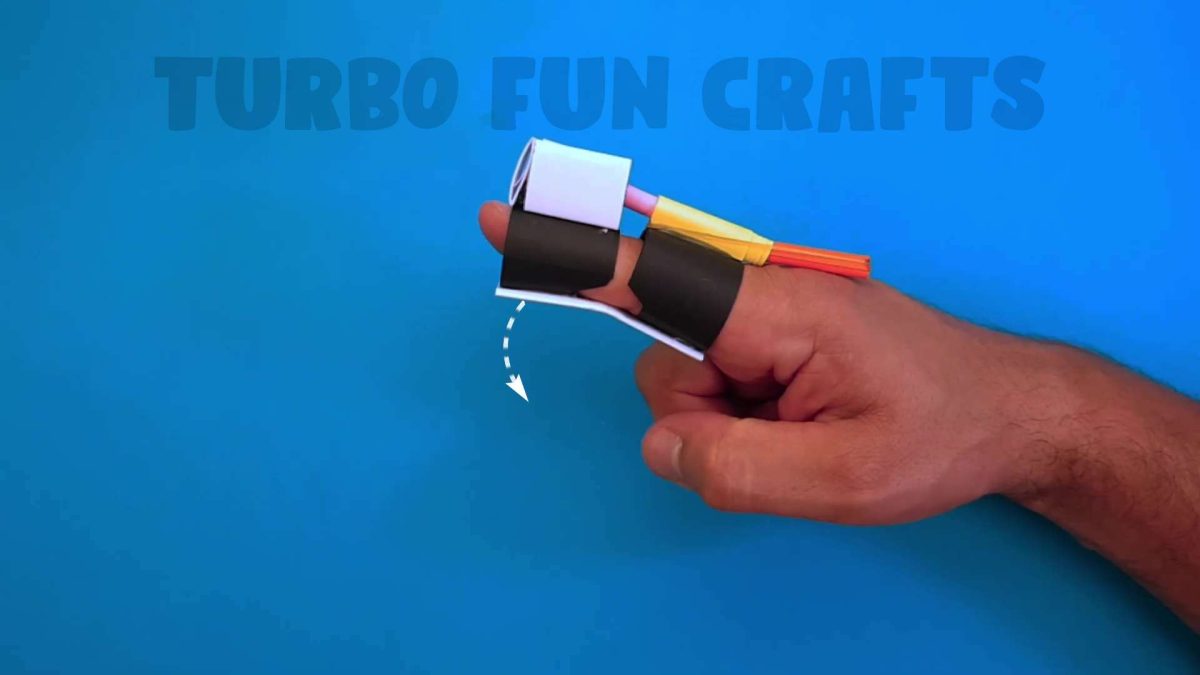
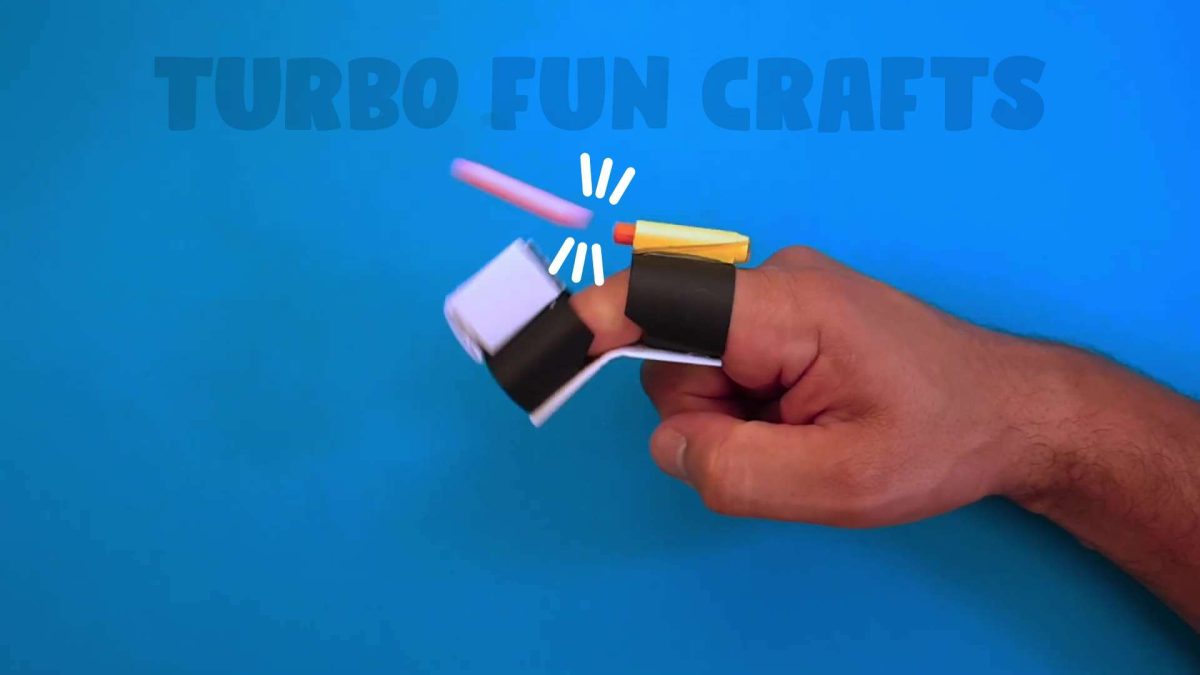
Feel free to decorate the Paper Finger Gun with any other embellishments to make it even more impressive! 🙂
Impress your friends with this Creative Paper Craft! 🙂
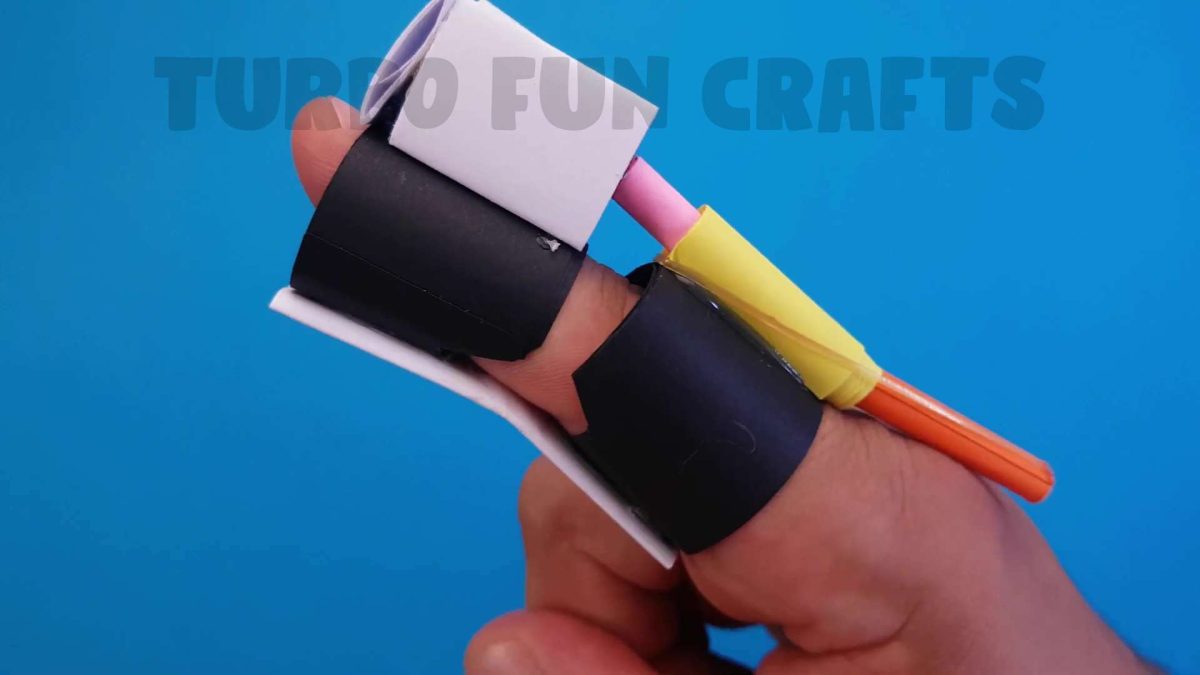
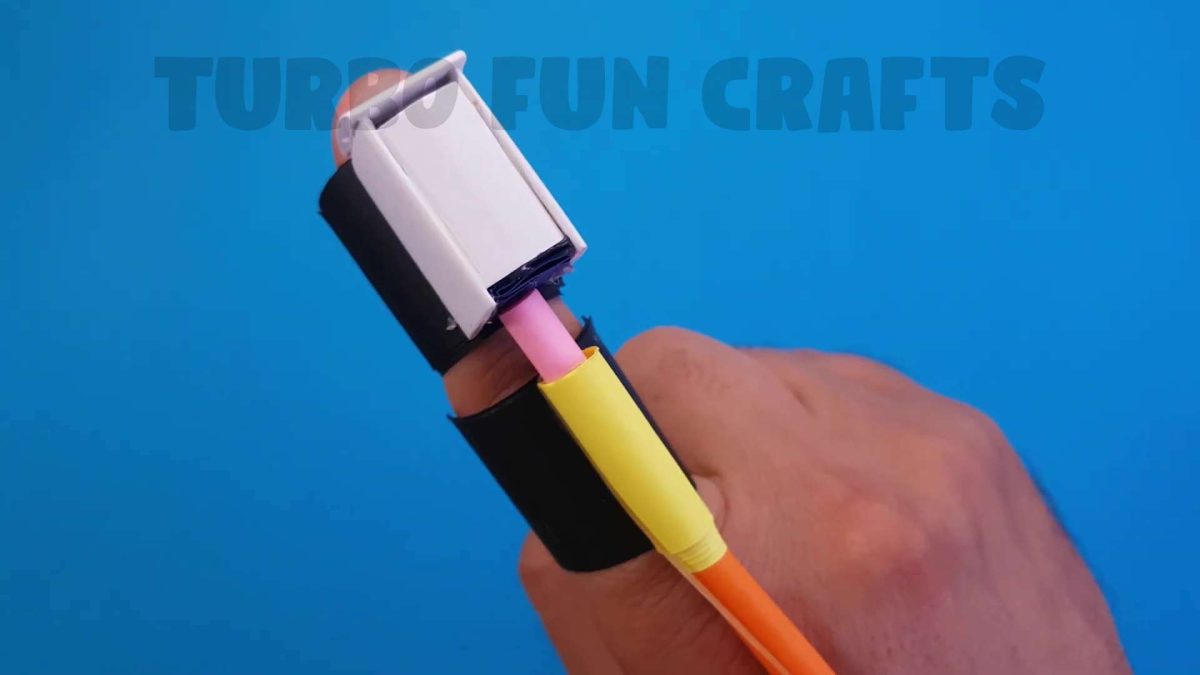
The Paper Finger Gun provides a safe and enjoyable alternative to traditional office toys. It’s perfect for friendly battles and moments of lightheartedness that can break up the workday monotony. As you construct your Paper Finger Gun, you’ll find yourself engaged in an imaginative process that allows you to explore design, structure, and mechanics. This project encourages creative thinking and problem-solving.
You may also like other ORIGAMI crafts from our collection 🙂
Furthermore, you can experiment with various colors, sizes, and designs to create a Paper Finger Gun that reflects your personal style. Tailor it to match your workspace aesthetic or make it stand out as a conversation starter. If you’re looking to enhance team dynamics, consider organizing friendly finger gun battles in the office. Not only will this promote team bonding, but it will also create a fun atmosphere that encourages interaction among colleagues, allowing you to share a laugh together.
Moreover, the environmentally friendly aspect of utilizing paper as the primary material adds another layer of appeal to this craft. By repurposing recycled or unused paper, you’ll transform it into an entertaining and functional creation, contributing to sustainable practices. Additionally, the Paper Finger Gun project requires minimal materials, making it a cost-effective hobby for individuals or teams. This is a fantastic way to engage in creativity without a significant financial investment.
If you experienced difficulties with some steps, you can watch the video instruction on how to make Paper Finger Gun
Please scroll down for the video tutorial 🙂
Building a Paper Finger Gun involves basic crafting skills like cutting, rolling, and assembling. This presents an ideal opportunity for beginners to develop their crafting abilities and gain confidence in their creative endeavors. Once your Paper Finger Gun is complete, you can even extend the creativity by using it as a quirky and thoughtful gift. Share these personalized creations with coworkers, friends, or family members, and watch as their smiles and laughter light up the room.
As you become more experienced in the art of crafting Paper Finger Guns, you’ll have the chance to experiment with modifications and enhancements. Explore different mechanisms, ammunition sizes, and shooting ranges to keep your creativity flowing and your craft evolving. With each step, you’ll discover new possibilities and unlock the full potential of this imaginative and engaging project.
In conclusion, the Paper Finger Gun offers a playful and imaginative way to elevate your office experience through creative paper crafting. From stress relief and team interactions to personal expression and customization, this mini gun that shoots paper bullets opens up a world of possibilities that combine practicality and creativity in the most delightful way.
You can also watch a video tutorial of how to make Paper Finger Gun


