How to make Antistress Moving PAPER TOY | Easy Origami Pop It Fidgets
Hello everyone! 🙂 You don’t need any special skills or equipment to make this Antistress Moving Paper Toy. With just a few sheets of paper and some basic folding techniques, you’ll be on your way to creating your own collection of easy origami pop it fidgets.
In our step-by-step tutorial, we’ll take you through the process of making your own Easy Origami Pop It Fidgets.Made from simple paper folds, these moving paper toys are easy to create and fun to play with. 🙂
So why not give it a try today and discover the fun and satisfaction of making your own Antistress Moving Paper Toy? Let’s get started! 🙂
Please scroll down for step-by-step tutorial of how to make Easy Origami Pop It Fidgets

HERE IS THE TUTORIAL:
Necessary materials:
- you just need 3 square sheets of two-tone paper, where each side is a different color.
In our tutorial, we used 15 by 15 cm two-colour origami paper, which has a white surface on one side and a colored surface on the other. You can basically use a square paper sheet of any size.
STEP 1 of how to make Antistress Moving Paper Toy
Take a square sheet of paper
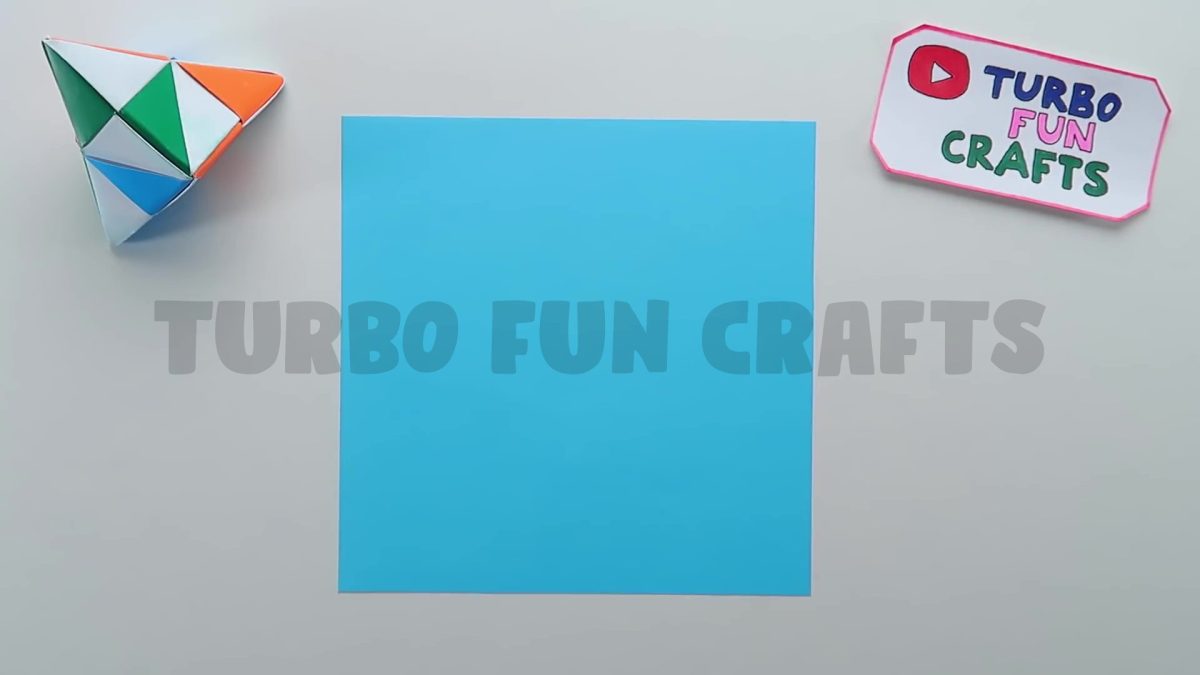
Place the sheet of paper with the white side up and make sure that one of the corners is at the bottom
Fold the bottom corner of the paper to the top, as shown in the picture below


Unfold the sheet of paper to its original position and rotate it by 90 degrees

Fold the sheet of paper in half again


Unfold it to its original position

STEP 2 of how to make Antistress Moving Paper Toy
Fold the bottom corner to the center of the paper sheet


Repeat the same action with the top corner
Fold it to the center of the sheet

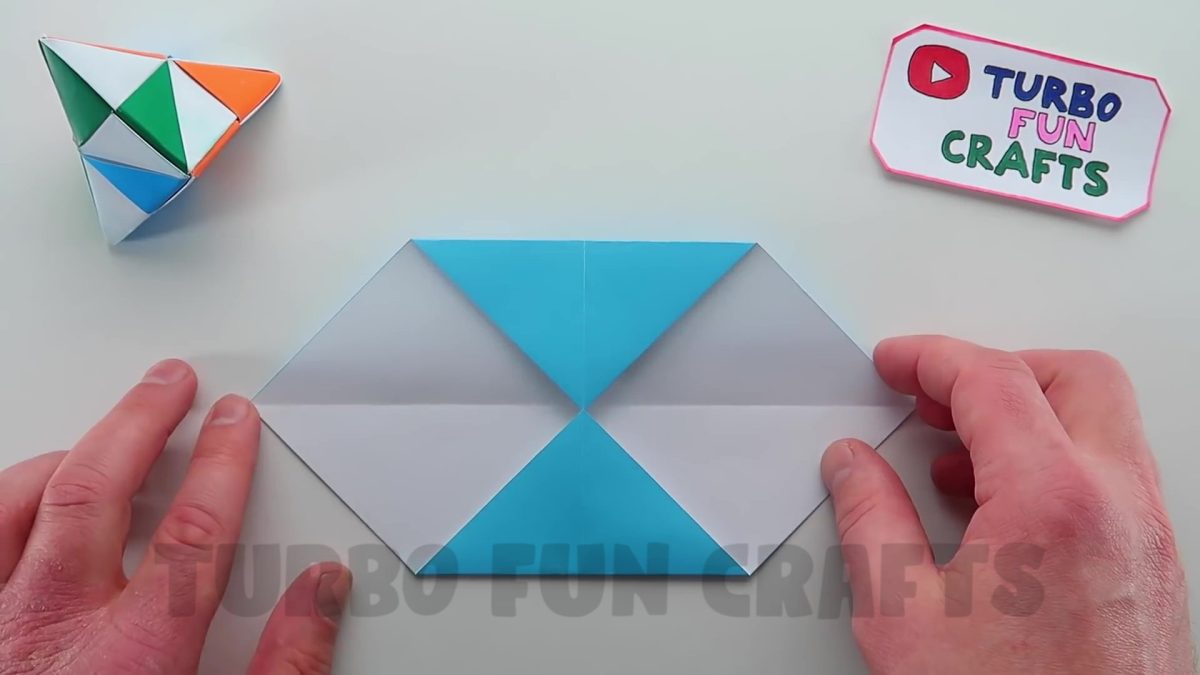
Flip the sheet of paper over to the opposite side

Fold the bottom edge of the sheet to the center, as shown in the picture below


Rotate the paper sheet by 180 degrees and fold the other side to the center in the same way

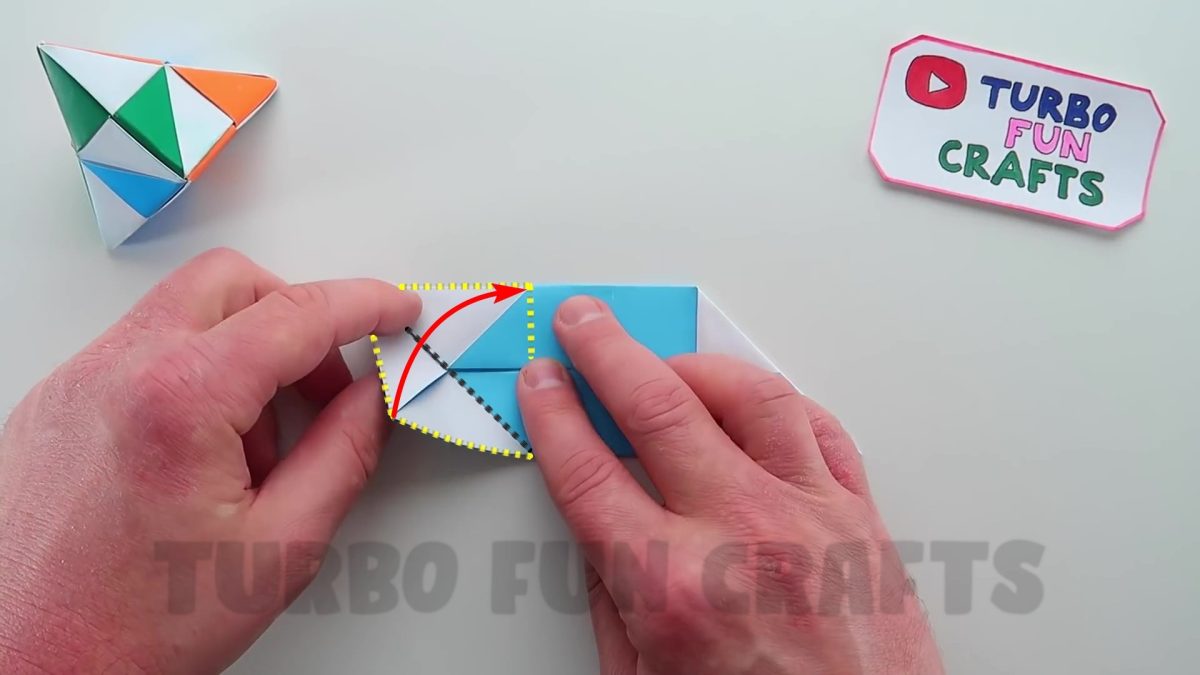
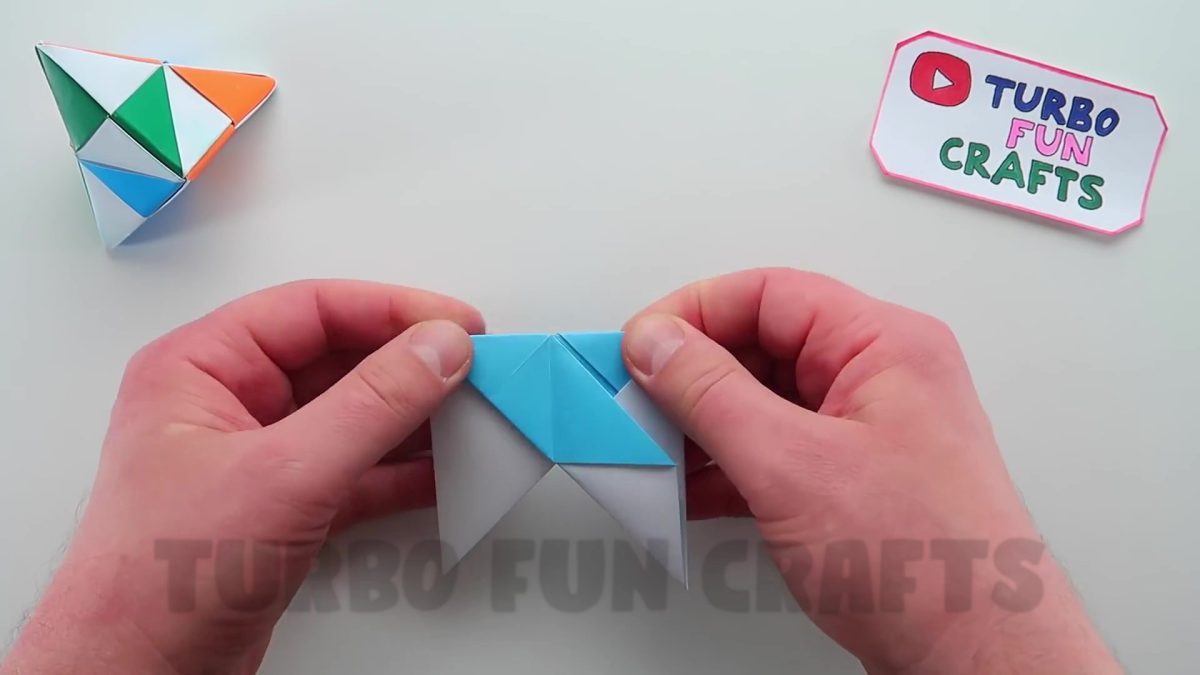
STEP 3 of how to make Antistress Moving Paper Toy
Fold the corner on the left side, as shown in the picture below


Fold the sheet of paper as shown in the picture below


Unfold the corner to its original position

Unfold the top edge of the sheet that was previously folded

Insert the just folded corner under the open edge of the paper sheet

Fold the open edge of the sheet back to its original position, covering the previously folded corner


STEP 4 of how to make Antistress Moving Paper Toy
Rotate the sheet of paper by 180 degrees


Fold the left corner in the same way as described in the previous step


Fold the paper sheet as shown in the picture below


Unfold the corner that was just folded to its original position

Unfold the top edge of the sheet

Insert the just folded corner under the open edge of the paper sheet
Fold the open edge of the sheet back to its original position, covering the previously folded corner

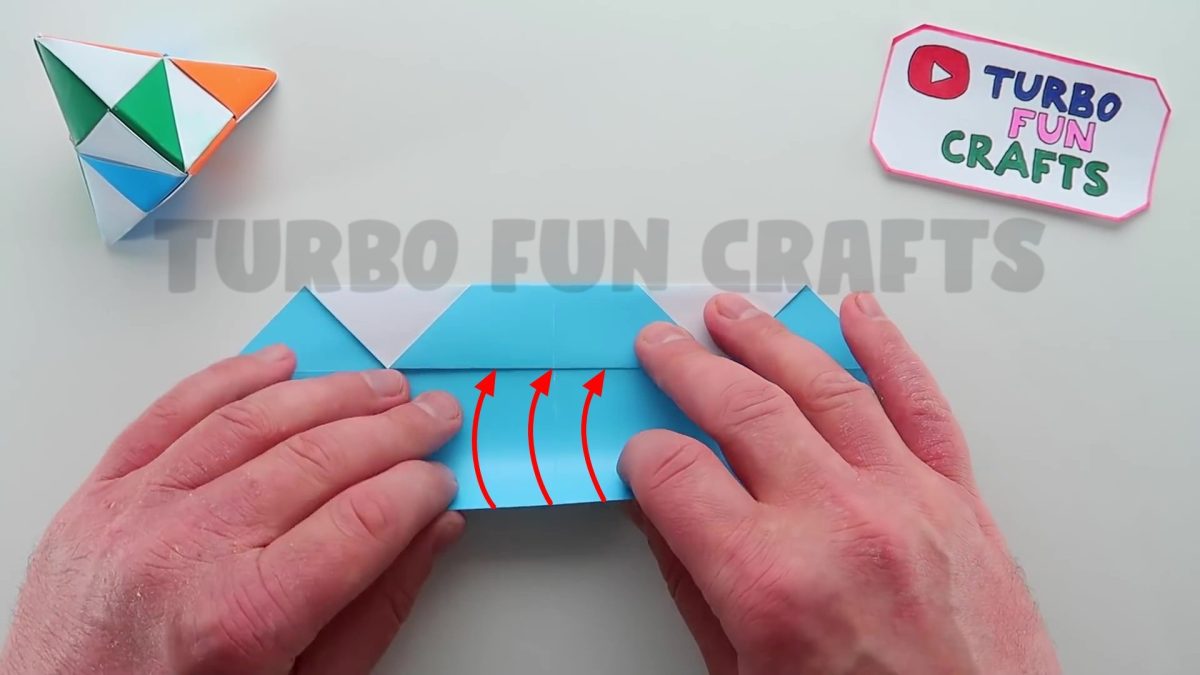
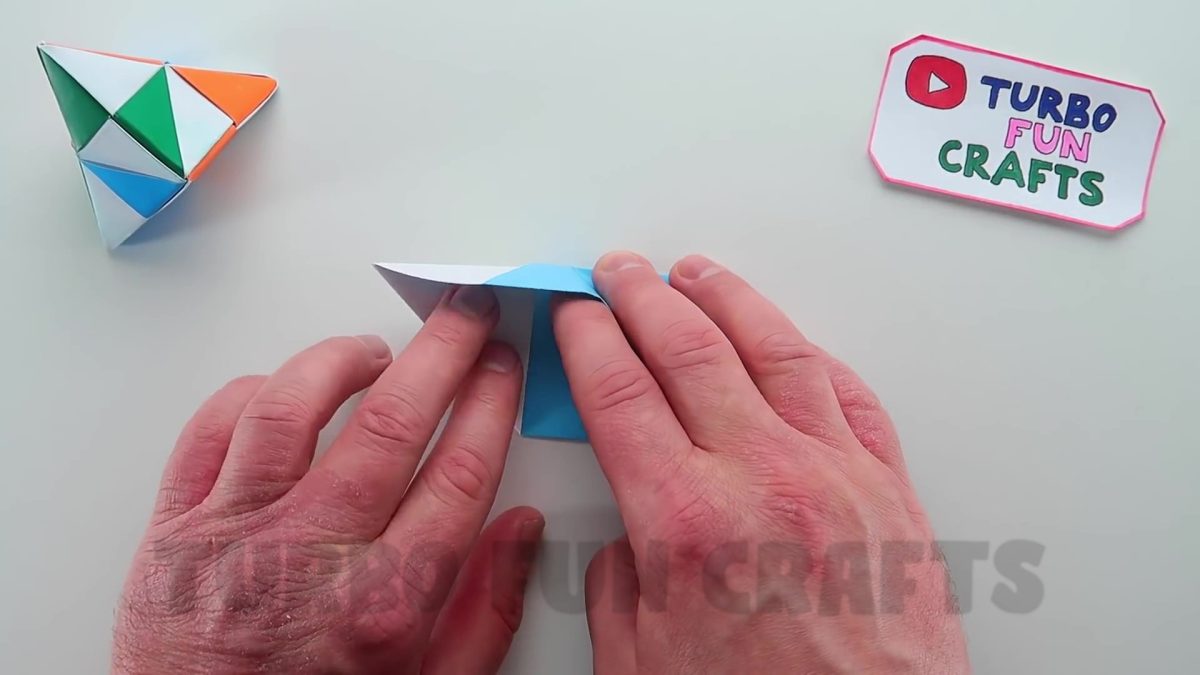
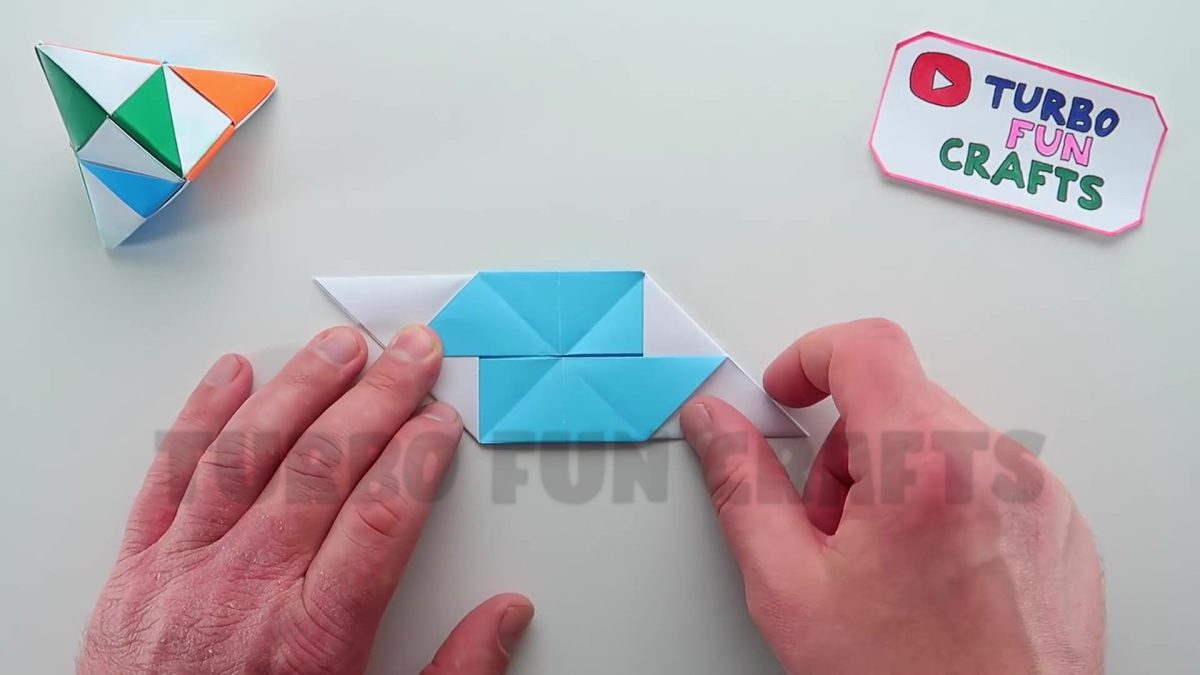
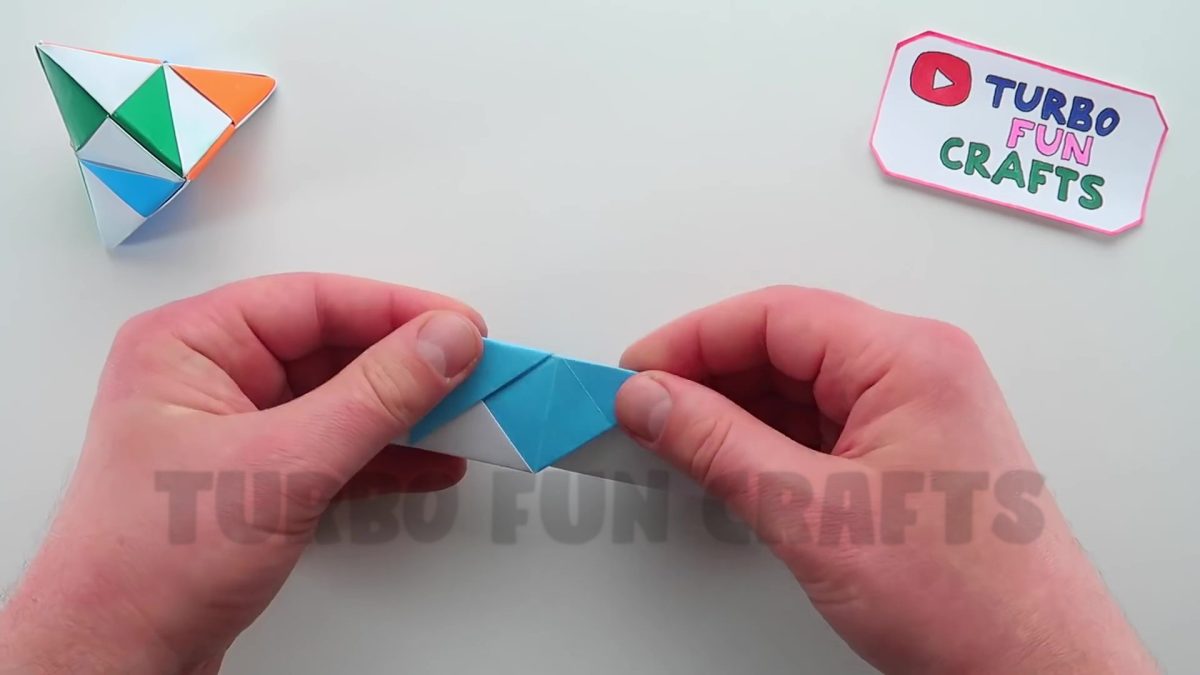
STEP 5 of how to make Antistress Moving Paper Toy
Fold the sheet of paper as shown in the picture below


Unfold the paper sheet to its original position


Fold the paper sheet as shown in the picture below

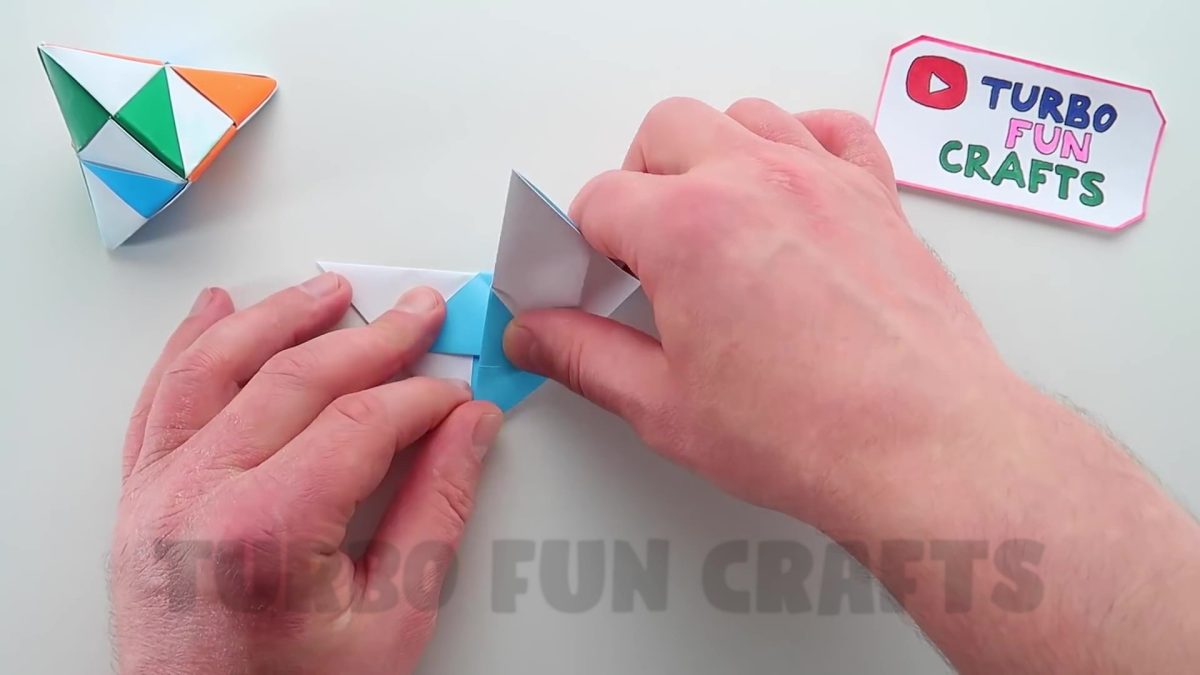
Unfold the sheet of paper to its original position
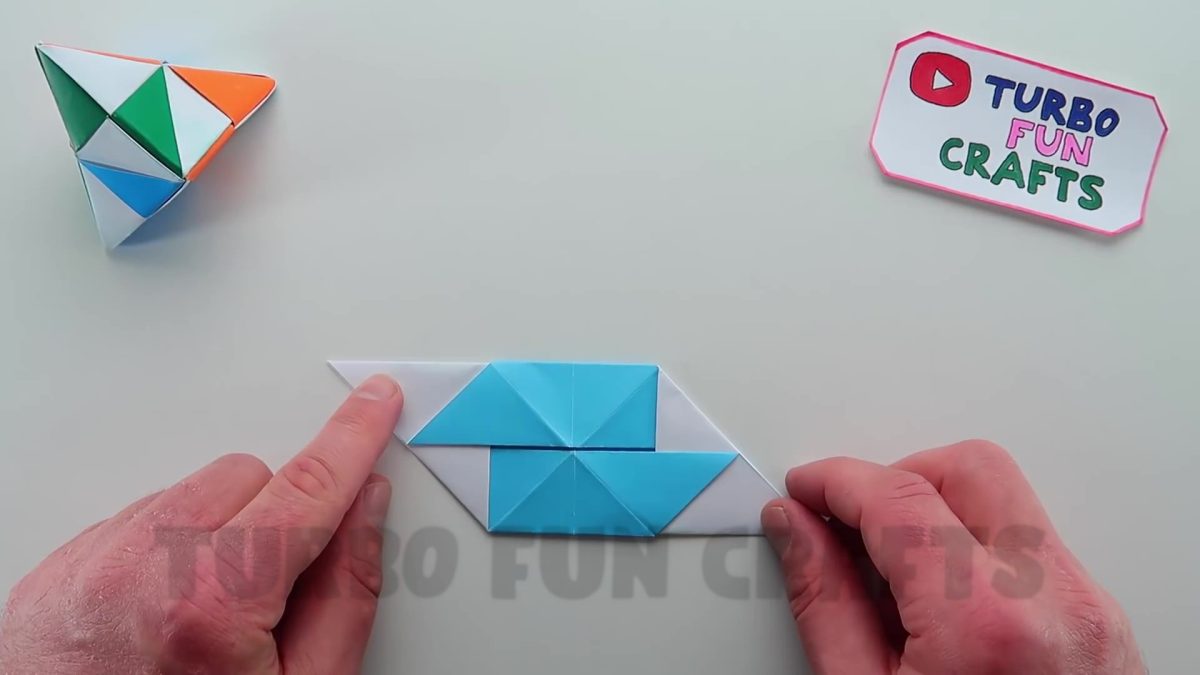
Take the sheet and fold it several times along the lines of the folds you just made
This is necessary in order to give shape to the future paper toy
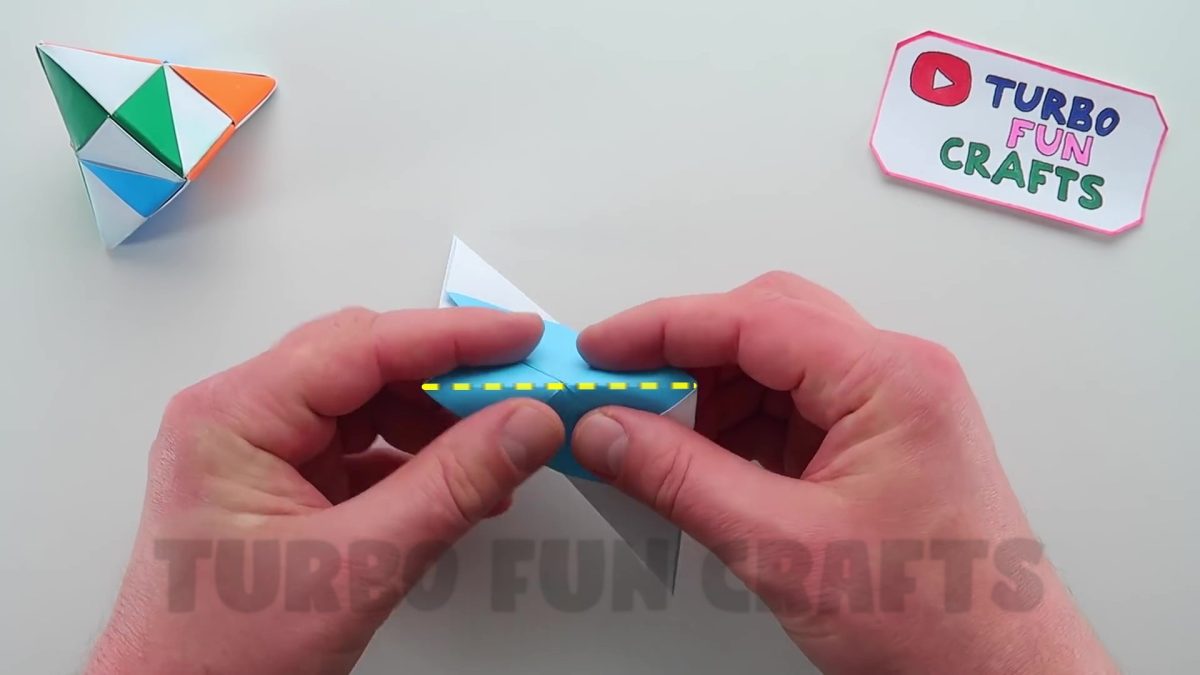
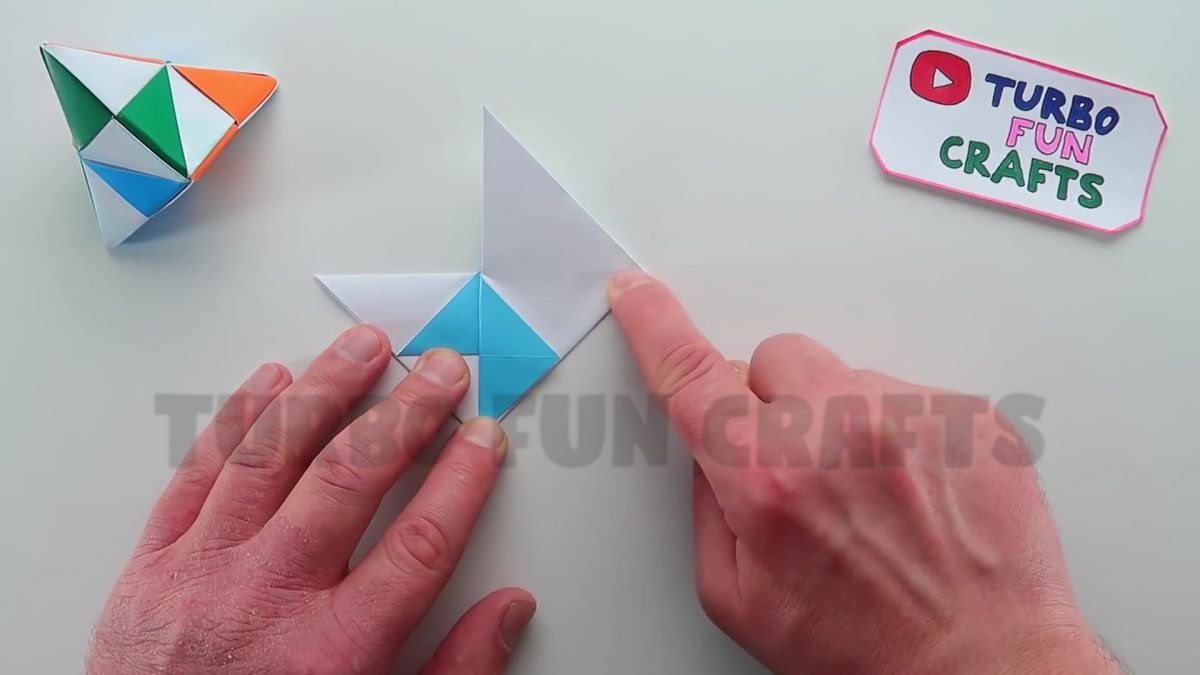
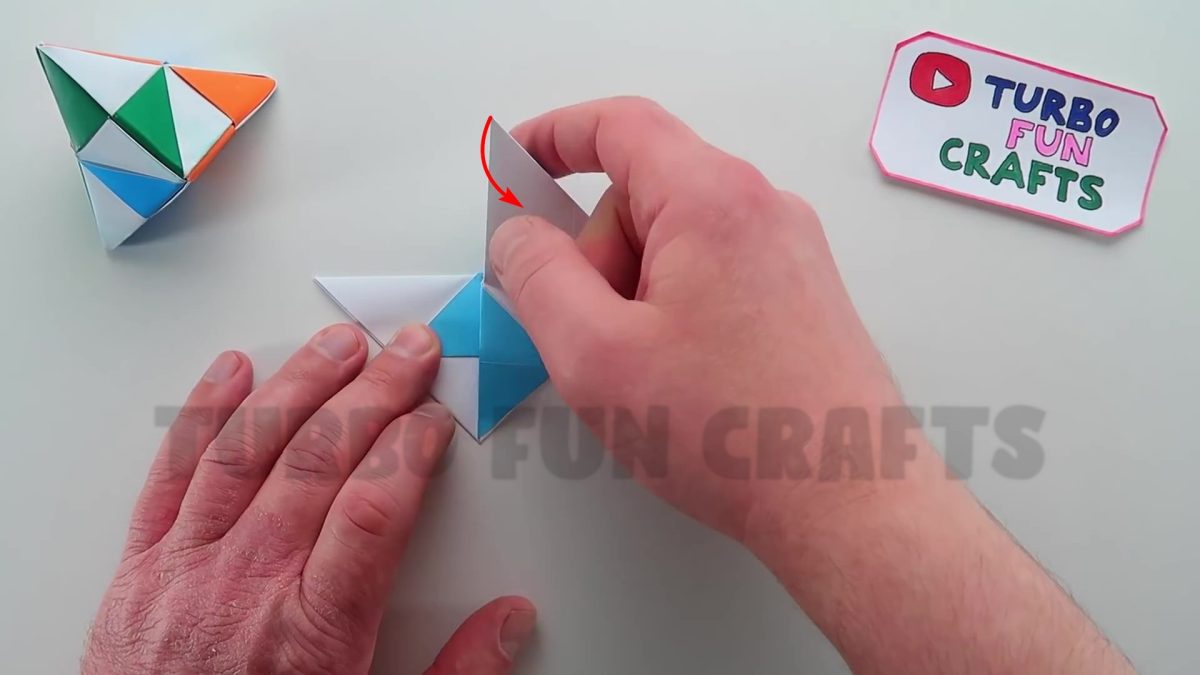
Unfold the sheet to its original position
Fold it several more times along the second folding line
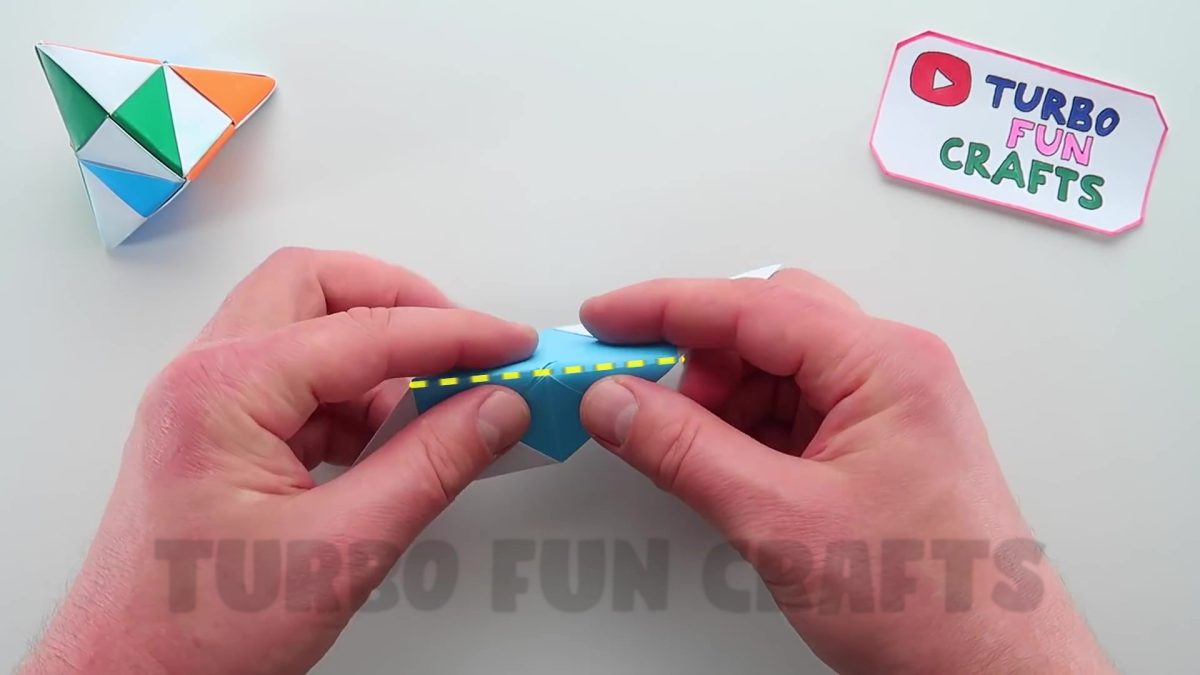
Unfold the sheet of paper to its original position
This is how it should look like
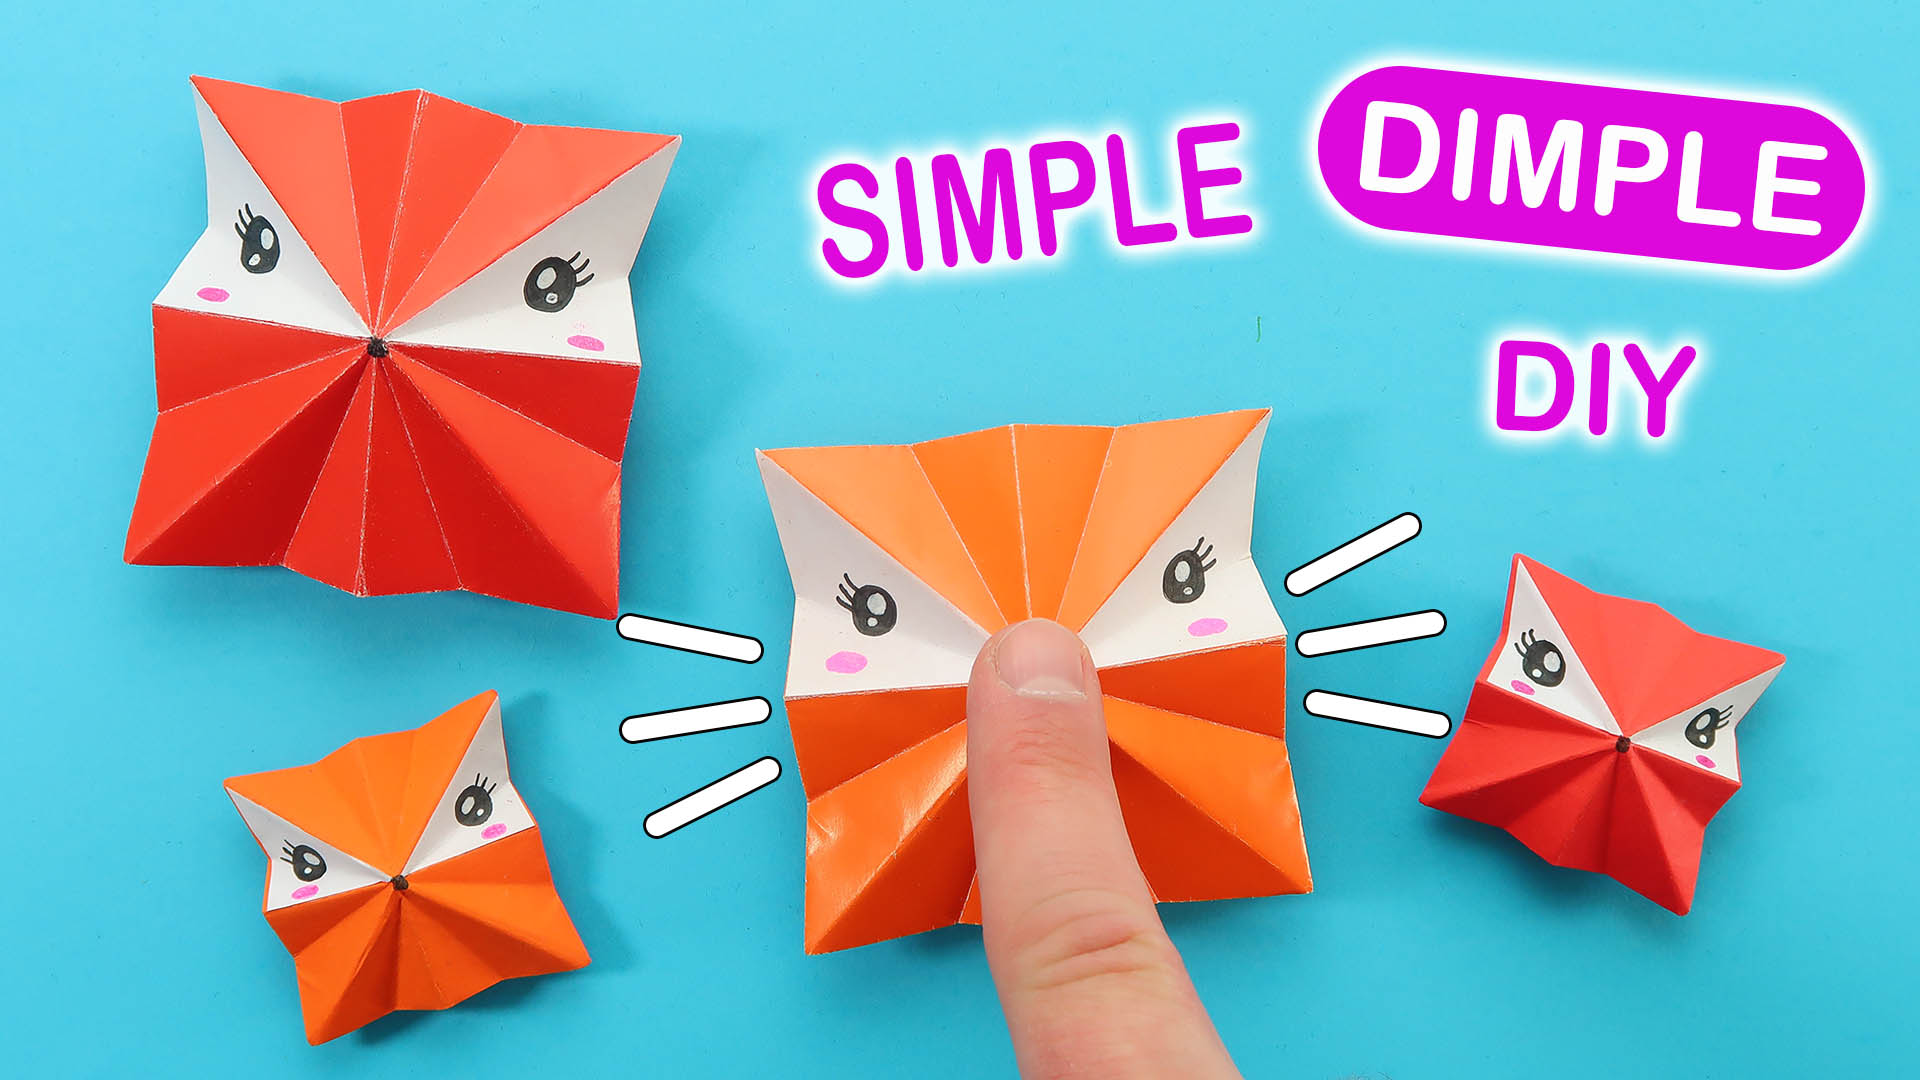
You may also like: How to make Origami Paper Beyblade | Moving Paper Toy | Antistress
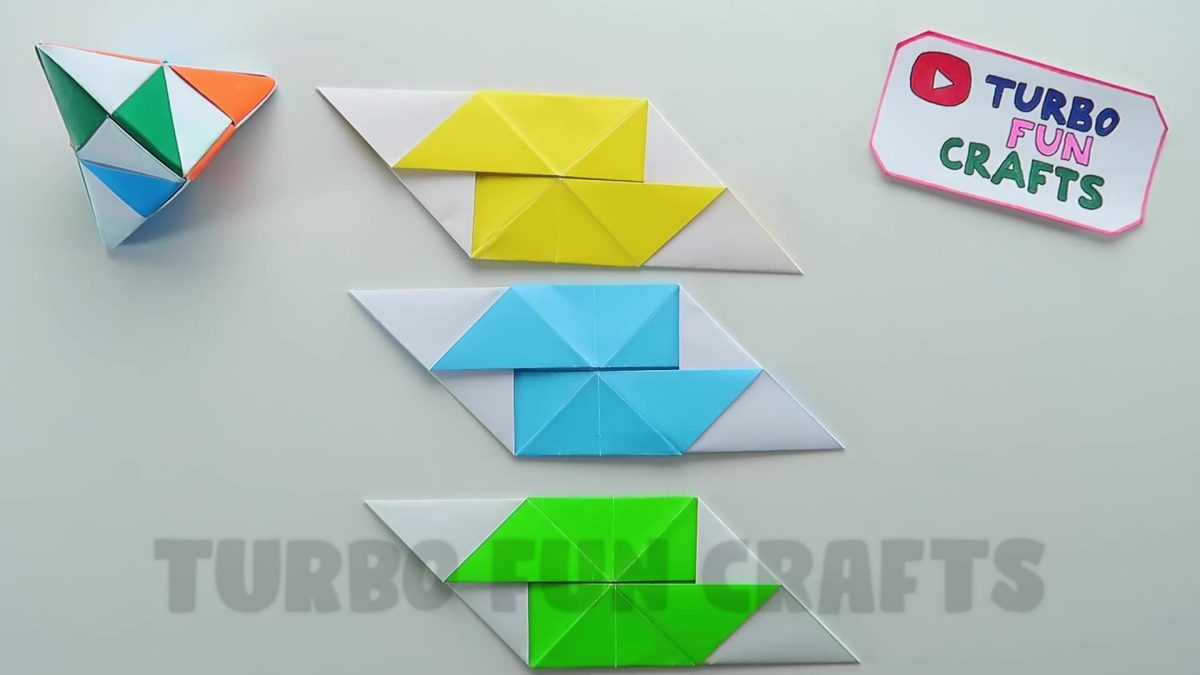
STEP 6 of how to make Antistress Moving Paper Toy
Fold two more sheets of paper in the same way as shown in the previous steps
We recommend to use paper of different colors to give your origami craft a more colorful look
Let’s take two sheets of paper and begin folding them together

Insert one corner of one of the sheets of paper into the specified location of the other paper sheet, as shown in the picture below

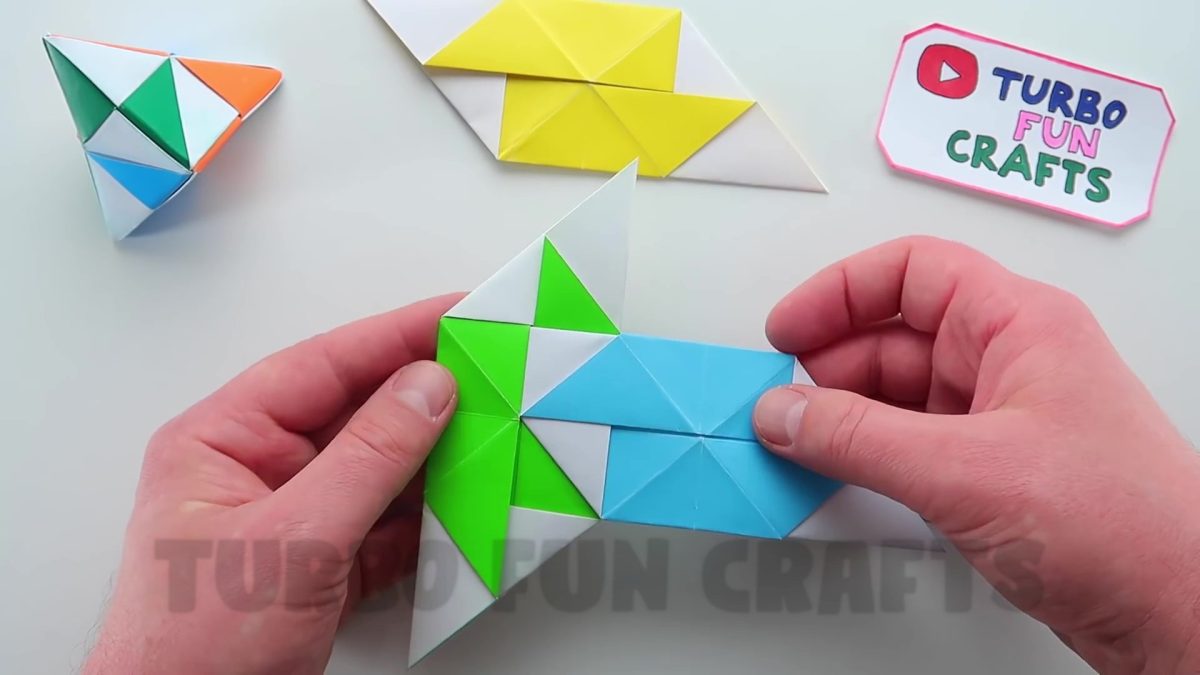
Flip the folded sheets over to the other side

Fold the sheet of paper in your right hand as shown in the picture below
Fold the corner of the sheet in your left hand and insert it into the specified location, as shown in the picture below


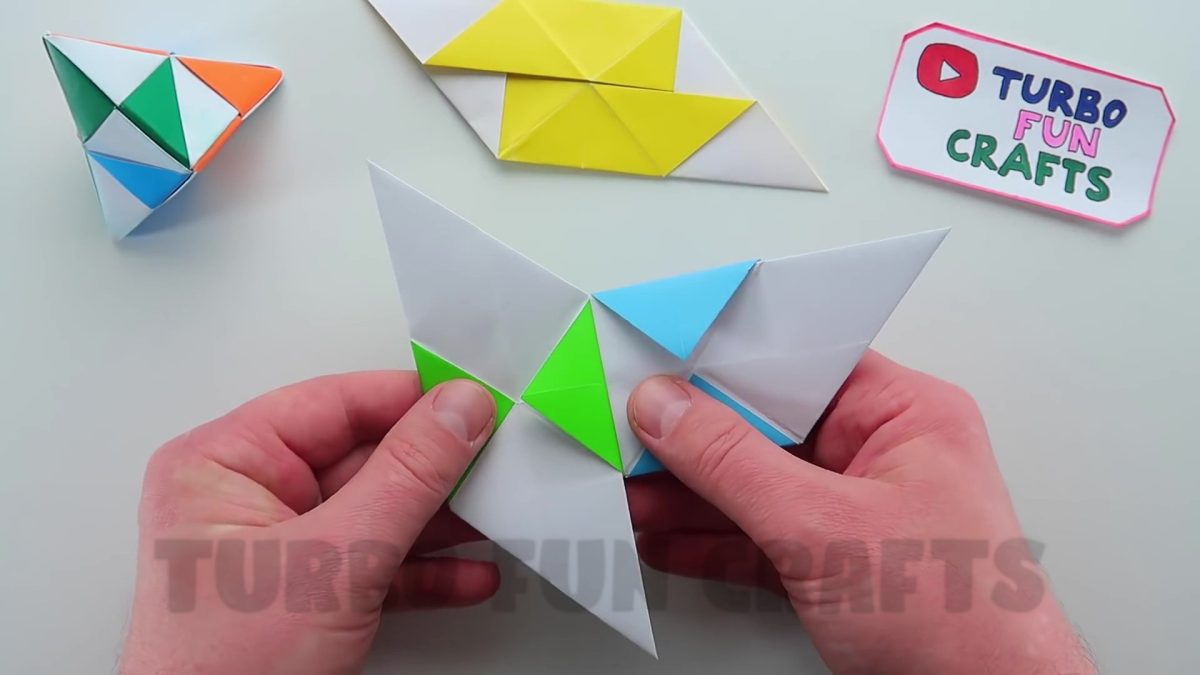
Congratulations, you have successfully folded two sheets of paper together 🙂
This is how it should look like
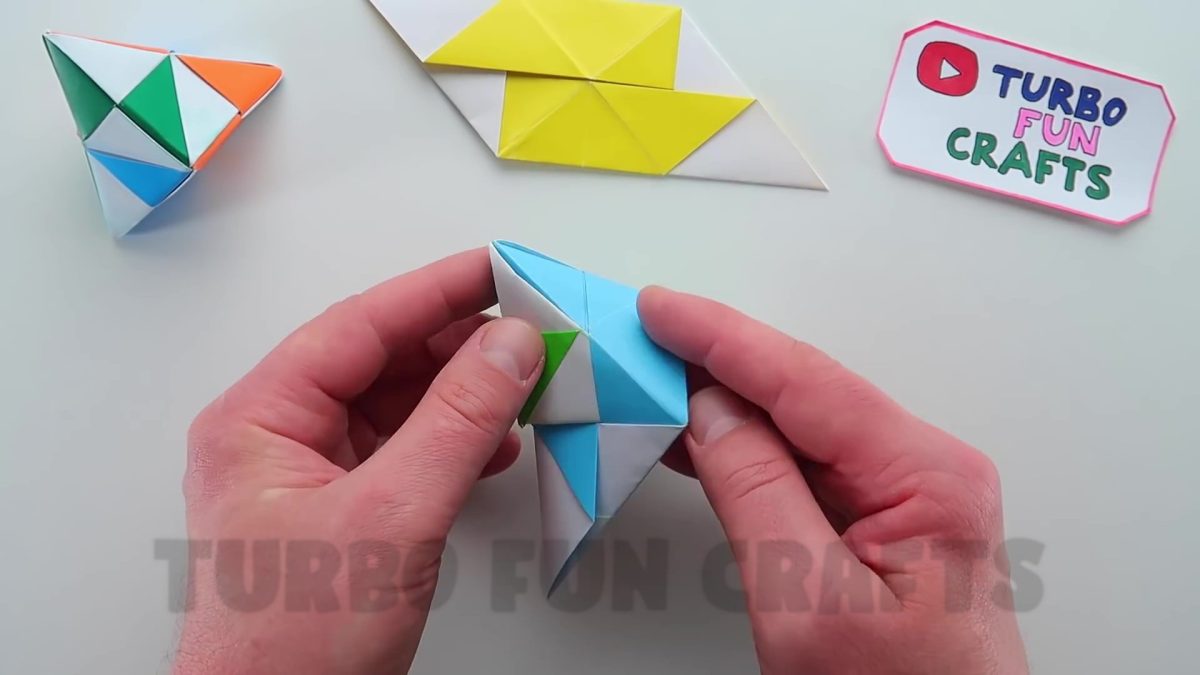
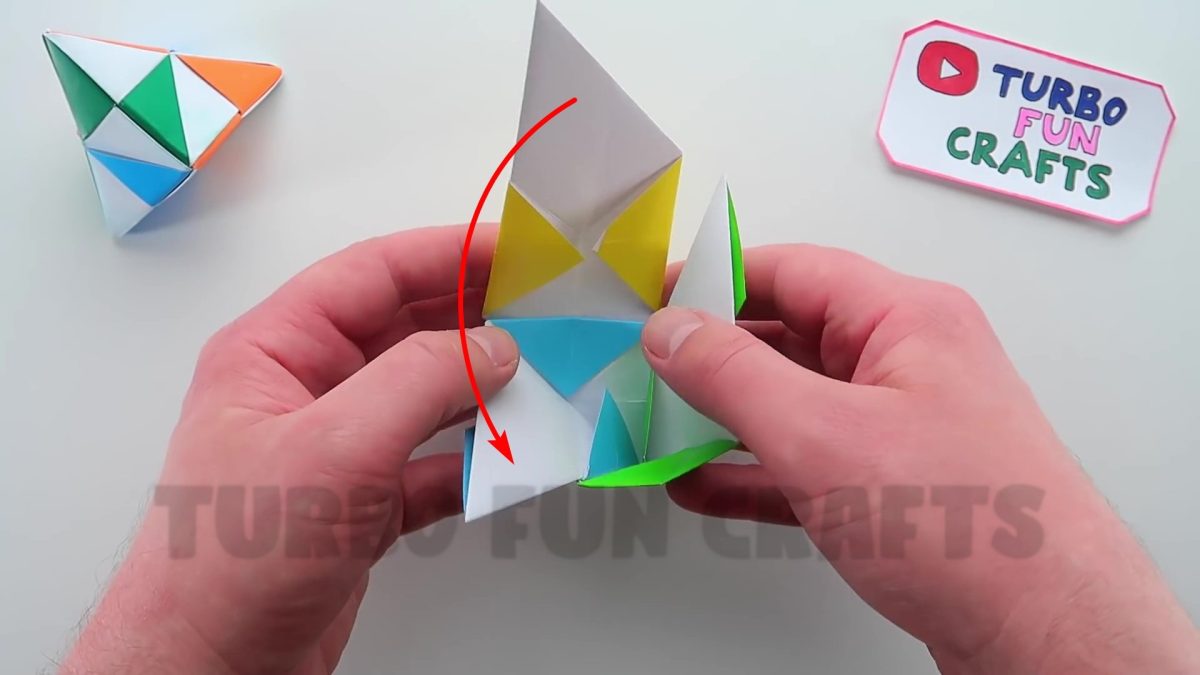
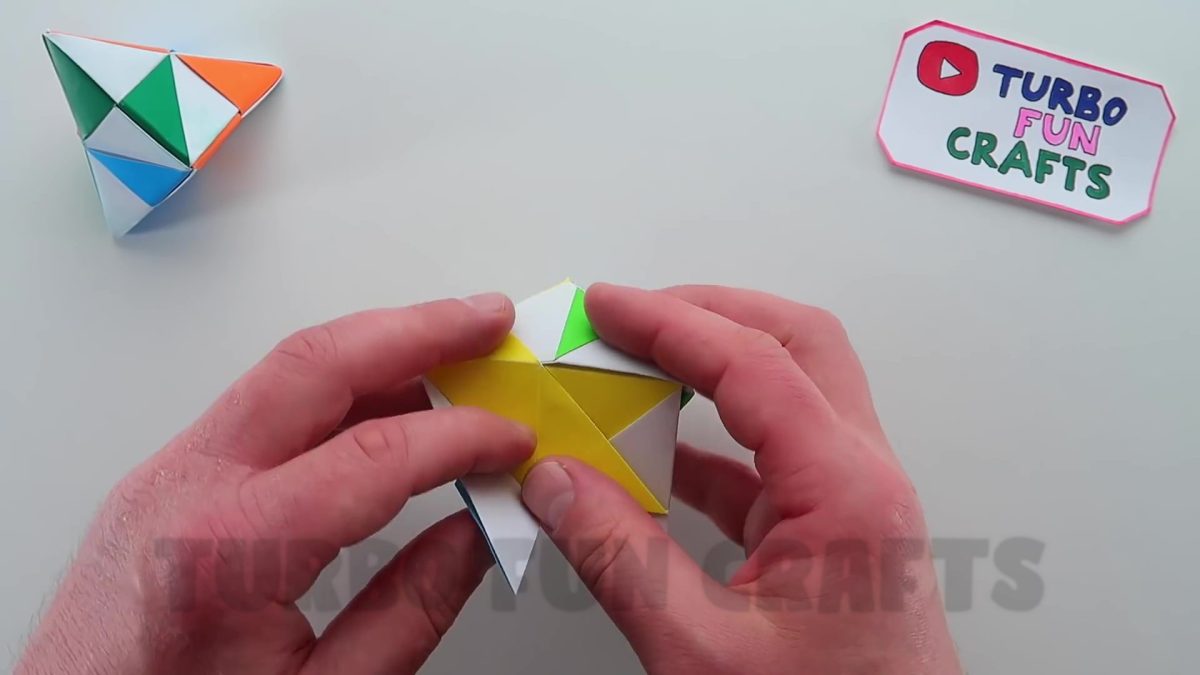
STEP 7 of how to make Antistress Moving Paper Toy
In this step, you will need to attach the third sheet of paper to the previously folded origami toy
Take the third sheet of paper
Insert one of the corners of the paper sheet into the specified location as shown in the picture below
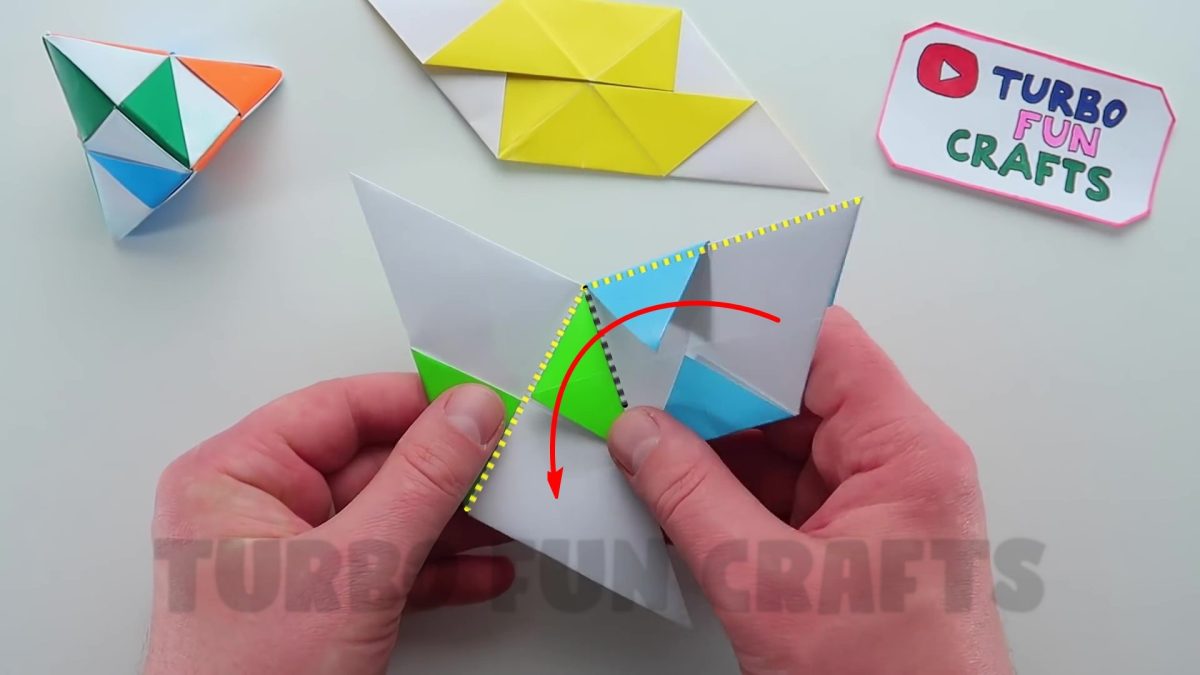
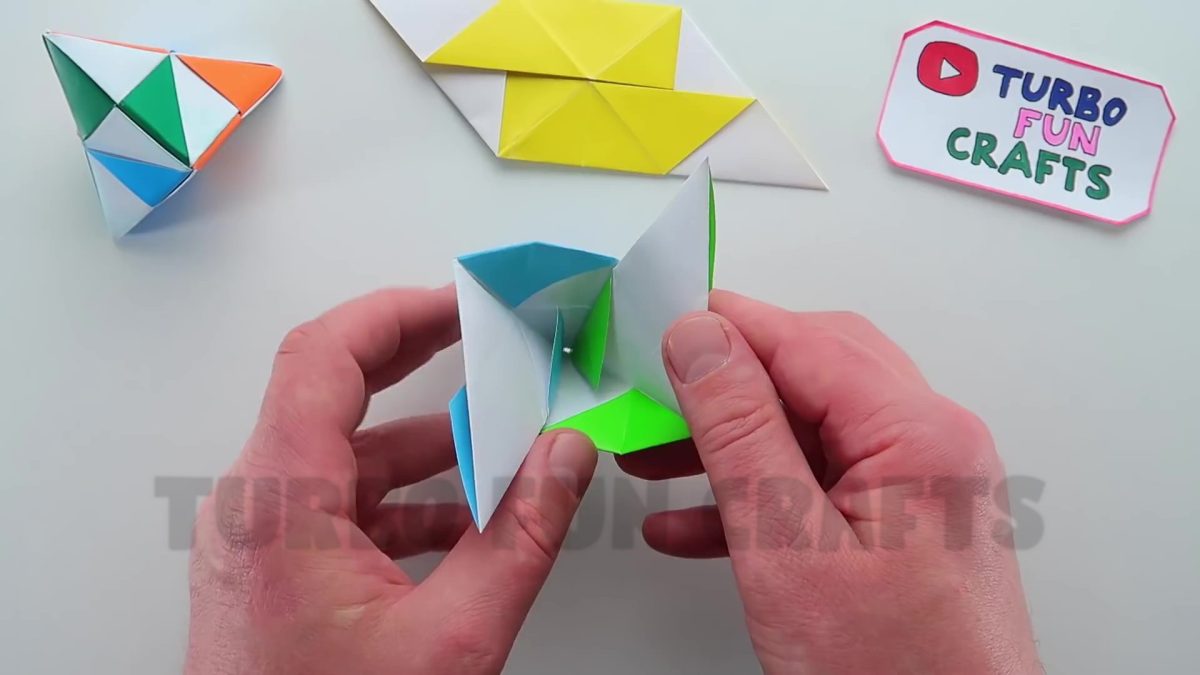
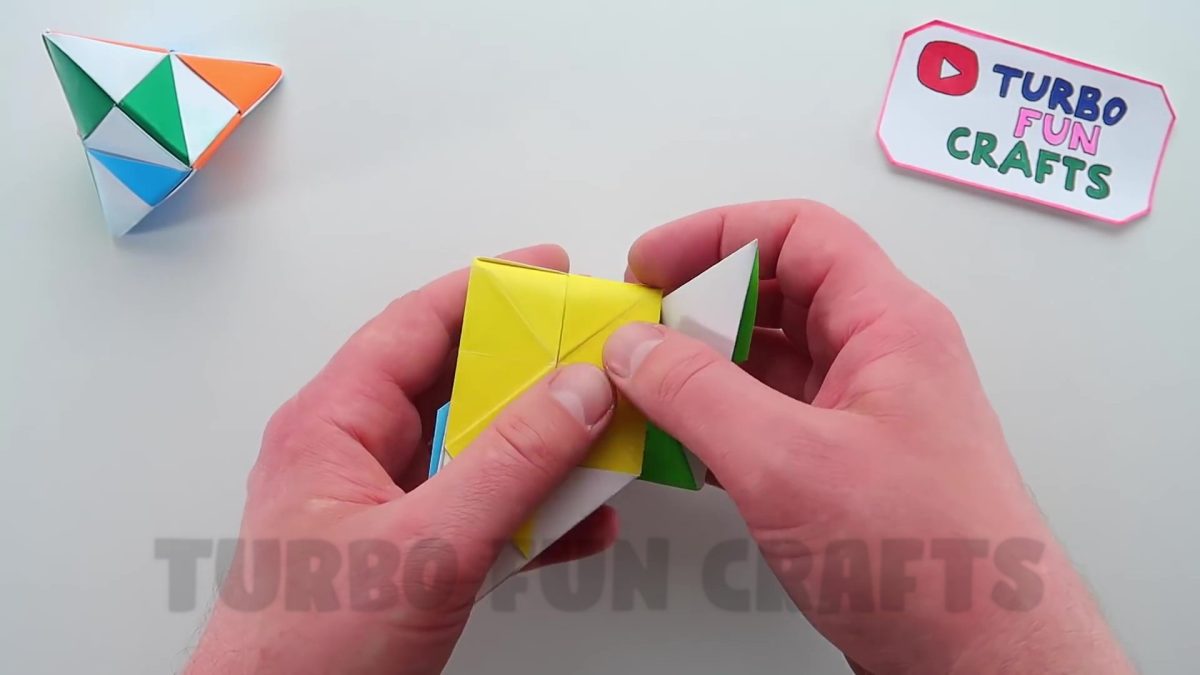
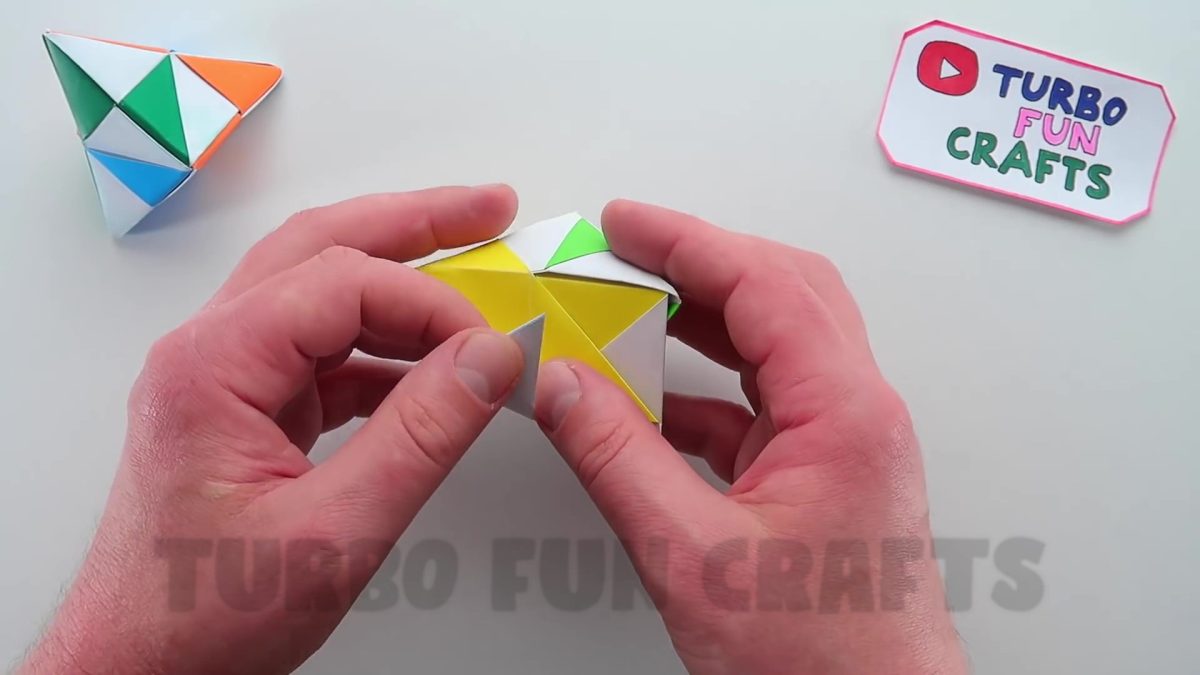
Flip the folded sheets of paper over so that the top is facing down
Fold the just attached sheet of paper as shown in the picture below
Insert the corner of the sheet on the right side into the specified location shown in the picture below
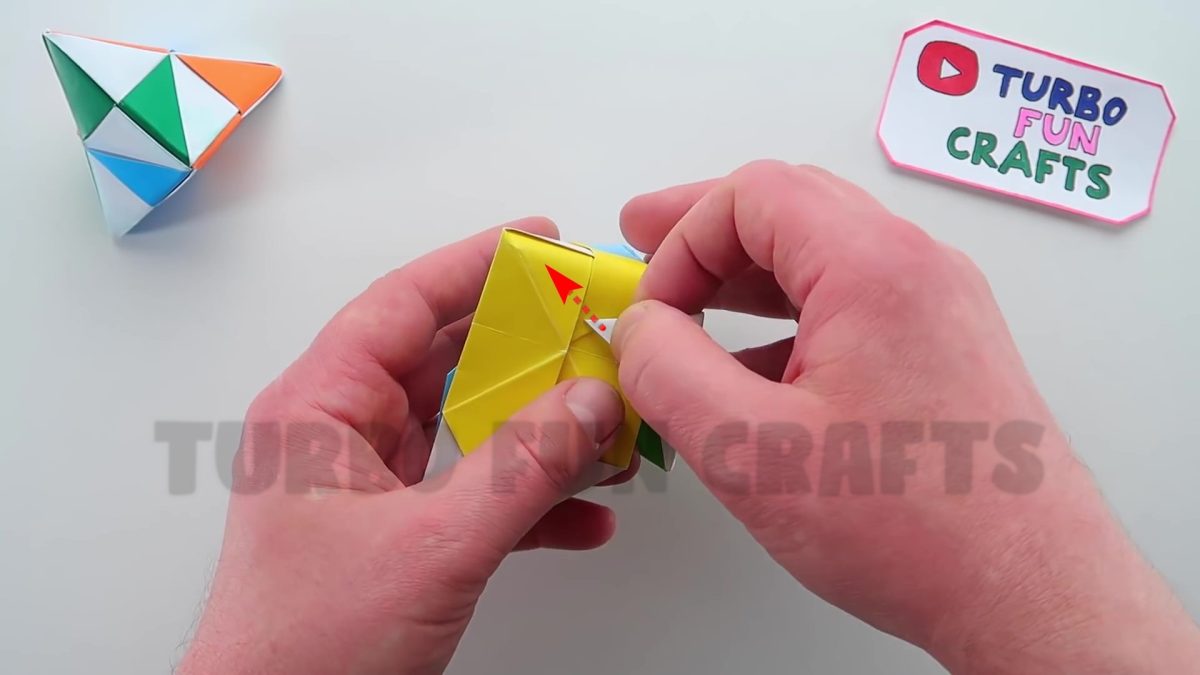
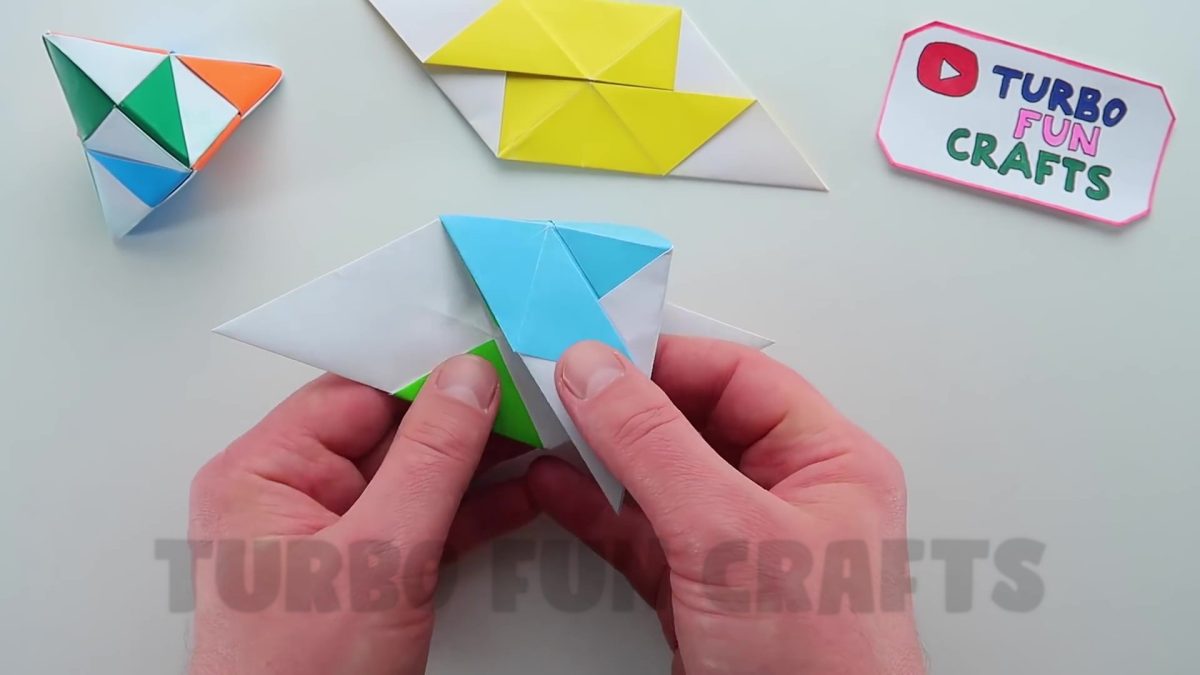
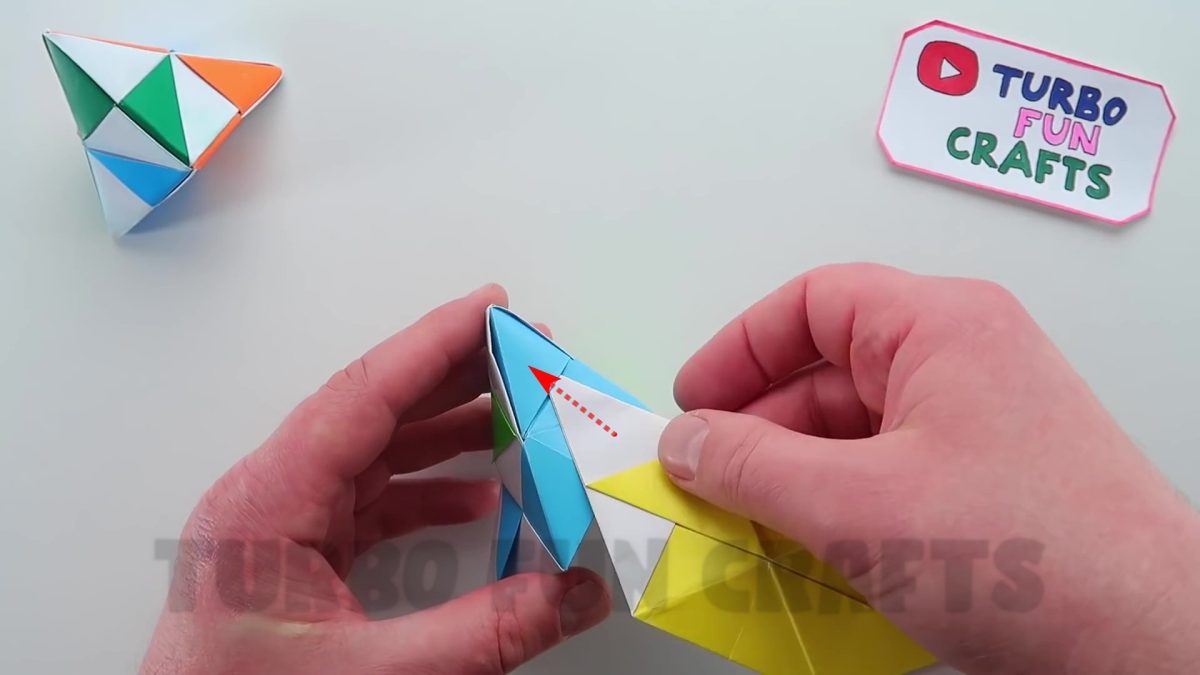
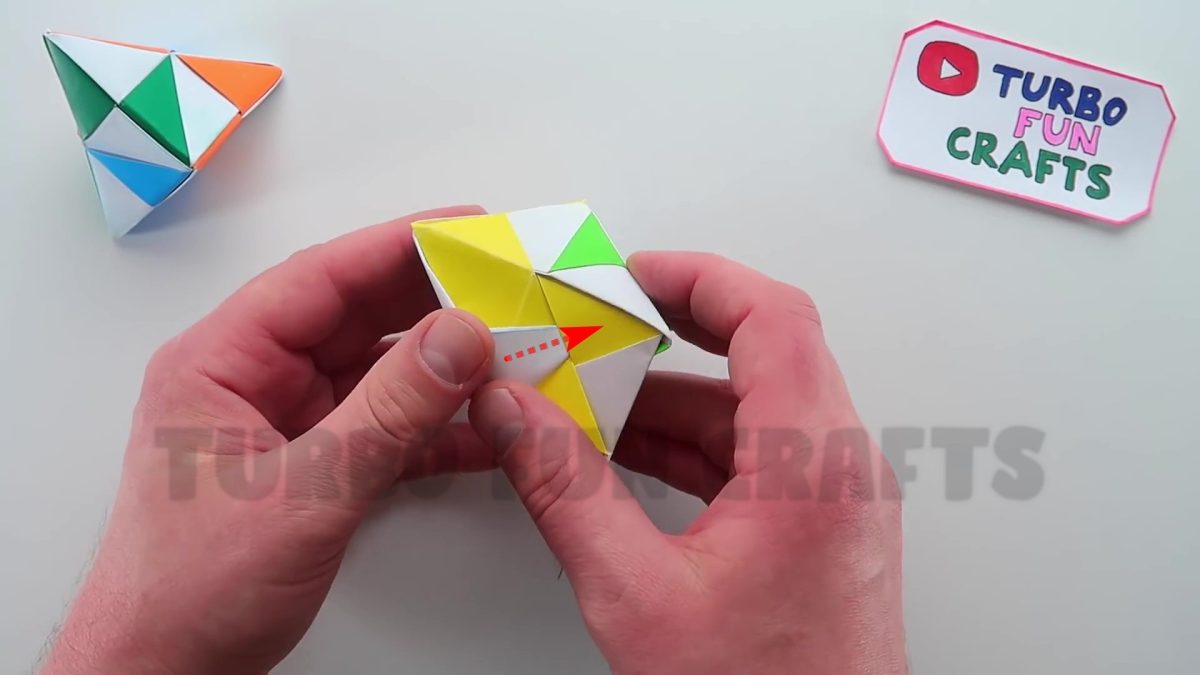
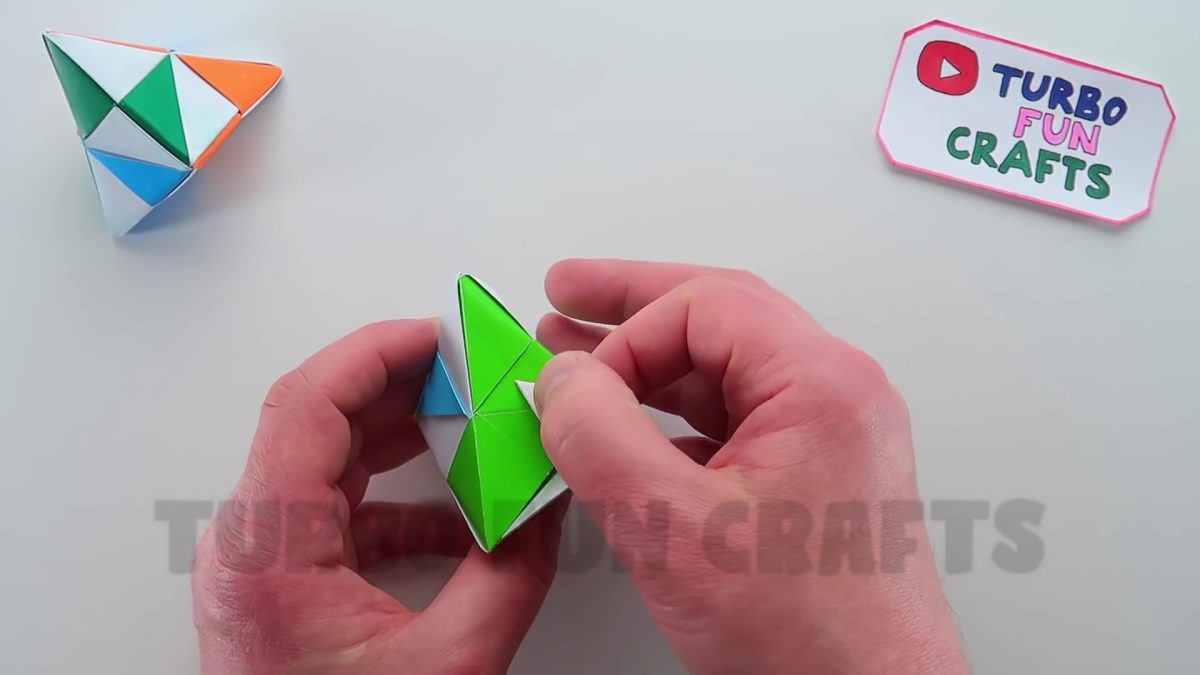
Fold the top sheet of paper (yellow in our case) slightly downwards
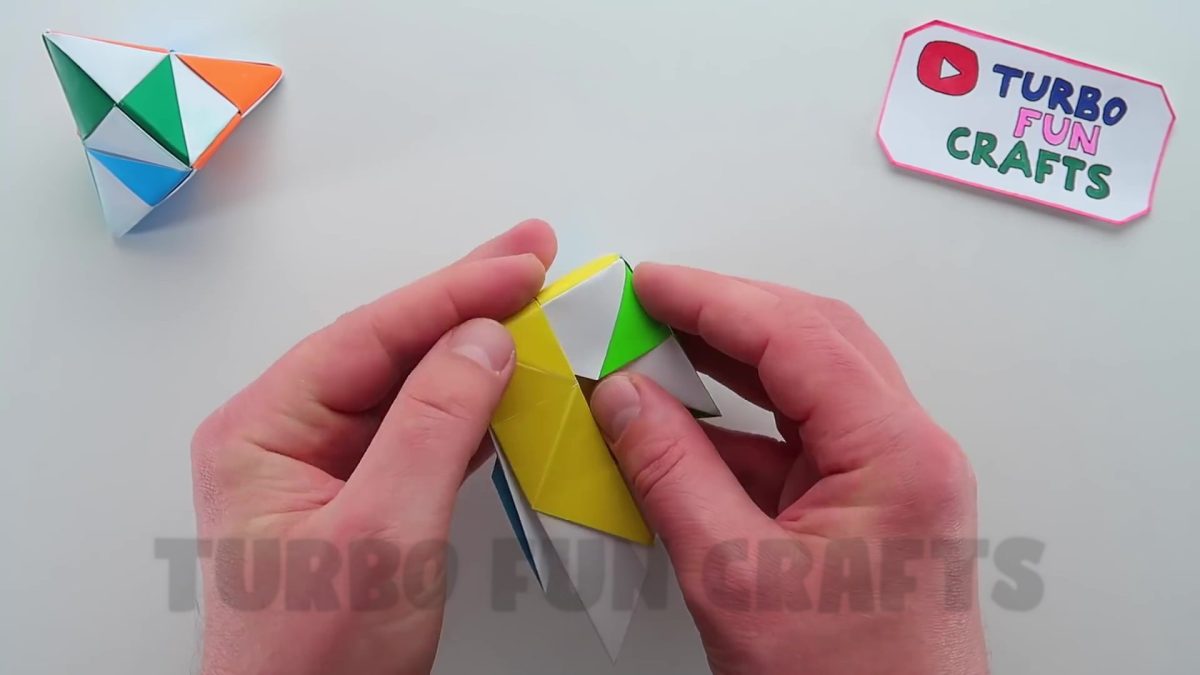
Insert the corner in your left hand into the specified location shown in the picture below
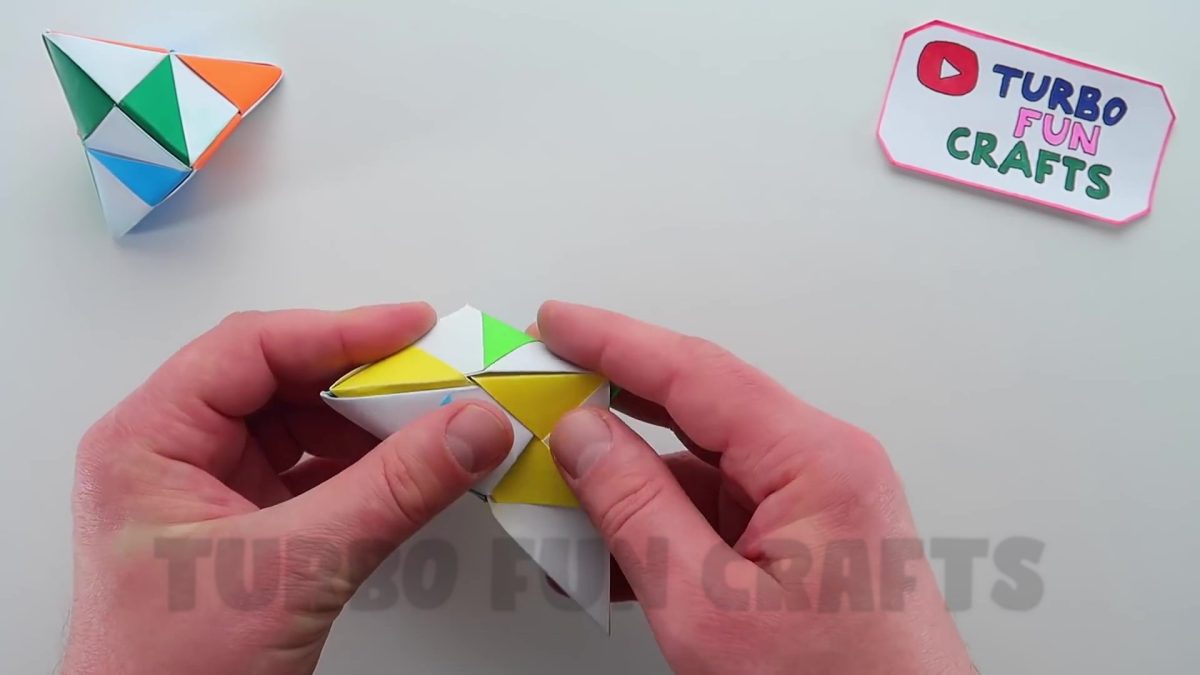
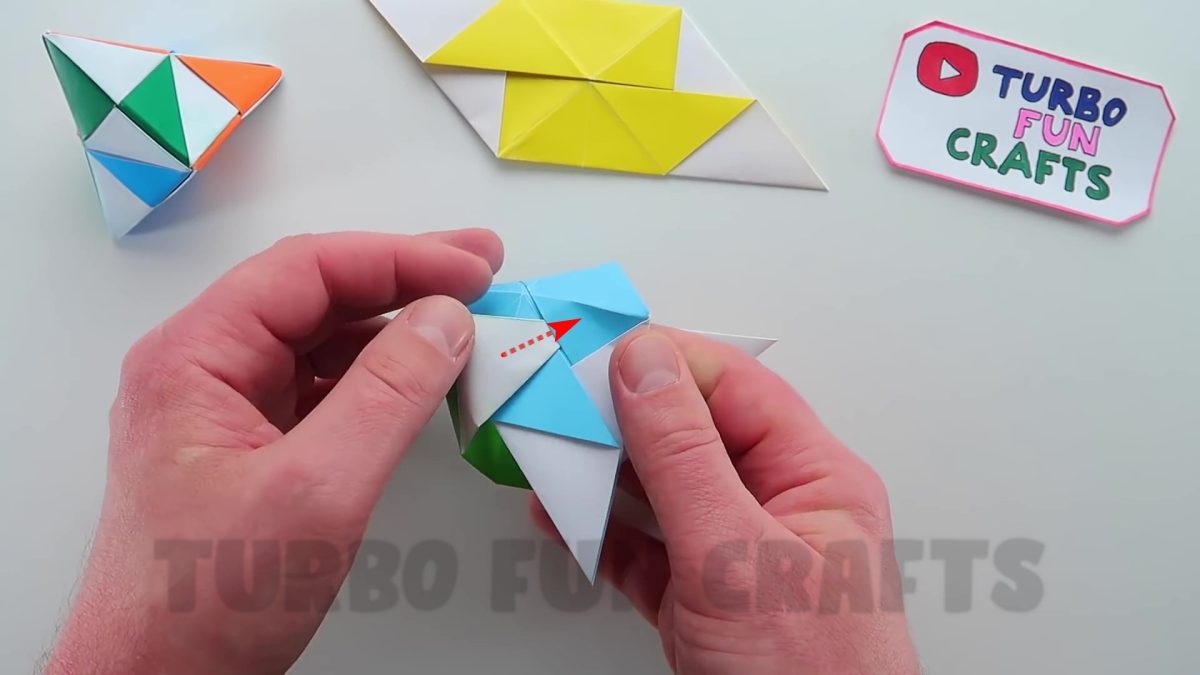
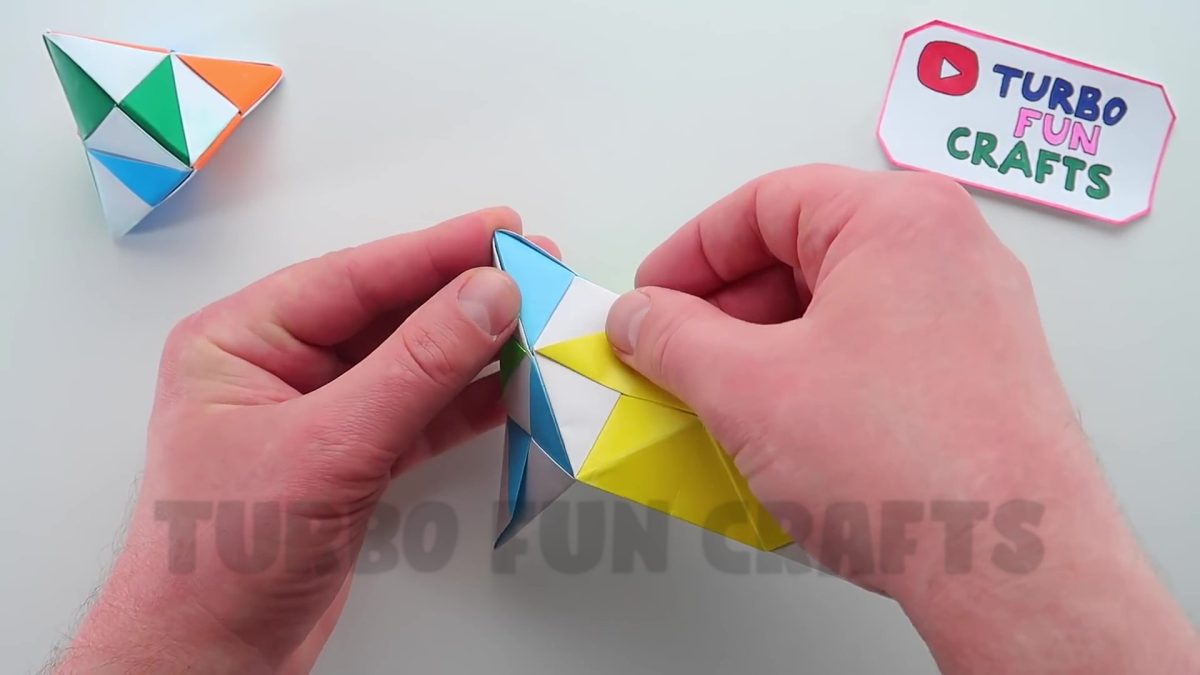
Fold the last remaining corner and insert it into the specified location shown in the picture below
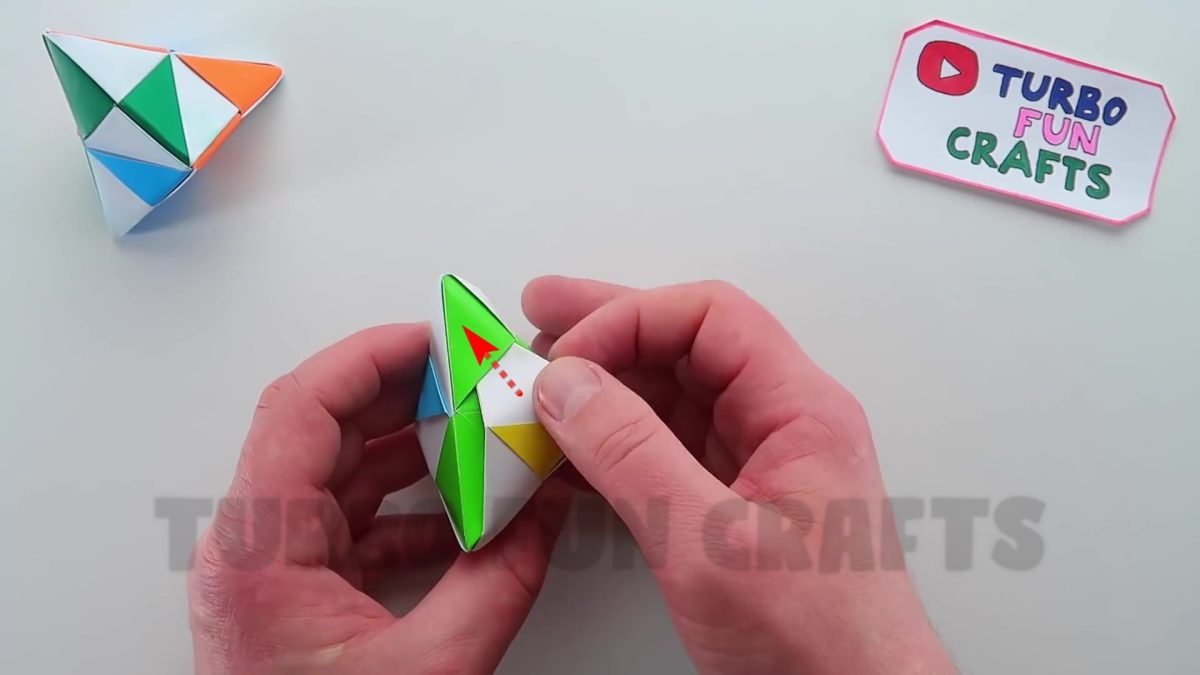
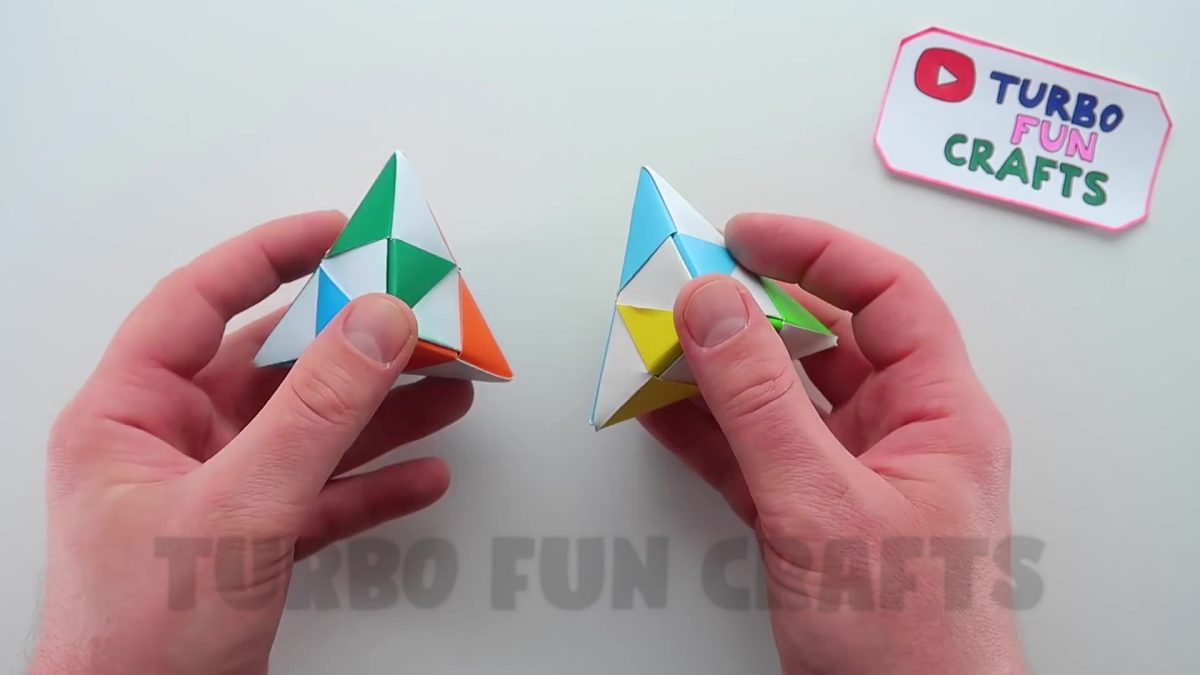
GREAT JOB! 🙂
The origami toy is now complete! 🙂
If you experienced difficulties with some steps – you can watch the video instruction on how to fold this origami fidget toy.
Please scroll down for video.

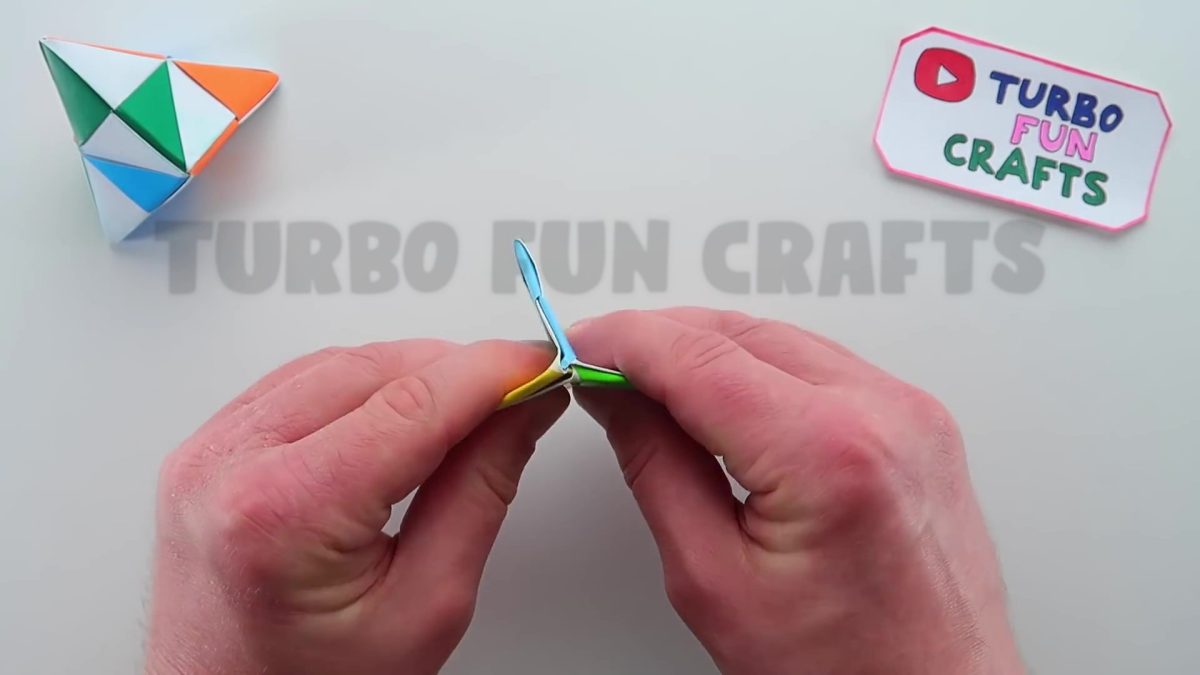
It’s time to test the toy in action
To do this, compress the toy as shown in the picture below
Take the toy in one hand and click on it
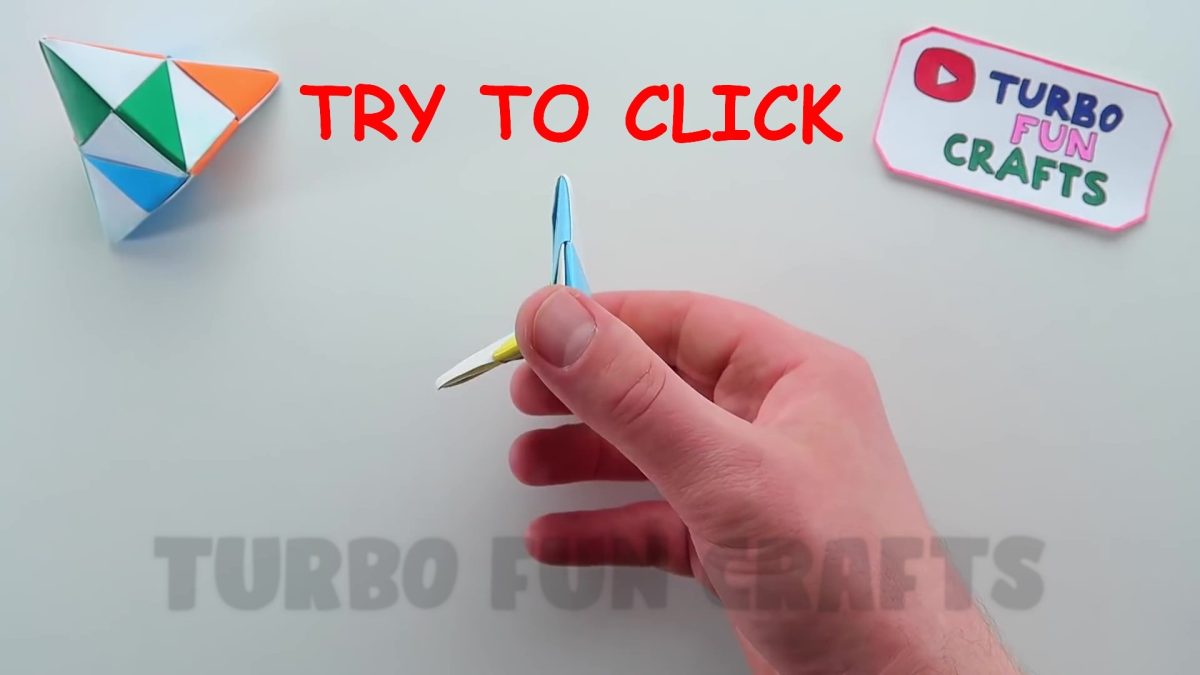
WELL DONE! This Antistress Moving Paper Toy is really cool! 🙂
You may also like other ORIGAMI POP-IT from our collection 🙂

Let your imagination run wild and craft as many toys as your heart desires!
Mix and match various colors of paper and have fun 🙂
If you experienced difficulties with some steps, you can watch the video instruction of how to make an Antistress Moving Paper Toy
Please scroll down for the video tutorial 🙂
Easy Origami Pop It Fidgets are a fun and accessible way to reduce stress, improve focus, and express your creativity.
Additionally, Antistress Moving Paper Toys are not only easy to make, but they are also environmentally friendly. You can use recycled paper or even old newspapers to make your fidgets, which not only reduces waste but also saves you money on buying expensive fidget toys.
So, what are you waiting for? Grab some paper and start creating your own Easy Origami Pop It Fidgets today! All you need is some paper, a flat surface to work on, and a willingness to learn and experiment.
Have fun! 🙂


Perfect fidget love it