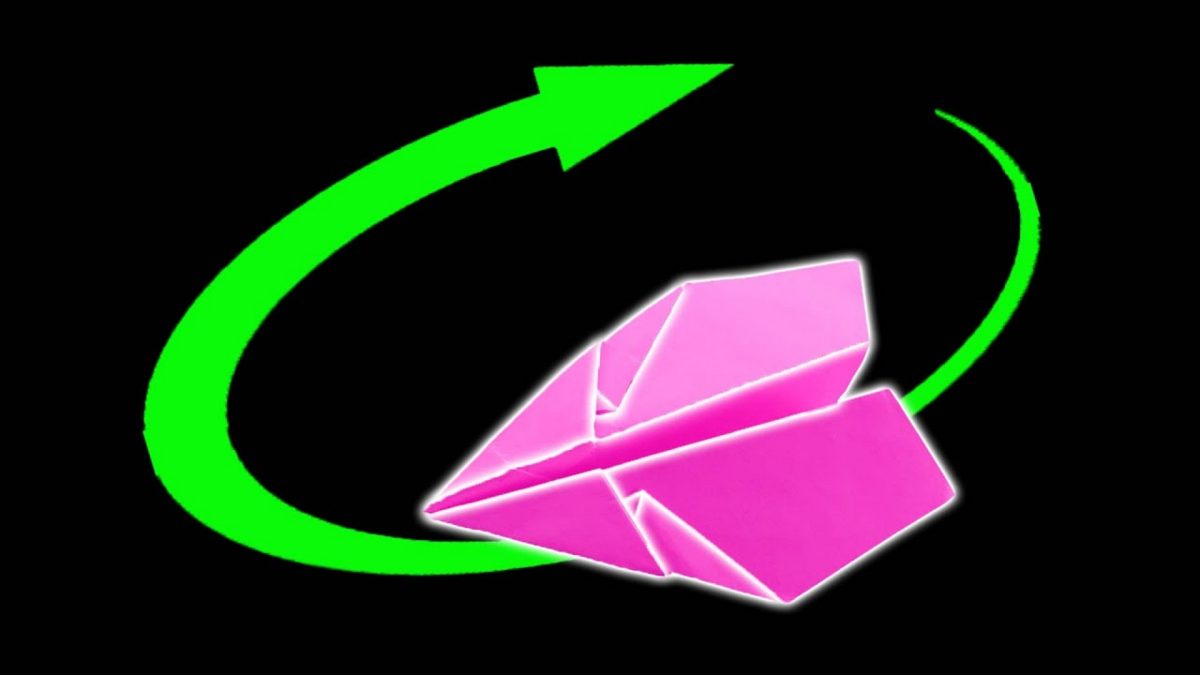
How to make Origami BOOMERANG Paper Plane | A paper plane that always comes back to you!
Hello! 🙂 We invite you to the amazing world of aircraft engineering and aerodynamics! We are excited to introduce you to a simple tutorial on how to make an origami BOOMERANG paper plane that always comes back to you 🙂
In this easy-to-follow tutorial, we will guide you through the step-by-step process of crafting your very own origami BOOMERANG paper plane that soars through the air with grace and precision. We will explain each fold in detail, so even beginners can quickly create this paper craft.
Please scroll down for a step-by-step tutorial of how to make an origami BOOMERANG paper plane:
HERE IS THE TUTORIAL:
to make this paper craft, you will need an A4 sheet of paper, a clear workspace and some patience 🙂
STEP 1 of how to make Boomerang paper plane
Take an A4 paper sheet.
Choose the color you like the most.

Fold the sheet in half and meet the bottom edge with the top edge, as shown in the pictures below.


Unfold the sheet to its original position.
Rotate the paper by 90 degrees and place it vertically.
This is shown in the picture below.

Fold the top corners of the sheet as shown in the picture below.
The top right corner.

The top left corner.

This is how it should look like.

STEP 2 of how to make Boomerang paper plane
Fold the top corner of the sheet downwards, as shown in the picture below.


This is how it should look like.

Fold the top corners of the sheet as shown in the pictures below.


This is how it should look like.

Make the same action with the second corner.
Fold it in the same way as shown in the pictures below.


This is how it should look like.

You may also like: How to make BOOMERANG Paper Plane | Anyone can make | DIY origami boomerang airplanes
STEP 3 of how to make Boomerang paper plane
Fold the top corner of the sheet along the dashed line, as shown in the picture below.


This is how it should look like.

Fold the just-folded corner upwards along the dashed line.
This is shown in the picture below.


This is how it should look like.

Rotate the sheet by 90 degrees and place it as shown in the picture below.

Fold the sheet in half and align the bottom edge with the top edge.


This is how it should look like.


STEP 4 of how to make Boomerang paper plane
Rotate the sheet by 180 degrees and place it as shown in the picture below.


Fold the paper sheet as shown in the picture below.


This is how it should look like.

Flip the paper sheet over and fold it from the other side in the same way.


This is how it should look like.

Fold the top corner of the sheet downwards along the dashed line.
This is shown in the picture below.

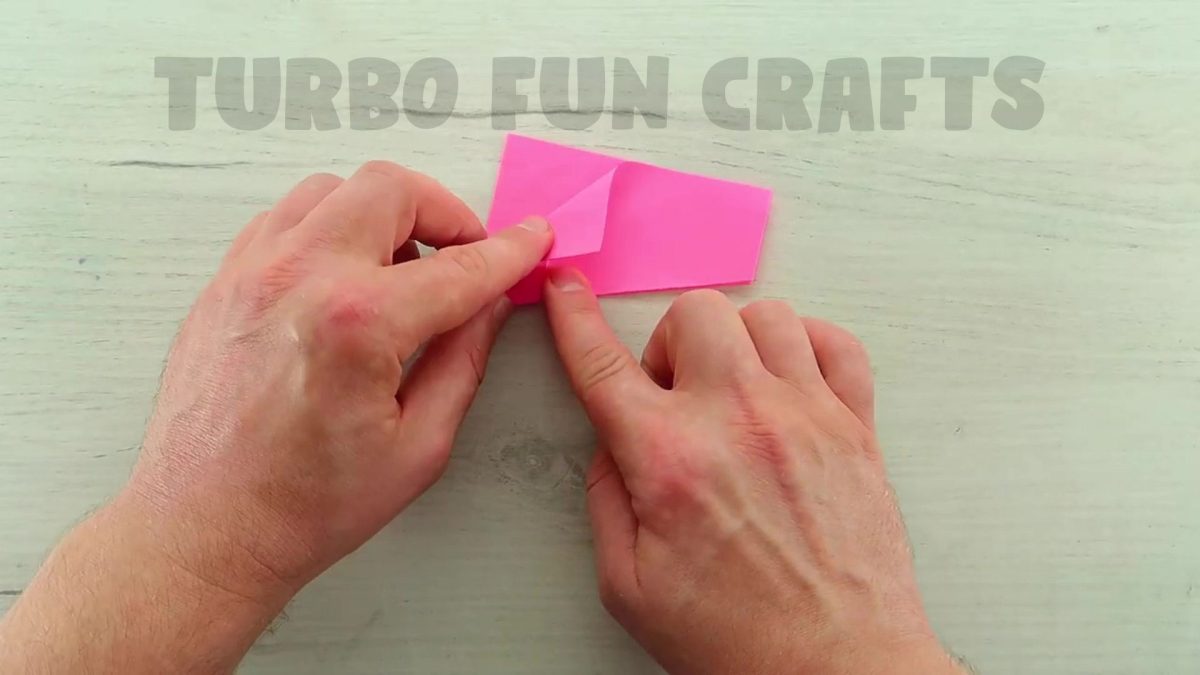
This is how it should look like.
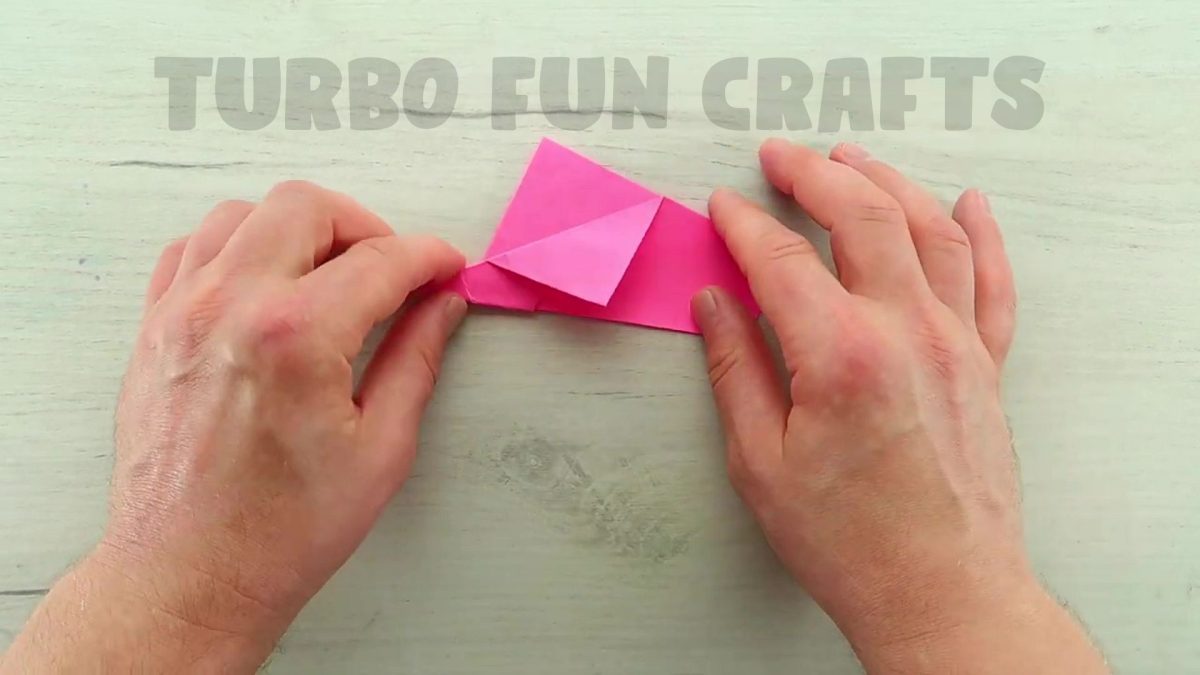
Flip the paper sheet over and fold it from the other side in the same way.
This is shown in the pictures below.
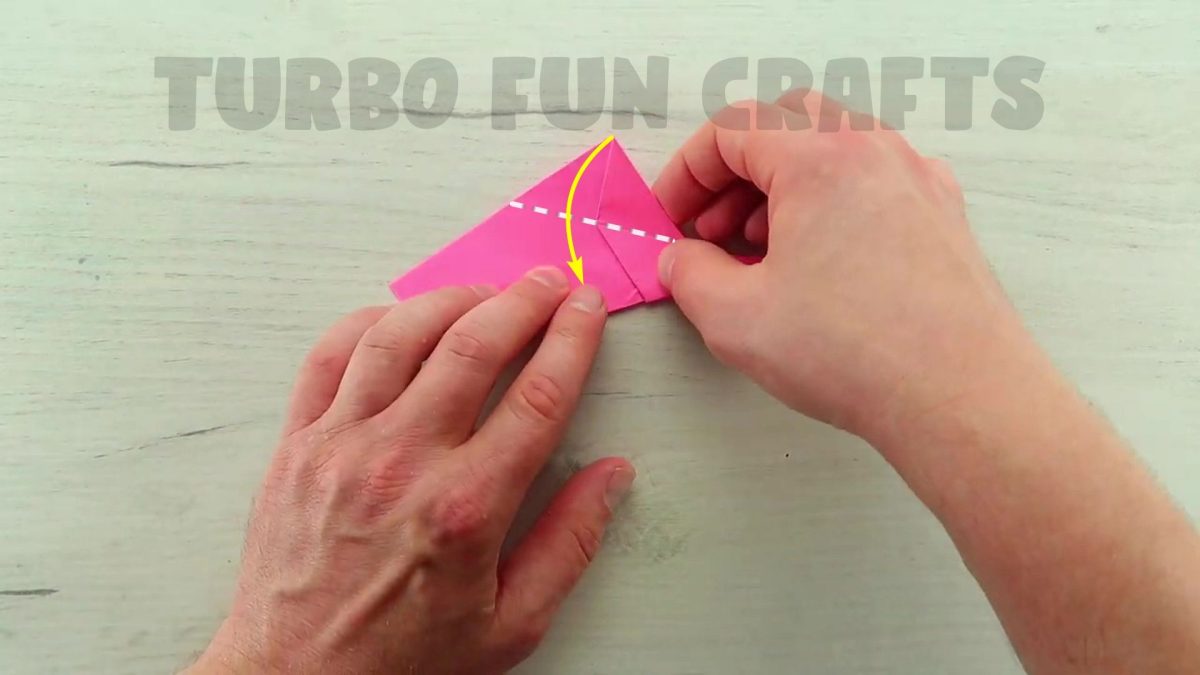

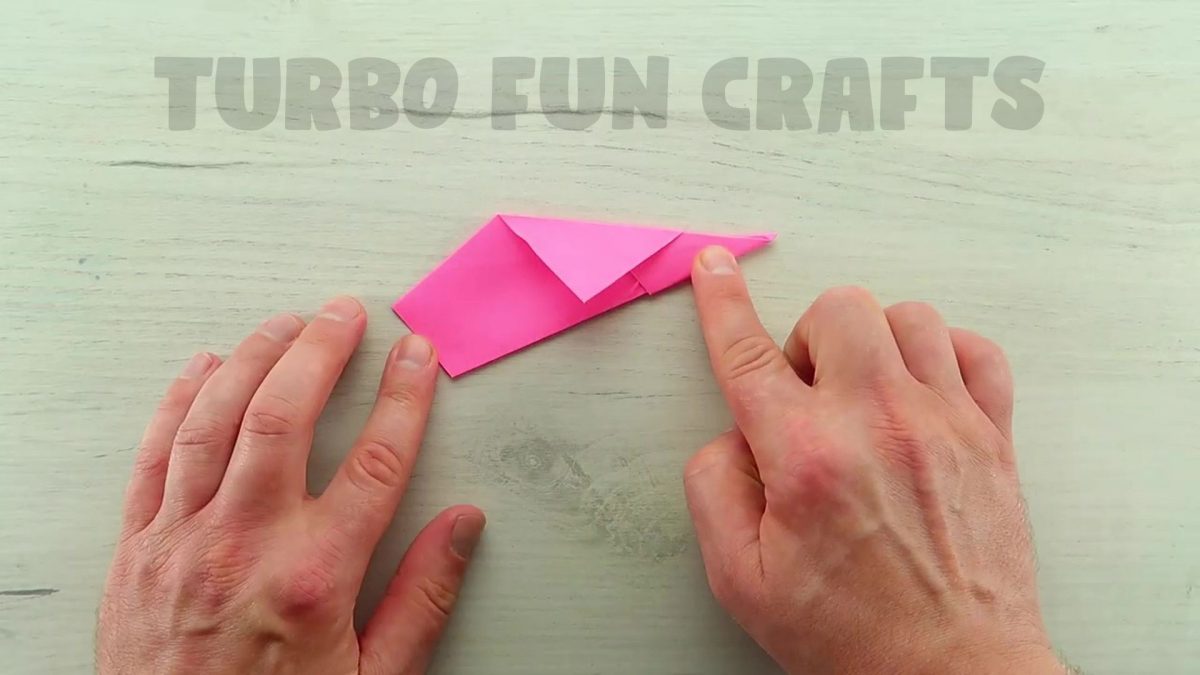
This is how it should look like.
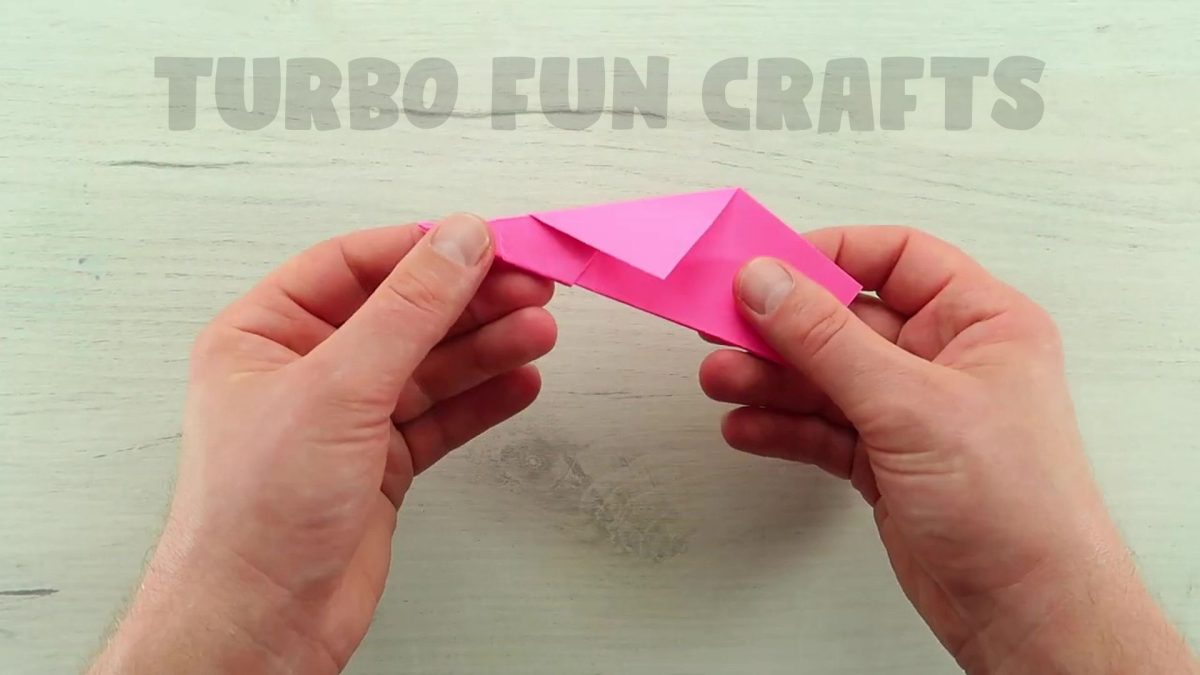
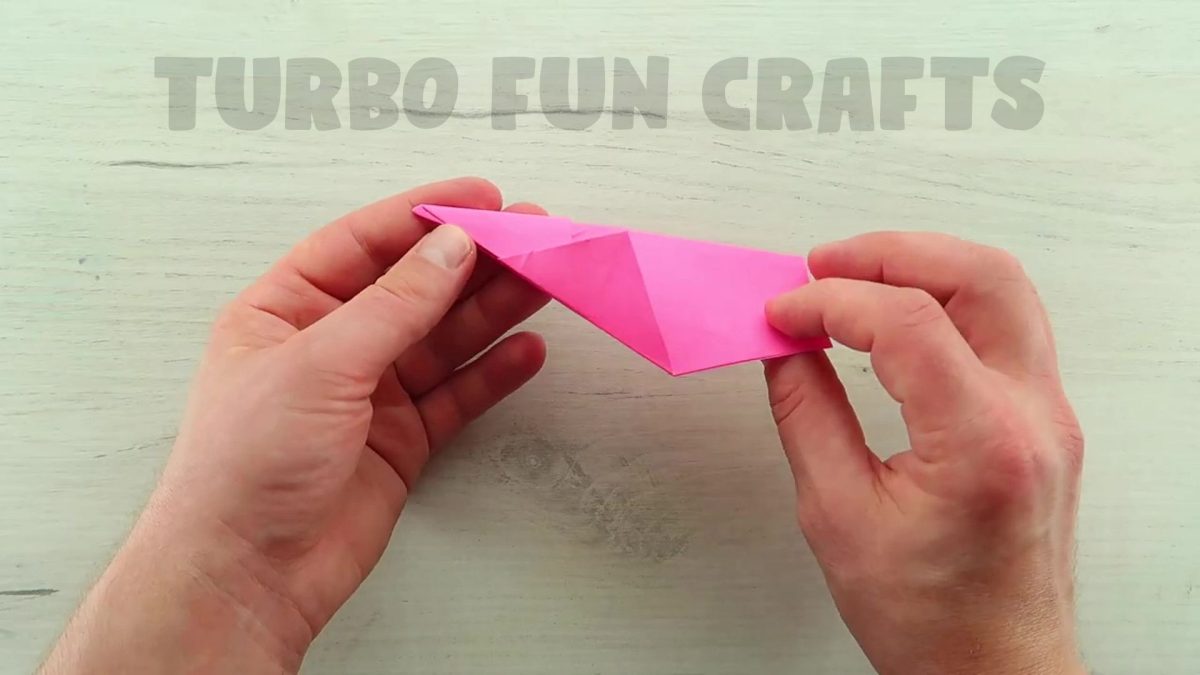
STEP 5 of how to make Boomerang paper plane
Unfold the just-folded edge of the sheet, as shown in the pictures below.
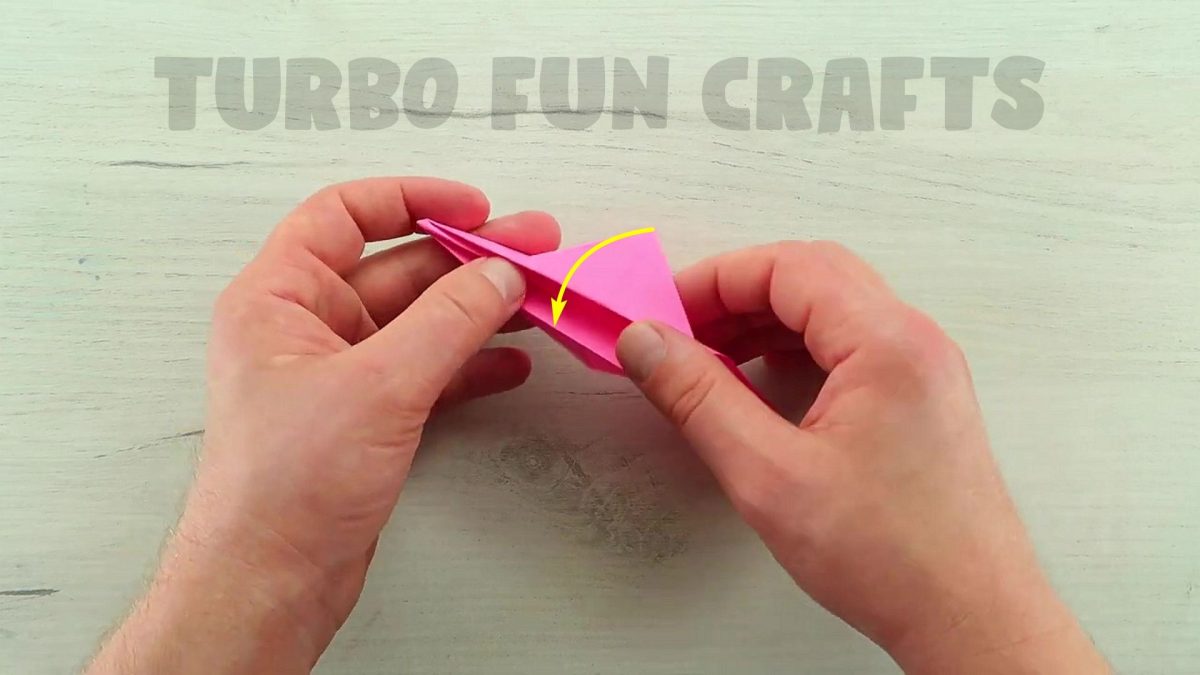
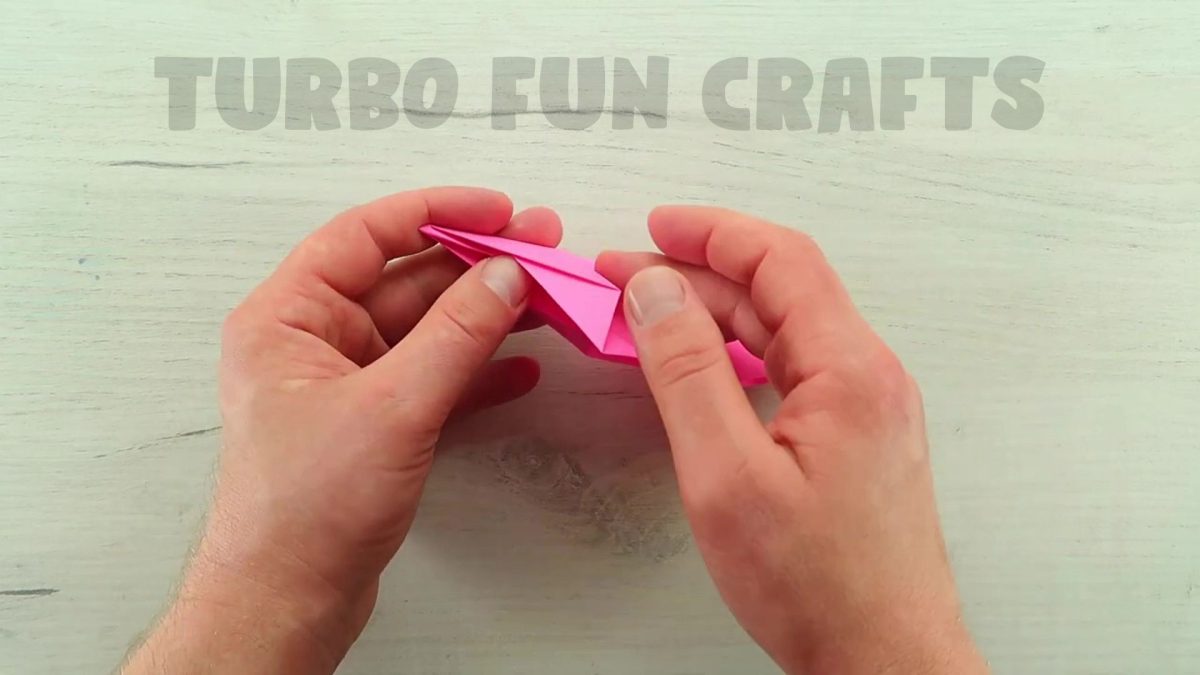
Slightly lift up the top layer of paper and fold the edge of the sheet to the inside.
This is shown in the pictures below.
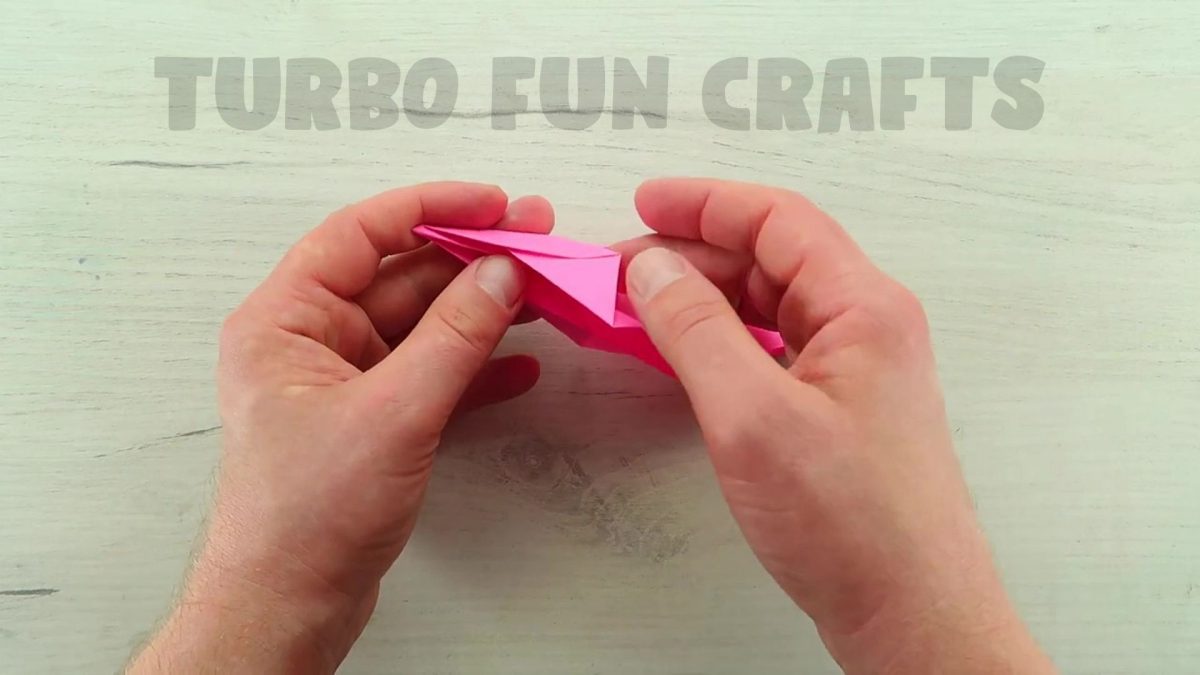
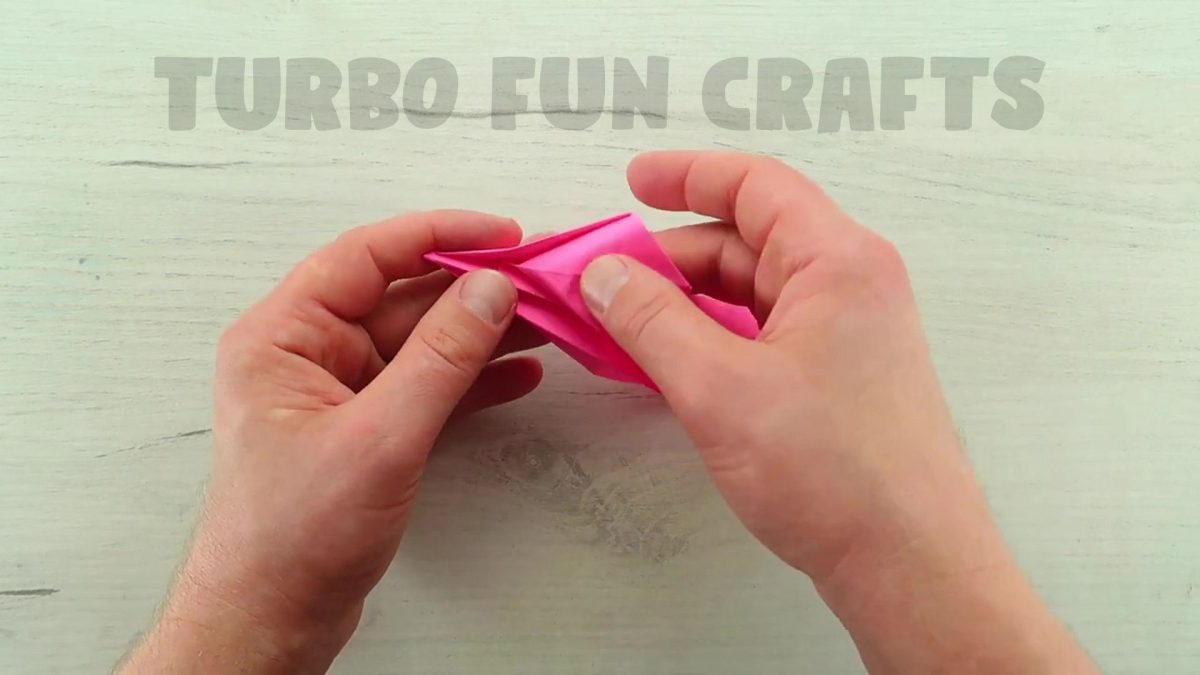
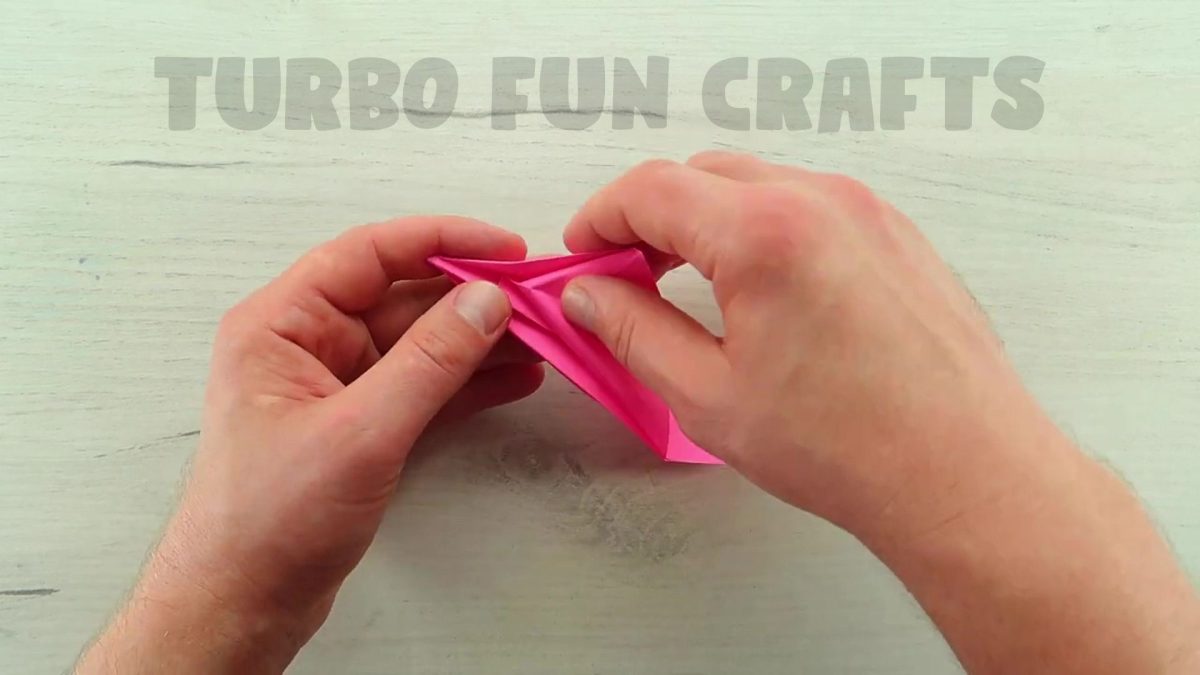
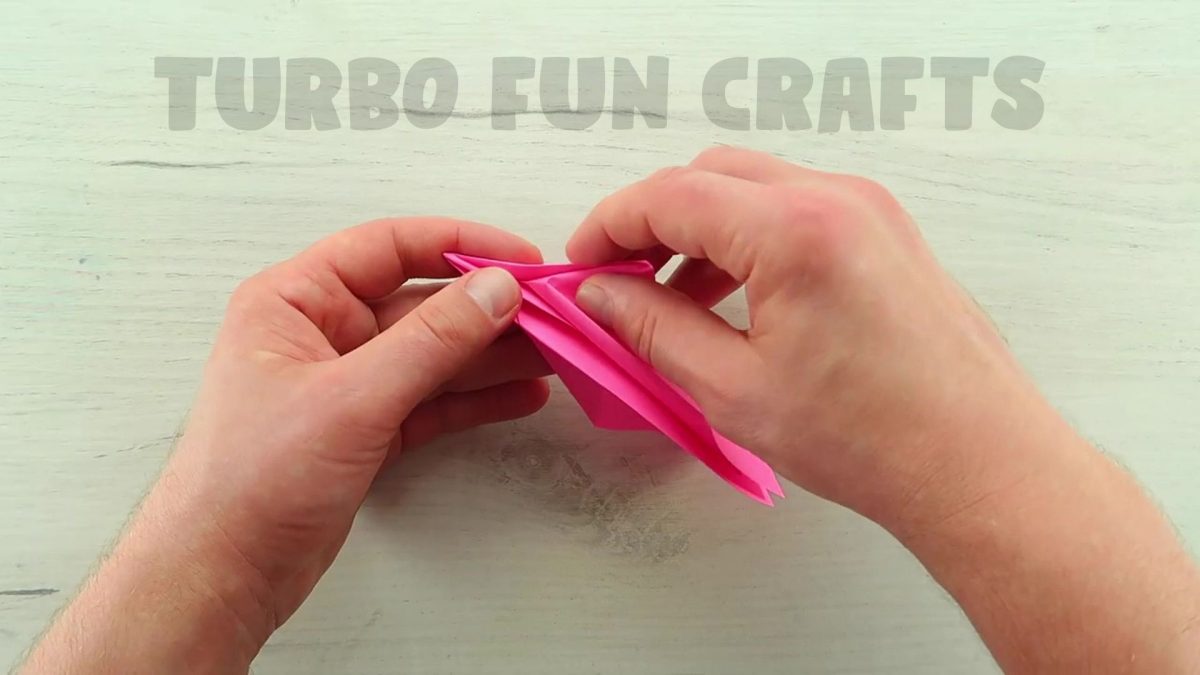
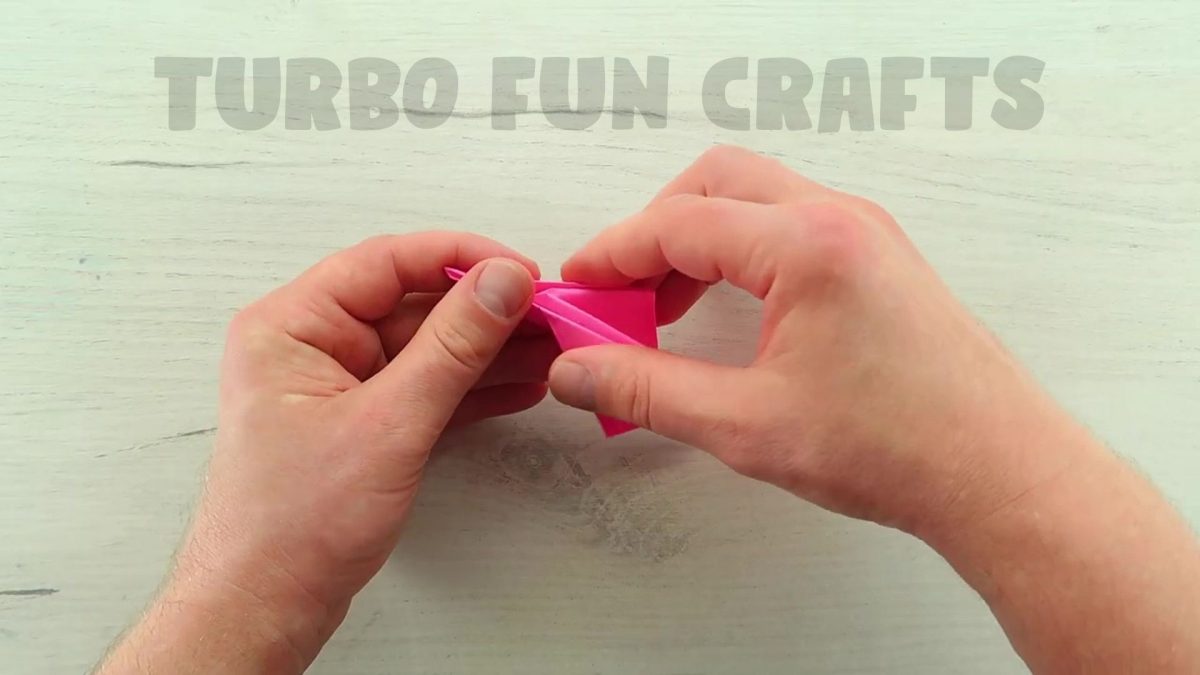
This is how it should look like.
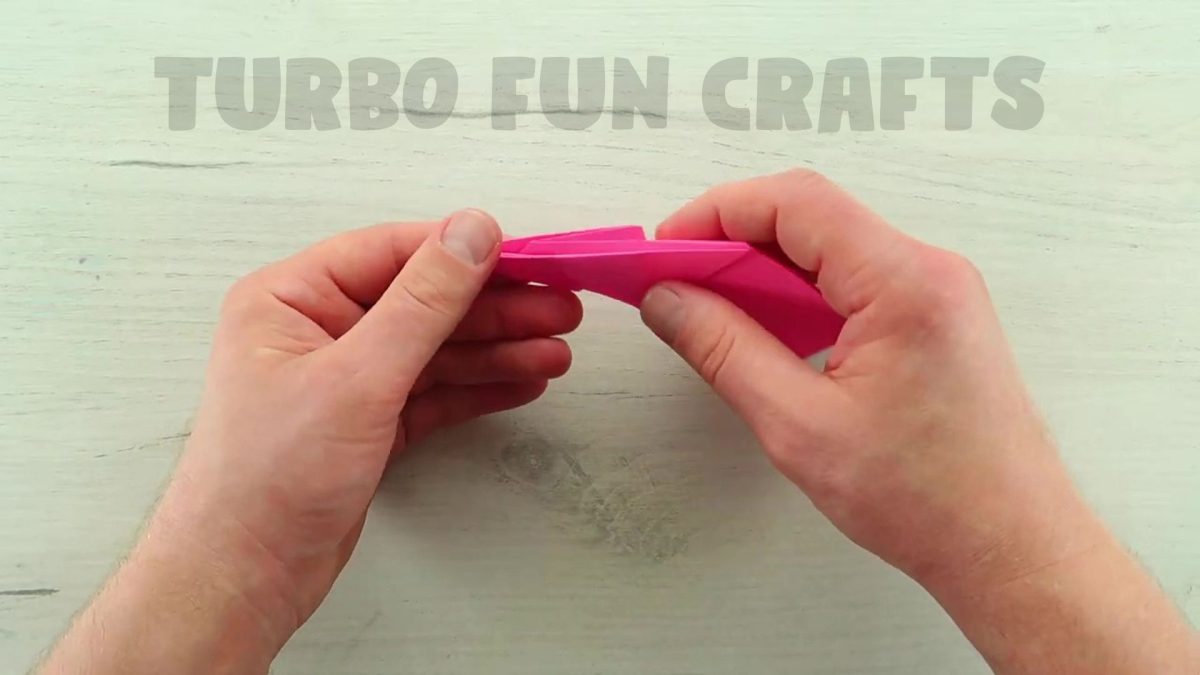
Flip the paper sheet over and make the same action with another edge.
Fold it from the other side in the same way.
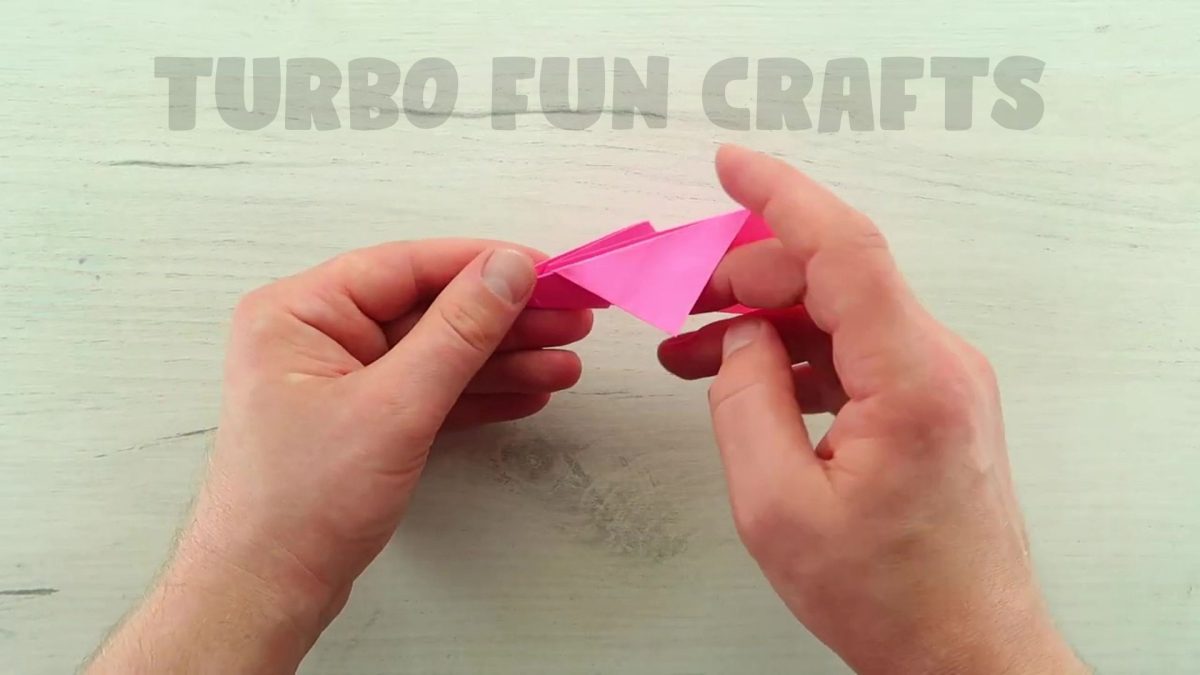

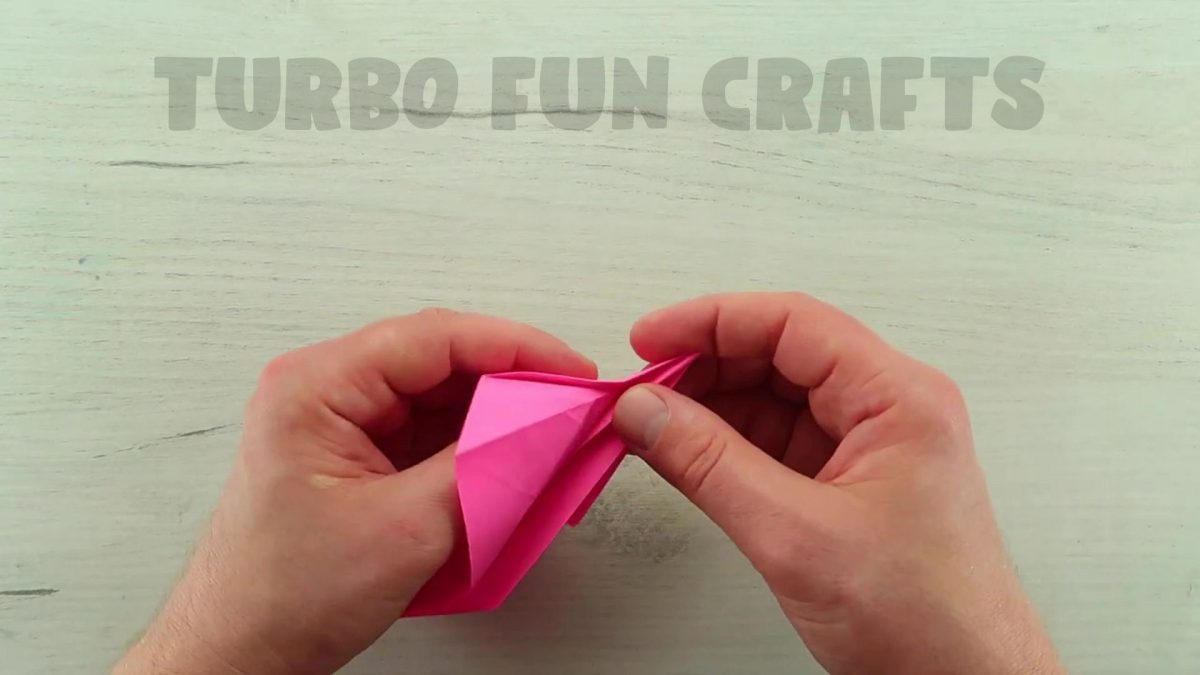
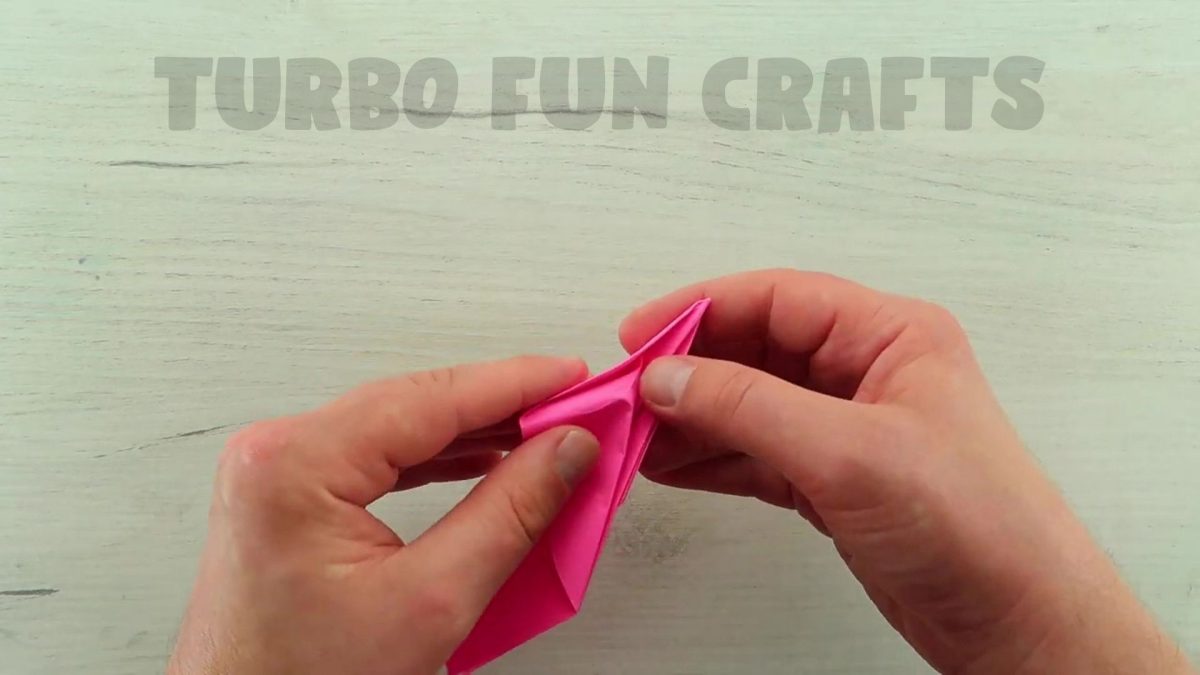
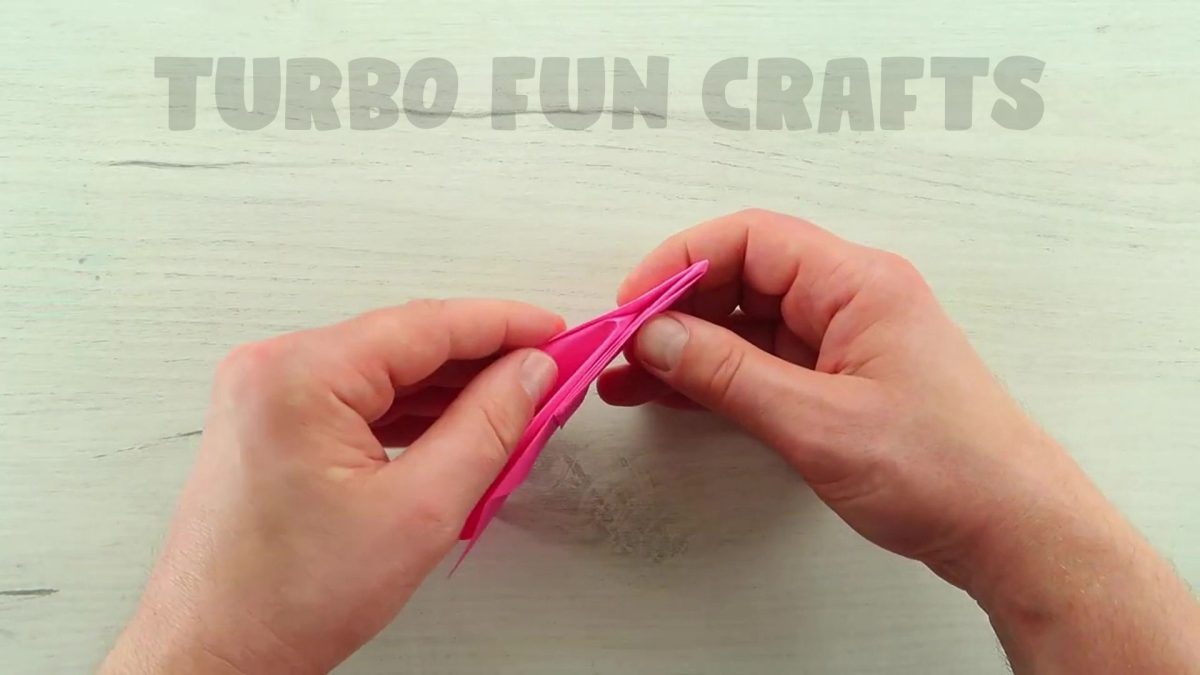
This is how it should look like.
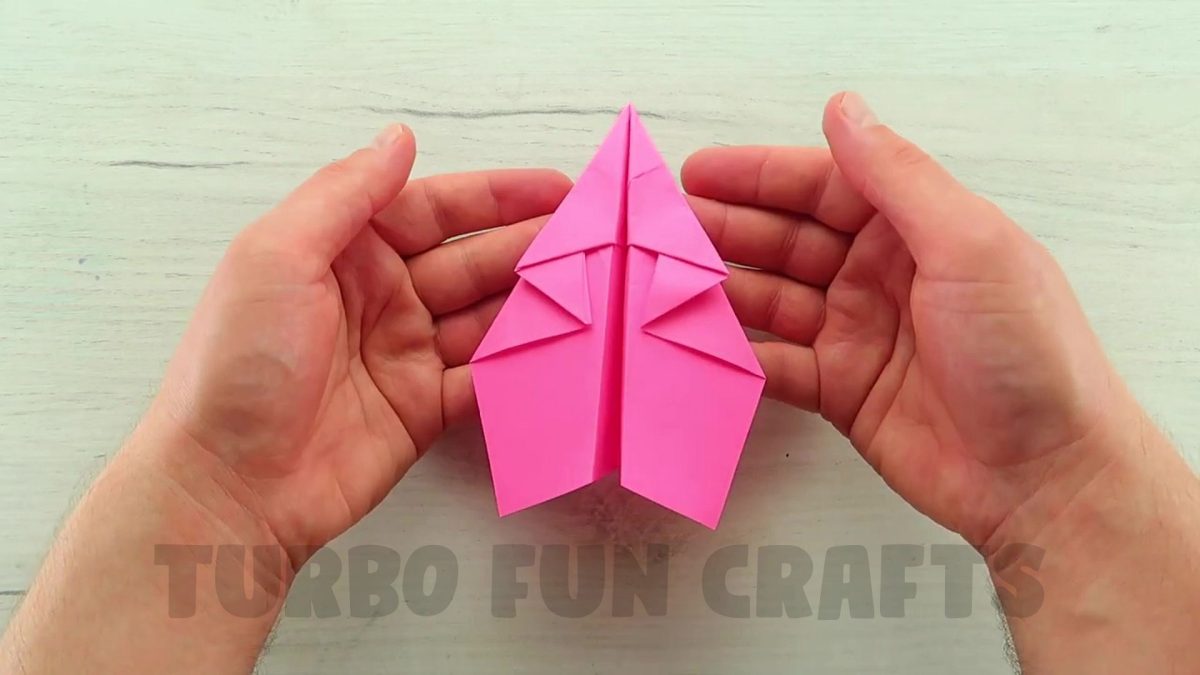
Fold the paper to its previous position and place it as shown in the picture below.
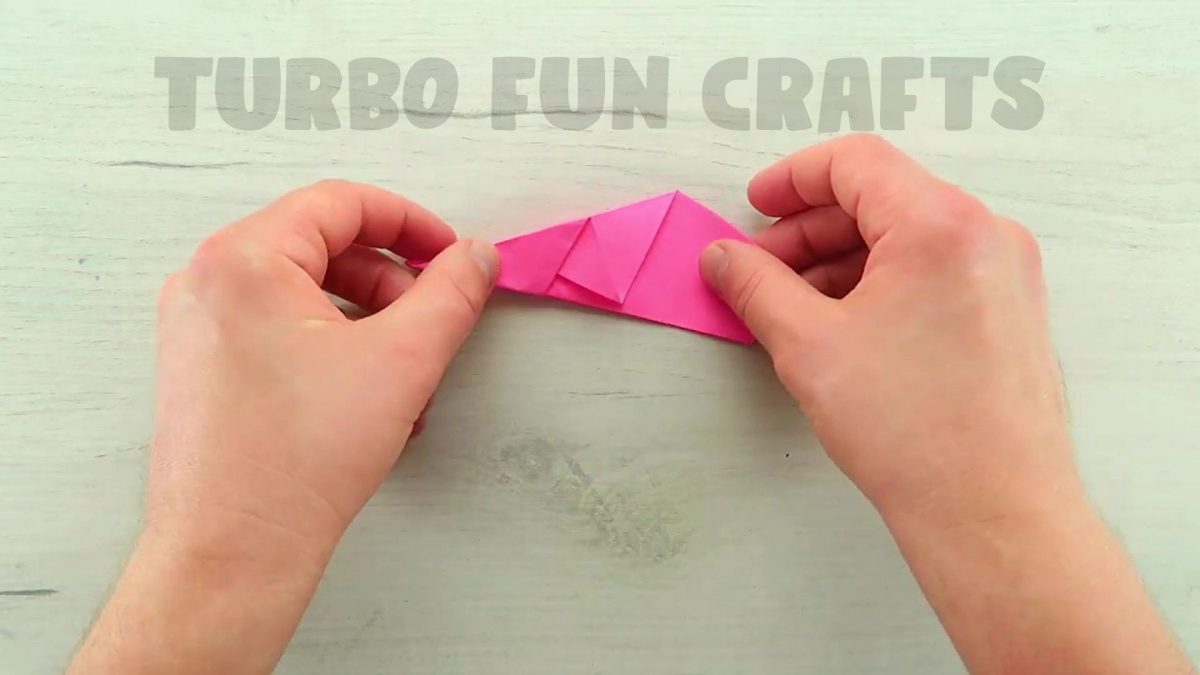
Fold the corner of the sheet as shown in the picture below.
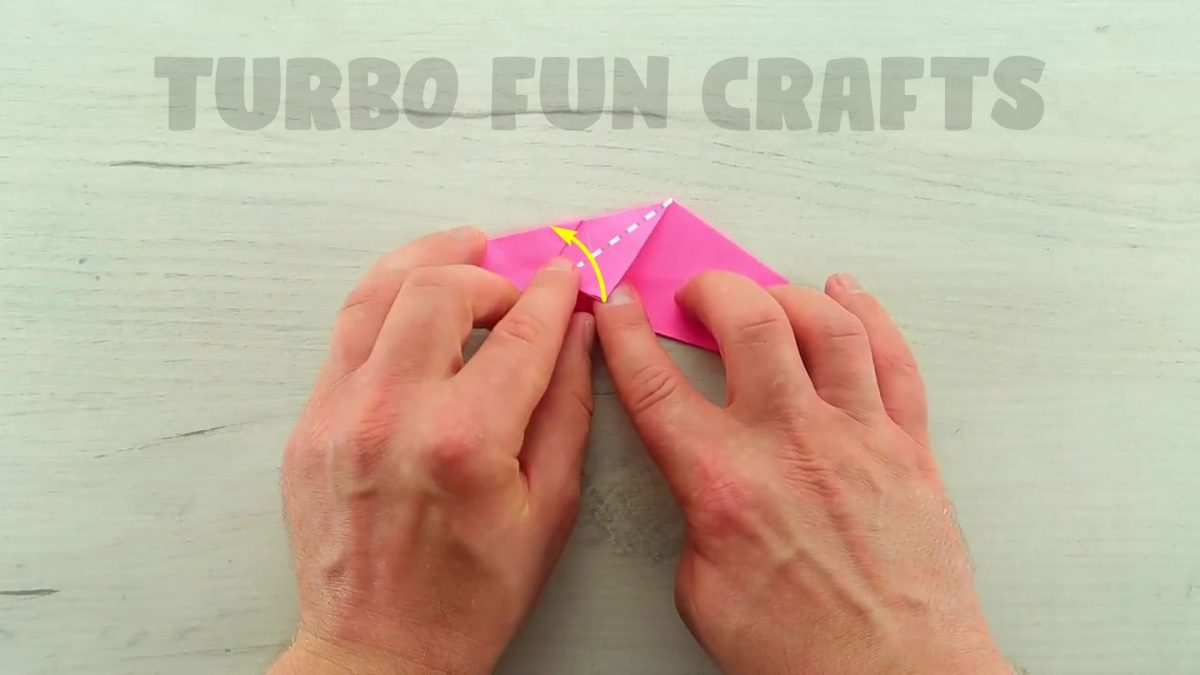
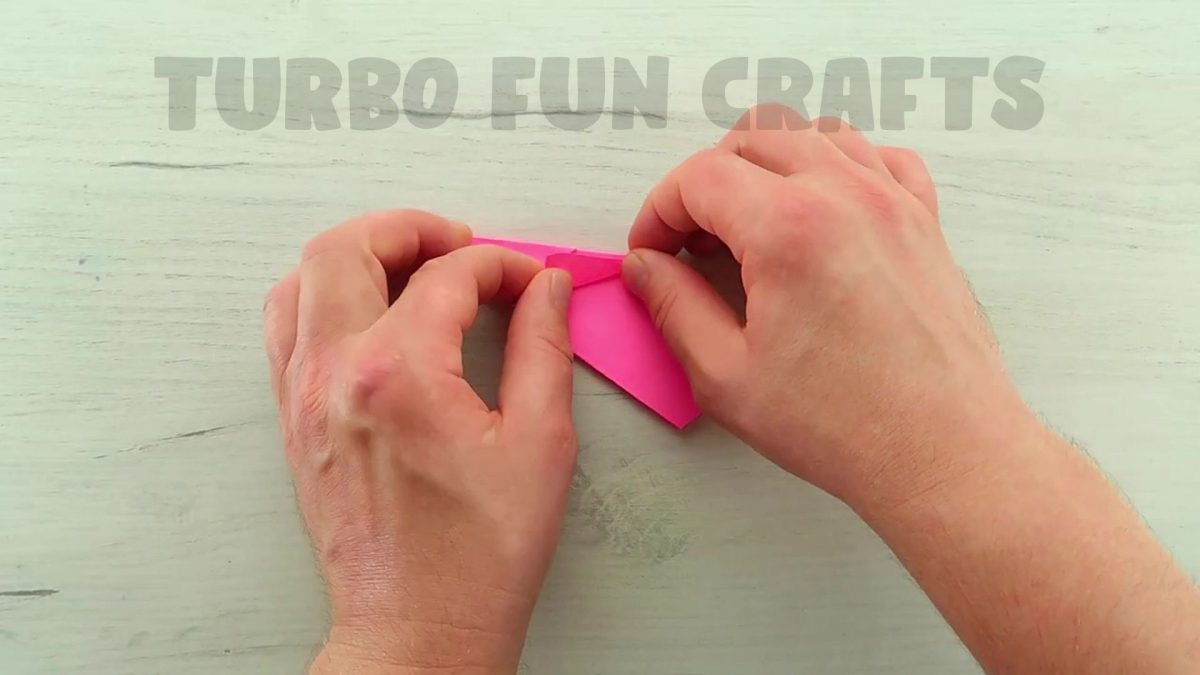
This is how it should look like.
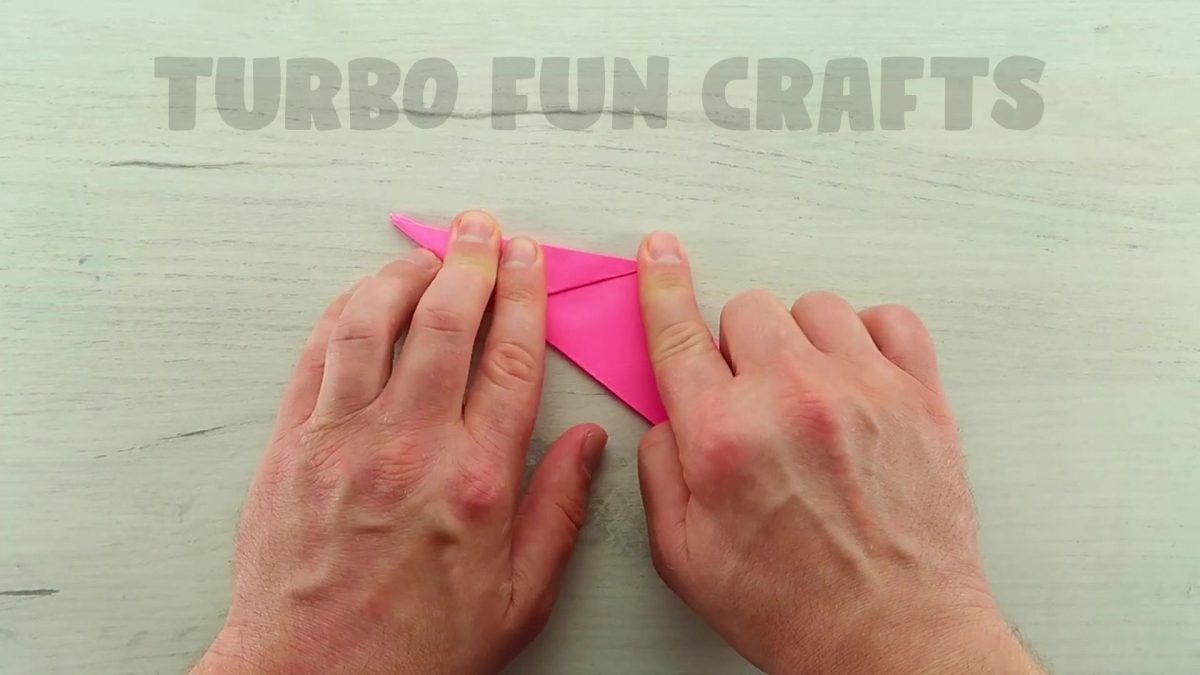
Insert the just-folded edge under the top layer of paper.
This is shown in the pictures below.
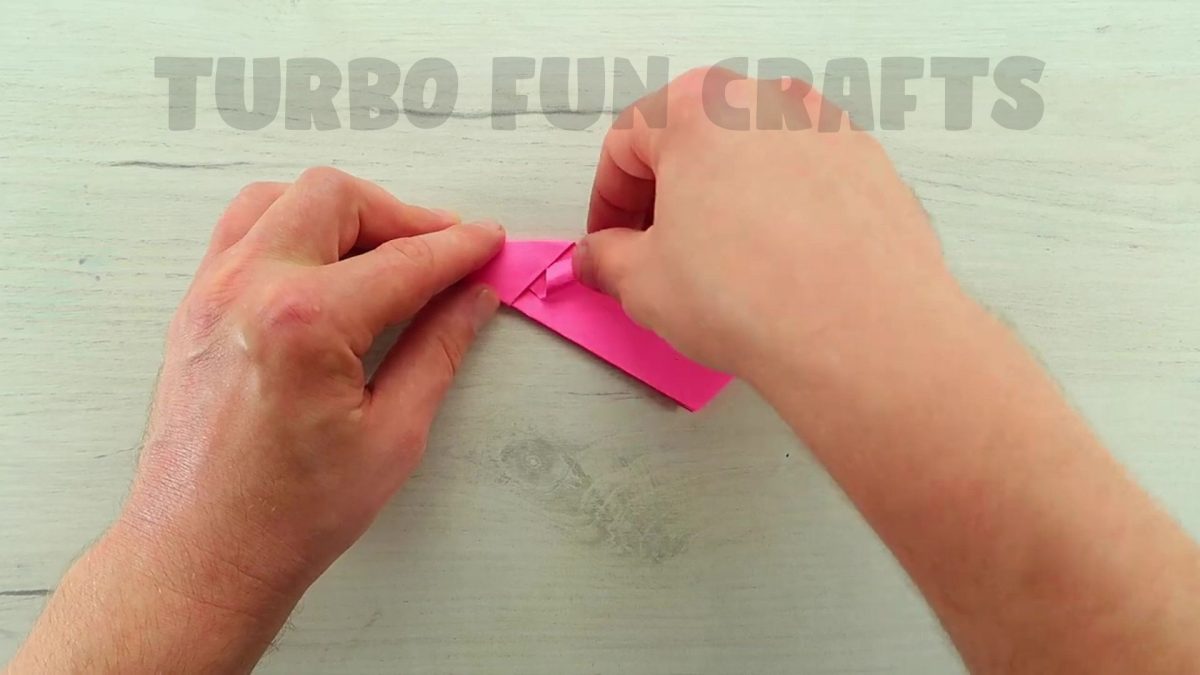
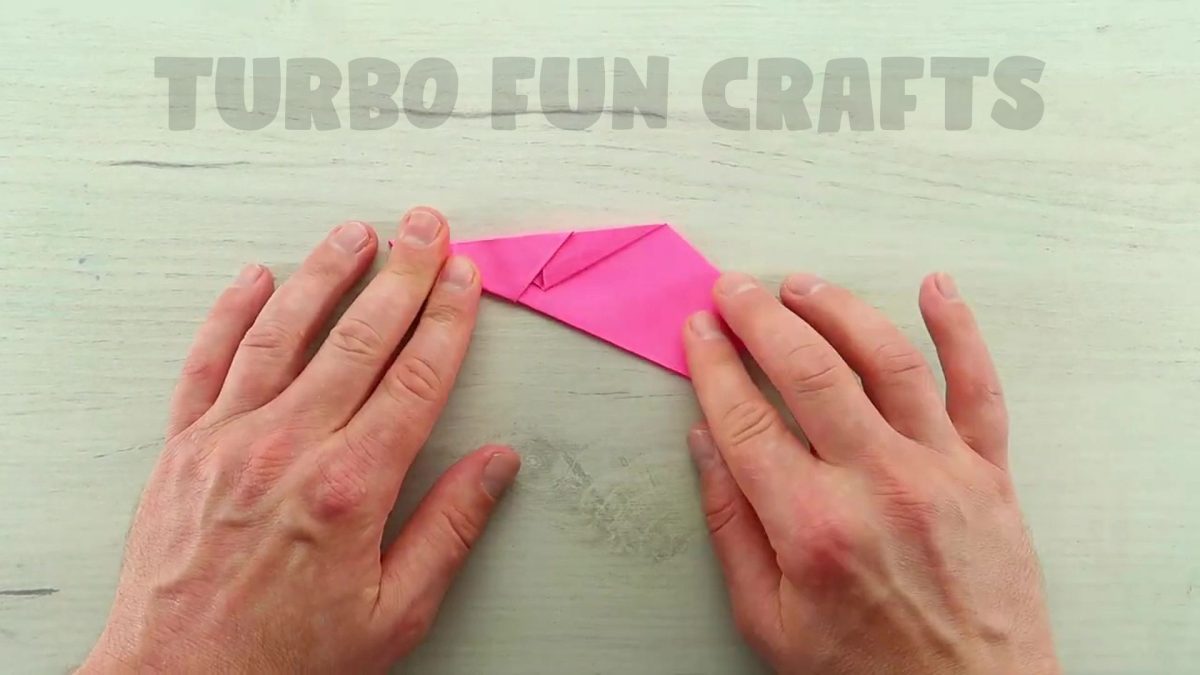
This is how it should look like.
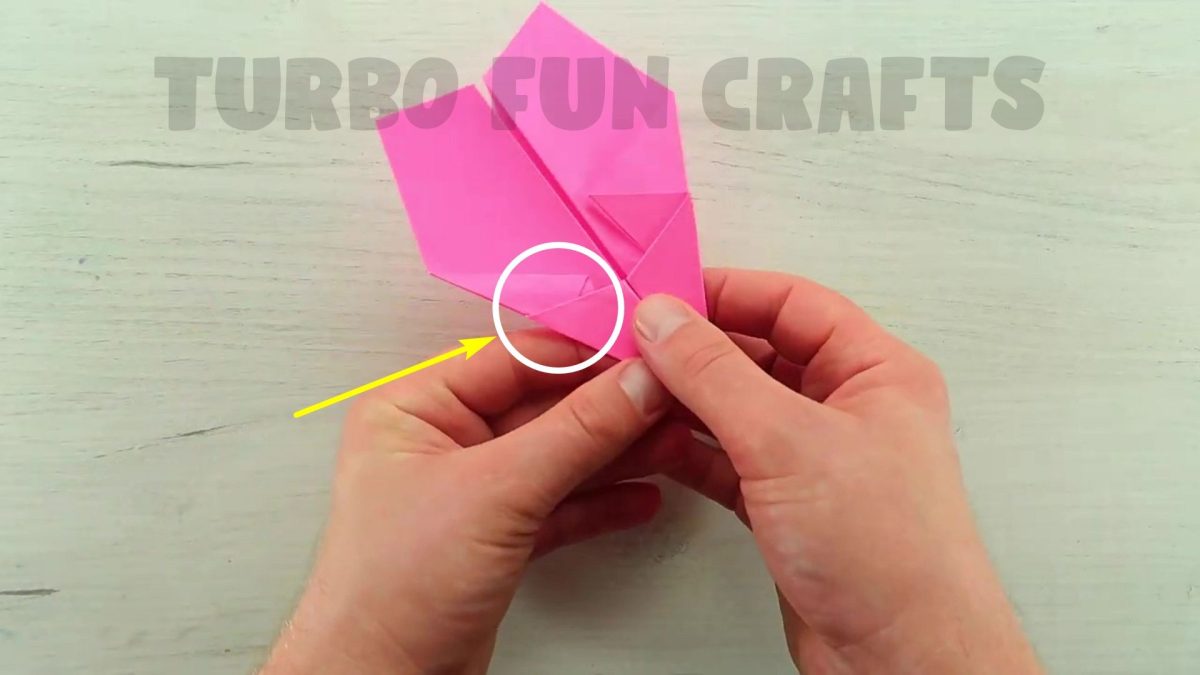
Make the same action with another edge.
Fold it from the other side of the sheet in the same way.

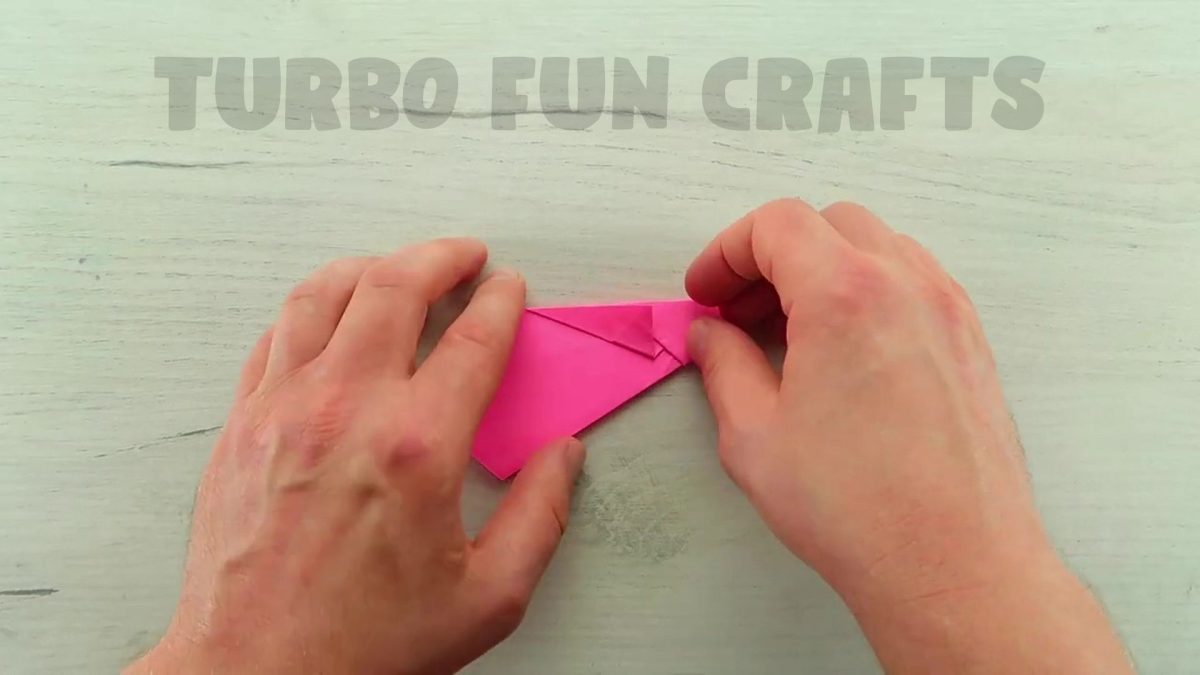
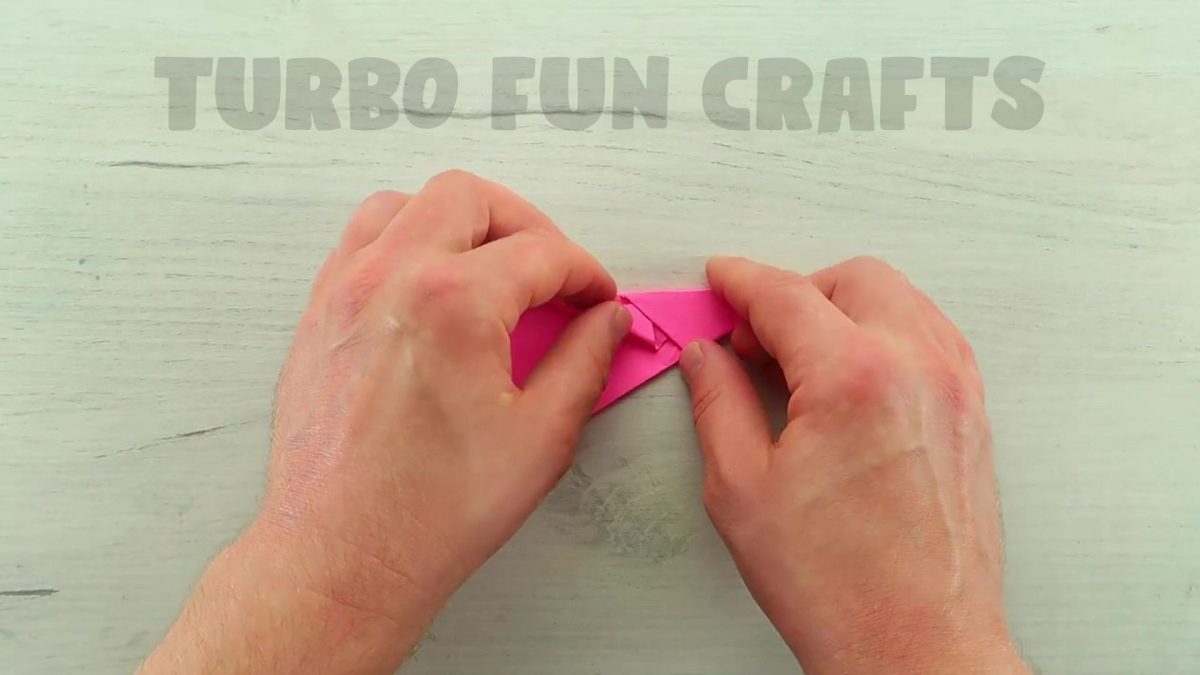
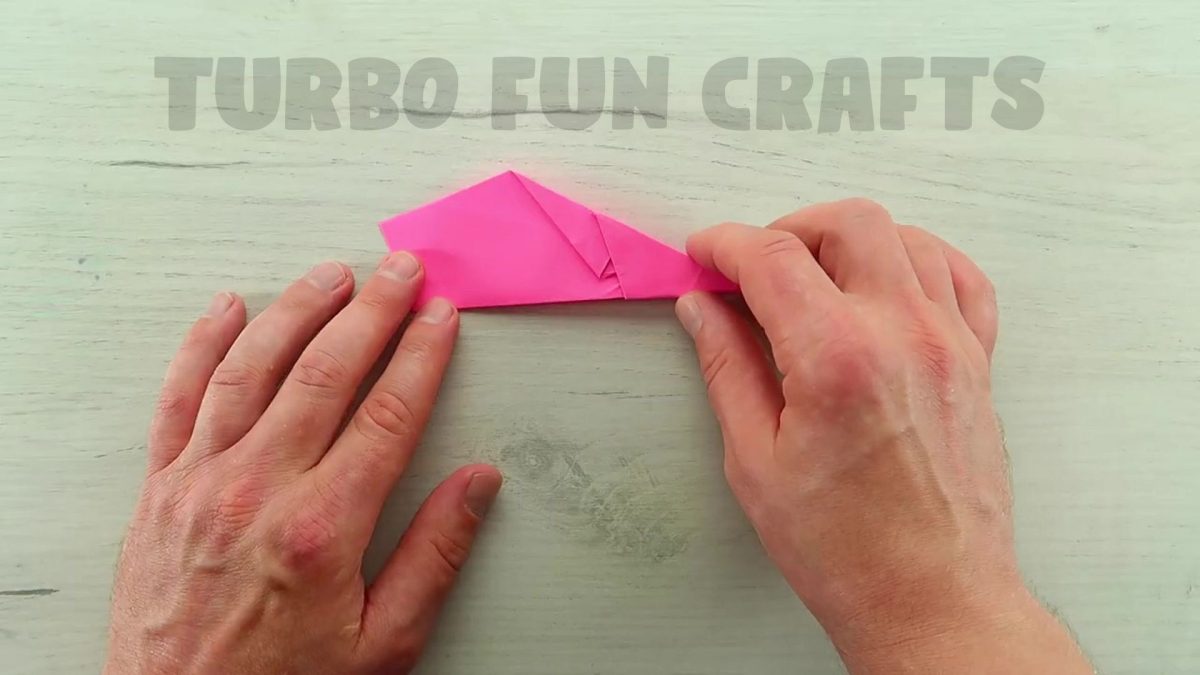
This is how it should look like.

Congratulations! 🙂
Boomerang Paper Plane is now ready!
You may also like other paper crafts from our ORIGAMI PLANES collection 🙂
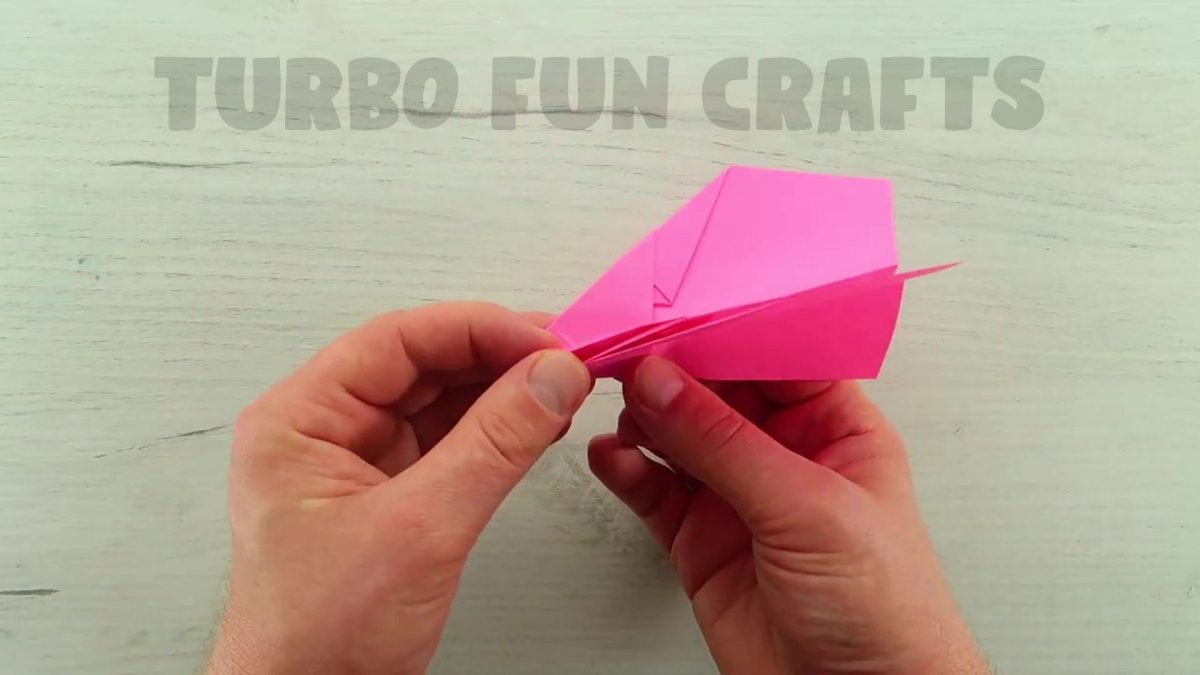
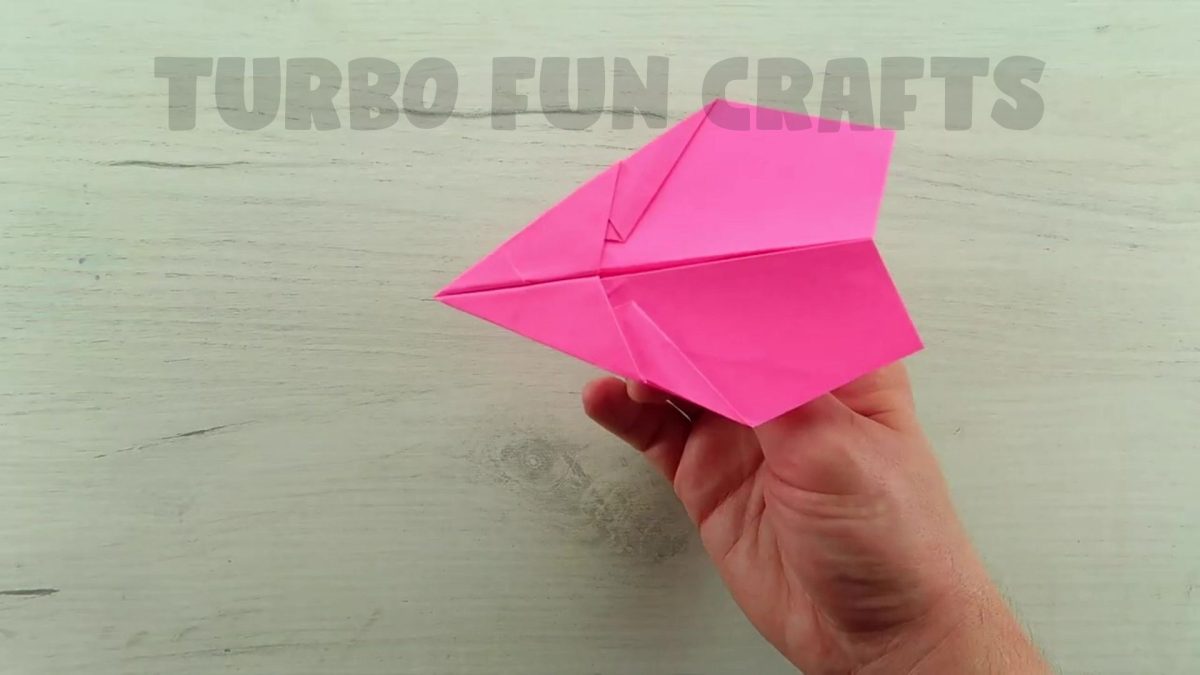
Creating an Origami BOOMERANG Paper Plane is an exciting and engaging activity that combines the art of origami with the thrill of aviation. By following our expert instructions, you will learn how to fold the paper into the perfect shape, ensuring optimal aerodynamics for impressive flight performance.
If you experienced difficulties with some steps, you can watch the video instruction on how to create an Origami Boomerang Paper Plane
Please scroll down for the video tutorial 🙂
The main advantage of this Origami Paper Plane is that no matter how you throw it, it will always come back to you like a boomerang! Using our easy-to-follow tutorial, you can make as many Paper Boomerang Planes as you wish and impress your friends with your origami and DIY paper crafts skills!
Unleash your creativity and explore various customization options for your Origami BOOMERANG Paper Plane. Experiment with different color schemes, add personal touches, or even decorate your plane with unique designs to make it truly one-of-a-kind.
Whether you are a beginner or an experienced origami enthusiast, this guide provides valuable insights and techniques to help you master the art of creating Origami BOOMERANG Paper Planes. With practice, you will soon be launching your planes into the sky and marveling at their incredible flight paths.


