How to make Paper Card with Heart for Mother’s Day and Valentine’s Day | Easy Tutorial for the Perfect Gift – DIY.
Hello! 🙂 Today we’ll show you how to make the perfect DIY Paper Card with Heart for Mother’s Day and Valentine’s Day. Our easy tutorial will guide you through the process step by step and help you create a unique and personalized gift that your loved one will adore.
In this tutorial, we’ll show you what simple materials you need, such as colored paper, scissors, glue, and a white pen. You can use any type of paper, including thick paper, origami paper, or even recycled paper. Plus, you can choose your favorite colors to create a unique and personalized gift card.
So, let’s get started! 🙂
Please scroll down for a step-by-step tutorial of how to make a Paper Card with Heart
HERE IS THE TUTORIAL:
STEP 1 of how to make Paper Card with Heart
Take a colored sheet of paper (we chose yellow) measuring 10 by 20 centimeters

STEP 2 of how to make Paper Card with Heart
Fold the right edge of the paper towards the center, as shown in the picture below


Repeat with the left edge, folding it towards the center of the paper


Once both edges are folded, it will look like this

STEP 3 of how to make Paper Card with Heart
In this step, we’ll be folding the corners
Fold back the previously folded edges to their original position
Fold one of the corners along the dashed lines at a 45-degree angle, as shown in the picture below


Now it is necessary to fold the bent angle inside the paper sheet


Repeat this step with the remaining corners


Once all corners are folded, it will look like this.


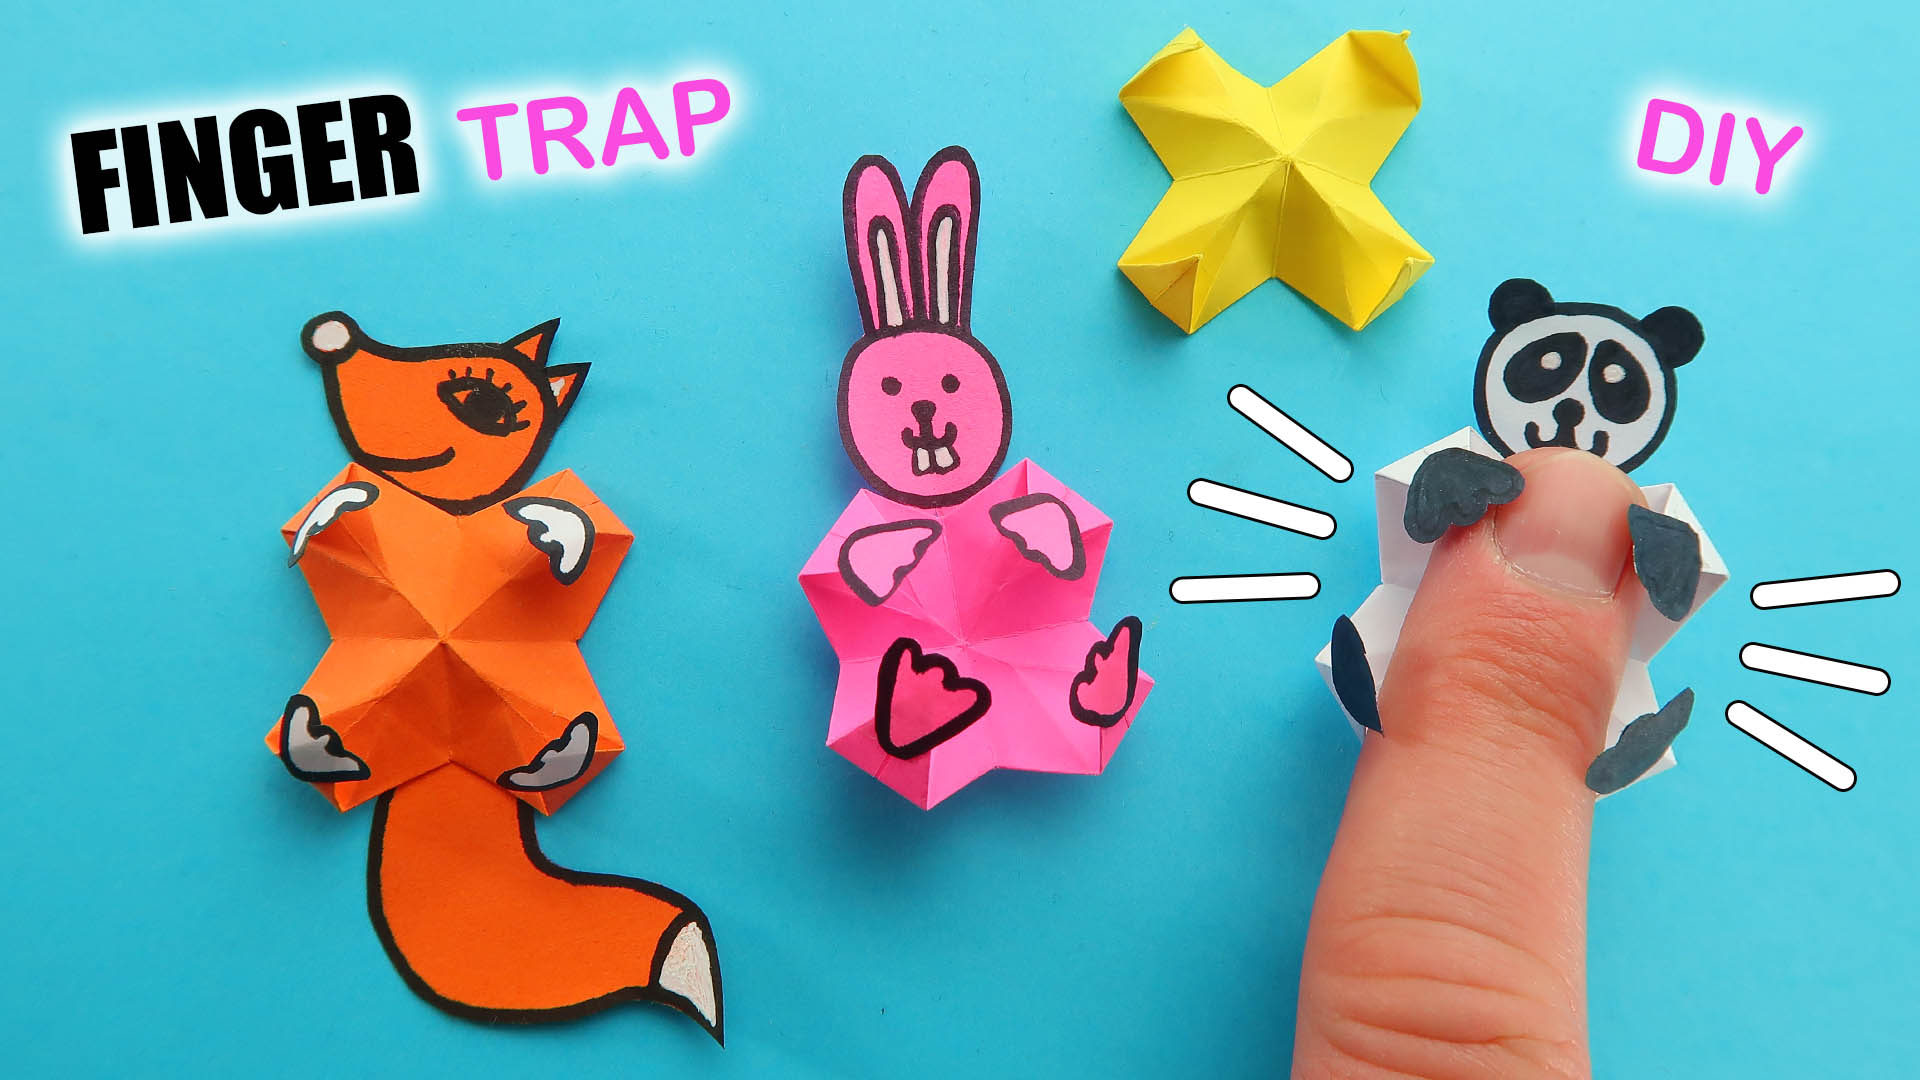
You may also like: Origami Fortune Teller. How to make a Tip Top. Paper Fortune Teller game for friends. Free template.
STEP 4 of how to make Paper Card with Heart
Now it’s time to add the most important thing to our paper craft – love! 🙂
Yes, love! Let’s start cutting out hearts
Take a sheet of red paper and fold it in half


Then in half again

Draw or trace a heart shape on the paper, and cut out the heart with scissors

Since the paper was folded four times, you will have four hearts

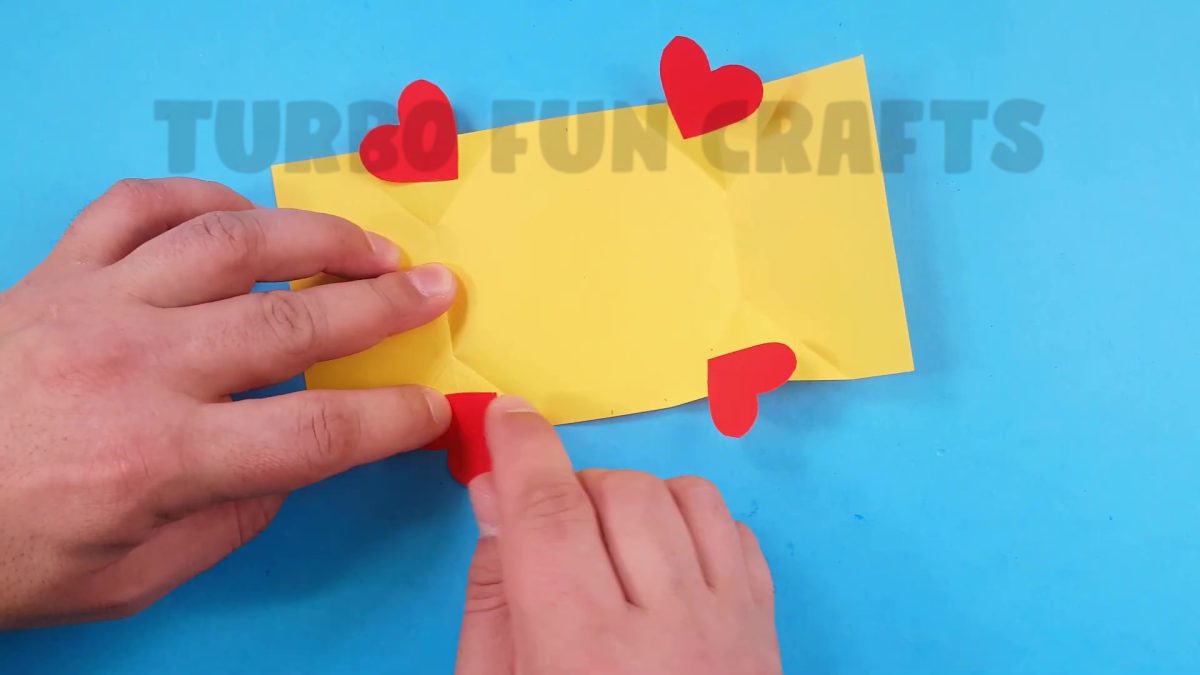
STEP 5 of how to make Paper Card with Heart
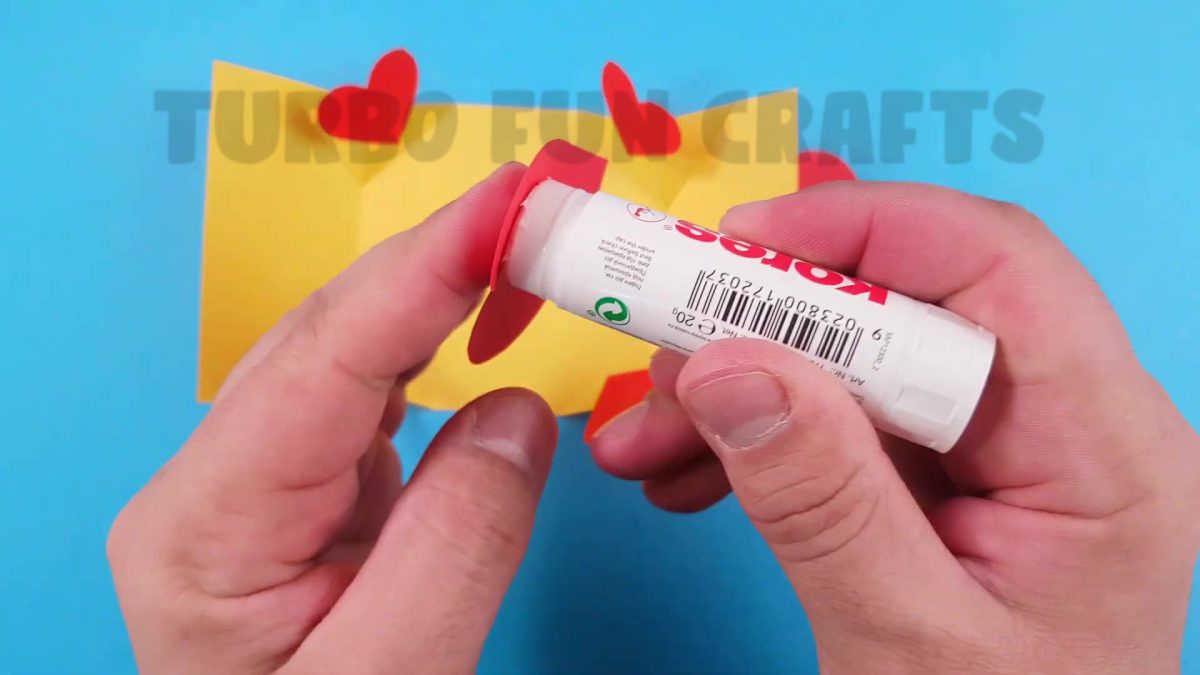
In this step, we need to glue our hearts to the card
If you haven’t prepared the glue yet, you should hurry up! 🙂
Take the glue and apply it to the bottom edge of the cut-out heart


Stick the heart in the specified place
Do this as carefully as possible, and you will get the most beautiful card filled with love 🙂

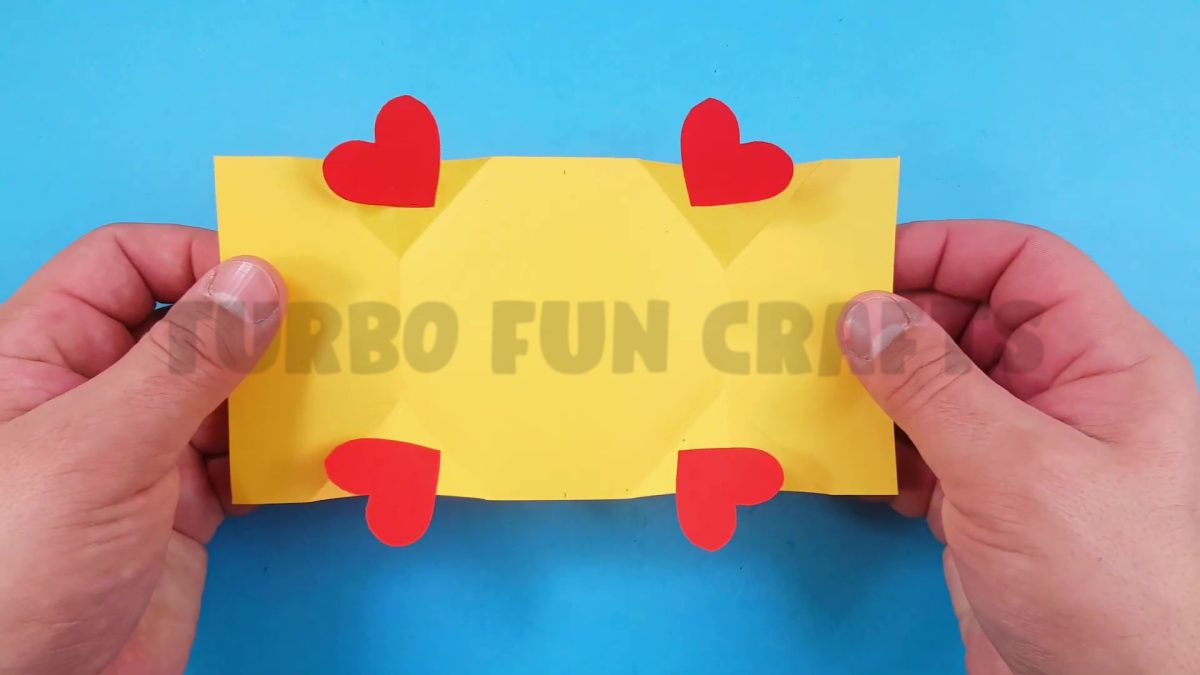
After gluing the heart, try to fold the card
Make sure that it is hidden inside and not visible from the outside
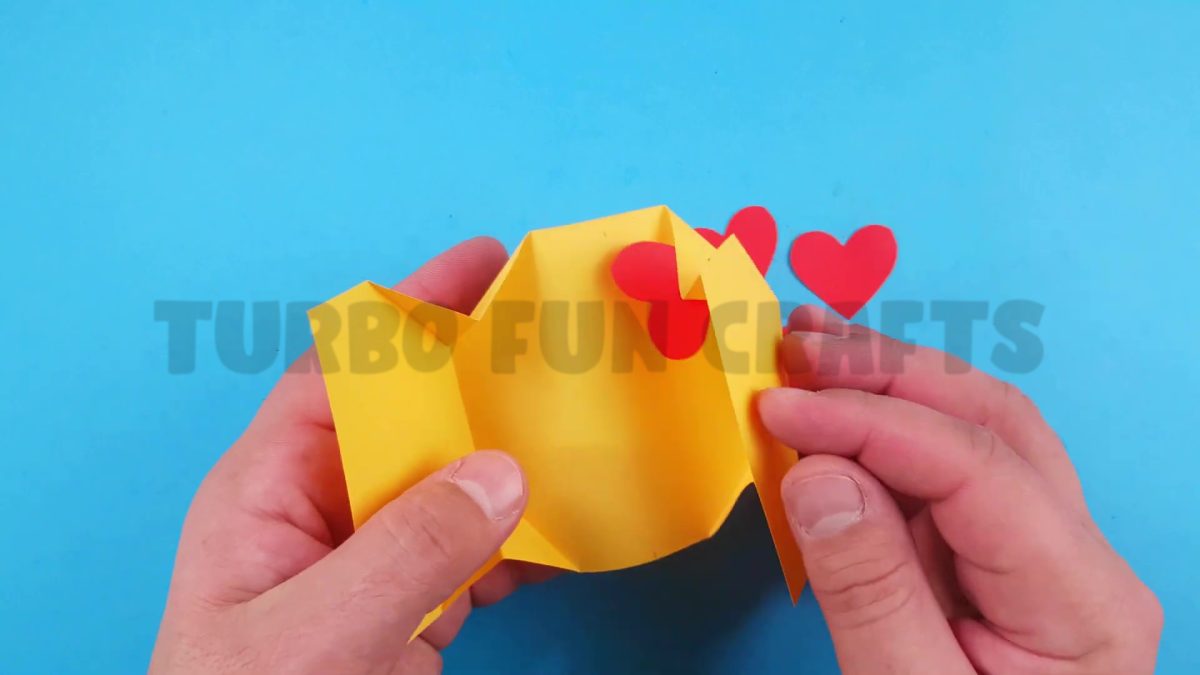

If everything is okay and the heart is securely attached, repeat the same operation with the remaining three hearts
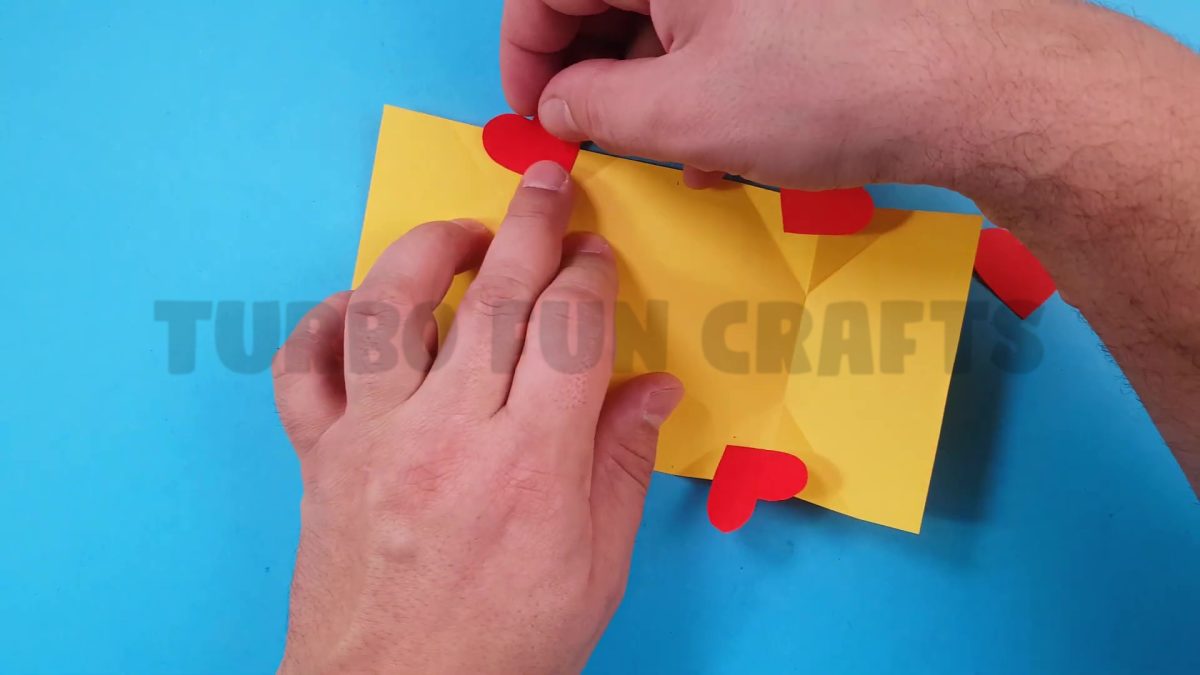
This is how it should look like
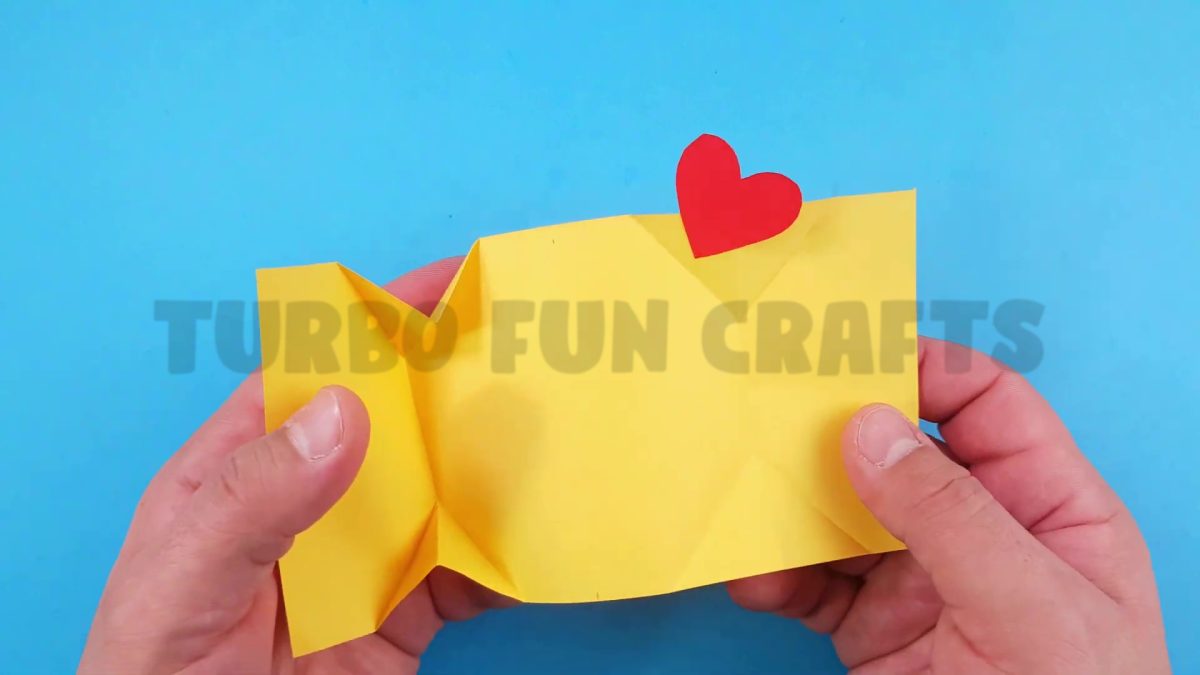
STEP 6 of how to make Paper Card with Heart
In this step, we need another sheet of red paper
Let’s cut out two large hearts and fill them with all our love 🙂
Take the sheet of red paper
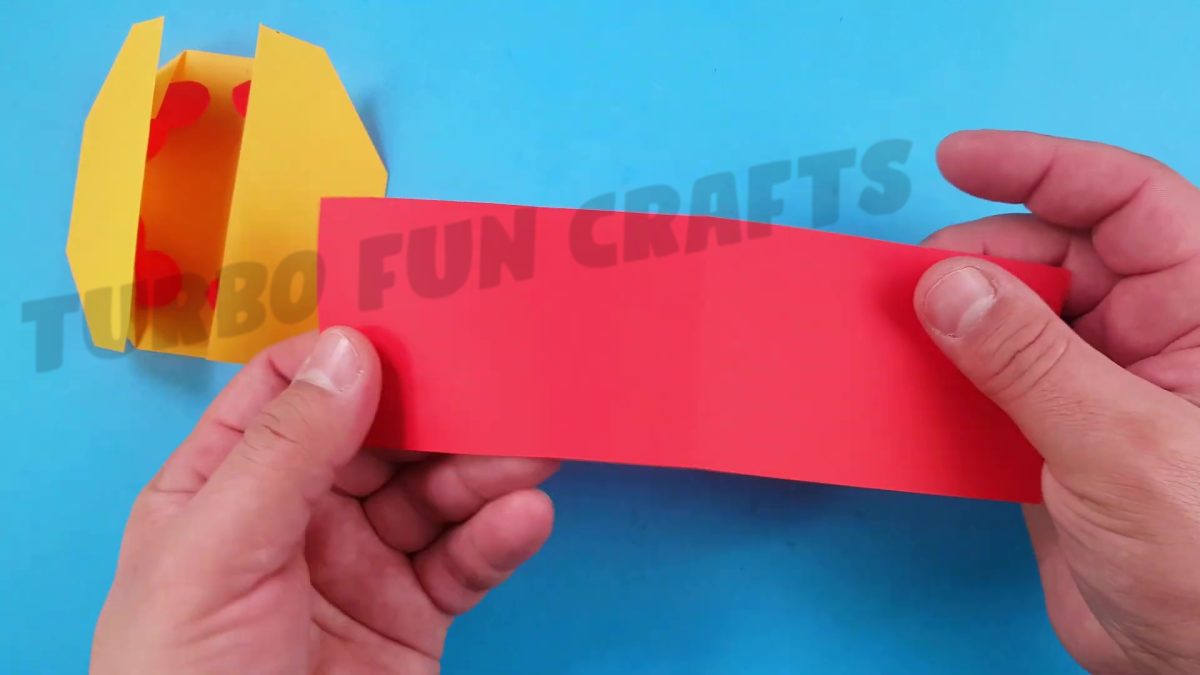
Fold it in half
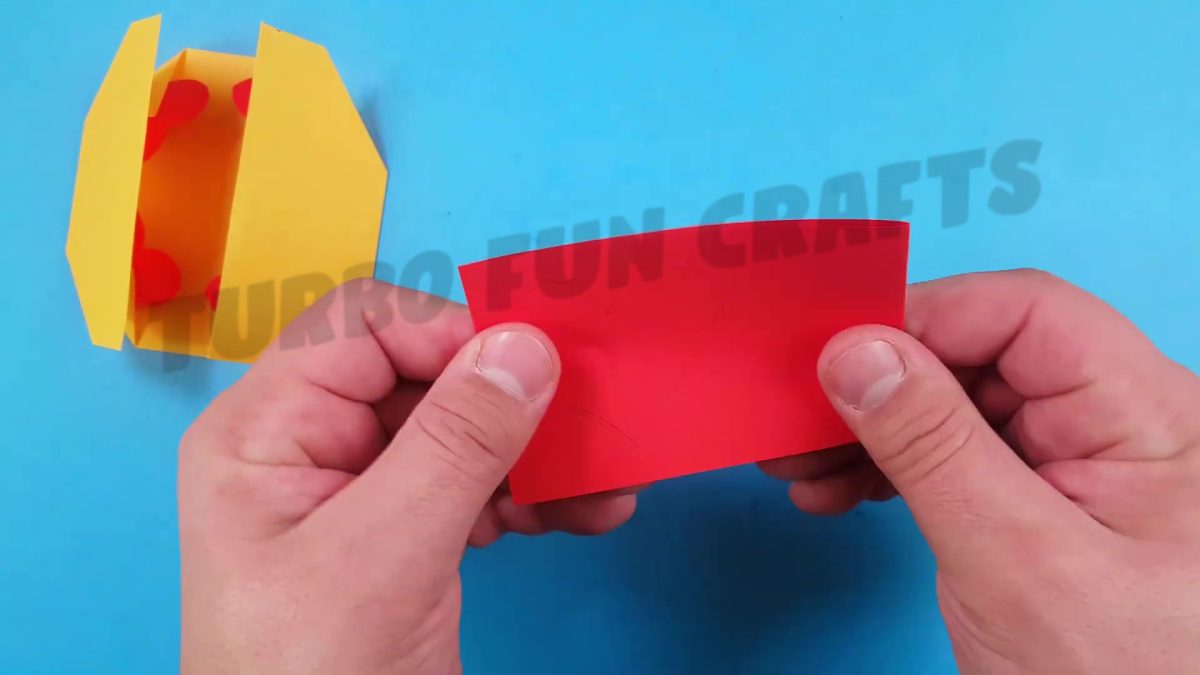
Prepare a template, or simply draw the outline of a heart on the folded sheet of paper
This time the heart should be larger than before
Now you need to use scissors again

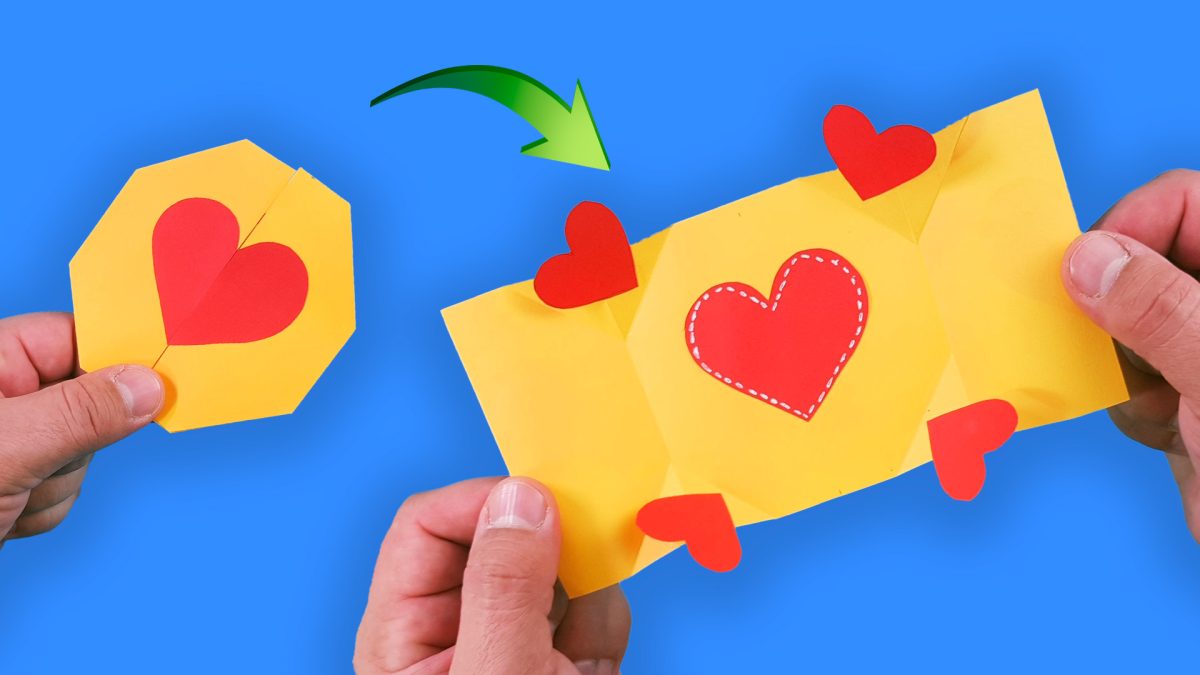
So, you have two beautiful hearts filled with love 🙂

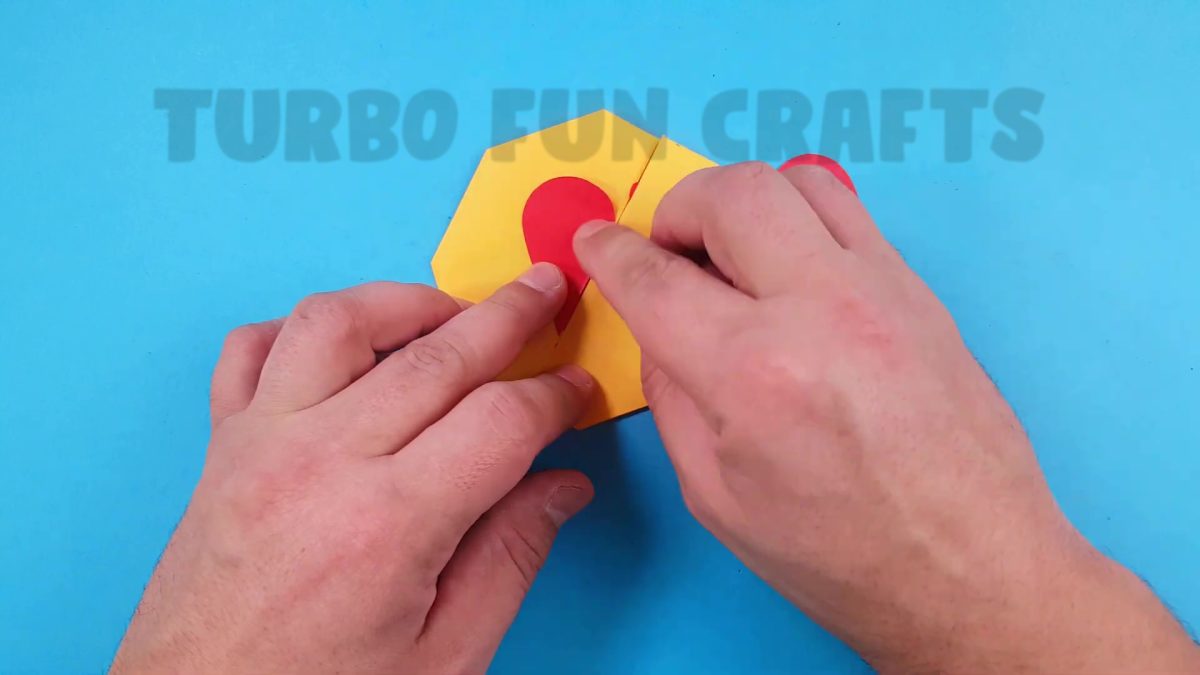
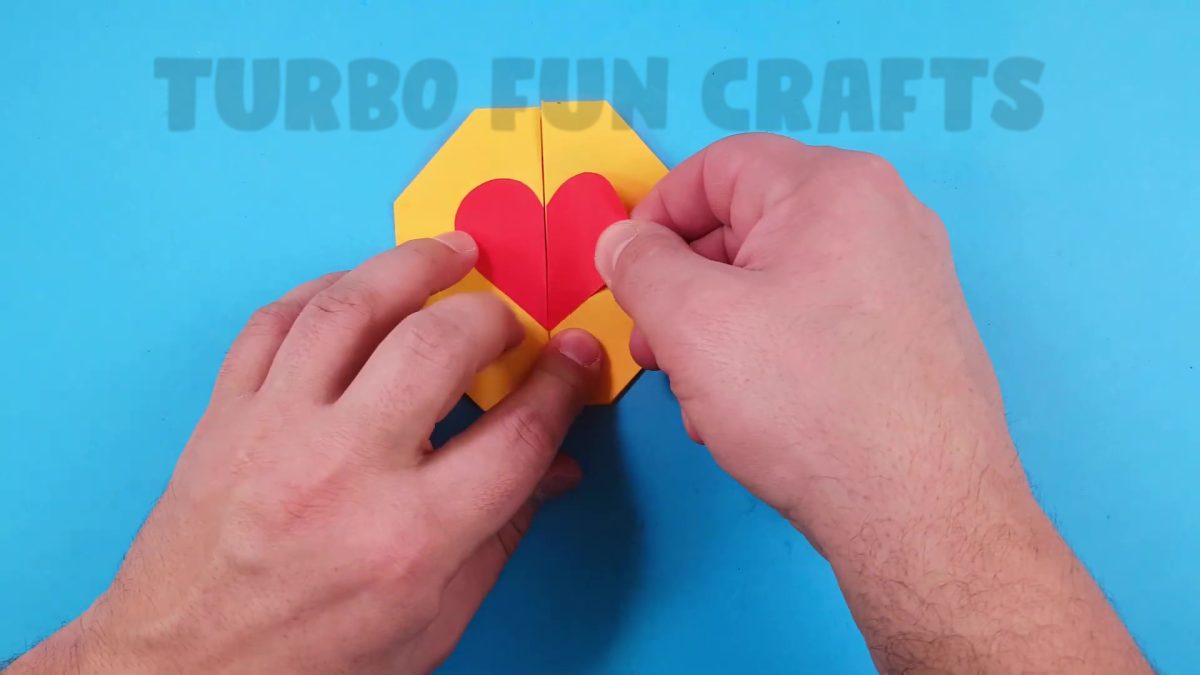
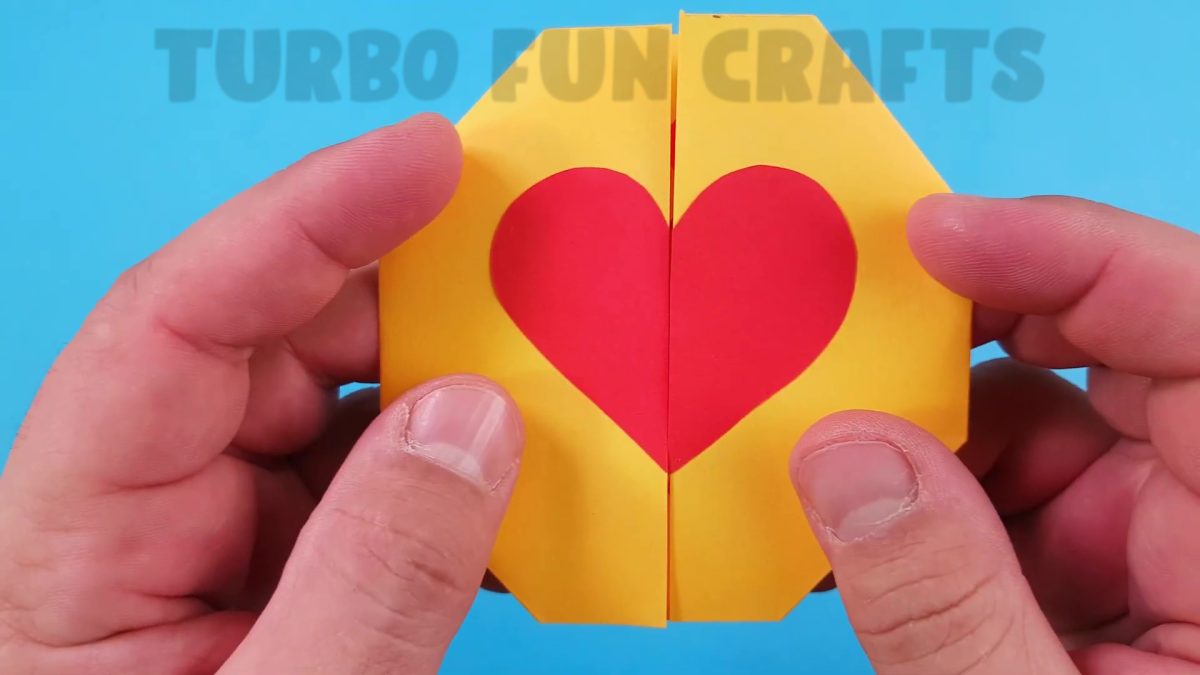
Now we need to glue these hearts onto our gift card
Apply the glue and stick one heart inside the card in the center
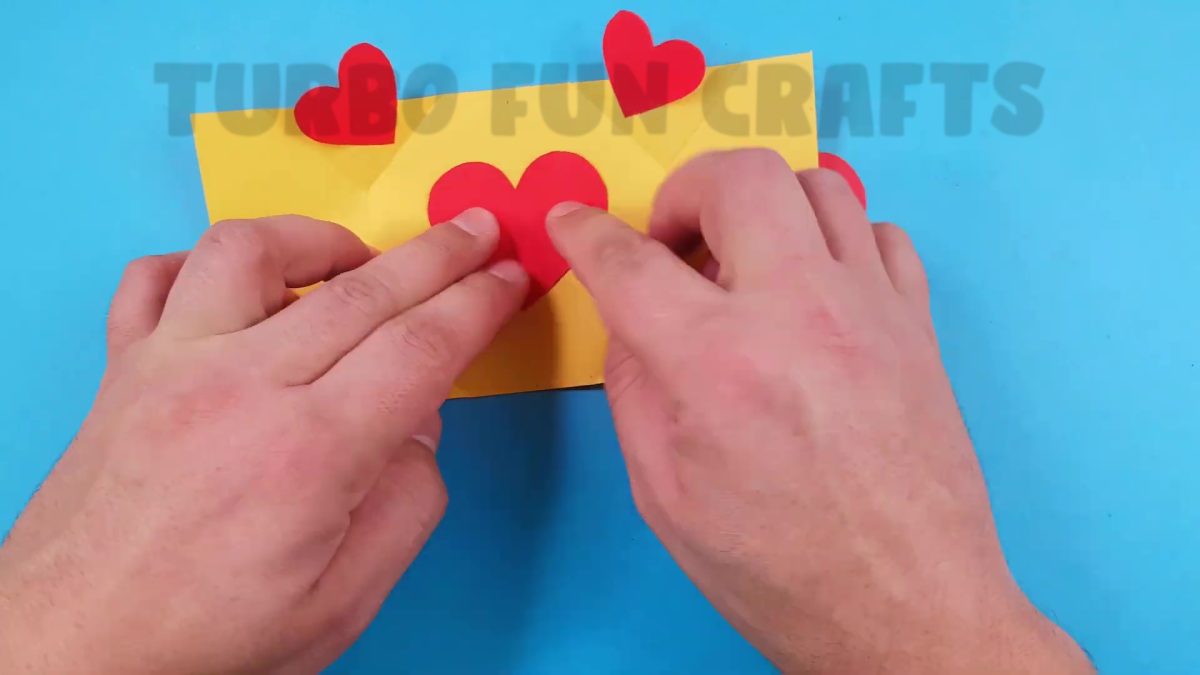
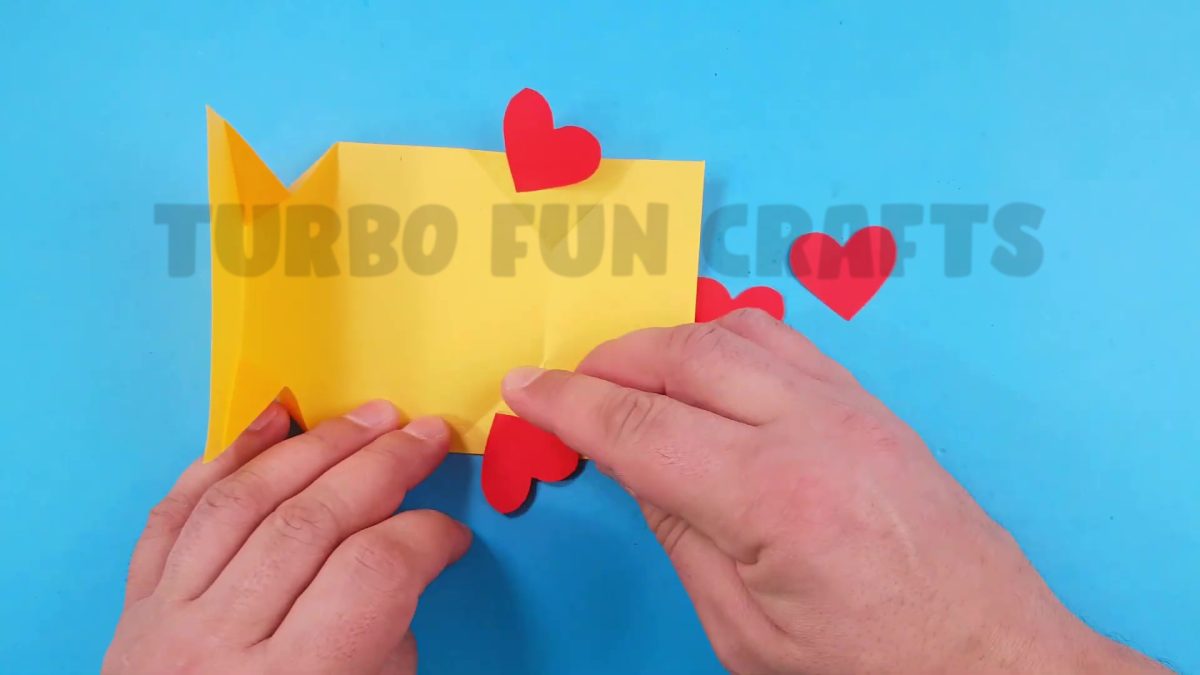
Cut the other heart in half

Now we have two halves of one heart to glue onto the opening edges of our future gift card
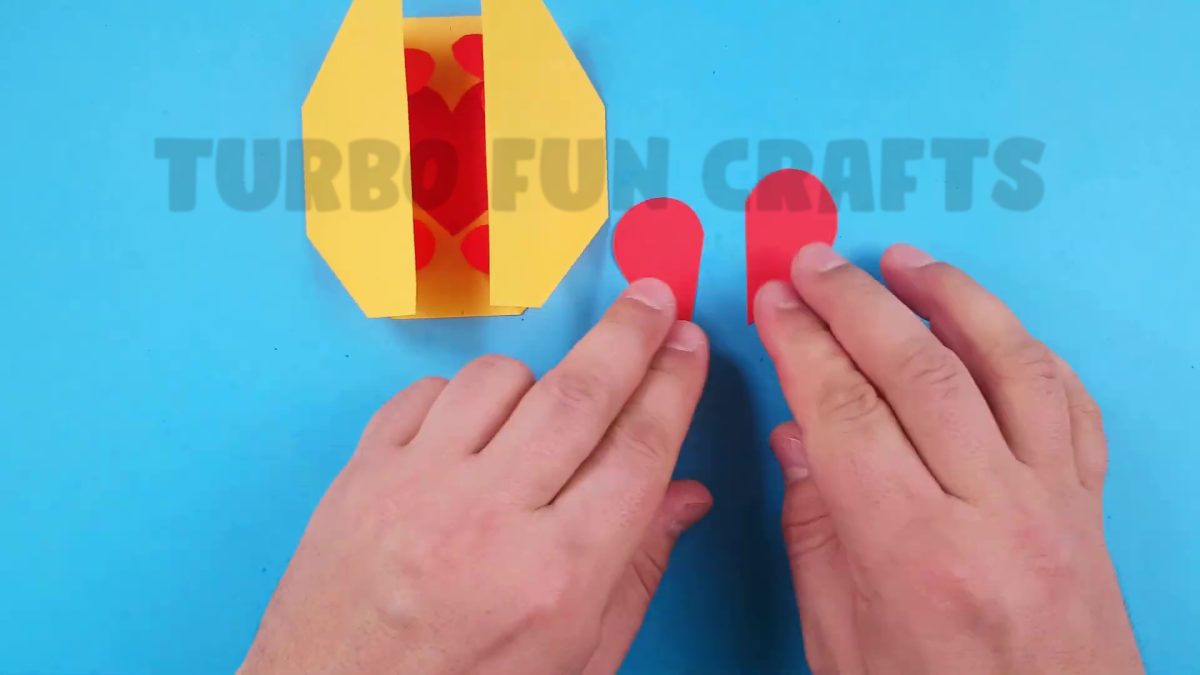
Take the glue, apply it to our heart halves, and stick them to our card
STEP 7 of how to make Paper Card with Heart
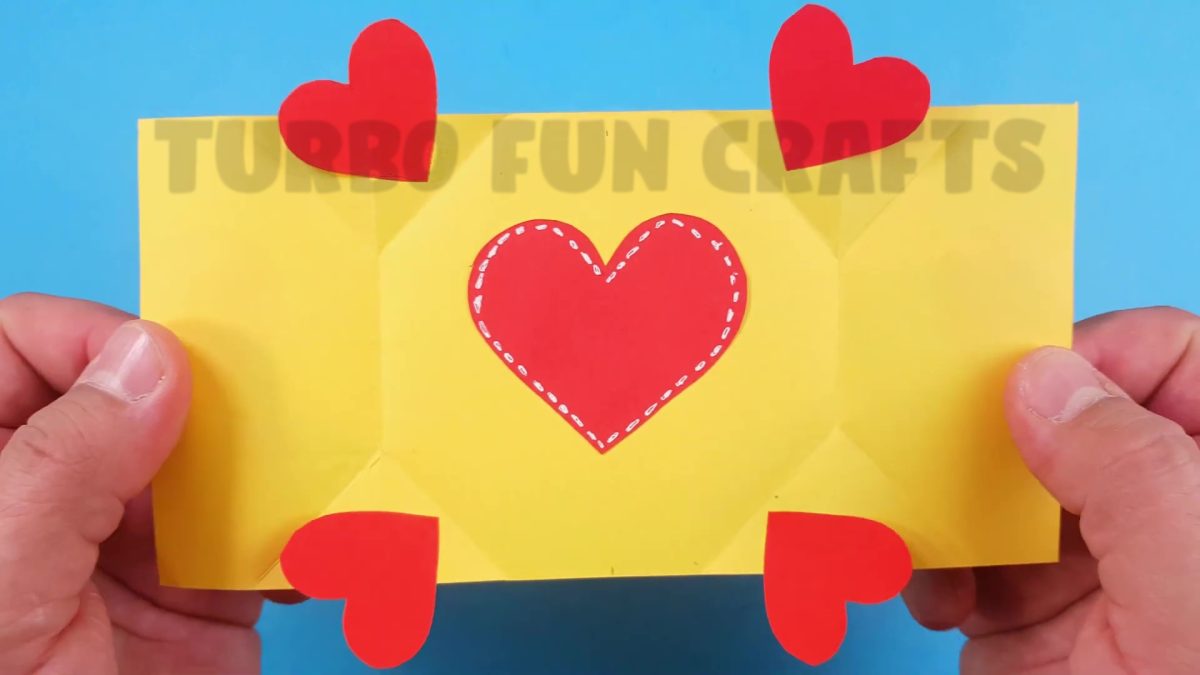
Take a pen and decorate the heart that we glued inside our card
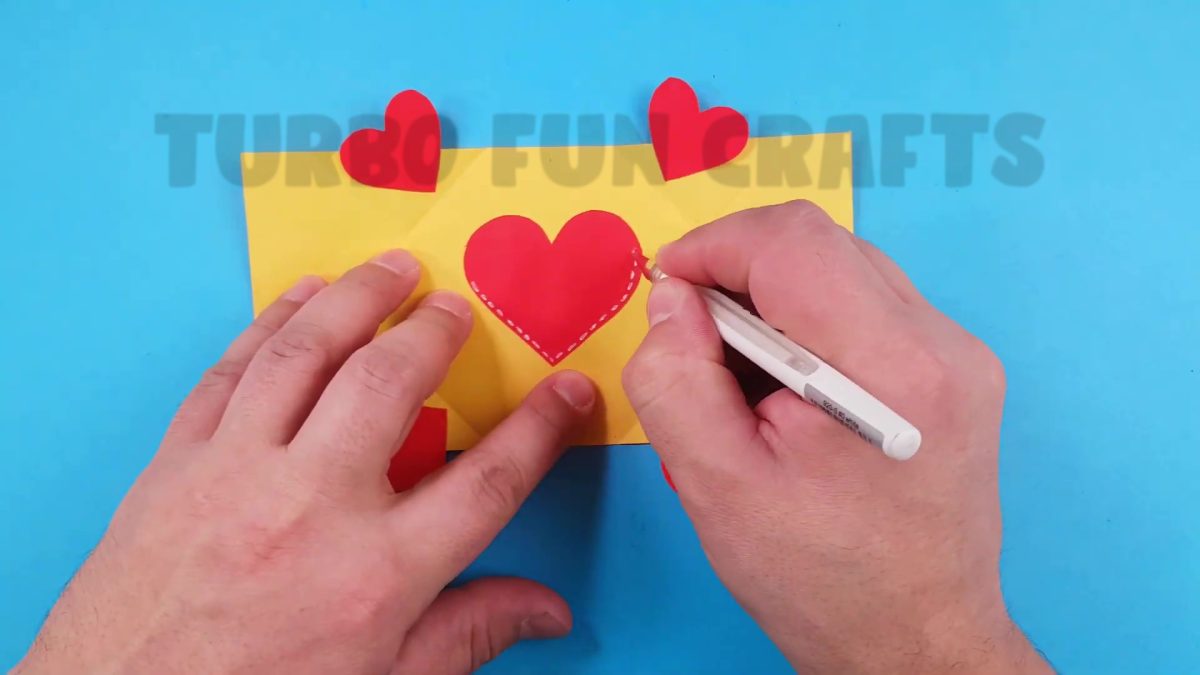
Our beautiful card is ready! 🙂
Surprise someone you love 🙂
You may also like other PARER CRAFTS from our collection 🙂
By following these simple steps, you can make a beautiful and unique Paper Card with Heart for your loved ones on Valentine’s Day or Mother’s Day.
Mother’s Day and Valentine’s Day are two special occasions that celebrate love, affection, and appreciation for those we love. And there’s no better way to show your love and appreciation than with a handmade paper craft. By making your own gift card, you can express your emotions in a thoughtful and creative way. 🙂
Show your love and creativity by making this special gift!
Thank you for visiting our website, our goal is to inspire creativity and bring joy to your life. Whether you’re looking for gift ideas, crafting tips, or just some inspiration, we’re here to help. Check out our other origami and paper crafts, and don’t forget to share your creations with us. We appreciate your support, and we look forward to seeing you again soon!
You can also watch a video tutorial of how to make a Paper Card with Heart: